
Search Divi Plus Documentation
Search for answers or browse our knowledge base.
Timeline
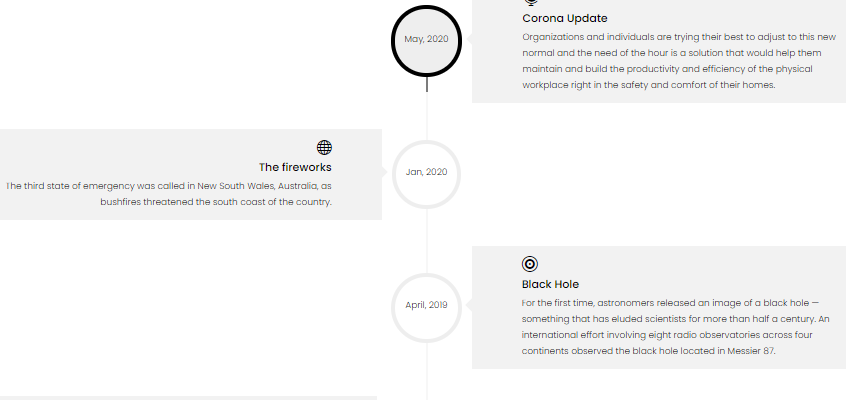
With Divi Plus Timeline modules, you can create a timeline that helps you tell your success story, achievable moments, and much more special happening in your life stylishly and impressively.
How to add module on page
Once Divi Plus is activated, it adds several modules to the Divi builder. To add a module on the page, use the following steps:
- Create/Edit a Page/Post that uses Divi builder.
- Create/Edit a row.
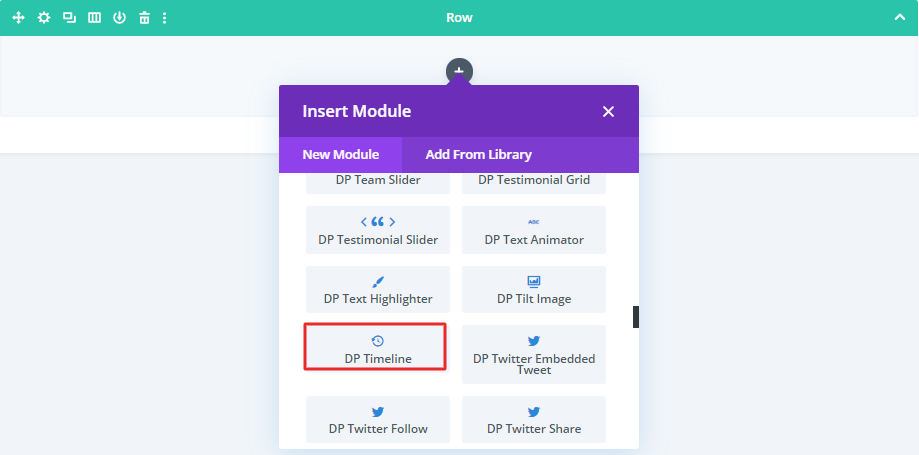
- Click on Add New Module option; choose the DP Timeline module.
Content Options
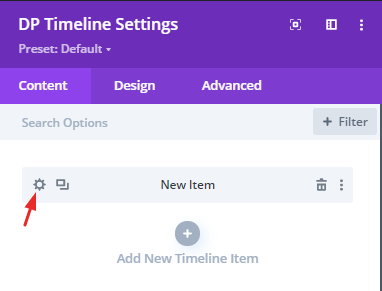
- Click on Add New Timeline Item to insert the timeline item. Similarly, you can add multiple timeline items according to your needs.
- To customize the timeline item, click the gear icon available on the New Item.
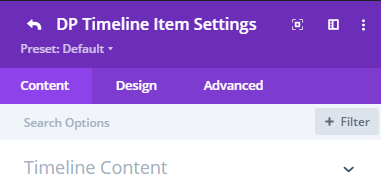
- Here you get the Content, Design, and Advanced settings for individual timeline items.
- Inside the Timeline Content setting, input text for Timeline Title and Content.
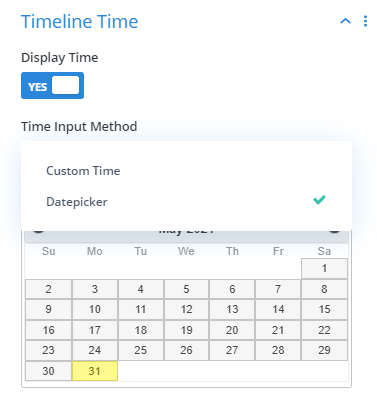
- If you want to display time on the timeline, go to the Timeline Time setting and toggle the “Display Time,” as “YES.”
- Here you can either enter custom time manually or choose the date from the calendar. If you want to choose a date, then click the Custom Time from the Time Input Method, and choose Datepicker from the dropdown list.
- As soon as you select the Datepicker option, it will open a calendar. And another option, “Time Format,” to help you select the format you want to display.
- If you want to use an image or icon, rather than the default circular shape of the timeline element.
- Go to the Timeline Icon/Image>>Add Image to use a picture or Use Icon as “YES,” to go with the icon instead.
Customize all timeline items globally
1.Click the Return icon above the Content tab.
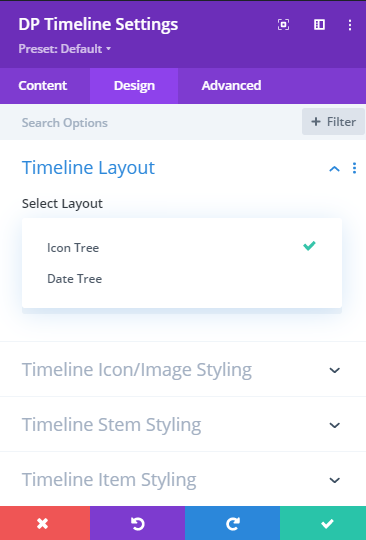
2. Layout: To choose a different layout, go to the parent Design tab of the module. Inside the Select Layout option of the Timeline Layout setting, choose any from available layouts.
3. In this same setting, you get the option “Select Option” that allows you to choose a different placement style for the timeline and its content. Choose any of the available options.
4. Customize the timeline icon or image, go to Timeline Icon/Image Styling and apply appropriate customization.
5. Customize the vertical line or timeline stem, go to Timeline Stem Styling and apply appropriate customization.
6. Inside the Timeline Item Styling setting, you get the option to customize the background of the timeline time by adding color, gradient, image, and adjusting padding.
7. To customize the timeline title, go to the Timeline Heading setting in the Design tab, and apply customizations.
8. Date setting available in the Design tab of the module allows you to customize the appearance of the timeline date.
9. Timeline text setting further allows you to customize the content available in the timeline items.