
Search Divi Plus Documentation
Search for answers or browse our knowledge base.
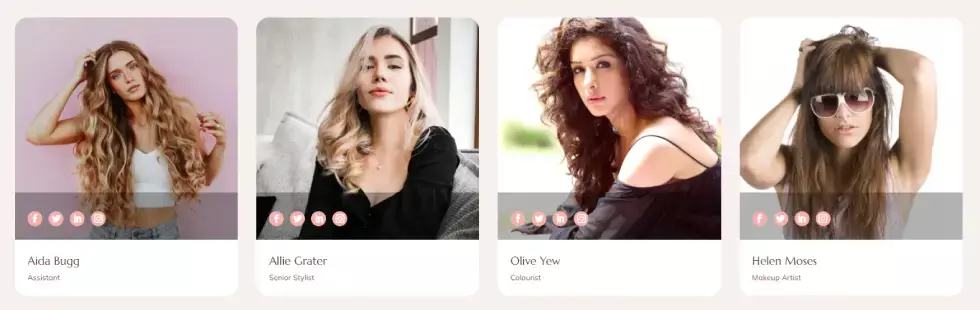
Team Grid
With the Divi Team Grid module, its become very easy & fast to display your team member’s profile on the webpage and you can add/edit team members comfortably just with few clicks.
Create team member’s custom posts
Before you add team grid on the website, first, you need to create team member’s custom posts. To do that, follow the below steps,
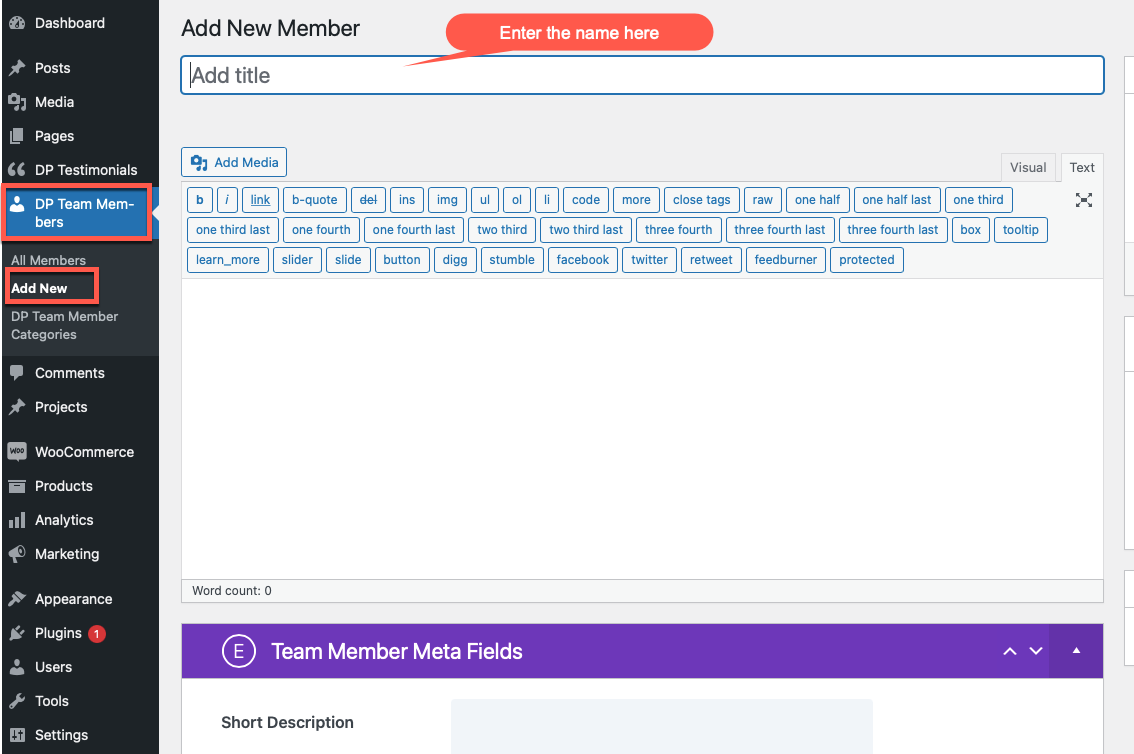
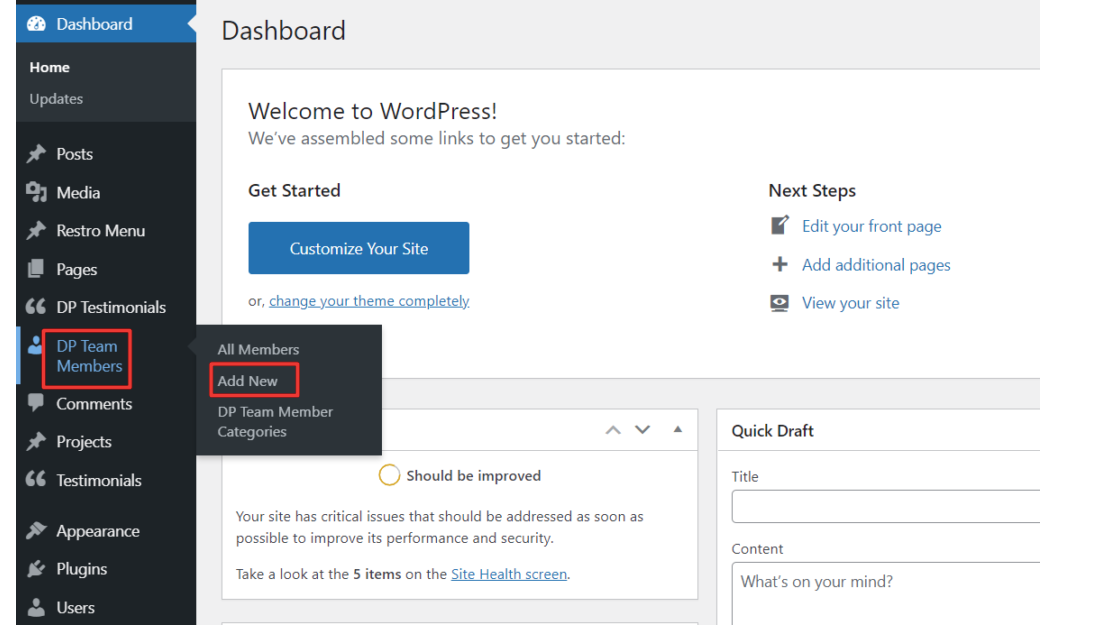
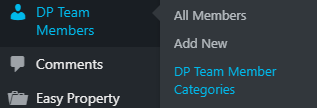
- On your WordPress Dashboard, go to the DP Team Members >> click Add New.
- Then, under Add New Member >> Add Title >> input team member’s name.
- After this, head over to the DP Team Members Categories block >> click Add New Team Member Category >> and create a new one. Or assign a pre-made category.
- Now, move to the Team Member Image block >> Set team member image.
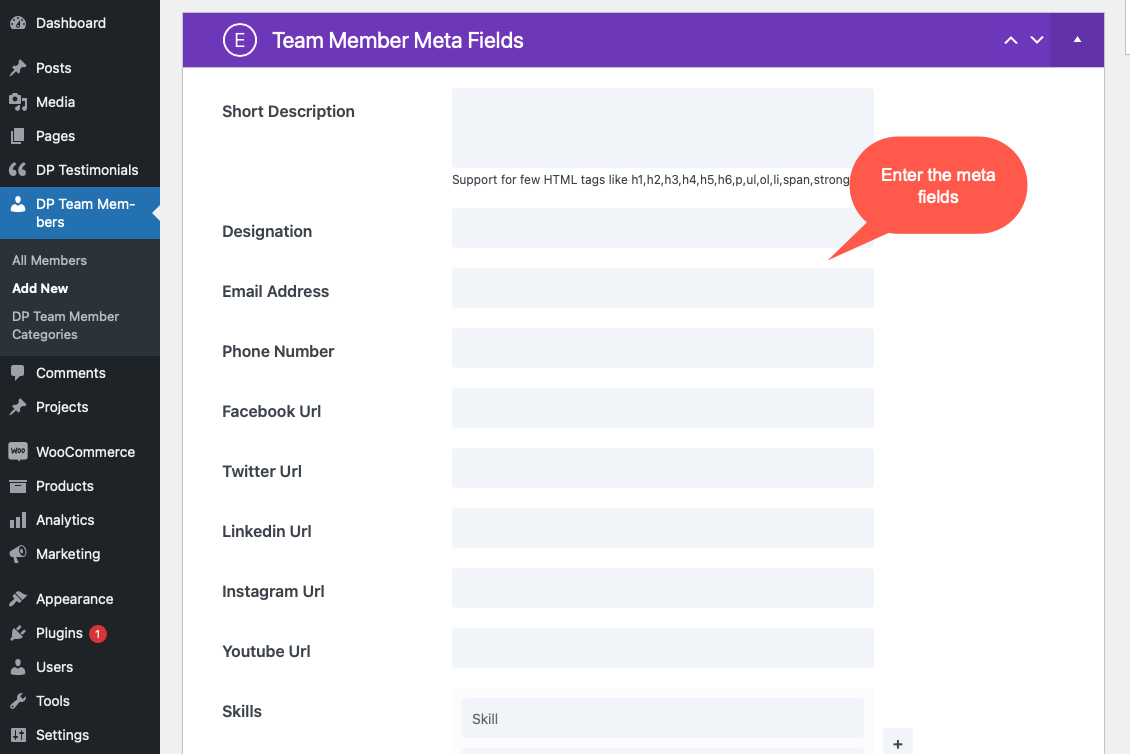
- After this, go to the Team Member Meta Fields block >> and add information about the team member >> Short Description, Designation, Social Links, and Email.
- Then, go to Skill >> input the skill >> then in Skill Value Between 0 to 100 >> give skill value.
- Use plus (+) to add multiple skills. And minus (-) to remove any given skill.
- Publish.
Create team categories
To display a team grid, it’s not necessary that you create categories. However, it would help you manage your team members’ post type on a webpage preferentially. You can create team members’ categories when creating a team member, as mentioned above in step 3. Alternatively, you can create & manage the team members’ categories as follows,
- Go to DP Team Members >> click DP Team Member Categories.
- Enter the required details under the Add New Team Member Category.
- Once done with all the details, click the Add Team Member New Category.
- If you want to edit a previously created category >> click Edit under the category name.
- Update.
How to add Team Grid module to your webpage
Once Divi Plus is activated, it adds several modules to the Divi builder. To add a module on the page, use the following steps:
- Create/Edit a Page/Post that uses Divi builder.
- Create/Edit a row.
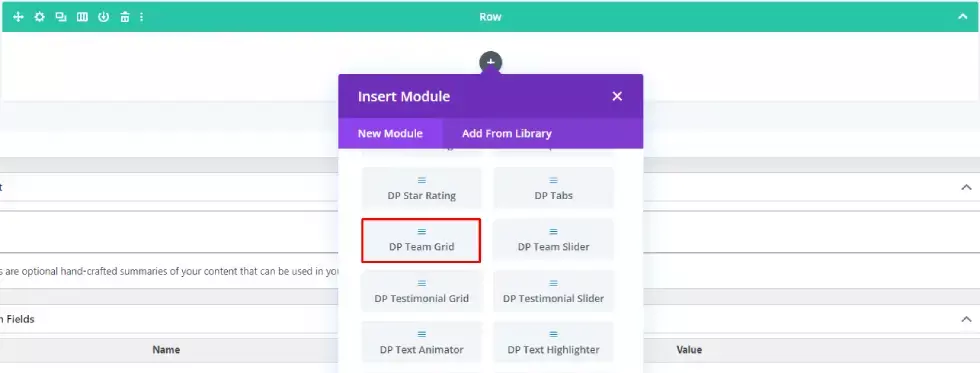
- Click on Add New Module option; choose the DP Grid module.
Content Tab
Content
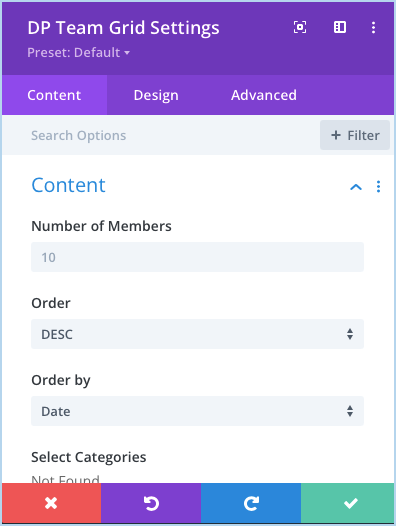
- How to choose the number of team members on the slider: Go to the Content settings >> Number of Members >> input your desired number.
- How to define order: Go to the Content settings >> Order >> select either DESC (Descending) / ASC (Ascending.)
- Select order type: Go to the Content settings >> Order by >> and select one from the options >> Date / Modified Date / Title / Slug / ID / Random / Relevance / None.
- Select category: Go to the Content settings, >> Select Categories >> tick the checkboxes next to the categories you want to include. If you leave all categories unchecked, then it will display team members from all the categories.
Elements
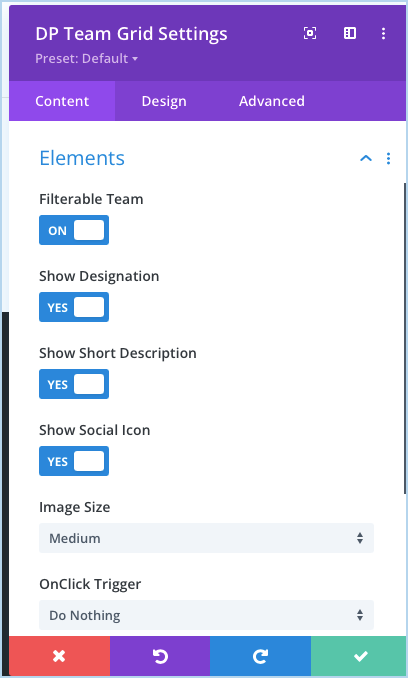
- To Active Filterable Team: Go to the Elements settings >> Filterable Team >> ON.
- Hide Designation: Go to the Elements >> Show Designation >> NO.
- Hide Designation: Go to the Elements >> Show Short Description >> NO.
- Hide Social Icon: Go to the Elements >> Show Social Icon >> NO.
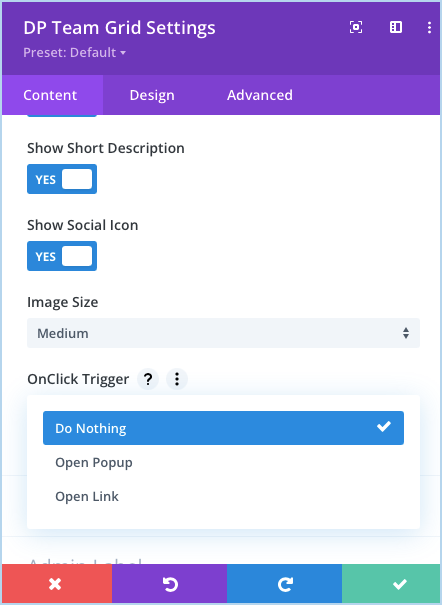
- Image Size: Here you can select the image size from the given option that is Thumbnail, Medium, Large, and Full.
- OnClick Trigger: Here you can select trigger event it can be a link or popup.
Background
- How to adjust Slide Background: Go to the Background settings >> Slide Background >> and apply background customization as needed.
Design Options
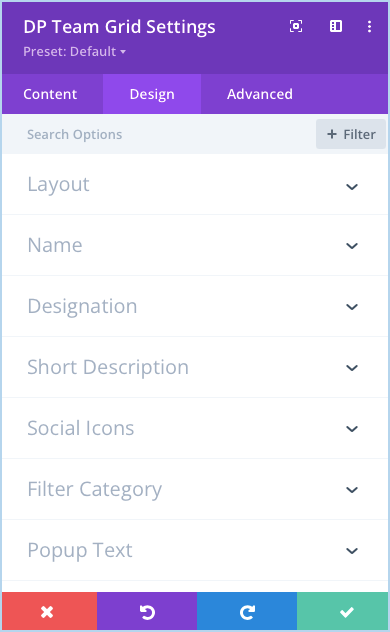
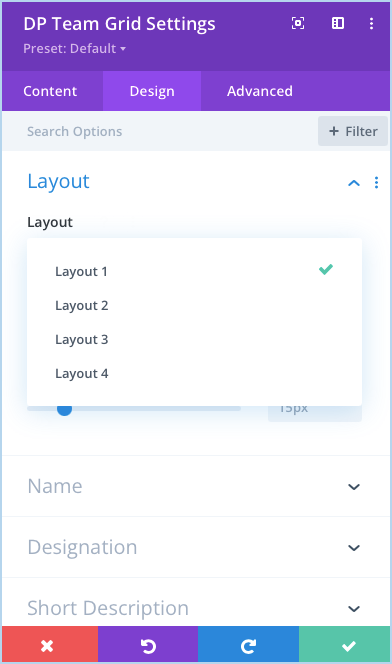
- Layout: Here you can select the grid layout from given 4 options.
- Name: Apply Text Customizations for Name.
- Designation Text Settings: Apply Text Customizations for Designation.
- Short Description Text: Apply Text Customizations for Description.
- Change Social Icon Sizer: Go to the Social Icons >> Icon Size >> input the value or move the slide.
- How to change Social Icon Color and Background Color: Go to the Social Icons >> Icon Color / Icon Background Color >> choose any color.
- Change Social Icon Alignment: Go to the Social Icons >> Social Icon Alignment >> select your preferred alignment position.
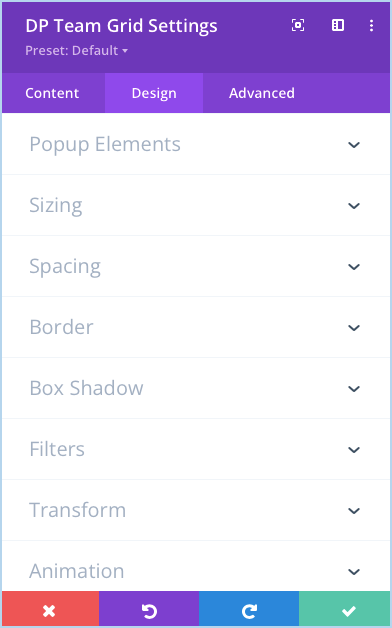
- Adds extra space to the inside of the element: Go to the Spacing >> Content Padding This setting increases the distance between the edge of the element and its inner contents.
- Adjust Grid Padding: Go to the Spacing>> Grid Padding >> and input the values.
- Apply rounded corners to the image and other customizations: Go to the Border settings >> Member Image Rounded Corners >> input the values. In this same setting, you get other options such as Border Styles, Border width & color.
- Shadow on the team member, member’s image & box-shadow: Go to the Box Shadow settings >> Team Member >> choose appropriate shadow & style >> Member Image Box Shadow >> choose appropriate shadow & style >> Box Shadow >> choose appropriate shadow & style.