Search Divi Plus Documentation
Search for answers or browse our knowledge base.
Masonry Gallery

How to add module on page
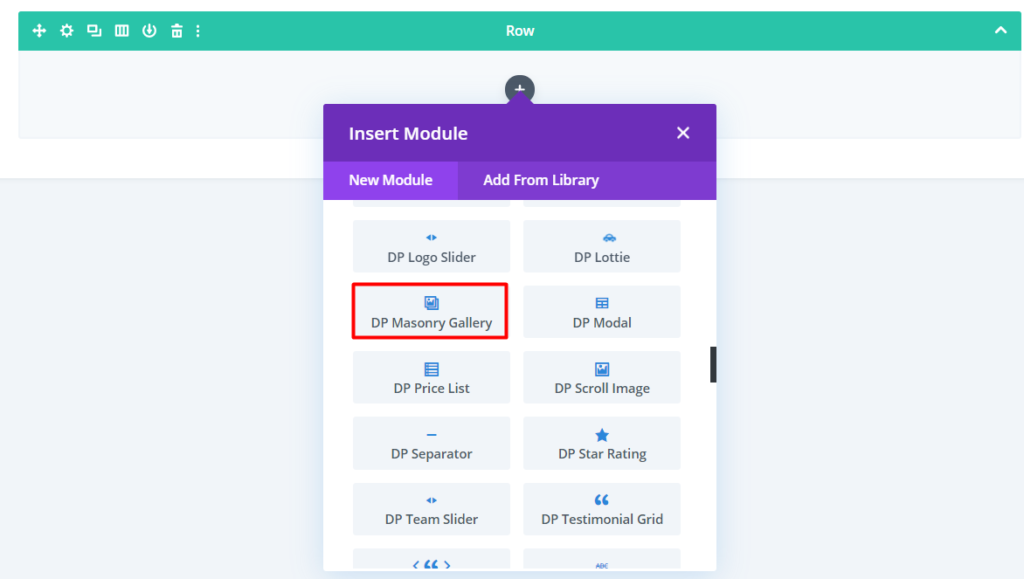
Once Divi Plus is activated, it adds several modules to the Divi builder. To add a module on the page, use the following steps:
- Create/Edit a Page/Post that uses Divi builder.
- Create/Edit a row.
- Click on Add New Module option; choose the DP Masonry Gallery module.
Content Customization
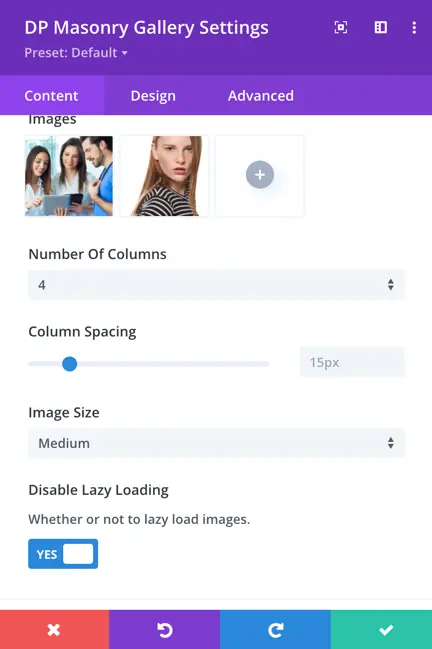
- How to add images to the gallery: Go to the Content tab >> Configuration >> Images >> Add Gallery Images. It will open Media Library, select the images you want to display in the Masonry Gallery.
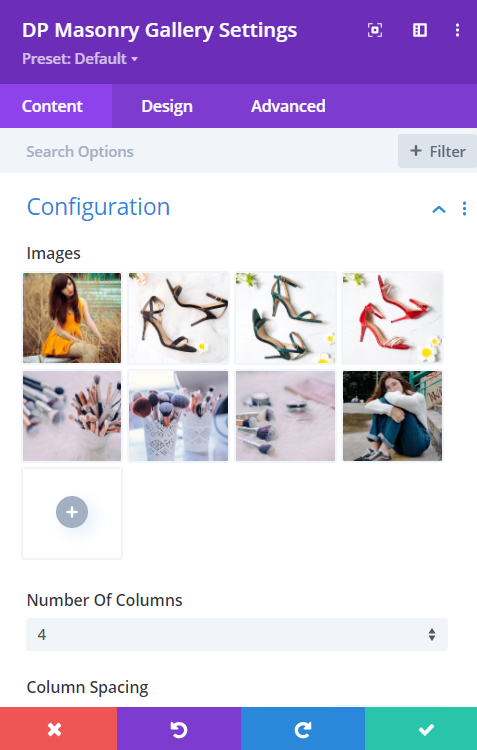
- Increase or decrease the number of columns in the gallery: Go to the Configuration >> Number Of Columns >> choose the number of columns up to 10.
- Add Space between columns: Go to the Configuration >> Column Spacing >> move the slider or input the values.
- How to choose gallery image size: Go to the Image Size >> choose image size either Medium, Large or Full.
- How to display gallery images in a Lightbox: Go to the Elements settings in the Content tab >> Enable Lightbox >> check as YES.
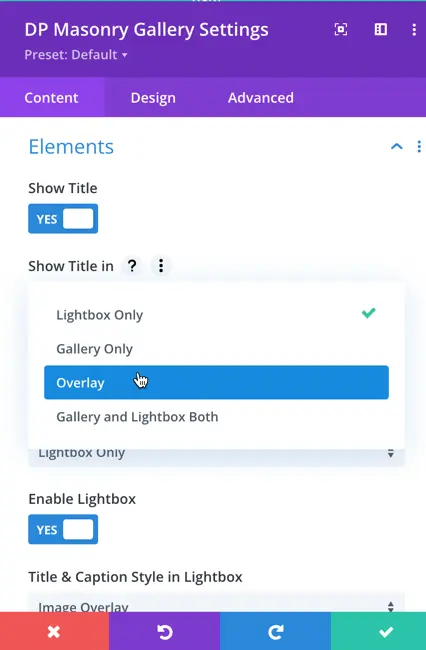
- Show Title: Enables or disables the display of the title for each item.
- Lightbox Only: Title is visible only in the lightbox view.
- Gallery Only: Title is visible in the main gallery/grid view.
- Overlay: Title is overlaid on top of the content, typically an image.
- Gallery and Lightbox Both: Title is visible in both gallery/grid view and lightbox.
- Show Caption: Enables or disables the display of the caption for each item.
- Lightbox Only: Caption is visible only in the lightbox view.
- Gallery Only: Caption is visible in the main gallery/grid view.
- Overlay: Caption is overlaid on top of the content, typically an image.
- Gallery and Lightbox Both: Caption is visible in both gallery/grid view and lightbox.
- Apply Overlay effect on Hover: Go to the Elements >> Enable Image Overlay on Hover >> check as YES. And choose any available Overlay Icon.
- Lazy Loading: Lazy loading is a technique that defers the loading of non-essential content (such as images) until the user needs it. In the context of a website, this means that images are loaded only when they are about to become visible to the user, improving page load times and overall performance.
- Disable Lazy Loading: Enable the setting if you want to disable lazy loading. Users can enable this setting if they prefer to load all content immediately instead of deferring the loading.
Masonry Gallery Design Customizations
- How to style Image Title and Caption Text: Go to the Design tab >> Text >> do appropriate changes. (Title and Caption get displayed in the Lightbox.)
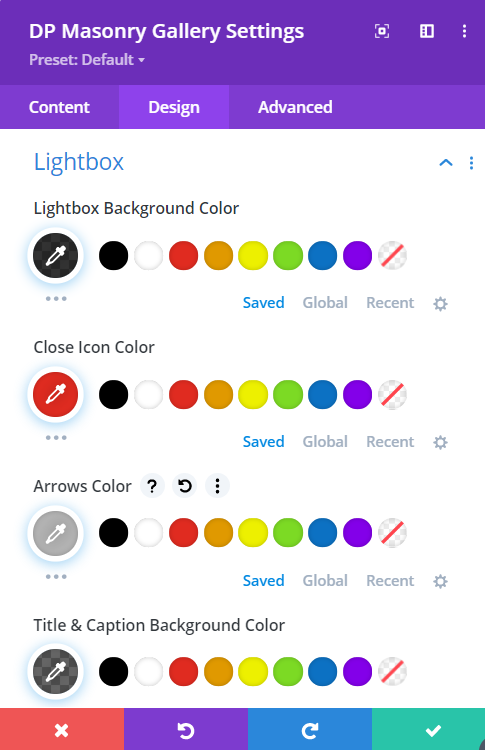
- Add Lightbox Background Color: Go to the Design tab >> Lightbox >> Lightbox Background Color >> choose color.
- Add Lightbox Close Icon Color: Go to the Design tab >> Lightbox >> Close Icon Color >> choose color.
- Add Lightbox Arrows Color: Go to the Design tab >> Lightbox >> Arrows Color >> choose color.
- How to style Title & Caption Background: Go to the Overlay >> Title & Caption Background Color >> choose color.
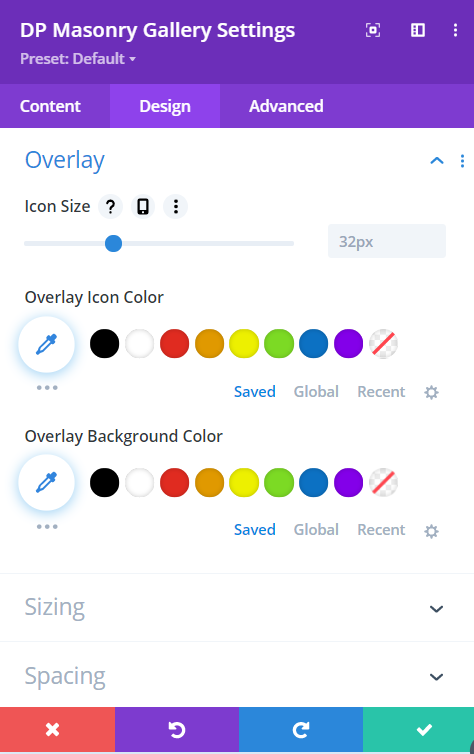
- How to change Overlay Icon Size: Go to the Overlay >> Icon Size >> move the slider or input the values.
- Adjust Overlay Icon Color: Go to the Overlay >> Overlay Icon Color >> choose any appropriate color.
- How to add Overlay Background Color: Go to the Overlay settings in the Design tab >> Overlay Background Color >> choose any appropriate color.
- How to make gallery images’ Corners Round: Go to the Border settings in the Design tab >> Image Rounded Corners >> input the values.
- How to add borders to gallery images: Go to the Border settings >> Image Border Styles >> and choose the appropriate border position. After this, go to the Image Border Width >> input the value. Now, go to the Image Border Color >> and choose a custom color from the option. Then, in the Image Border Style dropdown menu, choose a suitable border style.
- How to add shadow to gallery images: Go to the Box Shadow >> Image Box Shadow >> choose any appropriate box-shadow from the options.