
Search Divi Plus Documentation
Search for answers or browse our knowledge base.
Explore Divi Plus's Live Demo
Bar Counter

How to add module on page
Once Divi Plus is activated, it adds several modules to the Divi builder. To add a module on the page, use the following steps:
- Create/Edit a Page/Post that uses Divi builder.
- Create/Edit a row.
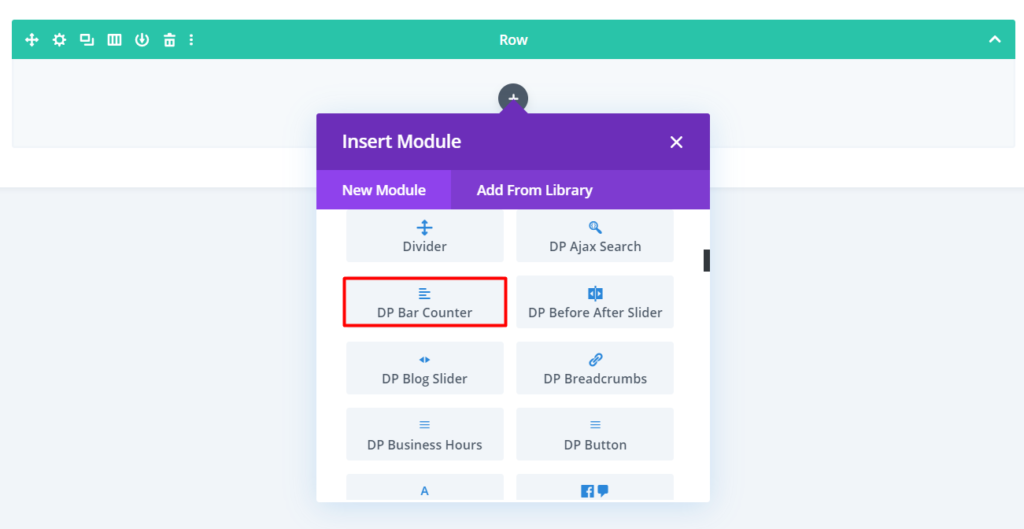
- Click on Add New Module option; choose the DP Bar Counter module.
Content Options
- Change layout: Go to the Content tab >> Configuration >> Layout >> select either Layout 1 / Layout 2.
- Add a title to the Bar Counter: Go to the Content tab >> Configuration >> Title >> input the text.
- Adjust Bar Counter’s Percentage value: Go to the Content tab >> Configuration >> Percent >> move the slider or input the value.
- How to display the bar counter’s empty area: Go to the Content tab >> Configuration >> Display Empty Bar >> YES.
- How to display stripes on a Bar Counter: Go to the Content tab >> Configuration >> Use Stripes >> YES. (Applicable for Layout 1.)
- How to enable an animation on Bar Counter’s Stripe: Go to the Content tab >> Configuration >> Enable Stripes Animation >> YES. (Make sure Stripes are enabled. Step 6.)
- Change Stripe animation speed: Go to the Content tab >> Configuration >> Animation Speed >> move the slider or input the value. (Make sure Stripe animation is enabled. Step 7.)
- How to enable custom chunks size: Go to the Content tab >> Configuration >> Enable Custom Chunks Size >> YES. (Applicable for Layout 2.)
- Adjust Bar Counter’s Chunks Width: Go to the Content tab >> Configuration >> Chunks Width >> move the slider or input the value. (Make sure Chunks Custom Size is enabled. Step 9.)
- Adjust Bar Counter’s Chunks Height: Go to the Content tab >> Configuration >> Chunks Height >> move the slider or input the value. (Make sure Chunks Custom Size is enabled. Step 9.)
- Customize Empty Bar or Chunks Background: Go to the Content tab >> Background >> Empty Bar/Chunks Background >> customize background with color, gradient or an image.
- Customize Filled Bar or Chunks Background: Go to the Content tab >> Background >> Filled Bar/Chunks Background >> customize background with color, gradient or an image.
Design Options
- Style Bar/Chunks Title and Percent: Go to the Design tab >> Text >> select Title / Percent >> apply text customization.
- Apply Border Styles & Rounded Corners to Empty Bar or Chunks: Go to the Design tab >> Border >> Empty Bar/Chunks Rounded Corners >> input values >> Empty Bar/Chunks Border Styles >> select border styles. Explore the settings to style border styles Width, Color and Border Style.
- Apply Border Styles & Rounded Corners to Filled Bar or Chunks: Go to the Design tab >> Border >> Filled Bar/Chunks Rounded Corners >> input values >> Filled Bar/Chunks Border Styles >> select border styles. Explore the settings to style border styles Width, Color and Border Style.