
Search Divi Plus Documentation
Search for answers or browse our knowledge base.
Before After Image Slider
How to add module on page
Once Divi Plus is activated, it adds several modules to the Divi builder. To add a module on the page, use the following steps:
- Create/Edit a Page/Post that uses Divi builder.
- Create/Edit a row.
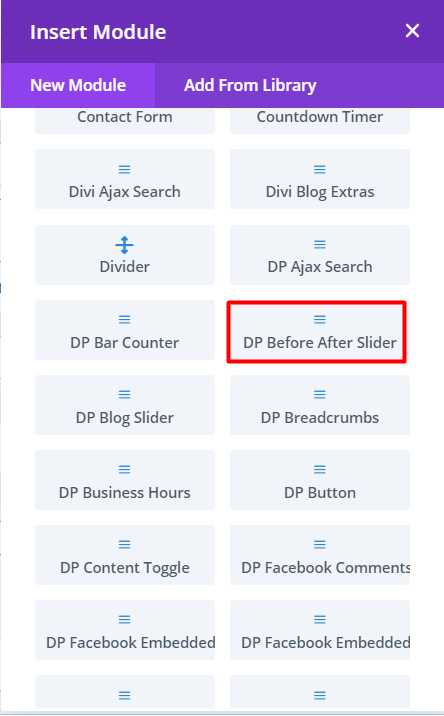
- Click on Add New Module option; choose the DP Before After Slider.
Content tab
On the Slider Content section, click Before and upload the image for the before section. And click on the After Section and upload the image for the after section. For text display set Show Label -> Yes and enter the text in the Label field.
This will add the before-after slider to your Divi theme with default values.
Design Tab
Under the Slider Styling section of the Design tab, select Horizontal or Vertical orientation.
Handle offset will let you define the position of the slide. By default, it is 0.5 which is at the center of the image.
Mouse on Hover setting will let you run the slider without tapping or dragging. Just move the mouse to see the slide.
Move on click will enable a click action where the slider will move when clicked at a certain spot on the image.
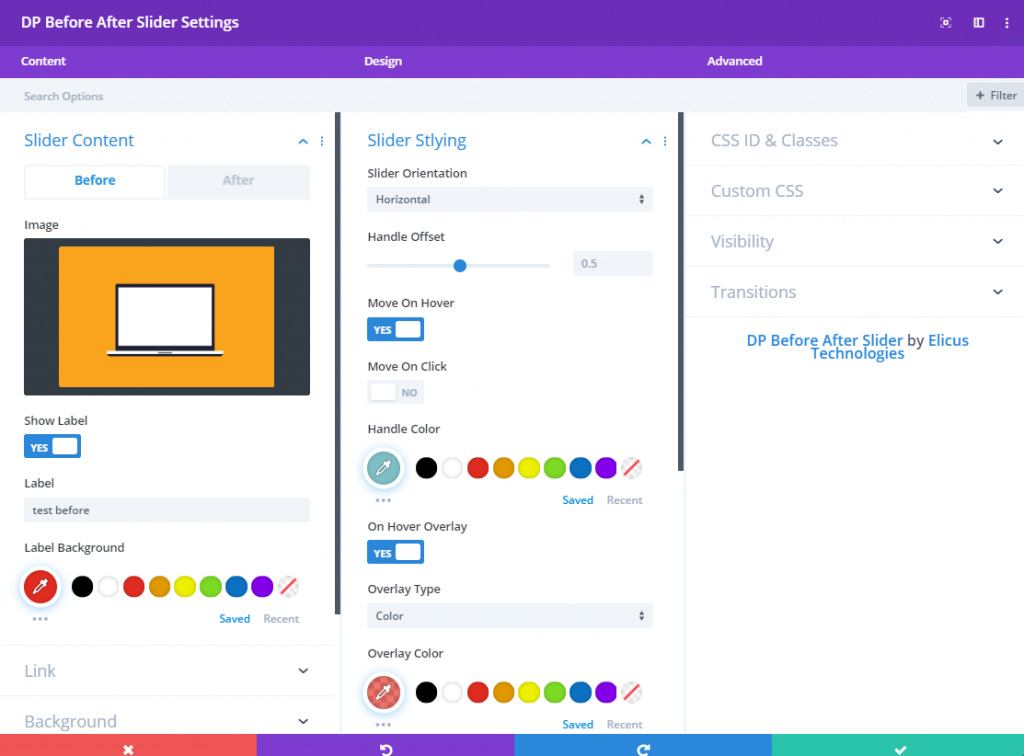
Handle Color will let you manage the color setting of the handle (separator).
On hover, overlay setting allows adding an overlay of text or gradient along with the option to control the opacity of the color and gradient.
Configure other settings as required.
Here’s the blog post that covers the setup and working process of the Divi Plus Before After Slider module.