Search Divi Plus Documentation
Search for answers or browse our knowledge base.
Explore Divi Plus's Live Demo
Blog Timeline
Overview of the Blog Timeline module
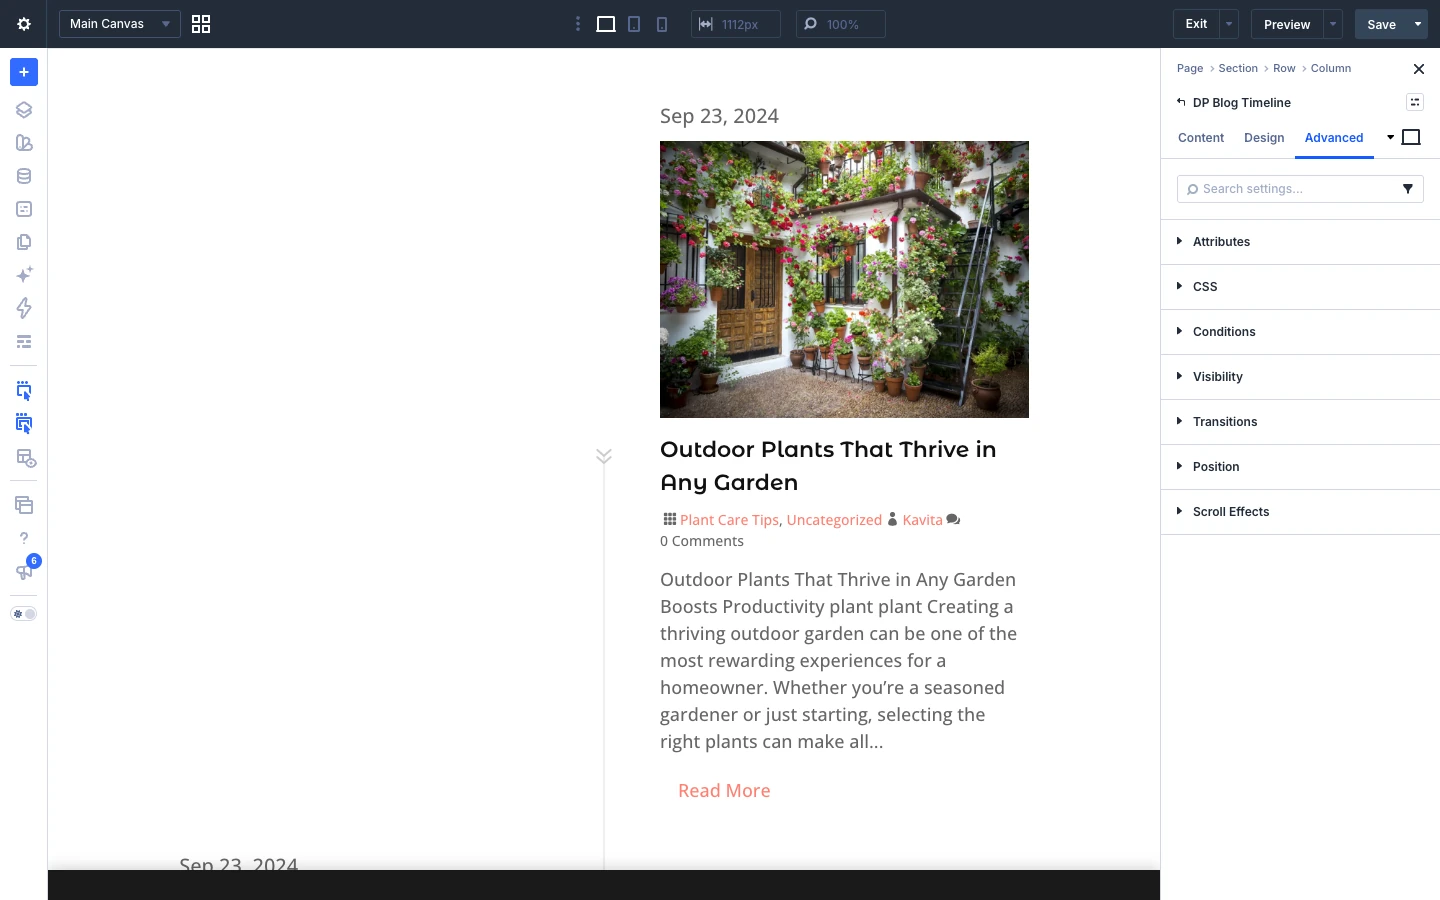
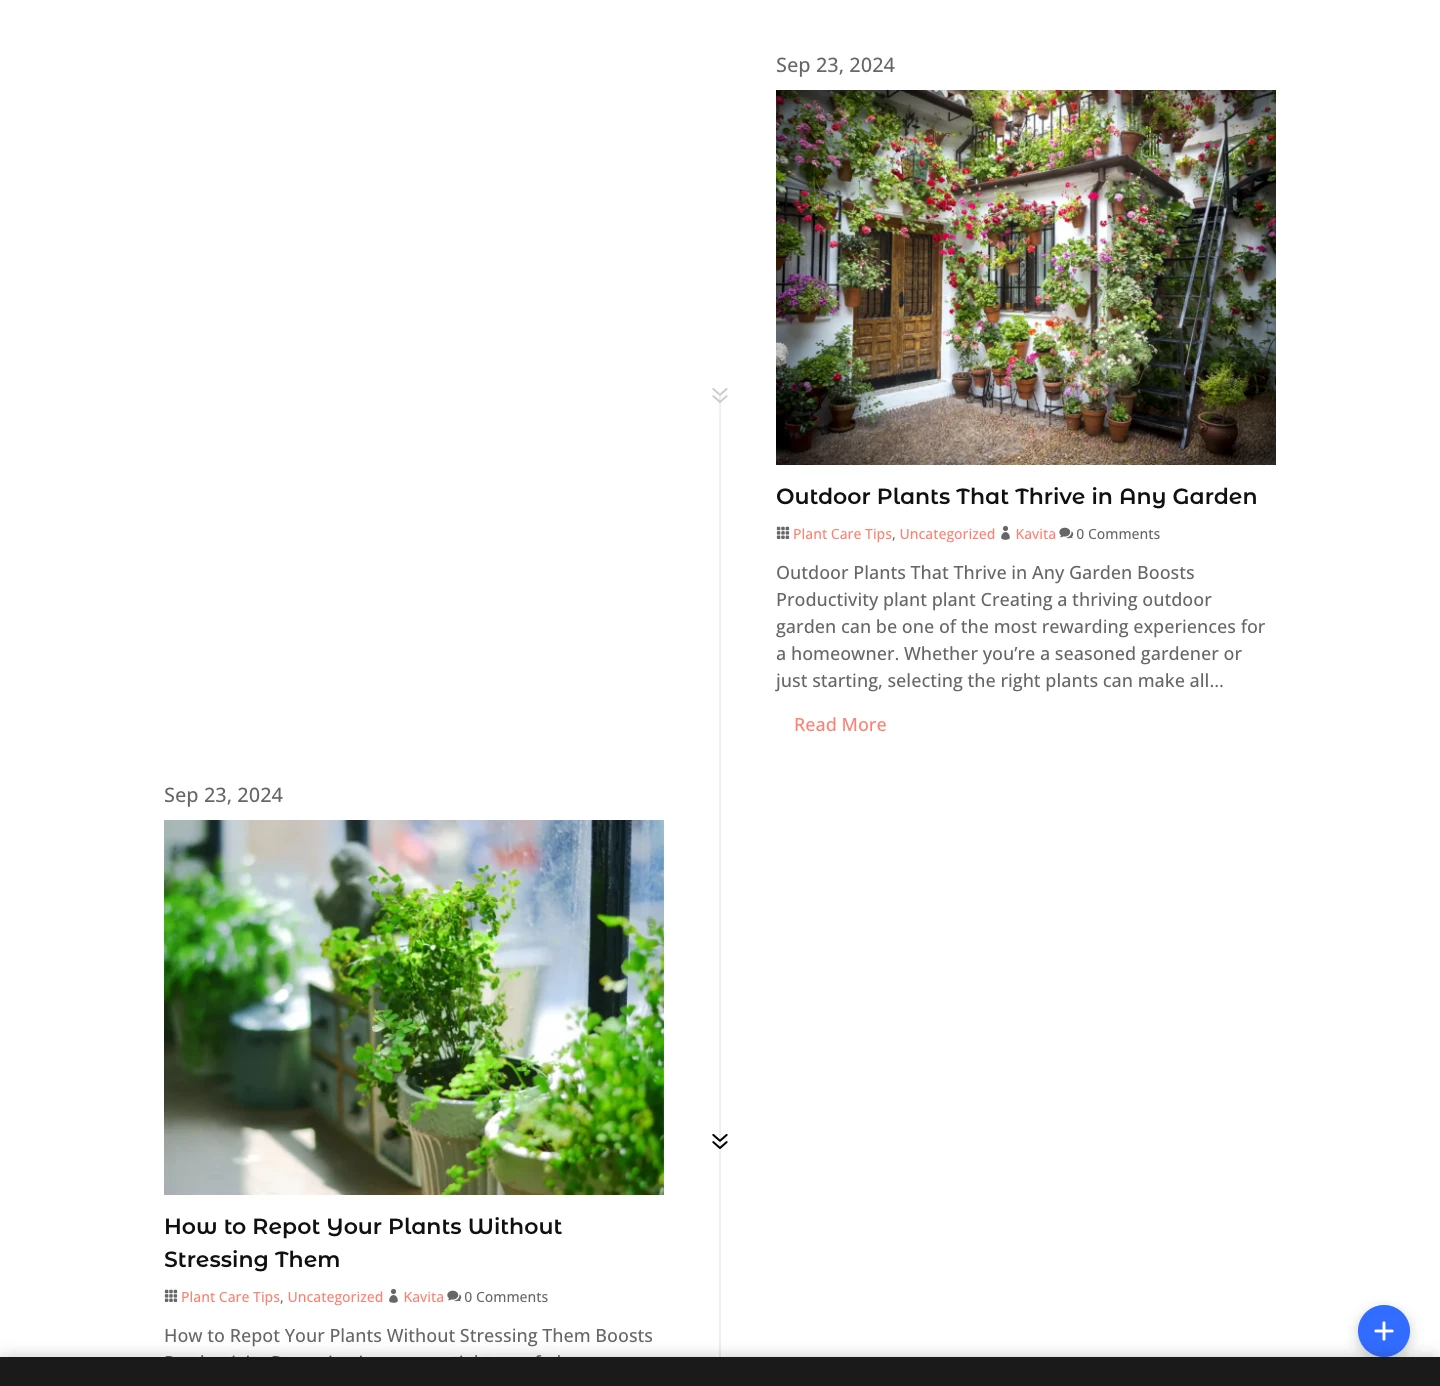
This page shows you how to add the Blog Timeline module to your page and explains every setting in its Content, Design and Advanced tabs, with screenshots. The Blog Timeline module lists your posts along a vertical timeline in several layouts. For more details, view the demo.
How to add the Blog Timeline module to your page
- Open your page in the Divi Visual Builder.
- Click the gray (+) icon inside a row to add a new module.
- Search for DP Blog Timeline in the module search box.
- Click the module to insert it. Its settings open on the right.
Content tab settings
The Content tab holds the module’s own settings, grouped in the toggles below. Link, Background and Element Label are the standard Divi options.
Layout
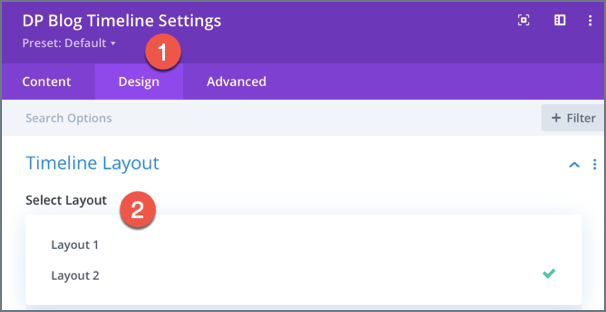
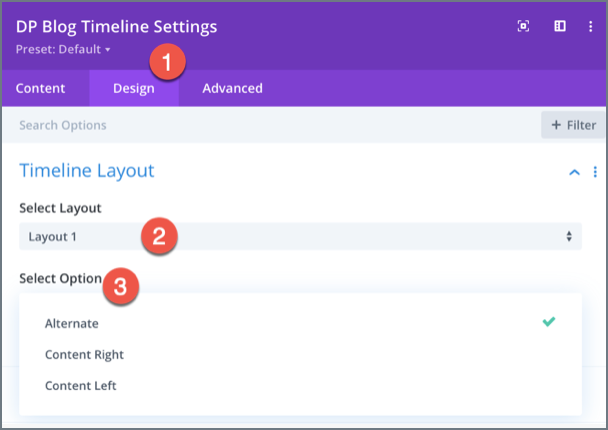
- Layout: Choose the layout for the timeline.
- Content Option: Choose the placement style of the timeline content.
Content
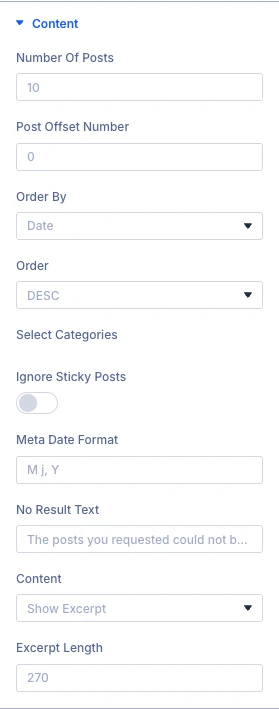
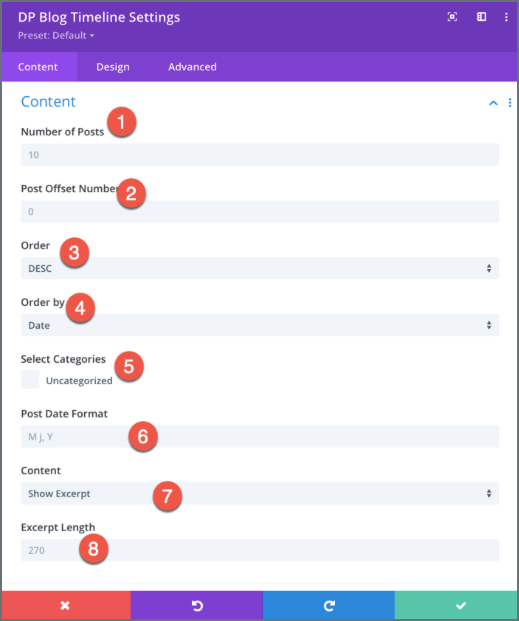
- Number Of Posts: Choose how many posts you would like to display per page.
- Post Offset Number: Choose how many posts you would like to skip. These posts will not be shown in the feed.
- Order By: Choose the order type of your posts. When random order is selected the pagination will not work. The selected order might not be visible exactly the same when masonry layout is being selected as in masonry the images rearrange on the basis of width and height.
- Order: Choose the order of your posts.
- Select Categories: Choose which categories posts should come.
- Ignore Sticky Posts: This will decide whether to ignore sticky posts or not.
- Meta Date Format: If you would like to adjust the date format, input the appropriate PHP date format here.
- No Result Text: Define custom no result text.
- Content: Showing the full content will not truncate your posts on the index page. Showing the excerpt will only display your excerpt text.
- Excerpt Length: Define excerpt length in characters, if 0 no excerpt will be shown. However this won’t work with the manual excerpt defined in the post.
Elements
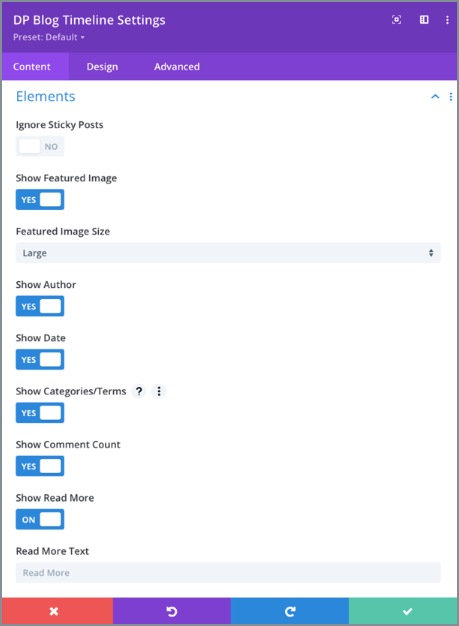
- Show Featured Image: Choose whether to show featured image or not.
- Featured Image Size: Select the size of the featured image.
- Show Author: Choose whether to show post author.
- Show Date: Choose whether to show post published date.
- Show Categories: Choose whether to show categories assigned to post.
- Show Comments: Choose whether to show comments.
- Show Read More: Define whether to show “read more” link after the excerpts.
- Read More Text: Enter the text for the read more link.
Design tab settings
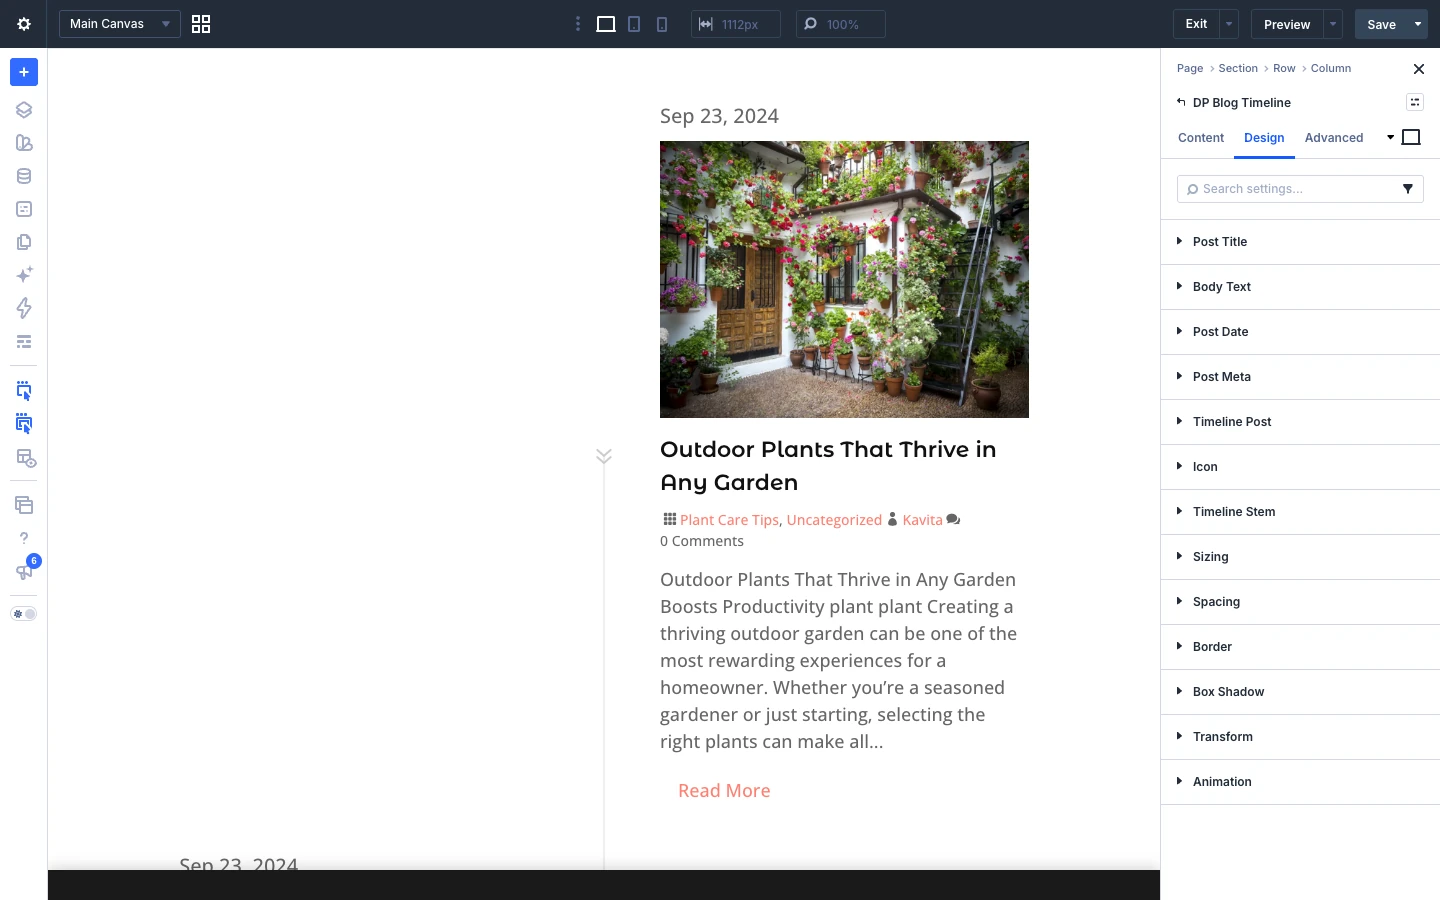
The Design tab lets you style each part of the module:
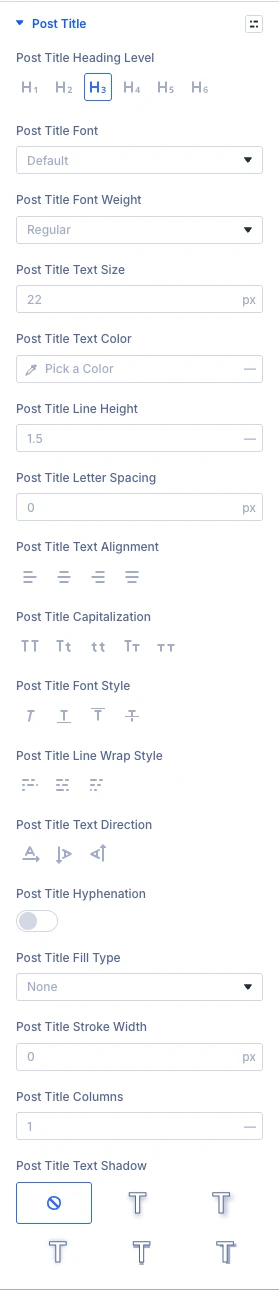
- Post Title: styling options for the post title.
- Body Text: styling options for the body text.
- Post Date: styling options for the post date.
- Post Meta: styling options for the post meta.
- Timeline Post: styling options for the timeline post.
- Icon: styling options for the icon.
- Timeline Stem: styling options for the timeline stem.
- Sizing, Spacing, Border, Box Shadow, Transform, Animation: the standard Divi design options for the whole module.

Advanced tab settings
The Advanced tab has the standard Divi options: Attributes (add a CSS class or ID), CSS, HTML, Conditions, Interactions, Visibility, Transitions, Position and Scroll Effects.