Perhaps you’ve created tilt images in Photoshop, but in Divi, you may find it tricky. However, the new Divi Plus module, Divi Tilt Image, could help you do that in a few simple steps. The Divi Tilt Image module is a premium, easy-to-use tool with different options to create your perfect tilt image in Divi. You could turn any image into a beautiful interactive image that tilts in different directions upon hovering on it. Moreover, with additional customization options, you could take its appearance to the next level for the highest engagements and use.
In this blog post, we’re going to overview this new module. We will see its features and how best you can use it to create a tilted image in Divi.
Content Tab & Its Options
Upon inserting the Divi Tilt Image module on your website, the first setting that appears is the Content tab. Here, you get Tilt Image, Content, Link, Background, and Admin Label settings.
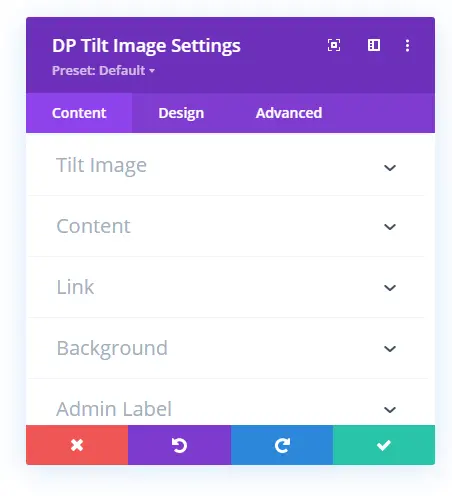
Except for Tilt Image and Content settings, the other 3 are just like the native Divi builder’s settings available in the content tab. Link settings allow you to insert a link to your image. The Background settings enable you to customize the image’s background with Color, Gradient, and an Image. And the Admin Label setting allows you to give your module a custom label to recognize in the builder as usual.
Tilt Image Settings
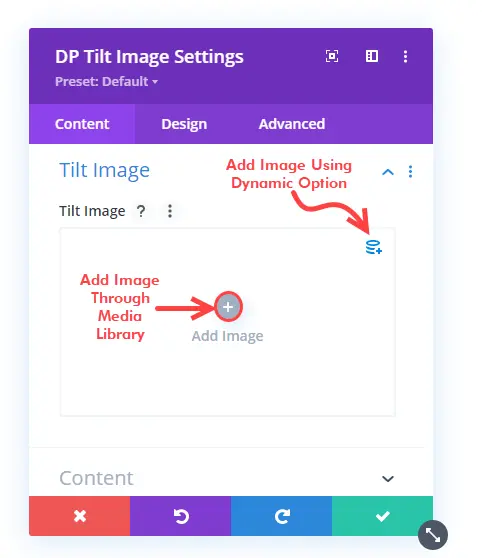
With Tilt Image settings in the Content tab, you could easily select an image for your Divi Tilt image. Using this option, you could directly add an image from the library. Or, you could select a dynamic image for it using the dynamic option.
Once the image is added, it will appear like the below screenshot in its full size with the Image Alt text input field in the settings. It looks beautiful the moment you add it to the module.
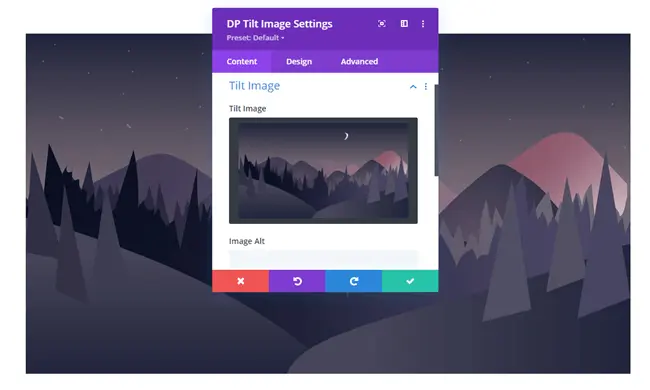
You could input the image alt text if you haven’t added it before in the media library. Otherwise, you can leave it as it is and move to the other setting, which is Content.
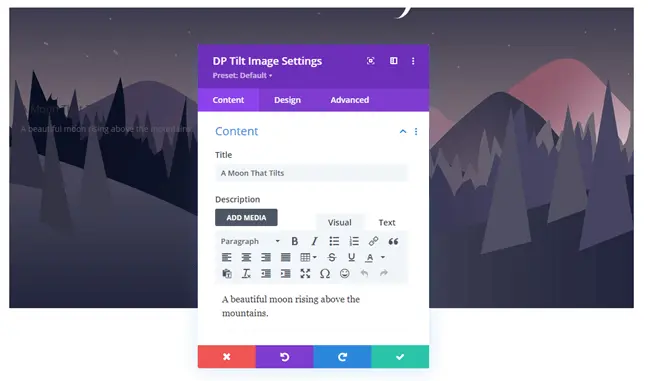
Content Settings
The first option you get in Content settings is to apply Title and Description to your Divi tilt image.
Furthermore, it allows you to add an Icon with a Read More button. You could select a custom icon as well as give a read more button its custom label also. Plus, you can also use the dynamic option to add the URL and open the link in the Same or New Window.
After choosing Icon and customizing read more button’s working; we’re set to head over to the Design tab.
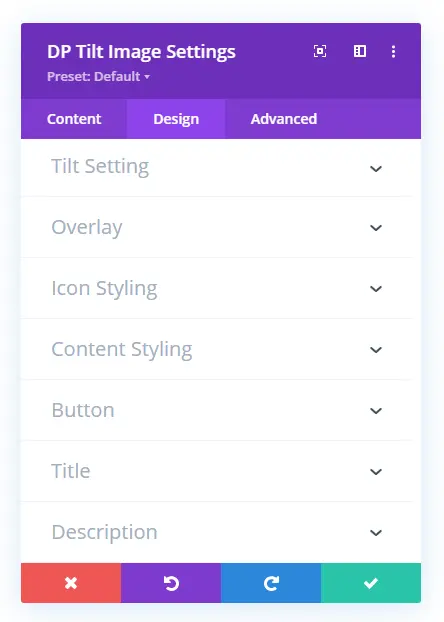
Design Tab & Its Options in the Divi Tilt Image Module
The Design tab of this module provides you with the following additional settings: Tilt Settings, Overlay, Icon Styling, Content Styling, Button, Title, and Description to enhance the tilt image’s appearance and work.
Let’s take a look at each of the options one by one.
Tilt Settings
Max Rotation
To make your tilt image alive and working this is the particular option you need to open and tweak. Here, you can adjust how much rotation you want to display on your tilt image, when the user hovers on it, by using the Max Rotation feature. In the below illustration, when I increase the value, the image tilts faster. Likewise, when I decrease the value it shows a little sign of tilt motion.
Perspective
Another option available in the Tilt settings, Perspective, allows you to enlarge or reduce the viewing angle of the tilted image. When I decreased the value of perspective in the below illustration, the tilted image turns more than when I increase the value.
Scale on Hover
In addition to these, the Scale on Hover option makes the tilted image zoom in according to the value. The higher the scale number you’d enter, the more it will zoom in.
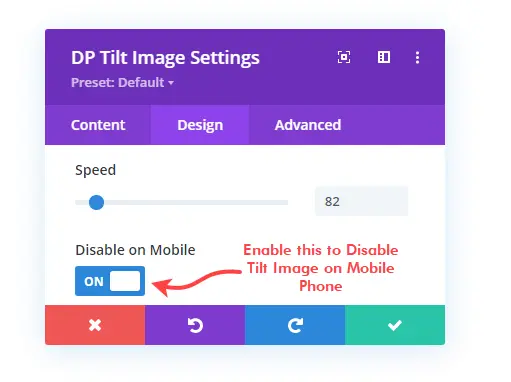
Speed
After Scale on Hover, next comes the control to increase or decrease the tilted image’s transition Speed when the mouse enters or leaves the image. The lower the value, the faster the image would become tilt and goes to normal upon bringing the mouse over the image and taking it back. Similarly, the more value you’d add to the Speed option, the slower the image would become tilt and goes to normal.
Disable on Mobile
Furthermore, it also allows you to disable tilt image on mobile using the Disable on Mobile option. As on a mobile phone, users don’t have a cursor to scroll over an image. So, there’s no use of a tilted image. However, you can keep tilt image for mobile if you need; it won’t create any problem.
Glare
If you want to add a shade of light on the image every time the user hovers on it, then using the Glare option, you could easily do that.
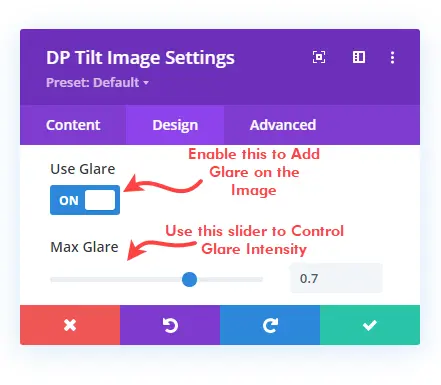
It puts a shine on the image with high intensity where the user’s mouse pointer touches the image. Plus, it follows the movement of the mouse and makes it look rich and alive. Furthermore, using the Max Glare option, you can control its intensity. The higher the value, the more glare the Divi tilt image would have. If you enter a low value, then you’d get a low-intensity glare on the image.
3D Effect
The 3D Effect option available in the Tilt Settings allows you to create depth between the image’s elements and the image itself. The elements like icon, button, and content would look as if they are coming out of the surface. With 3D Effect, the rule applies the same — the more value you’d assign to it, the greater the 3D effect would become.
Disable Tilt Image Funtion on Y or X Axis
The last feature available in the Tilt Settings of the Design tab is to disable the functioning of the tilted image on the X and Y-axis. By enabling Use Disable X/Y axis, you can apply this particular function. It provides you with two more options Y Axis and X Axis.
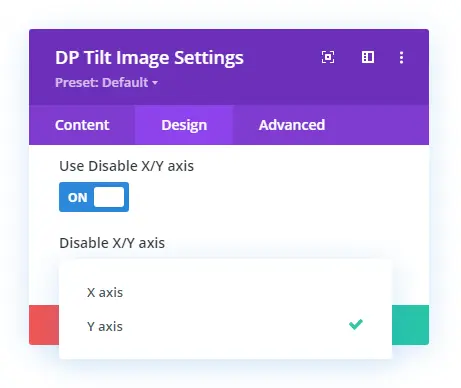
When you enable this option for the Y axis, the tilted image stops functioning for the horizontal view. And when you choose the X axis, it stops working for the vertical view, the same as the below illustration.
Overlay
Once you’re done with all the Tilt Settings, the next option available for you to apply on the Divi tilt image is the overlay color. To do that, all you have to do is, go to the Overlay settings, enable Image Overlay, and choose the preferred color from the Overlay Color option.
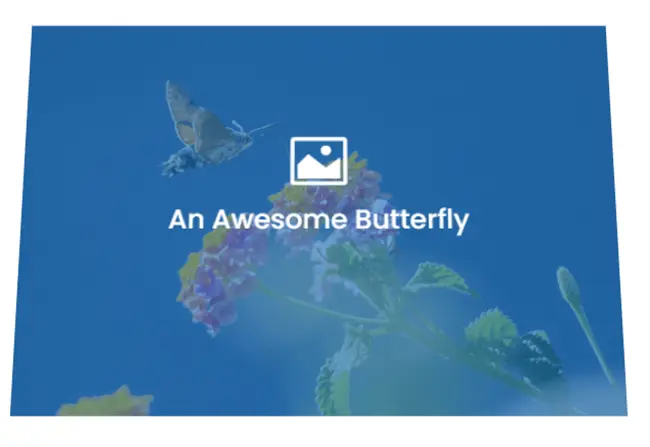
Your chosen overlay color will appear on the image, just like the above screenshot. It has an overlay color of hex code #0c71c3 with a medium transparency rate.
Icon Styling
The Icon Styling settings available in the Divi Tilt Image module allow you to change your tilt image’s icon and its color and size. According to the requirement of your website designing, you can apply changes to the tilt image icon and make it suitable for website’s look and feel.
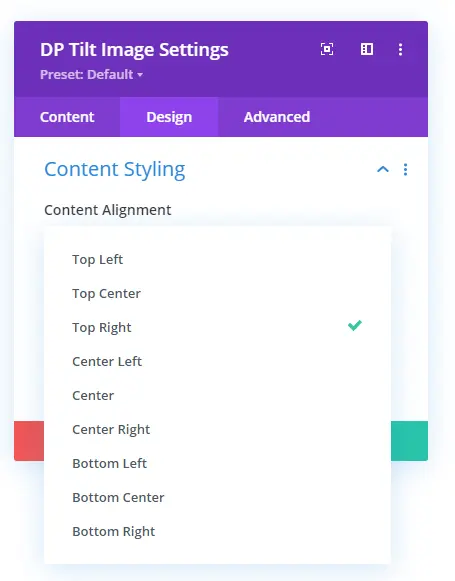
Content Styling
With this particular setting, you can change the placement of your tilt image’s element on serval locations as well as apply entrance animation to them. The Content Alignment option available in this setting provides up to 9 locations to place the image’s elements.
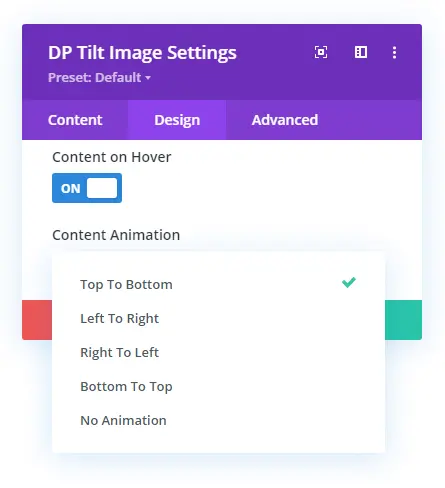
Moreover, by enabling Content on Hover, you get 4 different entrance animation effects that you can apply to the image’s elements. It gets activated on hover, and according to the animation effect, the element appears on the image from different directions.
Button Customizations
The Button settings available in the Design tab of the Divi Tilt Image module play a significant role to customize the button of the tilted image in Divi. It provides you with all the tools that can tweak an image’s read more button at a high level. Using this option, you could change the button’s size, apply different button text colors. Add icon on hover, and much more without any extra effort.
Title Customizations
With Title settings, you can change the appearance of your tilt image’s title. The setting includes all the text customization options such as Font Size, Font Type, Title Color, Title Alignment, etc.
Description Styling
Just like the Title settings, the Description settings of the Divi Tilt Image module allow you to enhance the appearance of your tilt image’s content. It includes all the text customization options to perfectly blend the content with the image’s look and feel.
Enhance Divi Tilt Image With Other Native Options
The above was the premium features of the new tilt module of the Divi Plus plugin. That are easy to use and effective to turn an image into a beautiful and interactive tilt image. All the options are enough to bring novelty to the image. However, there’s scope to enhance their look and feel, which you can do easily by incorporating features of the Divi builder’s native settings.
With them, you could apply border-radius to the entire image. Apply entrance animation effect to the whole image. Or even make it sticky with the Scroll Effects in the Advanced. So, if you want to create tilt images in Divi that look rich and active, this module is the right choice for you. If you haven’t got the Divi Plus plugin, go and get it today to make the most out of your Divi designing. Because with a single Divi Plus plugin, you get over 50+ modules, 4 extensions, 50+ starter templates, 200+ section blocks, and multiple Divi child themes for free.


0 Comments