
Moving website background with particles in it looks amazing to most of the eyes. It provides website visitors a sense of novelty and the touch of modern website development. Nevertheless, a particle background is something that you can’t add to your Divi theme website using the native modules. Therefore, in this tutorial, we’ll check out and follow some easy steps to add Divi particles background using a particles javascript and a premium plugin as well.
So, without any delay, let’s get started and create our cool particles background in Divi.
Adding Particles Background in Divi Without a Plugin
Step 1: Create a Divi Child Theme
If you’ve not created a Divi child theme, then it is a must that you should do that to add Divi particles. Because to add particles background, we’re going to use some custom particles JS. Plus, we’ll also add custom code in our theme’s functions.php. Therefore, it’s best advised that you put the code in a child theme. So, when an update comes, you won’t lose your code and, with that, the particles background, too.
You can either create a Divi child them by this Elegant Theme’s Divi child theme creation tutorial. Or, you can get a Divi child theme from our store according to your business domain.
Once created or downloaded and activated the child theme, move on to the next step to add Divi particles background on your website.
Step 2: Add Particles JavaScript in Your Child Theme Files
Now, go to your child themes directory using an FTP client or through hosting providers. Then, upload the particles.min.js file in it. Use this link to download the particles.min.js file. After the file is added, save your changes.
Step 3: Add Custom JS Code File in Your Child Theme
To enable the particles.min.js file to work on your website, you need to upload another file in your Divi child theme, i.e., Custom JS code. Use this link to download the custom JS code file. After downloading the file, upload it and save your changes.
Step 4: Enqueue the Divi Particles Background Files
Once both the files have been added to the child theme successfully, we need to enqueue them in functions.php. And to do that, paste the following code in your functions.php,
if( !function_exists('de_enqueue_script') ) {
    function de_enqueue_script() {
        wp_enqueue_script("jquery");
         wp_enqueue_script( 'particles-js', get_stylesheet_directory_uri().'/particles.min.js' );
         wp_enqueue_script( 'de-js', get_stylesheet_directory_uri().'/custom.js' );
    }
    add_action( 'wp_enqueue_scripts', 'de_enqueue_script' );
}
Save your changes after writing the above code, and follow the next step.
Step 5: Add Custom CSS in Divi Theme Options
On your WordPress Dashboard, go to Divi → Theme Options → Custom CSS, and paste the following code,
#de-particles .particles-js-canvas-el {
position: absolute;
left: 0;
top: 0;
}
That’s it; we’ve added particles background in our Divi theme without using a plugin. Now, to apply on a particular section, row, column, or module, all you have to do is assign the Custom ID as de-particles. Once you’ll do that; the particles background will appear like the below illustration,
Looks good right? Now, let’s create our Divi particles background using a premium plugin.
How Add Divi Particles Background Using a Plugin
The following steps will help you successfully add Divi particles background on your website’s different areas using a 3rd party plugin that provides you with different useful features and options.
Step 1: Things required
To add particle motion to your Divi theme’s background with the help of a plugin, first, you need to get the Divi Plus plugin.
It’s a multipurpose Divi plugin that includes over 50+ modules, 04 extensions (including the Particles Background extension), and a lot more features to help you build an outstanding website in no time. Once installed and activated the plugin, move to the next step to add particles background without any extra effort.
Step 2: Activate the Particles Background Extension
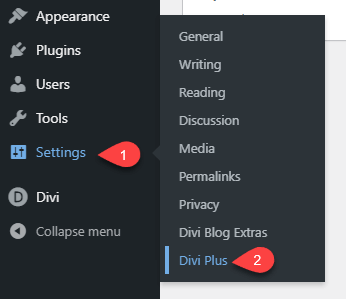
On your WordPress Dashboard, go to the Settings → Divi Plus.
Then, head over to Extensions → Particle Background → tick the checkboxes where you’d want to add the interactive background with particles. For this tutorial, I’ve ticked all the boxes.
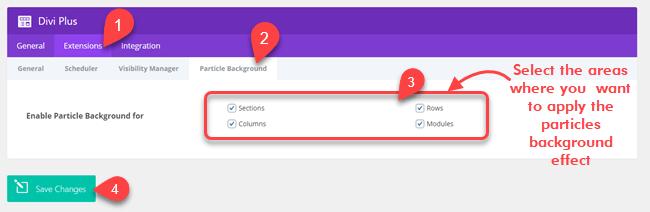
Once selected the required option in the Particle Background panel, click Save Changes and move to the next step.
Step 3: Add Particles Background
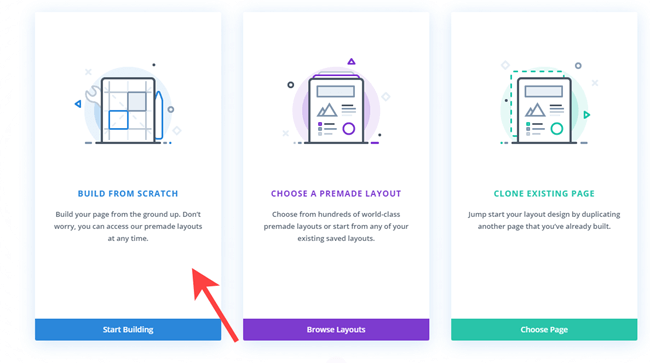
Create a new page or edit the existing one. Then, choose to build with Divi Builder and BUILD FROM SCRATCH.
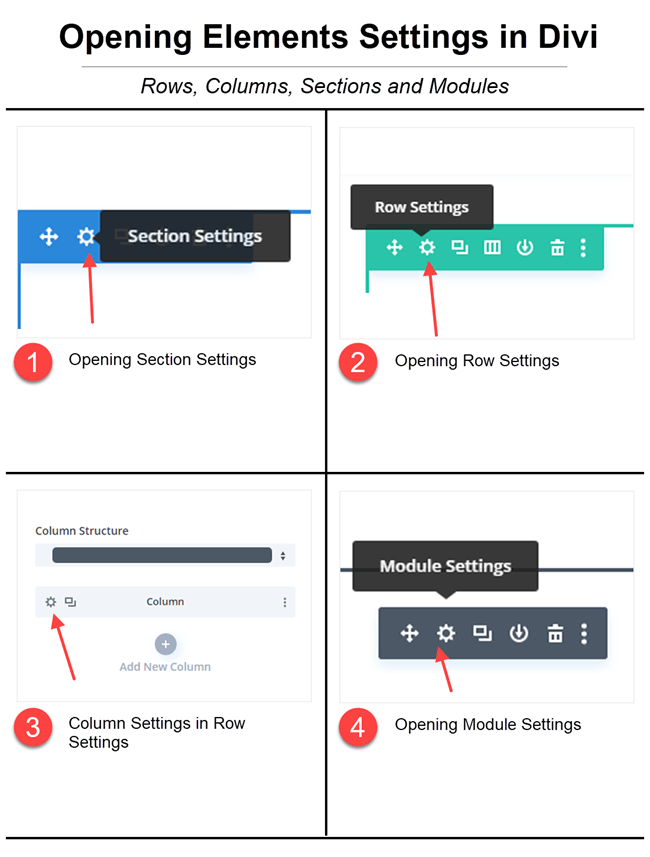
Whether you want to add Divi particles background to your sections, rows, columns, or modules, you need to open their settings by clicking the (⚙) gear icon.
Then, in the Content tab, go to the Background settings, and click Enable Particle Background.
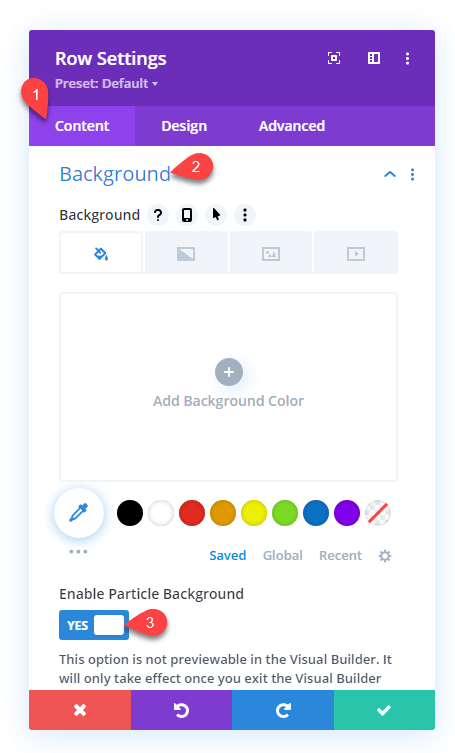
That’s it; you’ve successfully added particles background on your desired location on the page. But, you’re not done yet, because once you enable the particles background option, it will open multiple options to customize it further. So, you can tweak it according to your website’s look and feel and make it perfectly fit the design.
Step 4: Customize Divi Particles Background
Upon enabling the particle background feature, the first option you get is the Particle Type, which allows you to change particle shape in the background moving particles effect.
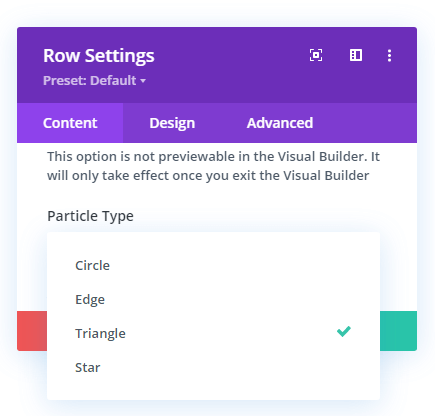
The option currently has 4 four types of particles: Circle, Edge, Triangle, and Star. The following illustrations depict how each of the particle types looks in the background.
Circle Particles Background
Edge Particles Background
Triangle Particles Background
Star Particles Background
What looks more good to you, you can choose that particle background and apply it to your site.
• Particles Size, Density, Number and Color
Once you’ve selected your particle type, you can customize it even further to get the best result with Particles Number, Density, Size, and Color options available in the extension.
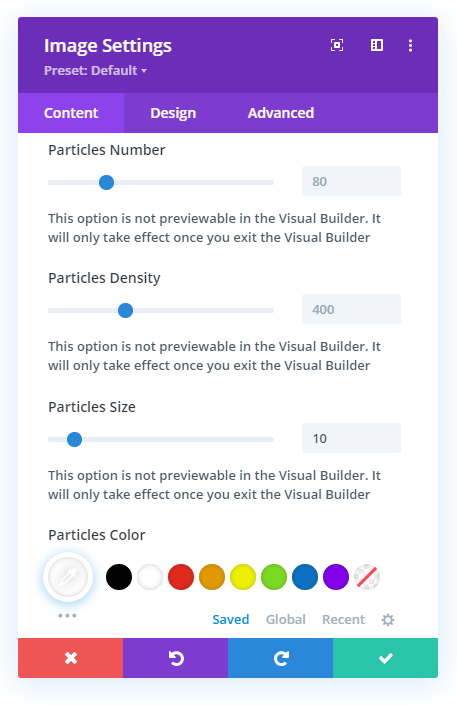
The Particles Number option increases the number of particles in the background as the name suggests, and you check out in the below illustrations. With Particles Density, you can increase the closeness between the particles. The Particles Size option allows you to make your background particles look big and small according to the requirements. And the Particles Color option makes it possible to bring some colors joy to your moving background particles to make them really good and attractive.
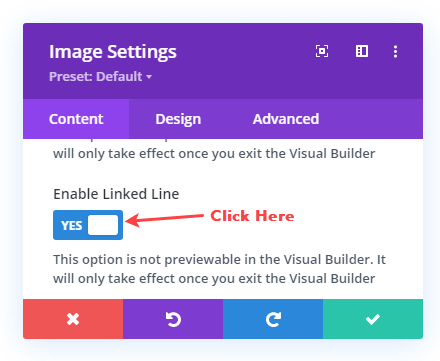
• Particles Linked Line
The moment you enable the particles background option, your background effect by default becomes active with particles interconnected with a line that feels like a web created using different particles. But you can manually turn it off & on again using the Enable Linked Line option.
Once it’s enabled, it provides you with two more options to improvise the look of the linked line.
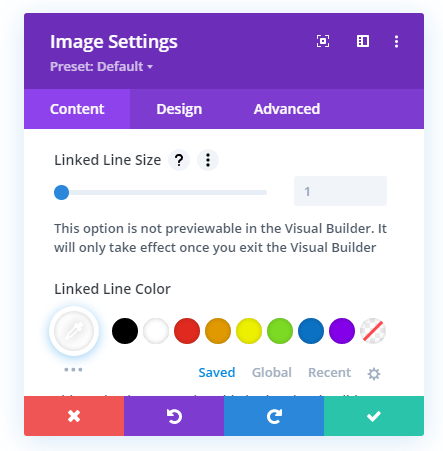
The Linked Line Size enables you to increase or decrease the thickness of the line. And the Linked Line Color option makes it possible to change the line’s color to match perfectly with the particle’s background.
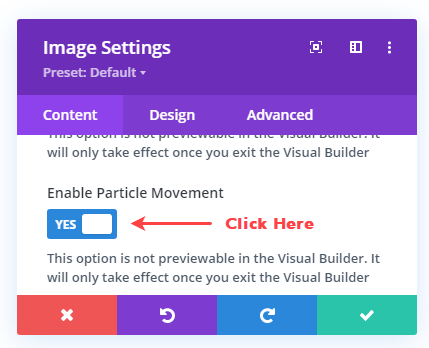
• Particles Movement
Just like the Linked Line, when you enable the particles background, the movement between each particle gets active by default, but you can disable or enable it by using the Enable Particle Movement.
Once it’s enabled, it provides you with different options to enhance the particles’ movement. The first option available in this feature is to change particles’ moving direction. The available directions are Top, Bottom, Top Left, Top Right, Bottom Left, and Bottom Right. According to the requirement, you can select one from the above options.

The next option that comes after the direction is to customize the movement of the particles by increasing or decreasing their speed. And you can do that by entering the value or moving the slider of the Speed option. To improve your Divi particles background functionality, what you can do is apply an interactive effect on them. For example, when you hover or click on the particle’s background, they either move in another direction or get completely deleted. With Divi Particles Background extension of Divi Plus, you can do it easily.
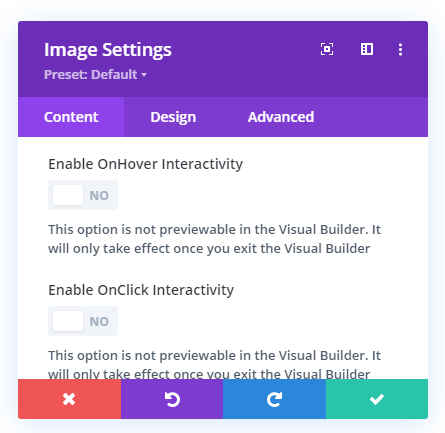
If you want to apply an interactivity effect on hover, then check Enable OnHover Interactivity. Or if you want those particles to show interactivity when users click, then check Enable OnClick Interactivity. Both the options come with different interactivity effects; the Hover Mode has three interactivity effects,
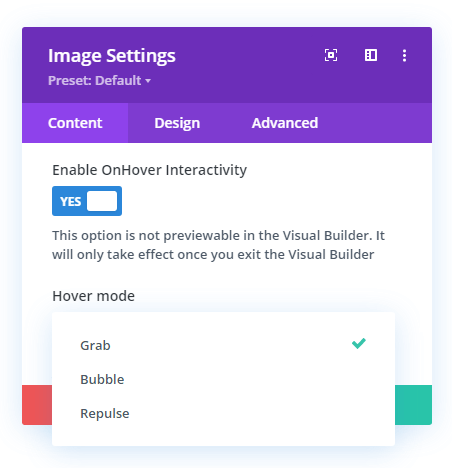
- Grab – When you hover on the particles, a particular linked line will be grabbed and moved according to the mouse pointer.
- Bubble – The particles will get intensified.
- Repulse – It makes the particles drive back with force.
Here’s how the onHover interactivity effects work on the particles background,
Repulse OnHover Interactivity Effect
Similarly, the Click Mode has four interactivity effects,
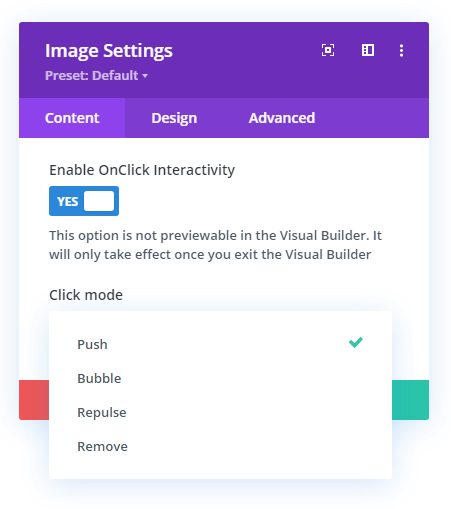
- Push – Drives the particles away when clicked.
- Bubble – The same effect as hover but when clicked.
- Repulse – The same effect as hover mode but when clicked.
- Remove – Completely removes the particles on the particular area where the user clicks.
With this, you get more options to enhance these interactivity effects like,
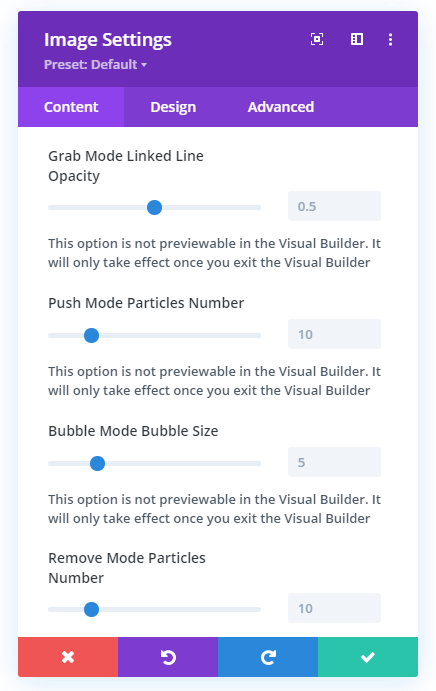
- Grab Mode Linked Line Opacity – It enables you to make the grabbed lined dark or light.
- Push Mode Particles Number – Using this option, you can define how many particles should go away when hovered or clicked on the particles background.
- Bubble Mode Bubble Size – Use it to increase or decrease the intensity of the bubble interactivity effect.
- Remove Move Particles Number – Using this option; you can define how many particles should get removed when hovered or clicked on the particles background.
So, these all are the options and features available in the Divi Particles Background Extension of the Divi Plus plugin. Once customized all the options according to the requirements, you’d be able to get the perfect Divi particles background on your website’s Row, Column, Section, and Module.
Wrapping Up
Above, I mentioned how to add Divi particles background using a plugin and without a plugin. The one is to allow you to add a touch of particles in the background. At the same time, another (Divi Plus Particles Background Extension) helps you maximize the use of Divi Particles. So, according to your requirements, you can choose the best.
However, if you go with the Divi Plus option, then you’d not only get the Divi particles background extension but many other useful features. So, if you haven’t got the plugin yet, then go now and make it yours today without any delay for an enhanced Divi web designing experience.
That’s it, happy Divi Web Designing. If you face any trouble while adding the particles background using the above methods, please let me know in the comments; I’d be more than happy to assist you.


Hi,
great article! I found an issue about the “without plugin version”.
Indeed, if you create two sections with the ID “de-particles”, the “canvas” is added only to the first section, so the particle effect won’t show on the second section, or following sections.
How it can be fixed? Thanks