With the Divi theme, you get multiple features and customization options that you can apply to your website. It provides you a hand full of modules that takes designing a website to a whole new level. And the Divider module available inside the Divi module library is one of them. It gives users the ability to add a horizontal line among various sections of a page. Plus, a couple of designing options, which makes it useful.
But to get the best out of it or if you want to make the divider look more beautiful & attractive, then you have to write custom CSS and do some extra work. And it could be a time taking task if you’re new to designing.
Therefore, in this blog post, we’re going to look at a new module called Separator, which is part of the plugin Divi Plus. It’s a powerful multipurpose plugin with multiple Divi modules. This plugin allows the users to create Divi breadcrumbs, heading text, fancy text, and before and after slider.
Now, let’s create some appealing separators.
Steps to create beautiful Divi separators
To create unique separators on your Divi based website, you need to purchase the plugin Divi Plus here. Once purchased, download and install the plugin into your WordPress site. Also, don’t forget to activate the plugin. Once all done what mentioned, you’re good to create the Divi separators or dividers.
Step 1: Add the separator module to a page
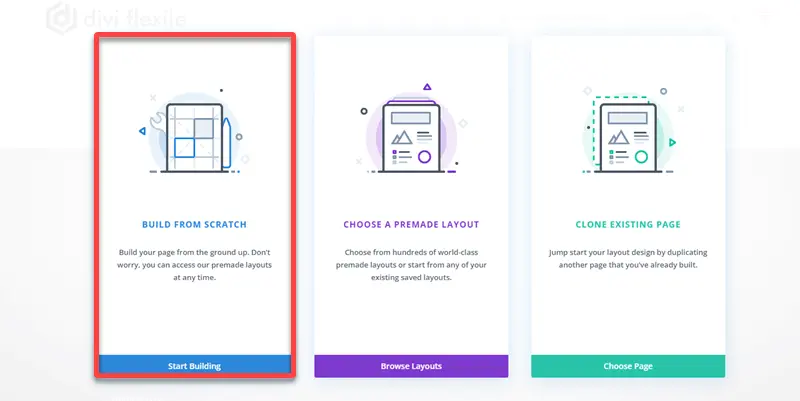
After successfully installing and activating the plugin, create a new page, or edit the existing one, where you want to add separators. Choose “Build On The Front End,” and then build from scratch.
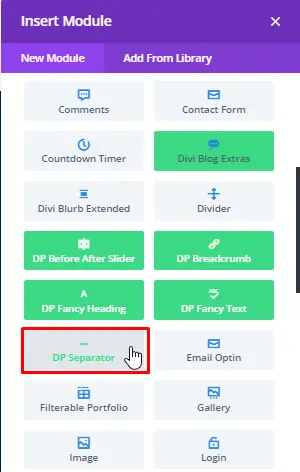
Once the builder loads, add a new row and then from Divi modules library add DP Separator module.
Now, move on to the next step, which is choosing separator styles and content.
Step 2: Select separator content
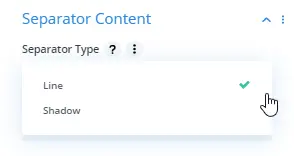
Inside the content menu of the Divi Plus Separator module, you get the option to choose separator types. There are a total of 2 separator types at the moment, Line and Shadow.
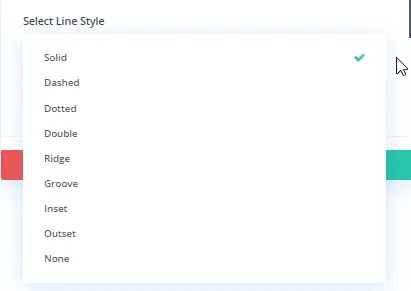
If you choose line type, then you get the option to select line style from a total of 8 line styles available.
Moreover, the line style gives you the option to use it with text or an icon.
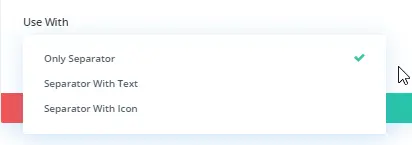
Step 3: Customize separator style
Once you’ve selected the line type and styles, you’re ready to customize the separator in the design menu.
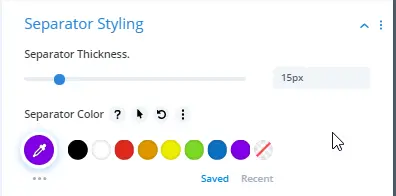
Separator Styling
Inside the design menu, you can customize the separator style. This feature allows users to change the thickness and color of the separator.
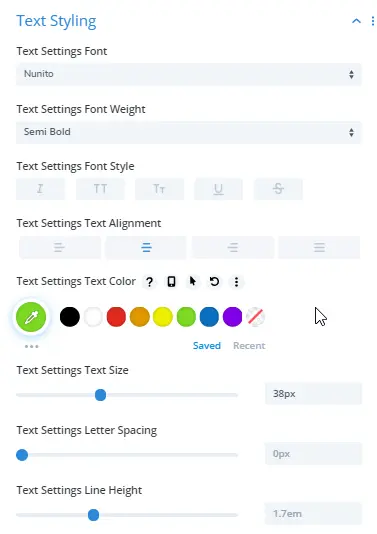
Text Styling
If you’ve chosen the separator with text, then the Text Styling option gives you the ability to customize the text elements, such as font, alignment, size, color & more.
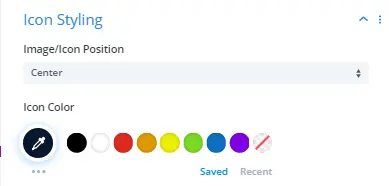
Icon Styling
When you choose separator with icon, then DP Separator gives you an abundance of options to customize the separator icon.
More features, or we can say options available to customize the icon if you want to apply. Such as icon font size, icon shape, background, and border.
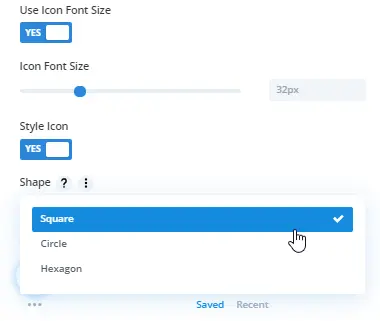
There are a total of 3 available icon shapes to choose from that are Square, Circle, and Hexagon.
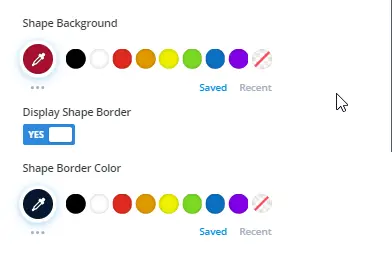
You can also apply shape background, shape border, and color.
Divi divider examples created using separator module
Below are some of the Divi divider examples created using the separator module of the Divi Plus plugin.
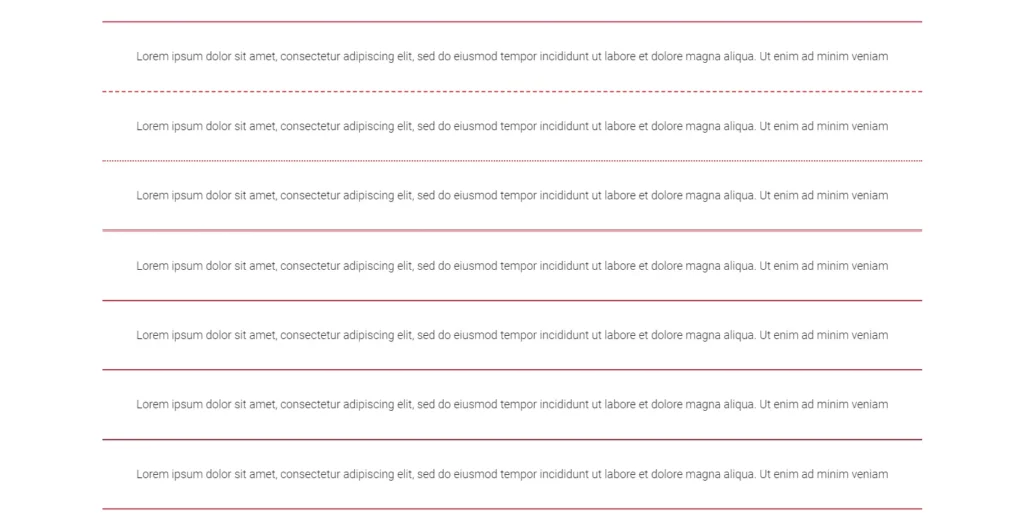
Divi divider made using 8 separator line styles

Separator Line With Text

Divi divider example with positioned icon, and icon shape with color.
Summary
In this blog post, I’ve shown you all the features of the Separator module comes with Divi Plus. And what’s possible to design using this module. Therefore, if you want to create awesome separators for your website, then go and purchase the plugin Divi Plus. And for your good, I want to remind you again that this plugin got multiple modules that are very useful. So, don’t wait and try the plugin now.
If you’ve already tried this module or Divi Plus plugin, then let us know what you think about it in the comments.




Awesome tutorial, just I was looking for 🙂