Divi Extended recently released the 1.9.0 version of the multipurpose plugin Divi Plus. And in this tutorial, we’re going to discuss one of its parts — the Blog Timeline module. Using this module, you can easily create vertical timelines for blog pages with different options. Like, show featured images, ignore sticky posts, change blog timeline layout, and more.
For Divi designers, archive or blog pages with significant change other than the native look helps a lot to bring uniqueness to the site. And with the help of this new blog module, it’s easy to achieve.
Without any delay, let’s check out this new blog layout module and its features.
Things To Do First
The Blog Timeline module is part of the premium Divi Plus plugin. Therefore, to create a blog page with posts lied in a vertical timeline we need to get this plugin. Divi Plus is a multipurpose plugin with over 50+ modules that allows Divi designers to achieve creative and complex designs easily.

In addition, it also includes multiple extensions, free child themes, starter templates, and over 250+ design blocks. So, without spending extra time even with Divi Plus intuitive modules, you can easily create highly engaging and beautiful websites. It’s available on both Divi Extended store and Divi Marketplace; as per your convenience, you can get it from you like.
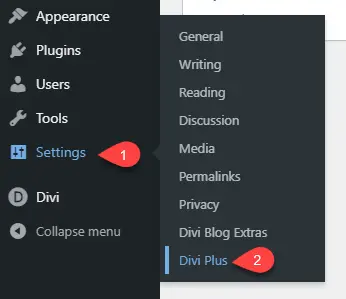
Furthermore, after getting this plugin, you need to install and activate it just like a regular plugin. Then, after activation, go to the Settings on your WordPress Dashboard → Divi Plus.
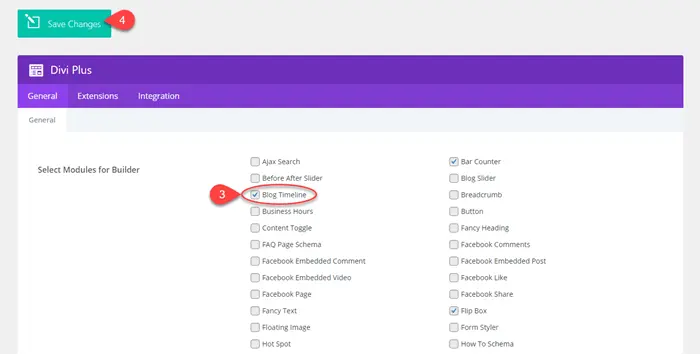
It will open the plugin’s module panel. Here you need to enable the Blog Timeline module and then click the Save Changes button.
Now, we’re all set to create our beautiful blog timeline in Divi.
Insert Divi Plus Blog Timeline Module
Create a new page or edit an existing one. Deploy Divi Builder and add a new row and insert the DP Blog Timeline module.
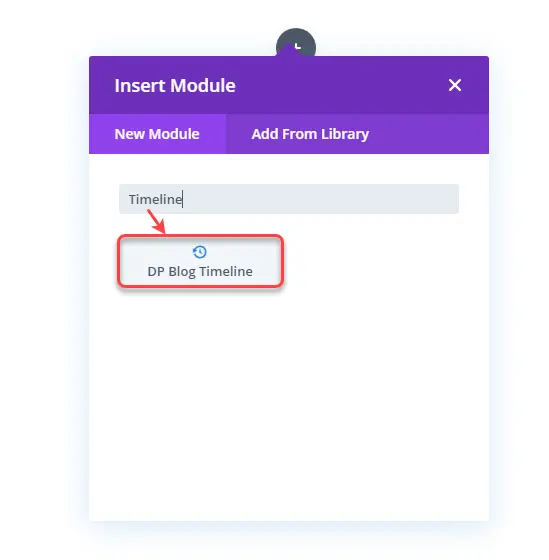
As soon as you insert the blog timeline module on your Divi Builder canvas, it opens the module’s Content tab plus blog timeline with its default layout.
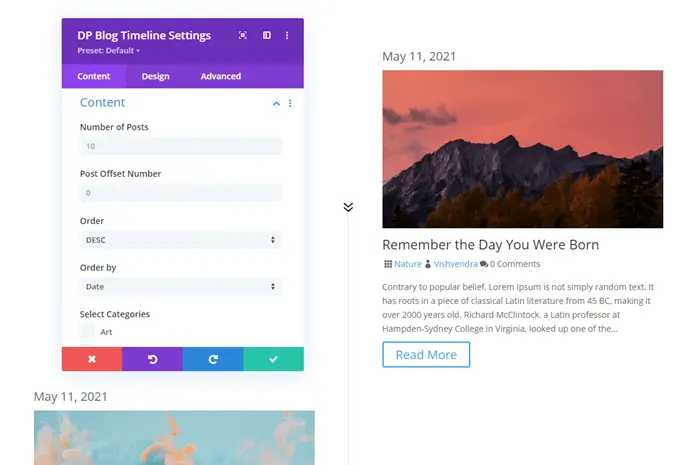
Let’s explore the Content settings in detail; what are the options and how you can utilize them on your Divi blog timeline page.
Blog Timeline Content Customizations
In the Content tab of the module, the following additional settings are available.
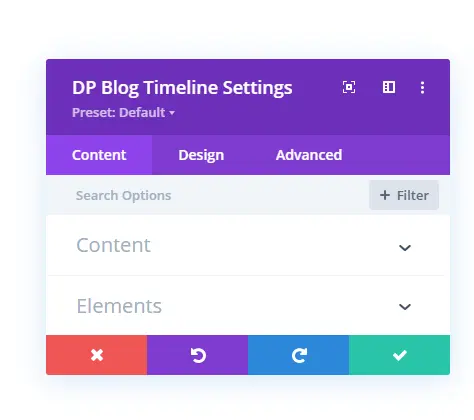
Each contains further options to apply to the post’s timeline and its different elements. Like the featured image, meta description, and more. These options will enable you to enhance the functionality of your post timeline even more and allow users to interact with them more profoundly.
Content Settings
In the Content settings of the Content tab, you get numerous options to define the quantity, category, and sequence of the posts in the timeline. To improve content accessibility, these options are the perfect fit for your blog page.

- Number of Posts – Under this option, you can define how many posts you want to display on the blog post timeline.
- Post Offset Number – It enables you to hide starting ‘N’ number of posts. For instance, if you set this to 3, then the first three posts will be hidden.
- Order – It provides you with the option to order blogs posts in the timeline in Ascending and Descending order.
- Order by – To further simplify your blog posts order in the timeline, the Order by option provides you with multiple choices to sort the order. The order by choices are Date, Modified Date, Title, Slug, ID, Random, Relevance, and None.
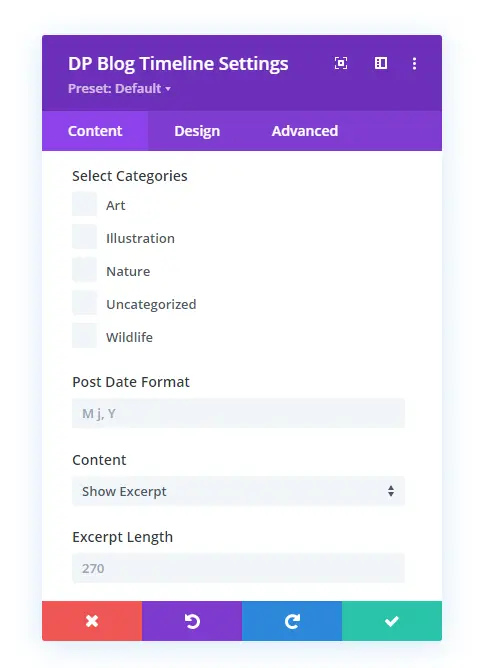
- Select Categories – What category post you want to display under this option you can decide that. If none are selected, then the module will display posts from all the categories.
- Post Date Format – Based on the WordPress Date and Time Formatting, you can choose to change the date format of your posts in the timeline.
- Content – If you want to display full content, then you can use Show Content. Otherwise, the default setting will display an excerpt of the post.
- Excerpt Length – It allows you to set the length of the post excerpt easily.
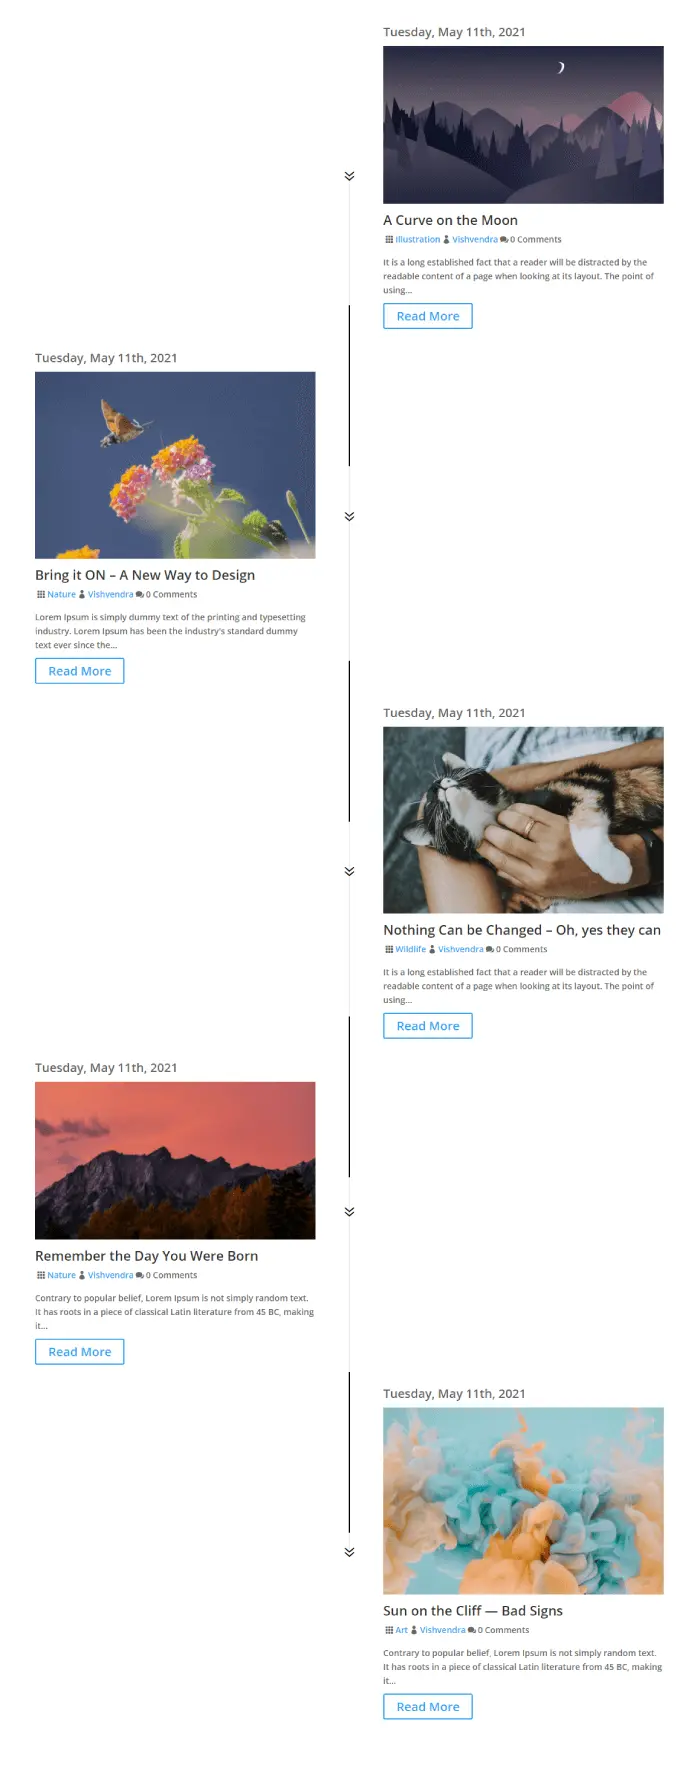
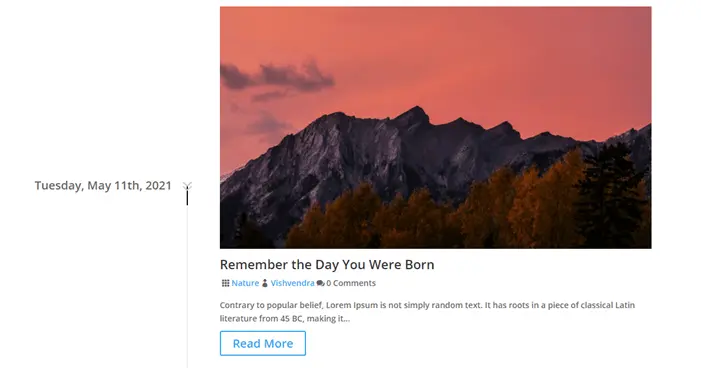
In the following screenshot of the blog post timeline, I’ve set 5 as the number of posts in ascending order. Ordered by title having date format as l, F jS, Y and excerpt length at 150 characters.
Elements Settings
To show more information and make your post timelines informative, the Element settings are what you need to go for. It includes multiple toggles to simply allow you easily turn ON and OFF particular elements on the post of blog timeline. The options are as follows,
- Ignore Sticky Posts – If you’ve assigned sticky posts but don’t want to display them as sticky in the timeline, then using this option, you can do that easily.
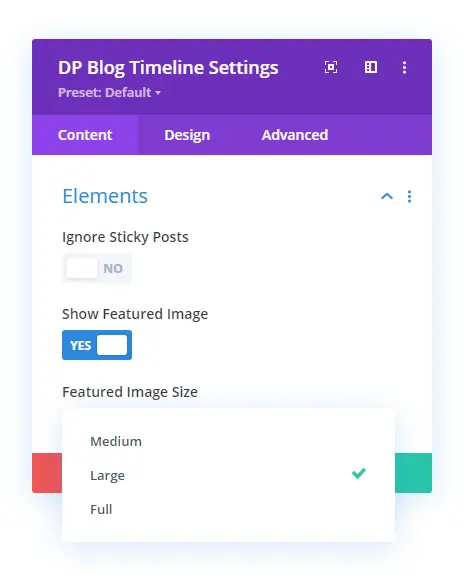
- Show Featured Image – Whether you want to display the featured image or not, it allows you to define your choices.
- Featured Image Size – If you choose to display a featured image, you can define the rendering dimensions of the image using this option. It allows you to render featured images of Medium, Large and Full size.
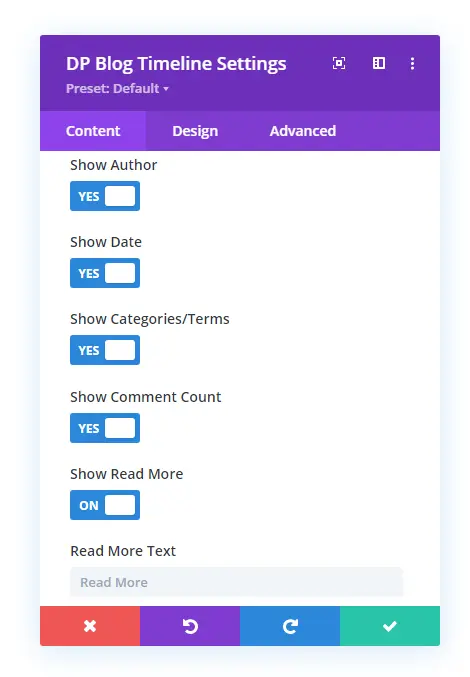
- Display Author – By default, when you insert the Blog Timeline module, it displays the author name on the post. However, you can hide that using the Show Author option. Simply check it to NO. And switch it back to YES to start displaying the author’s name again.
- Display Date – Likewise, Show Author option, you can choose to display or hide the date on the post using the Show Date option.
- Show Categories/Terms – It allows you to hide or display category/terms on the post.
- Show Comment Count – It allows you to hide or display comment count on the post.
- Display Read More – If you want to display the Read More button on your blog timeline posts, you can do that using the Show Read More option.
- Read More Text – It allows you to set custom text for your read more button.
Those were the options available in the Content tab of the module that allows you to make blog post timelines more informative as well as accessible. However, the way it’s crucial to make archive pages informative and accessible, the same way it’s essential to make them appealing. Therefore, to improve blog timelines style, the module hosts design options. And the next segment, we’ll explore those options to improve our blog post timelines look and feel.
Blog Timeline Design Customizations
To improve the look and feel of the blog post timeline, the module contains the following options. By utilizing these options, you could easily enhance the look of your post timeline and engage users better.

Timeline Layout
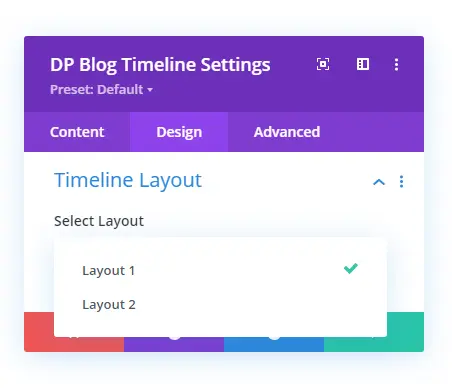
By default, the Blog Timeline module display posts under Layout 1 with its Alternate version. But in general, it includes two timeline layouts that further offers multiple variations. Using the Timeline Layout settings in the Design tab, you can easily change the view of your Divi blog timeline.
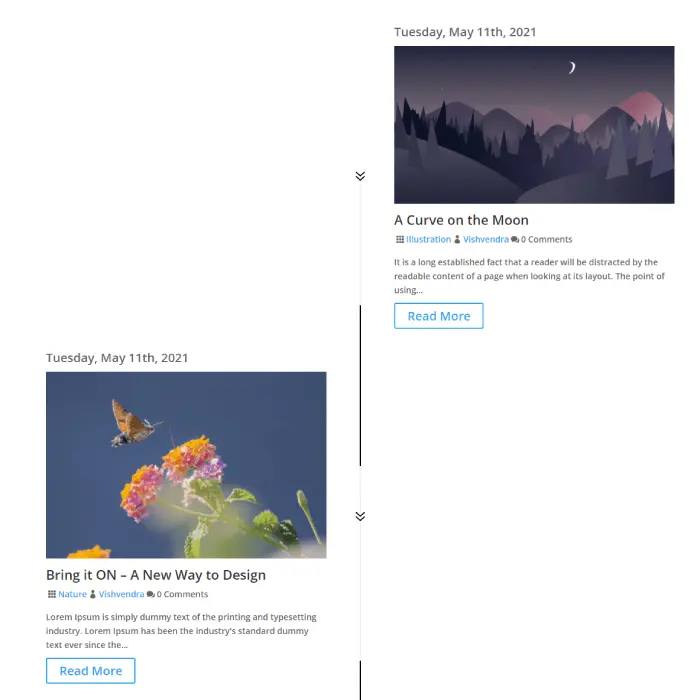
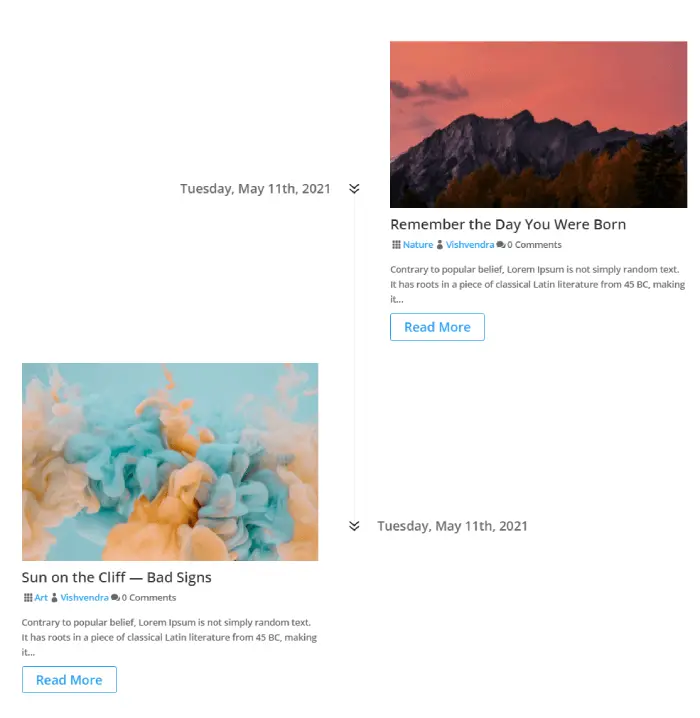
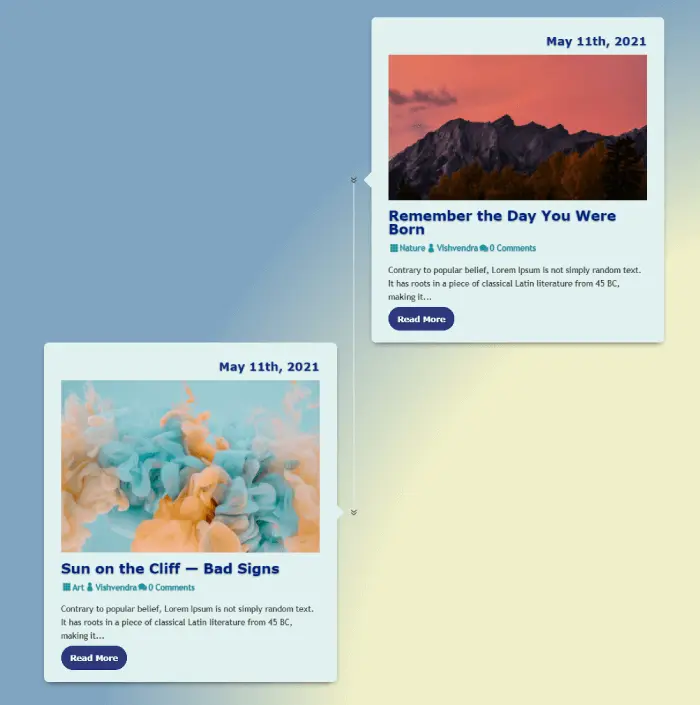
Layout 1 under Alternate version showcases posts at the right and left sides with the date at the top. Then, followed by featured image, title, meta description, content (excerpt), and read more button in the last.
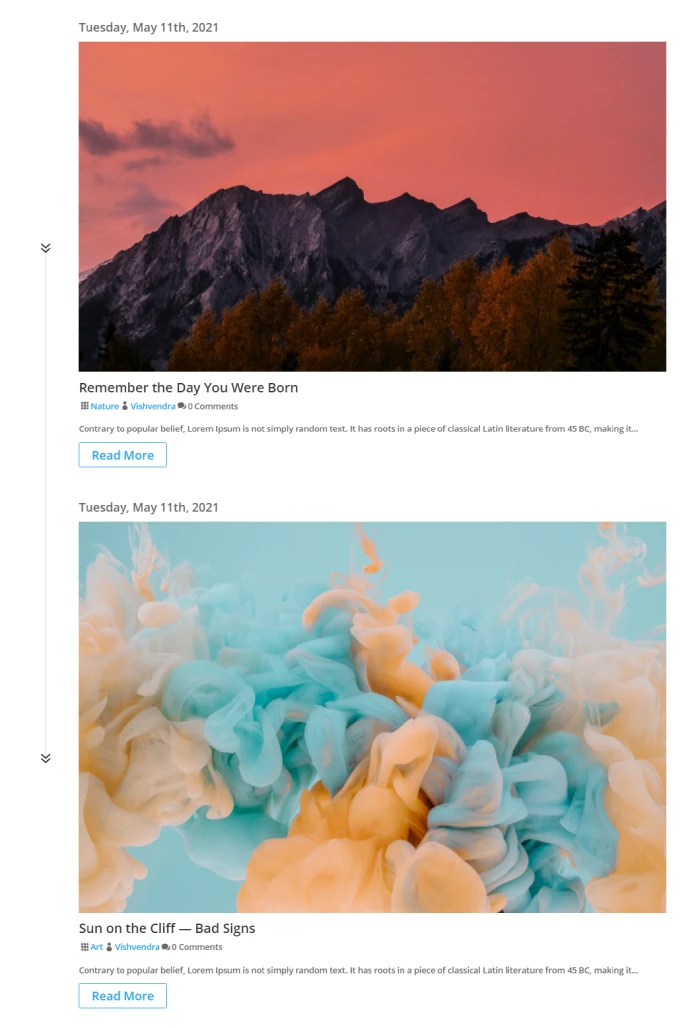
When you select Layout 2 under the Alternate version, it also showcases posts side by side, but the date would be placed sideways to the featured image. Look at the below screenshot to understand it better.
Other than the Alternate variation, both the layouts include two more options to help you achieve distinction. The additional variations module include are Content Right and Content Left. And this is how they look when applied to the timeline of posts.
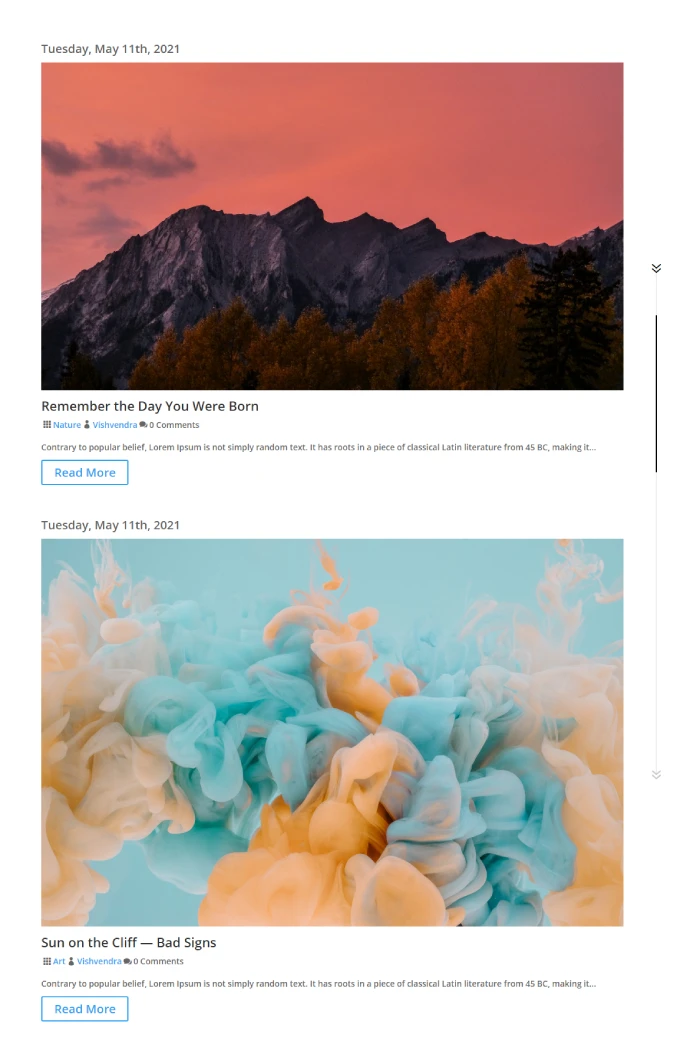
Layout 1 Content Left Variation
Layout 1 Content Right Variation
In Layout 2 with Content Right and Left variation, the post date gets attached with the timeline stem and its icon. And the other elements shift a little much to the opposing side based on the variation. This is how Layout 2 look with other variation than Alternate.
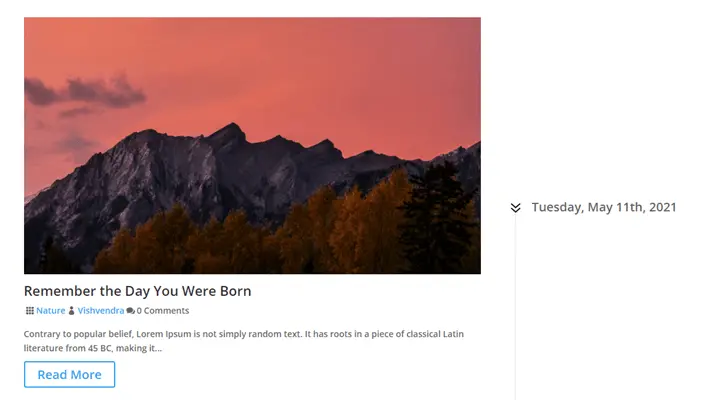
Layout 2 Content Left Variation
Layout 2 Content Right Variation
Timeline Icon Styling
Under Timeline Icon Styling settings of the Design tab, you can improvise the look of your timeline’s icon. It provides you with the option to change icon, its color for both scroll and no scroll. Plus, adjust its size with the application of icon shape. The available icon shapes are Circle and Square.
When you choose to apply shape on the icon. It further opens additional settings to apply shape background color when the timeline’s still and scrolling. But that’s not all, you get one more feature you can apply to the timeline icon is the shape border. That contains the option to adjust border size and background color.
Timeline Stem Styling
Under this particular setting, you get the option to change the timeline’s stem width size. Simply move the slider or input the value in the Timeline Stem Width. And your timeline stem will change its thickness.
In addition to that, you get options to change the stem’s color when the user scrolls the timeline and doesn’t. The way it changes color feels like it’s filling the stem as a liquid, creating a nice animation that increases engagement while interacting with the timeline.
Timeline Post Styling
With the Timeline Post Styling setting, you can adjust the background of post tiles with color, gradient, and image. Add custom padding for the post area. Plus, change the featured image’s alignment to the Left, Right, and Center.
Apart from these options, using the post styling setting, you can increase or decrease the post’s featured image size. Just move the slider or input the value in the Featured Image Size field.
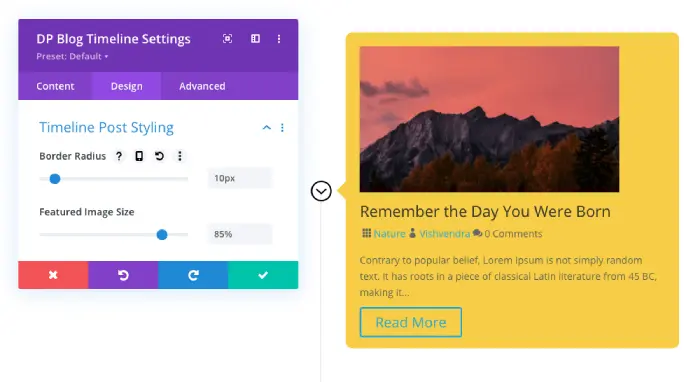
With that, the Border Radius option enables you to add rounded corners to the post tiles. Thus, making it possible to customize your blog timeline and its element at a high level.
Post Heading, Content, Date and Meta
To enhance the appearance of the blog timeline’s post text such as Title, Date, Meta description, and Content, you need the text customization options. Therefore, using the Post Heading, Content, Date, and Meta settings available in the Design tab, it’s easily achievable.
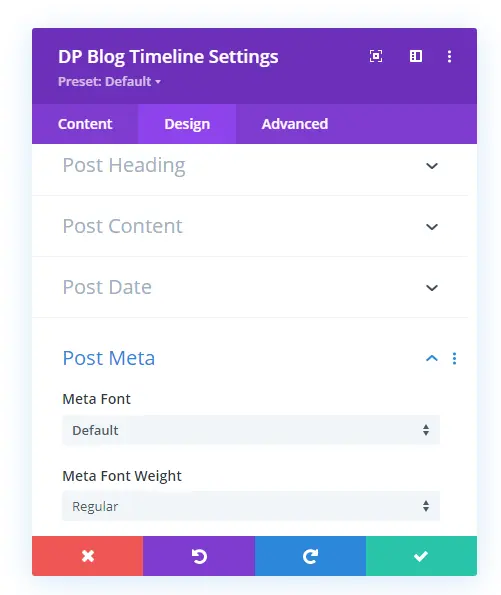
Each setting includes all the necessary text customization options using which you can change the appearance of text on the post. For instance, Post Heading includes the Title Heading Level to change the title’s heading tag type. The Post Content setting contains the options for different content types such as links, bullets, numbers, and blockquote.
Read More Button
Post’s read more button has a simple default look. However, you can choose to change it if you like. And to do that, you need to go to the Read More Button settings and check Use Custom Styles for Read More Button as YES. It will open further options to enhance the look of your post read more button.
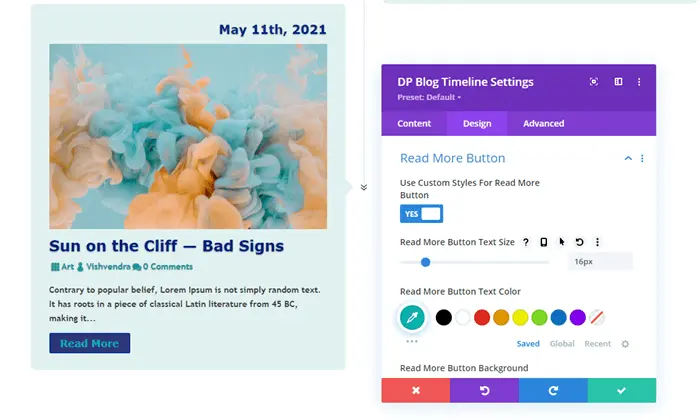
Under these options, you can easily change the button’s text size and color. Adjust button background with color, gradient, and image. Use a thick border for button of different colors. And there are more options you can apply to the post read more button to make it look more engaging and interactive.
Additionally, the default feature the Read More Button setting provides is to change the button’s alignment to Left, Right, and Center with ease.
Box Shadow
The final additional setting we get with the Blog Timeline module in the Design tab is to apply box-shadow to post titles.
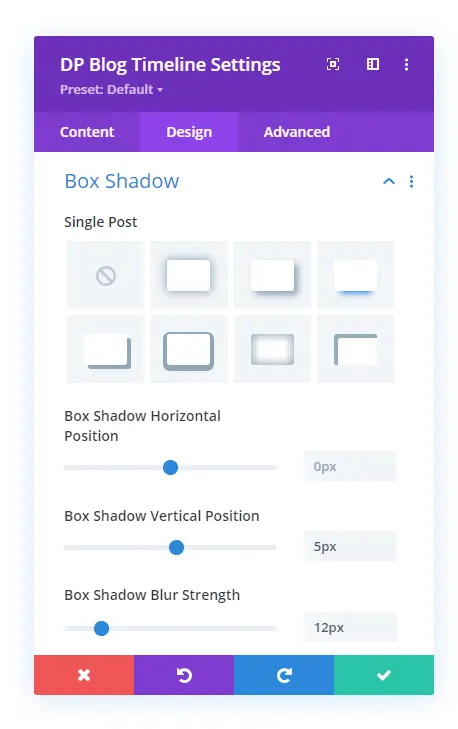
You simply need to go to the Box Shadow settings and in the Single Post field select your desired box-shadow. And it will be applied to all the posts effortlessly. Having box-shadow on posts adds a new look that makes the blog timeline elegant as well as modern.
Ending Thoughts
The above, we explored the new module of Divi Plus and the way to create blog pages of a new design. The purpose of this module is to help you establish uniqueness on your site when it comes to archive pages. And when you get the Divi Plus plugin, you also receive some other blog modules. So, with the combination of those modules, you can even design something new altogether.
We hope this post has helped you understand the new Divi Plus Blog Timeline module and how it works. If you want to create a beautiful Divi blog timeliness easily, then go and get this multipurpose plugin today. And let’s know what your experience was.


0 Comments