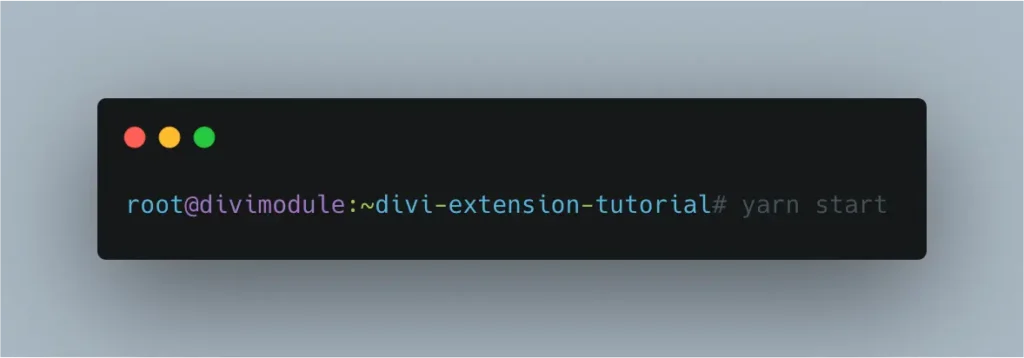
In the previous tutorial, we have set up the structure of the divi module. For starting the development, we need to run some commands using package manager yarn. Those commands will help us in all the way to develop the custom Divi Module.
yarn start

[code lang=”js”]function (t){
return s.a.createElement(
p.a,g({rawContentProcesser:_.a.replaceCodeContentEntities},e.props)
)}[/code]
To fix this issue, Add the below-mentioned code in your DiviExtensionTutorial.php file. You may locate this file plugins/divi-extension-tutorial/includes folder. This code is for module development purposes. Don’t forget to remove this code while you create a zip file of your final Divi Module. Here, You may find more detail about this issue.
	<?php
	protected function _enqueue_bundles() {
		// Frontend Bundle
		$site_url       = wp_parse_url( get_site_url() );
		$hot_bundle_url = "http://localhost:3000/static/js/frontend-bundle.js";
		wp_enqueue_script( "{$this->name}-frontend-bundle", $hot_bundle_url, $this->_bundle_dependencies['frontend'], $this->version, true );
		if ( et_core_is_fb_enabled() ) {
			// Builder Bundle
			$hot_bundle_url = "http://localhost:3000/static/js/builder-bundle.js";
			wp_enqueue_script( "{$this->name}-builder-bundle", $hot_bundle_url, $this->_bundle_dependencies['builder'], $this->version, true );
		}
	}
	protected function _enqueue_debug_bundles() {
		// Frontend Bundle
		$site_url       = wp_parse_url( get_site_url() );
		$hot_bundle_url = "http://localhost:3000/static/js/frontend-bundle.js";
		wp_enqueue_script( "{$this->name}-frontend-bundle", $hot_bundle_url, $this->_bundle_dependencies['frontend'], $this->version, true );
		if ( et_core_is_fb_enabled() ) {
			// Builder Bundle
			$hot_bundle_url = "http://localhost:3000/static/js/builder-bundle.js";
			wp_enqueue_script( "{$this->name}-builder-bundle", $hot_bundle_url, $this->_bundle_dependencies['builder'], $this->version, true );
		}
	}
Keep the yarn start command running while developing the custom module. This will compile your module automatically when you make any changes in CSS, JS, or JSX file.
yarn build
This command will create the build file of your custom module.
yarn zip
This command will create the zip file.
yarn eject
After finishing everything, run yarn eject command.
In this video, you can see what we have done so far.
In the next tutorial, I’ll cover the module functions and setting fields. Leave a comment if you face any problem so far.


0 Comments