
If you want to make your website more visually engaging, Divi floating image(s) could be the right choice. This will enable you to make visually stimulating designs that will draw in your visitors and make your site unique.
This article will guide you through the process of displaying Divi floating images to create magnificent webpage elements that will capture your viewers’ attention.
If you’re ready, we can start now!
What Are Divi Floating Images?
Divi floating image is one of the dynamic and eye-catching Divi image effects that make images on your website appear floating up and down. To understand what a floating image looks like, you can check out the following illustration.
To add a floating image in Divi, you can use overlapping images CSS. However, if you’re not good with using CSS, then using the Divi Floating Image module available with the Divi Plus plugin would be a perfect choice. This plugin is powerful and can be used to customize Divi in multiple ways, eliminating the need to use many separate Divi plugins. The same plugin also provides the floating image feature, which is simple to use and can be adjusted to fit your design needs.
To access that feature, you need to use the Divi Floating Image module. With the help of this module, you can create stunning designs that will impress your visitors and keep them engaged with your content.
The following steps will guide you on how to add Divi floating image (s) both using CSS and the module of the Divi Plus plugin. Ensure you follow each step without rushing.
Adding a Floating Image to Your Divi Website (2 Methods)
Adding a floating image to your website with Divi is easy. First, we’ll explore the overlap images CSS method. Then, to achieve our design quickly while being easy, we’ll take help from the floating images module of Divi Plus. With this in mind, let’s head over to the first method.
Method 1: Using a Custom CSS
If you already know the page where you want to display floating images, then edit it using the Divi Builder. And if you haven’t created a page, then create new page, launch the Divi Visual Builder and follow the below steps.
#Step 1: Insert the Image Module
If you’ve already got the images you want to float, then there’s no need to insert another image module. However, if you haven’t then insert the following Divi image module.
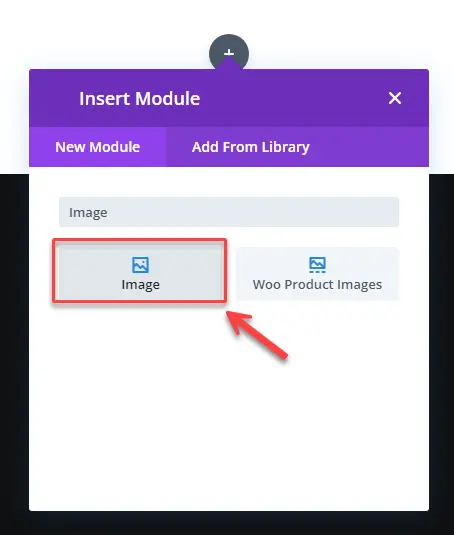
Once inserted the module, insert the image of your liking.
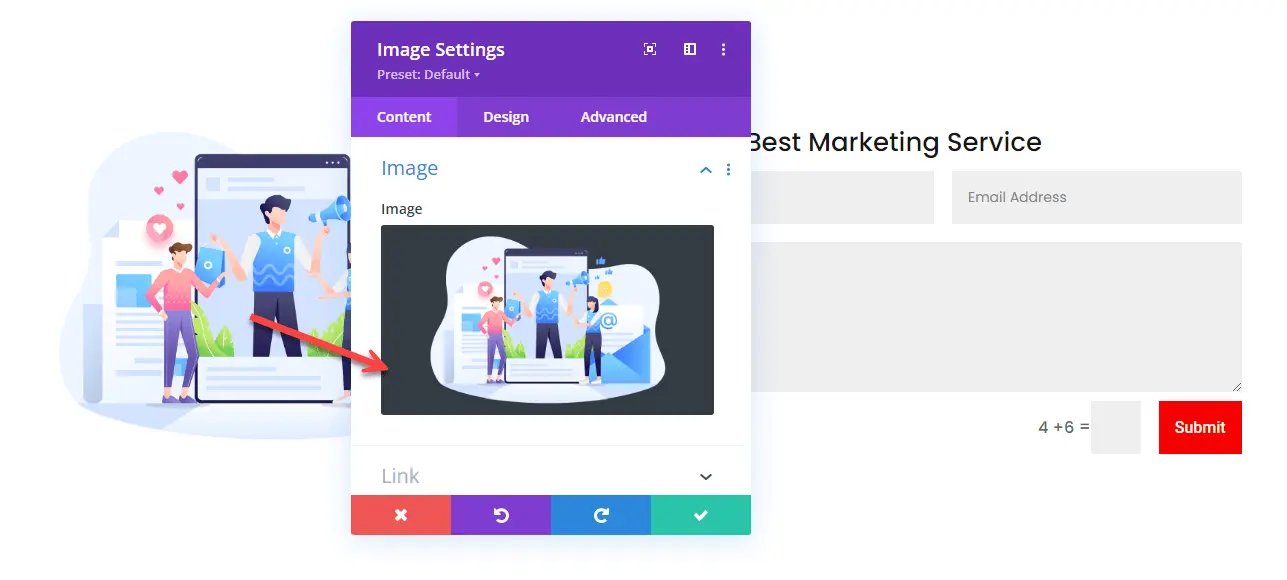
You can apply some changes to your image by opening the Design tab. You can change the alignment, size, spacing, border and more. Once done customizing the image, move to the next step.
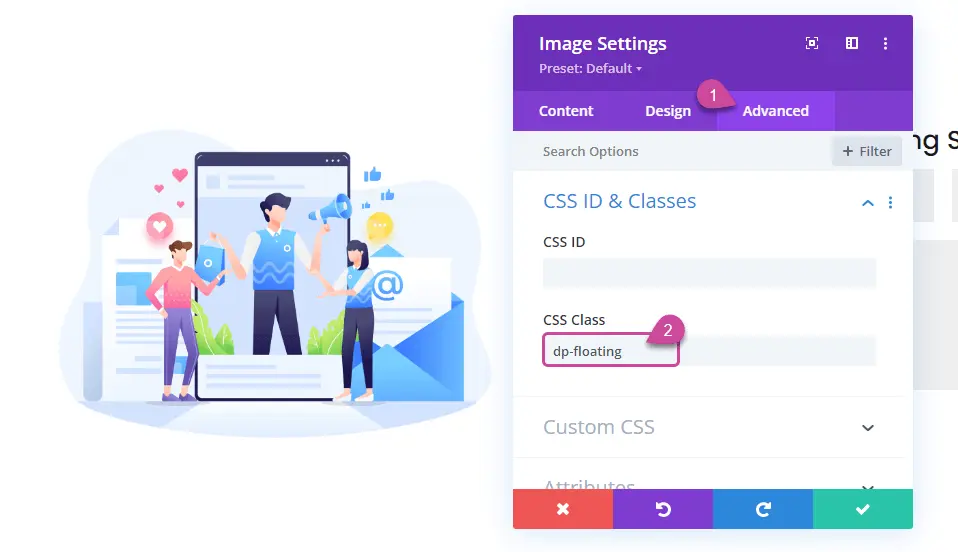
#Step 2: Assign Divi Floating Image CSS Class
For our floating image CSS to work, we need to assign the class name to the module. So, to do that, access the Advanced tab of the module, then open the CSS ID & Classes settings and in the CSS Class define class name dp-floating.
After defining the class name, save your changes and exit the builder and move to the next step.
#Step 3: Adding the Divi Floating Image CSS
On your WordPress Dashboard, go to Divi → Theme Options.

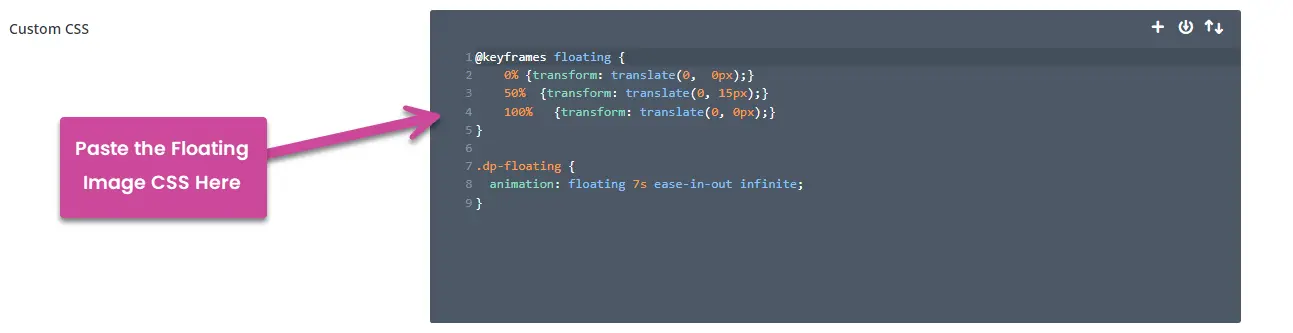
On Divi Theme Options panel, you’ll find many customization options. Here, what you need to do is, scroll down to the bottom and in the Custom CSS option, paste the following code.
@keyframes floating {
    0% {transform: translate(0,  0px);}
    50%  {transform: translate(0, 15px);}
    100%   {transform: translate(0, 0px);}
}

.dp-floating {
  animation: floating 7s ease-in-out infinite;
}
After adding the CSS, ensure you save changes. Once done, preview the page where you added the image and it will float like the following.
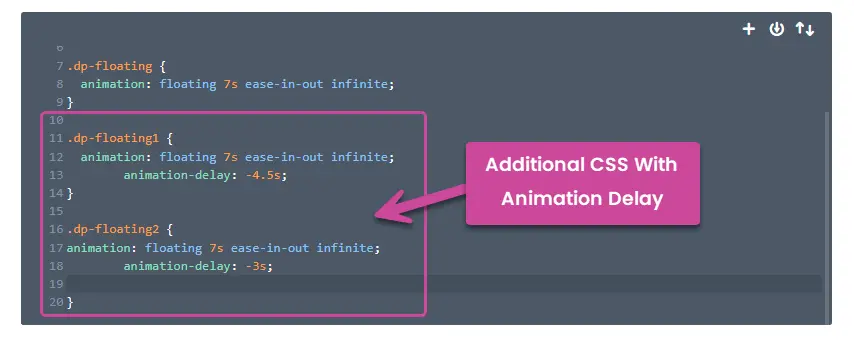
Okay, what if you want to float multiple images? Well, in that case, you can tweak the CSS a bit. Let say, you want to float 3 images. Now, first, define class name dp-floating1 and dp-floating2. Then, add the following into the CSS you have added before.
.dp-floating1 {
  animation: floating 7s ease-in-out infinite;
	animation-delay: -4.5s;
}

.dp-floating2 {
animation: floating 7s ease-in-out infinite;
	animation-delay: -3s;
}
In the above CSS, we have added an animation-delay so that the images can float in opposite direction.
Open the page where you have added the images and they will float like the following.
This looks amazing. However, it’s limited and if you want to make any changes, you need to over and over customize the CSS. And in most cases, you won’t be able to see changes live. This could make you agitated. Therefore, using a module is a better option. Not only it speeds the process, but also provides you with more options to customize the image. Hence, the following method, will allow you to add floating images in Divi that outperforms all the other methods.
Method 2: Adding Floating Image Using a Plugin
The module we will use to add floating images in Divi is available with the Divi Plus plugin. Ensure, you download, install and activate the plugin.
#Step 1: Activate the Floating Images Module
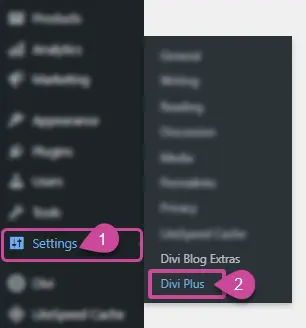
To activate the Floating Image module of Divi Plus, first, go to the Settings → Divi Plus.
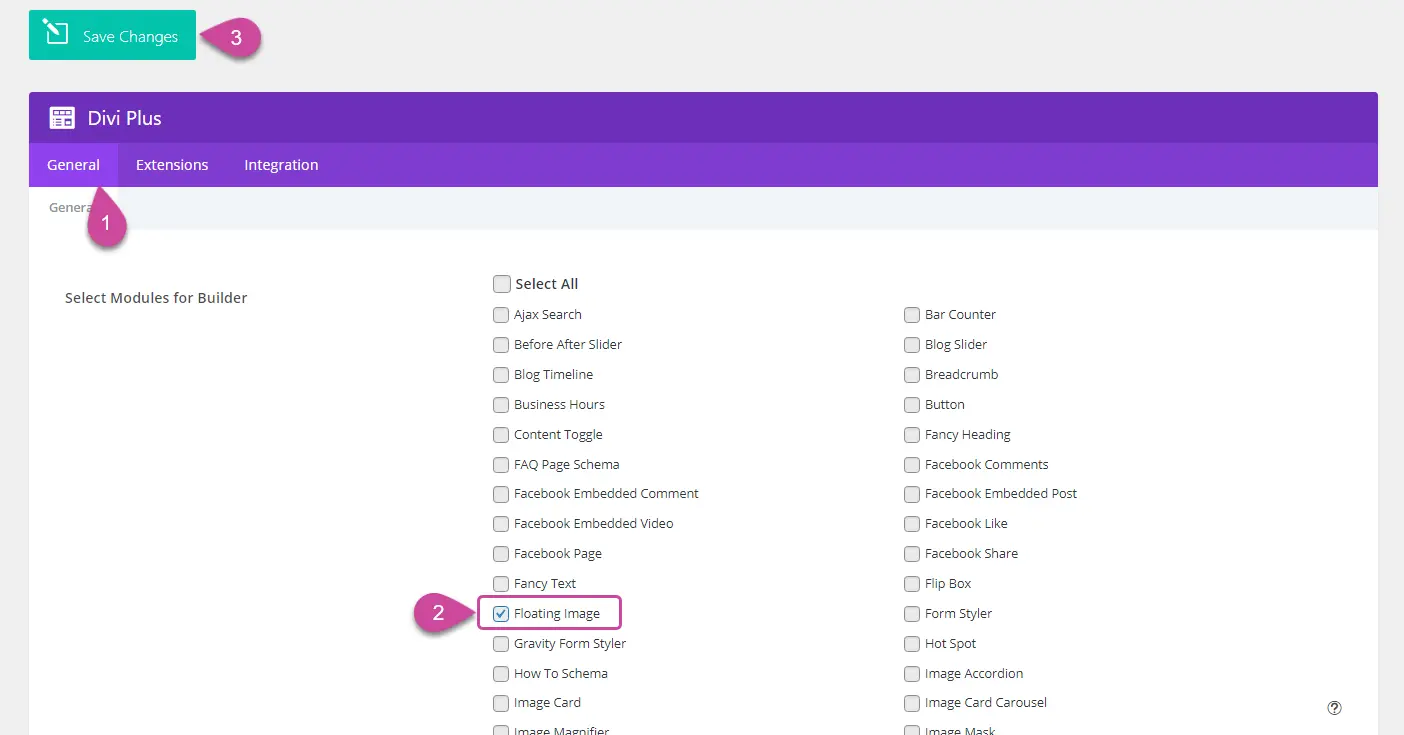
Then, in the General tab, look for the Floating Image option and select it. Once selected, click the Save Changes button.
Now, move to the next step where we’ll add the module and create our floating image.
#Step 2: Insert the Floating Image Module
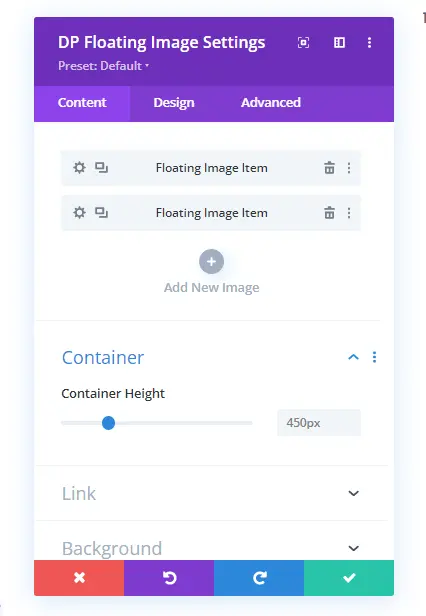
Create a new page or edit the existing one. Then, insert the following DP Floating Image module.
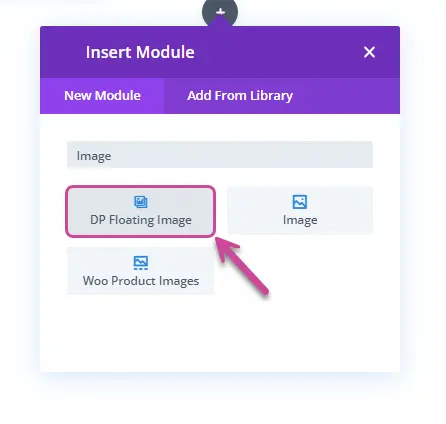
Upon inserting the module, you get the option to insert image by clicking the Add New Image button.
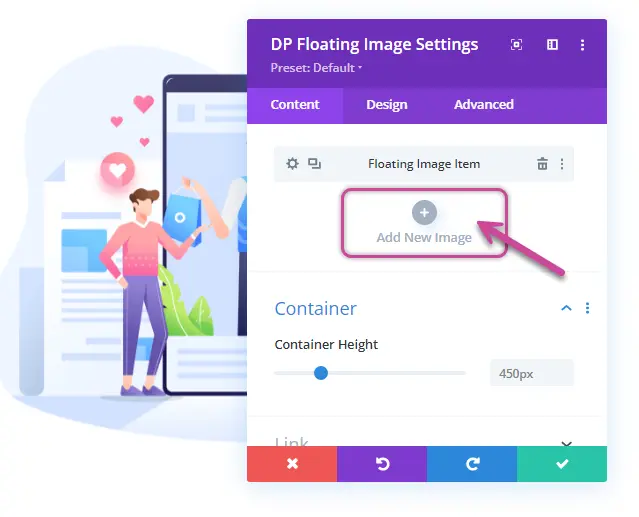
When you click on the option, you get further options to add the image, link and background.
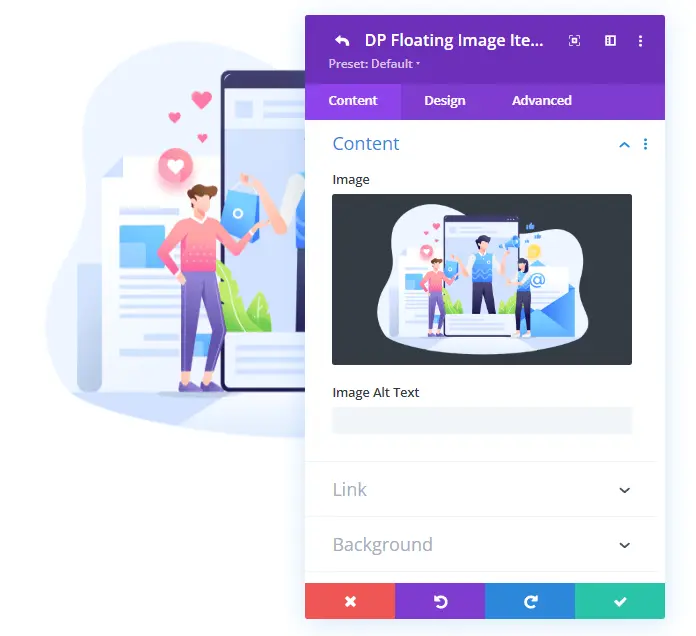
The moment you add the image, you can see your image floating. However, it’s the default setting, you can further enhance its working by opening the Design tab. Let’s explore that in the next step.
#Step 3: Customizing the Floating Effect of the Image
The following are the settings you get in the Design tab of the Floating Image module.
Image Position
The first setting available in the Design tab is Image Position. Using this particular setting, you can decide where you want to place the image on the page.
You get option for both Horizontal Alignment and Vertical. Simply, adjust the slider and your image will be placed on the position you want it to be.
Image Animation
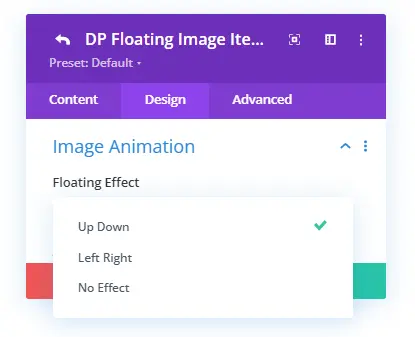
After Image Position, you get Image Animation Settings. In this particular setting, you get advanced options to apply different floating animation effects on your image.

The first option you find in the Image Animation settings is the Floating Effect. Here, you can select floating effect as Up Down, Left Right, No Effect.
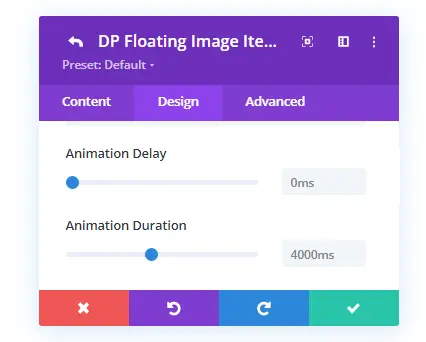
After this, you get the Animation Delay and Animation Duration allowing you to set when to start the floating effect and for how long.
Once defining the delay and duration, you can select the Animation Speed Curve that are,
- Ease-In-Out
- Ease
- Liner
- Ease-In
- And Ease-Out

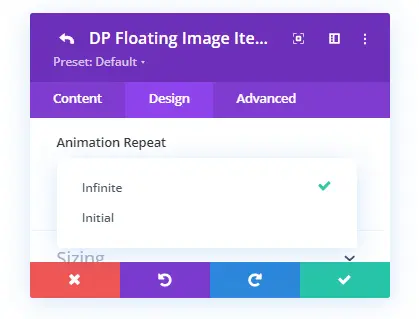
Finally, after speed curve, you get Animation Repeat which allows you to set the image to float for infinite or initial (only for once.)
By utilizing the above options, you can superfine the floating image’s working.
Other Options
In addition to the above, options, you get other settings as well that allow you to apply general customizations to your floating image. Once you’re done customizing the individual image, save change and as you do that, you’ll be returned to the primary options.
Here, you can add another image, apply link to the module, background and even apply general customizations to all the images together by accessing the Design tab. And that’s it, all you need to do to create a Divi Floating Image using the Floating Image module of Divi Plus.
Tips for Using Floating Images Effectively
The Divi Plus Floating Image module creates a captivating visual effect that will make your website stand out. As you create your floating images, take note of the important aspects:
- Choose images that are relevant to your content and are of the best quality.
- Don’t overuse the feature – too many floating images can be distracting.
- Make sure the image doesn’t cover important content or navigation elements.
- Experiment with different settings to find the right balance between eye-catching and subtle.
- Consider using the feature to highlight important calls to action or key messages on your website.
Conclusion
So, those were the steps you could follow to add a floating image in Divi using the CSS and Floating Image module of Divi Plus. With CSS, you get limited options to enhance the Floating Image. However, with the module, you can maximize its potential. You get different animation effects, speed curves and more. Using the module makes it easier to add the floating image without going to the Theme Options and adding the CSS.
Furthermore, the Divi Plus plugin offers additional benefits that you can utilize for different kinds of design requirements or projects.
Hence, try the Floating Image today, and get other cool features of Divi Plus. Let’s know your experience using the module and other options of the Divi Plus plugin in the comments. And if you find any issues using the plugin, don’t hesitate to reach out.


0 Comments