Post carousels are very useful when it comes to increasing user sessions on a blog. You can add a recent post slider at the bottom of an article, and when users interact with it, they might navigate to it. That’s it, from one blog post, you’ve brought readers to another. But in Divi, there’s no straight way to provide readers such an option to explore your content. However, you can add post navigation using the Theme Builder, but it’s quite subtle. There are possibilities that it might go unnoticed. But it doesn’t mean you are left with no option to create a Divi post carousel.
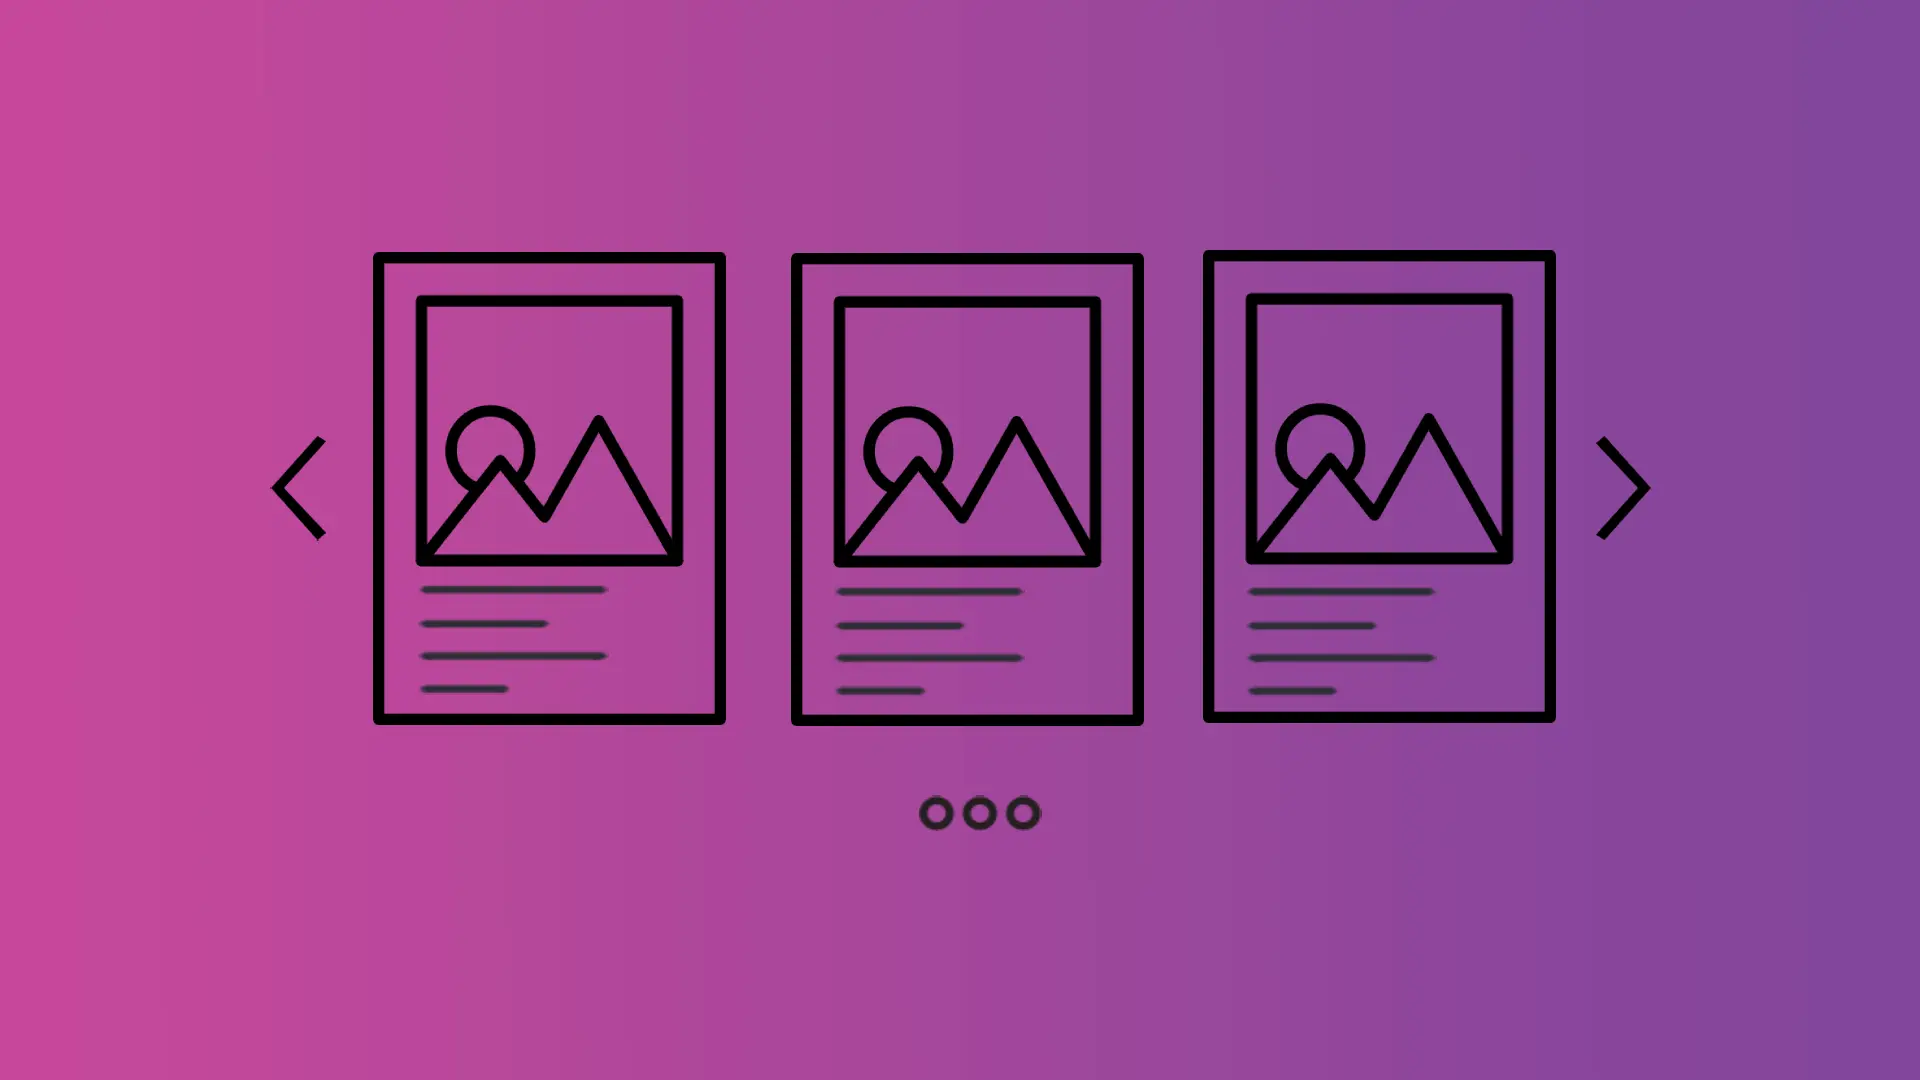
Because in this blog post, I’ll share with you the steps to create beautiful post sliders in an easy way using the Divi Blog Slider module. An example you can see in the below image.

I guess it’s enough for the introduction; let’s create our beautiful Divi post carousel without further taking the time. But first, let’s check all the features of the blog slider module.
Features of Divi Blog Slider
The following are the available features you’ll get with the Divi Blog Slider module. And all these features are easy-to-use and enhances the blog slider module’s designing and functional capabilities.
- 2 Divi blog slider layouts.
- Display the featured image in medium, large, and full dimensions.
- Display Author name, date, categories, and comment count.
- Ignore sticky post feature.
- Equalize posts height.
- Read more button on posts.
- Slider Arrow customizations.
- Slider Pagination customizations.
- Select the Number of Posts to display.
- Offset posts from the slider.
- Order posts in Ascending and Descending order.
- Order posts by Date, Modified Date, Title, Slug, Id, Random, Relevance, and None.
- Display posts on the slider of a specific category.
- Set Number of Posts Per View.
- Control to style Post Content Background.
- Option to customize Content Margin and Padding.
- And many other options to make Divi post carousel look engaging and beautiful.
Installation
The following steps can help you successfully install and activate the module to create a post slider for Divi.
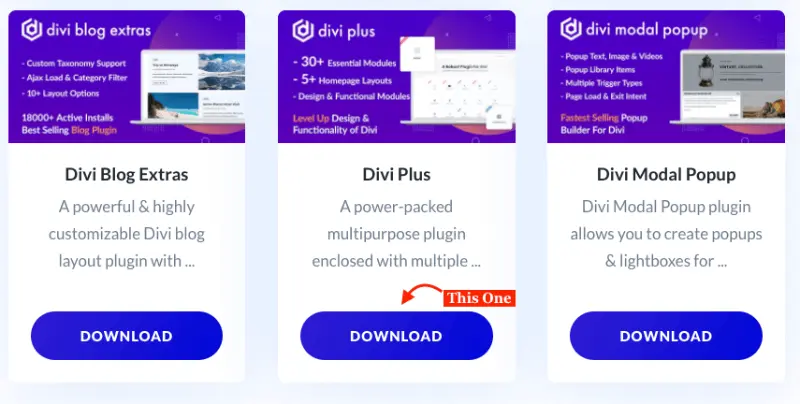
Step 1: Get Divi Plus plugin from Divi Marketplace
To power up your website’s archive pages and post content with post carousel, first, you need to get the Divi Plus plugin. It’s a multi-purpose plugin for Divi available at the Divi Marketplace. It comes with 34 Divi modules, including the Blog Slider module we require in this post.
Step 2: Download & Install the plugin
After getting your copy of the plugin, you can download it right from the product page. Or, go to your Elegant Themes Account >> My Download, scroll a bit, and Download.
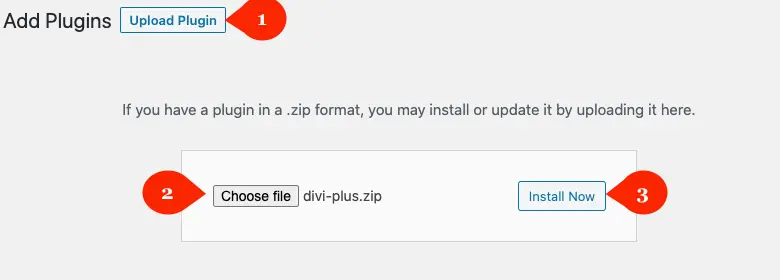
Once downloaded the plugin, go to your WordPress Dashboard >> Plugins >> and click Add New.

Then inside the Add New plugin window, click Upload Plugin, and choose the file you’ve downloaded from the Elegant Themes. Or if you’ve installed the Divi theme from web agencies and don’t have the access to the Elegant Themes account, you can get the plugin from our store. Once successfully uploaded the file, click Install Now.
As soon as the plugin gets installed, WordPress would ask you to activate the plugin. Simply click Activate Plugin that would appear on the next window after installation.
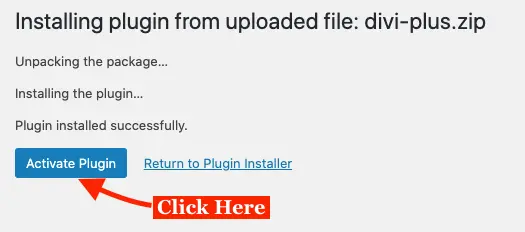
That’s it; we’ve successfully installed our plugin. However, our job isn’t done yet. We have to make sure that the Blog Slider module is enabled, and to do that, follow the next step.
Step 3: Activate the module
To check whether the Blog Slider module is enabled or not, go to your WordPress Dashboard >> then Settings >> and Divi Plus.
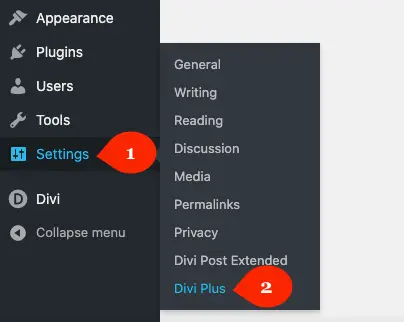
Here, you’d find all the modules available in the Divi Plus. Check whether Blog Slider Search is enabled or not. If not, then simply tick the checkbox next to it, and Save Changes.
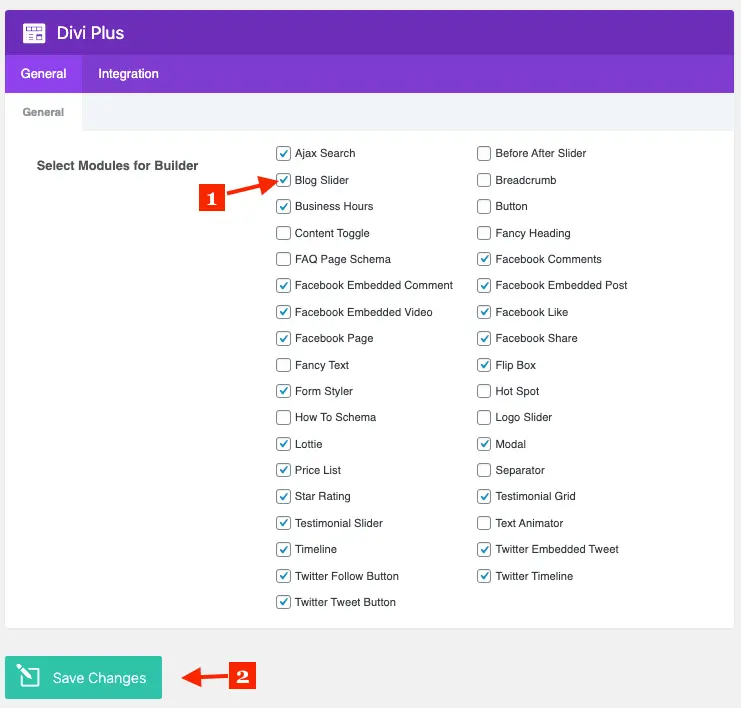
That’s it, our module is activated and we’re ready to explore it further.
Step 4: Insert Module
To begin creating a Divi post slider on a webpage or in the post content, create a page or edit an existing one. Or you can also create a custom post template in the Theme Builder. But for this tutorial, we’re going to create the post slider on a page. Once the new page opens, choose to build with Divi Builder. And then choose to Build On The Front End.
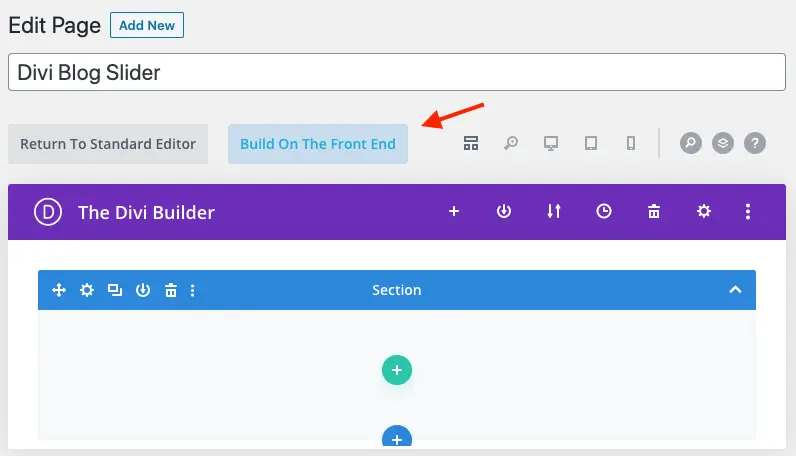
In this way, we’d be able to see the changes we’ll make to the blog slider. Once the Front End builder gets loaded, insert a new row, and then DP Blog Slider module.
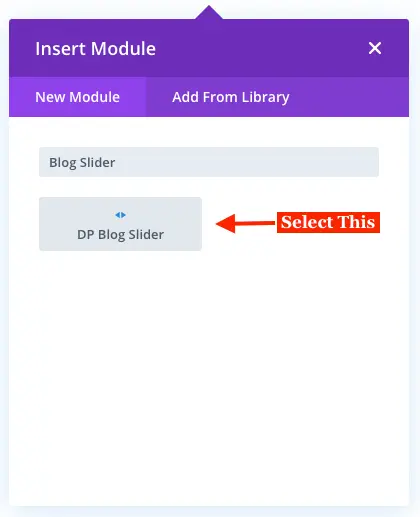
The module has been inserted, let’s configure it for good.
Content Customizations
We’ve inserted the module; now it’s time to configure the blog slider’s content. The following are the additional settings available in the Content tab for the blog slider module.
We’re going to explore each settings of the Content tab one by one.
Step 1: Layout Selection
As mentioned above in the features list, the Divi Plus Blog Slider module includes multiple layouts. To select one of these layouts, go to the Content settings and then Layout.
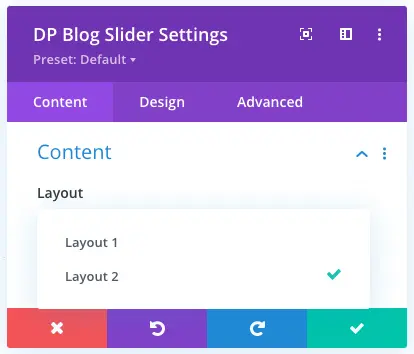
Here, you’ll have two layout options. Select what you found more engaging and suitable for your website. Layout 1 keeps featured images and posts content, including title side by side. You can take a look at the below example of the layout 1 post carousel for Divi.

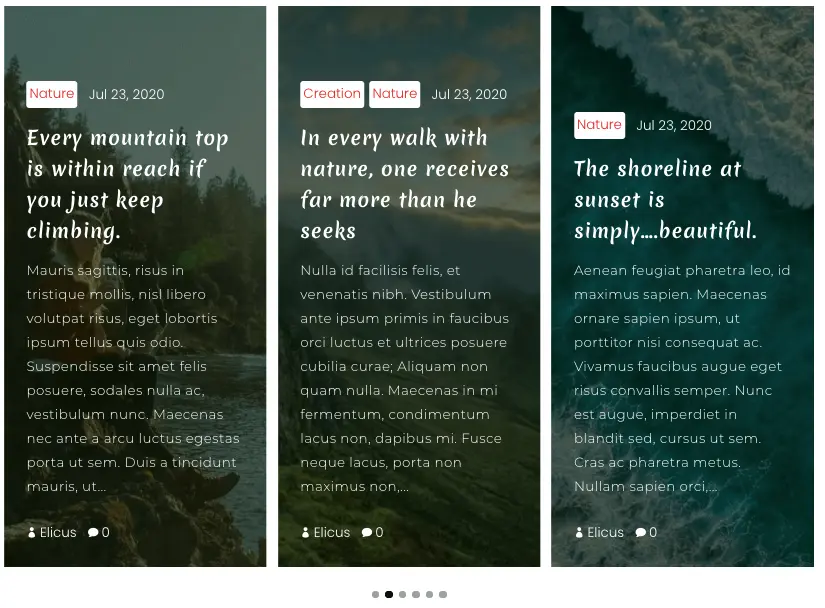
Layout 2 of the module, keeps the featured image in the background and post elements in front. The below screenshot presents the layout very well.
Step 2: Offset posts and set number of posts to display
To select how many posts you want to display on the slider, go to the Content settings. And then in the Number of Posts input the value. It will set the value for the post slider not to display posts more than that number.
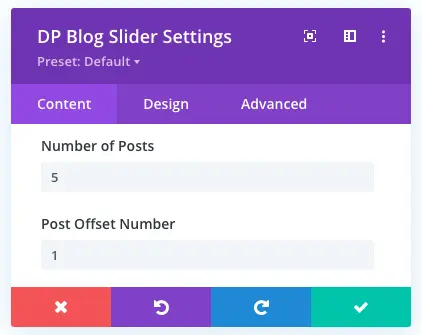
You can also skip the first post, or first to N numbers of posts by entering the value in the Post Offset Number. For example, if you enter 5, then it will skip the first five posts from the blog slider.
Step 3: Post Order and Category Selection
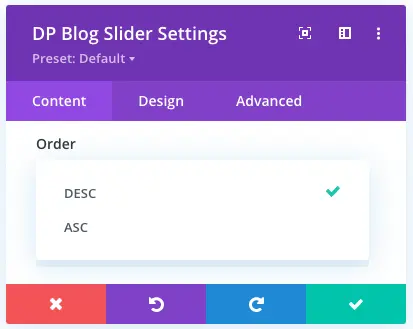
The blog slider module comes with the option to allow users to select the order and order type of posts. Using the Order option of the content settings, you can order posts in ASC (Ascending) and DESC (Descending) order.
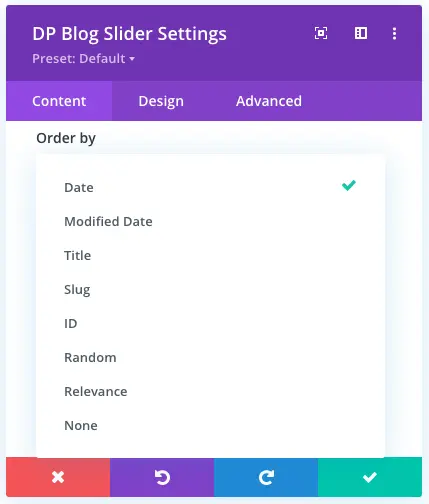
The Order by options provides the option to order posts in accordance with their type. The available order types are Date, Modified date, Title, Slug, ID, Random, Relevance, and None.
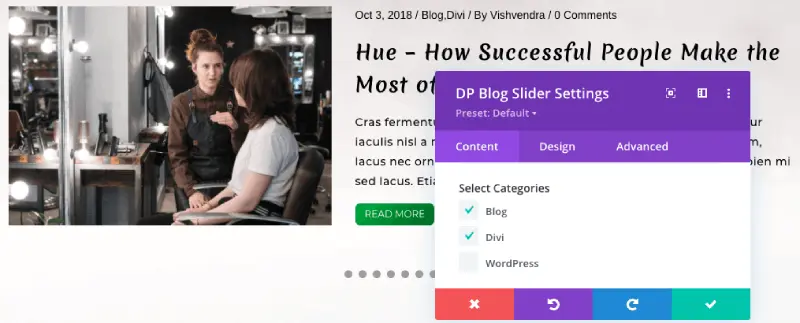
By default, the Divi Plus Blog Slider module displays posts from all the categories. If you want to showcase a specific category, then head over to the Select Categories option in the content settings. And tick the checkbox next to the category name of which posts you want on the post carousel.
Step 4: Meta elements customizations (Date Format, Excerpt and Excerpt Length)
By default, the post slider showcase Date Format as M J, Y meaning with posts you’ll see would have the date in order of Month, Date, and Year. To change the date format, simply input a custom format. If don’t know much about the date format, then you can check out this date format post by WordPress.
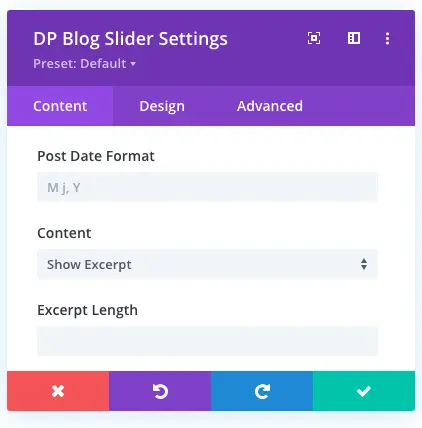
The same content settings also provide the option to display post content on the slider. Go to the Content field and from the dropdown menu, select either Show Excerpt or Show Content.
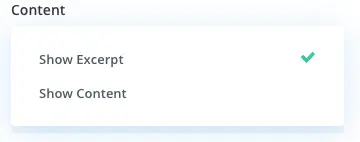
And by entering values in the Excerpt Length input field, you can limit the words on the post slider for showcasing post content.
Elements Customizations
The Elements settings combine multiple options crucial to make post carousel look better and functional in many ways. The first option available in this setting is the Ignore Sticky Posts. When you turn this option on by checking Ignore Sticky Posts as YES, the post slider will display the sticky posts as regular posts. The posts because of this option won’t appear at the top of the slider; instead, they would appear within their time frame of publication.
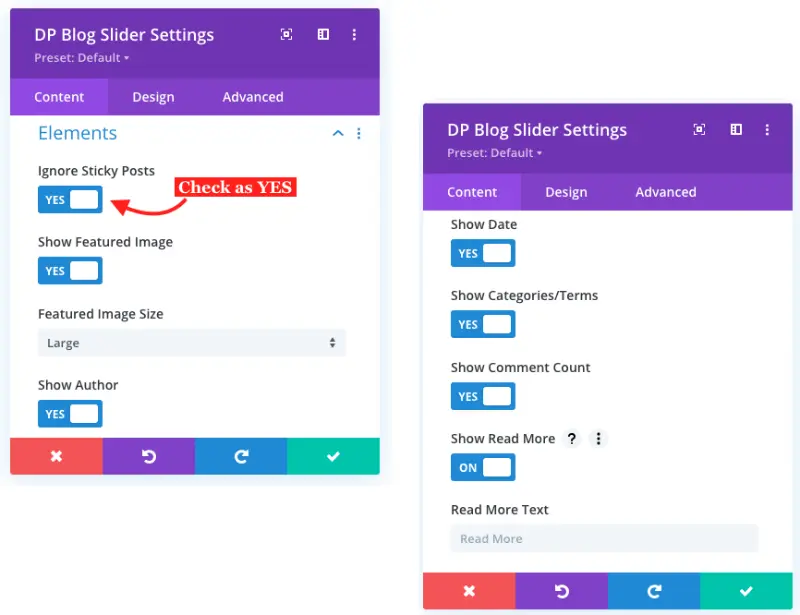
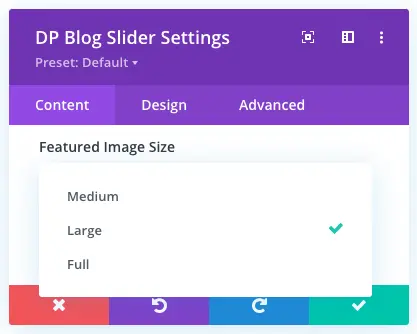
Then comes the Show Featured Image option which simply provides you the choice to hide/display featured image on the slider. Moreover, the Featured Image Size option includes the size of the image to be used on the slider. The available featured image size are Medium, Large, and Full.
The other meta elements you can display on the post slider are Author, Date, Categories or Tags, Comments Count and Read More button. You can also adjust the read more text under Read More Text input field.
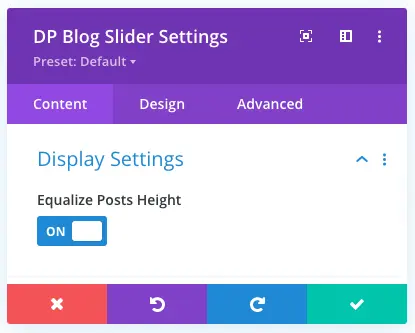
Posts Per View & Equalize Posts Height
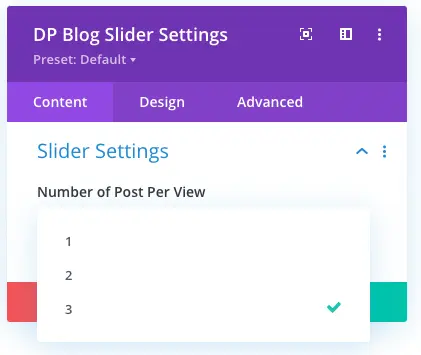
The Slider Settings available in the content tab allow users to set the Number of Post Per View up to 3 posts. This will make the post slider to showcase posts per slide not more than the mentioned.
If some posts have a long title and others have short, then, it could create non-uniformity in the way post slider showcases the posts. Therefore, the Display Settings available in the content provide the Equalize Posts Height option to bring uniformity in a much easier way.
Design Customizations
To improve Divi post carousel’s look even better, we have to move to the Design tab. And the settings we get in this are as follows,
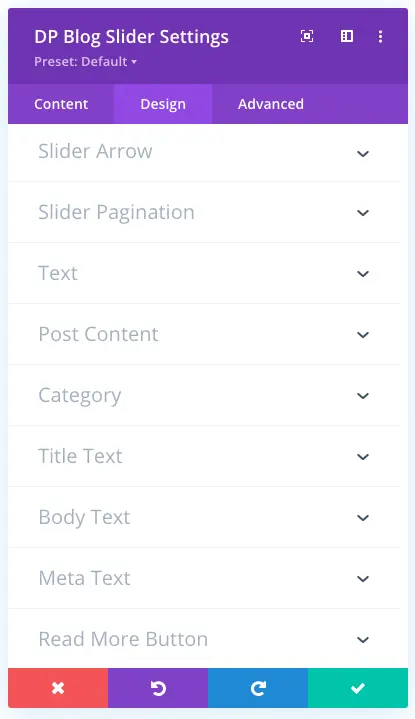
We’ll explore each one by one and see how great contribution each setting provides when it comes to improve engagement of the post slider.
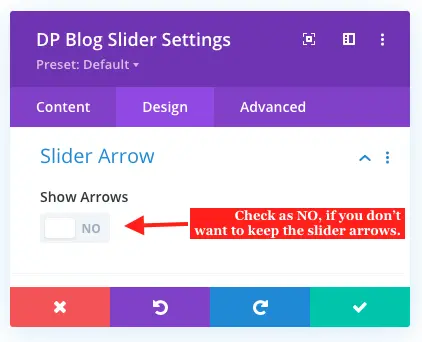
Slider Arrow Styling
By default, the slider arrows on the blog slider are active. However, if you want to switch them off, go to the Slider Arrow settings in the Design tab, and check Show Arrows as NO. This would remove slider arrows from the blog slider.
But if you decide to keep them on, then you get more options to style them further. The first option you get is the Show Arrows Only On Hover.
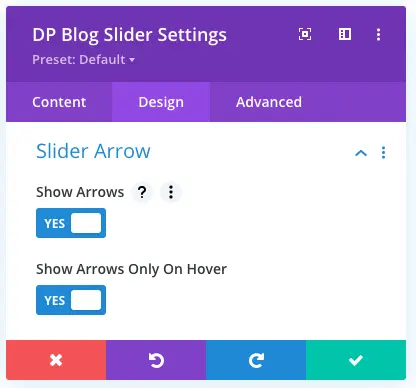
When you turn this option on, then arrows would only display on hover just like the below illustration.
Moreover, under this setting, you can also make changes to arrow size and color. Plus, apart from these options, when you check Select Arrow Shape to YES, then it will further provide the option to add a background, border, and border color to the arrows.
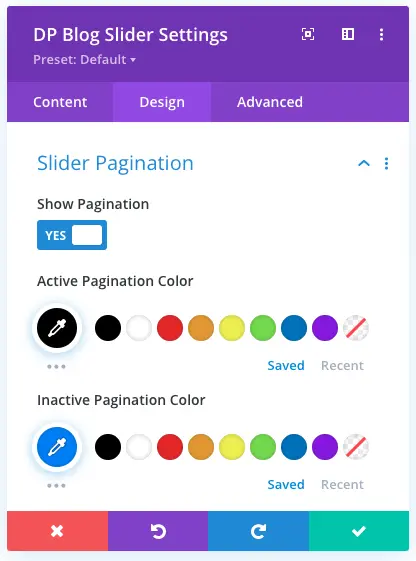
Slider Pagination Styling
Just like the slider arrows, the paginations on the Divi post slider are active by default. But, likewise slider arrows, you can disable them too. However, if you keep them on, you can also apply different colors for active and non-active paginations. Just select the custom color in the Active Pagination Color and Inactive Pagination Color.
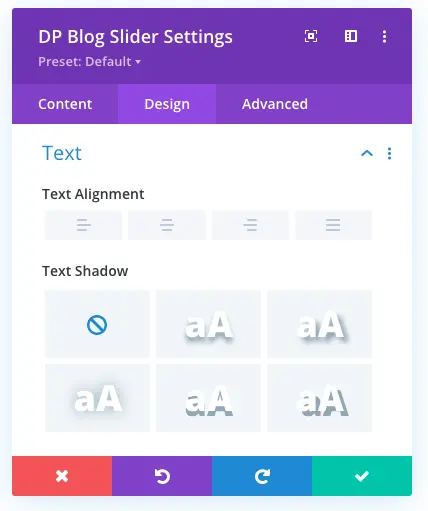
Text Styling
The Text setting available in the Design tab provides you with the option to change the post slider’s text alignment to Left, Right, Center, and Justified. Apart from alignment, you can also apply shadow to the text under Text Shadow.
Post Content Styling (Background, Margin & Padding)
To apply a custom background color to the post slider, go to the Post Content settings, and then choose the color under the Post Content Background field.
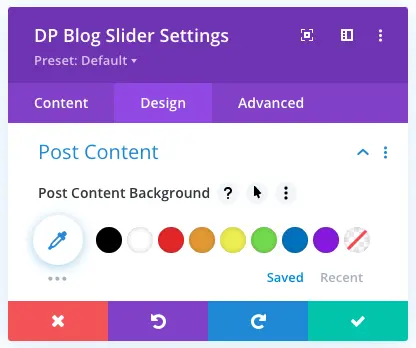
The below screenshot presents this option of the post slider module in a much suitable way.

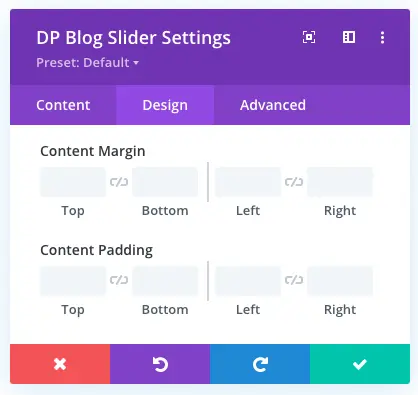
This same setting also provides you with the option to add margin and padding to the slider easily. Enter the values in the Content Margin and Content Padding input fields.
Title, Body & Meta Text Customizations
To apply custom text stying to the Title, Body, and Meta text of the post slider, go to the Text, Body, and Meta settings available in the Design tab. Here, you’ll get all the text customization options that Divi provides for the native text module. Like Heading level, font style, font-weight, etc.
Read More Button
When you choose to display read more button on posts of the Divi post carousel, you’ll also get the option to custom style it further. To do that, just go to the Read More Button settings in the Design tab, and check Use Custom Styles For Read More Button as YES.
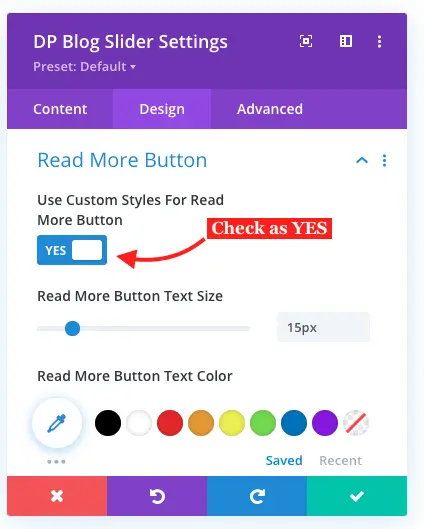
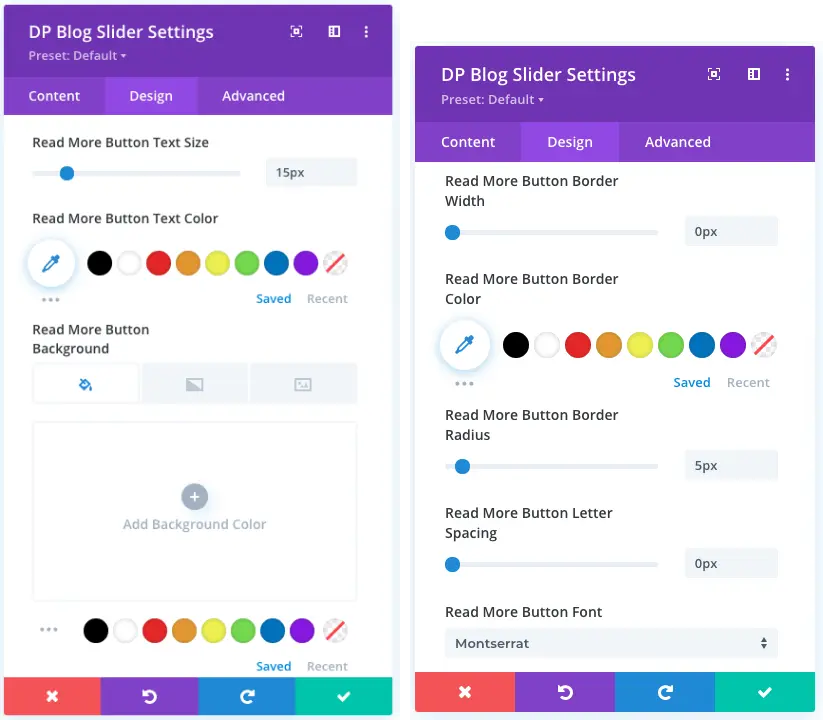
This would open more options to style the button that are button size, text color, border, show icon on button on hover, and other multiple options.
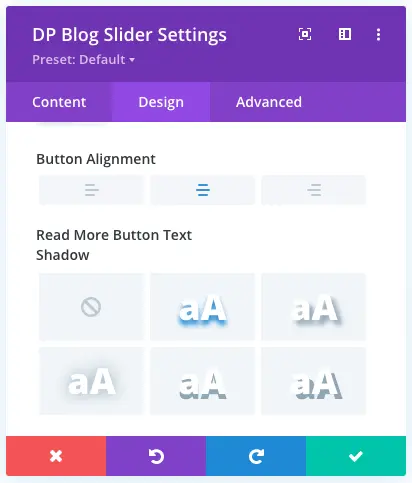
However, apart from button custom styling, under this particular setting, you can also change the button’s alignment. The available alignment options are Left, Right, and Center.
Animations
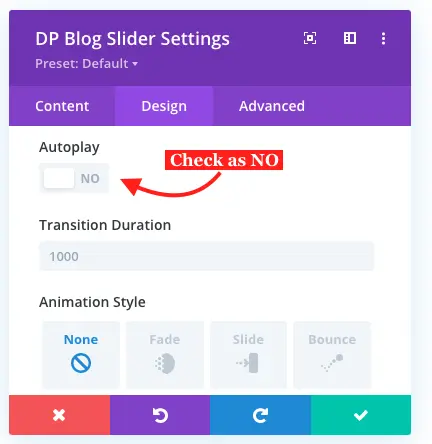
The Animation settings of the Divi blog slider module is the crucial one. Here, you can decide whether to apply a sliding loop on the post carousel or not. You can set autoplay and decide how much time it should take after one complete transition. In addition to these, you can also apply some engaging entrance animation styles, too.
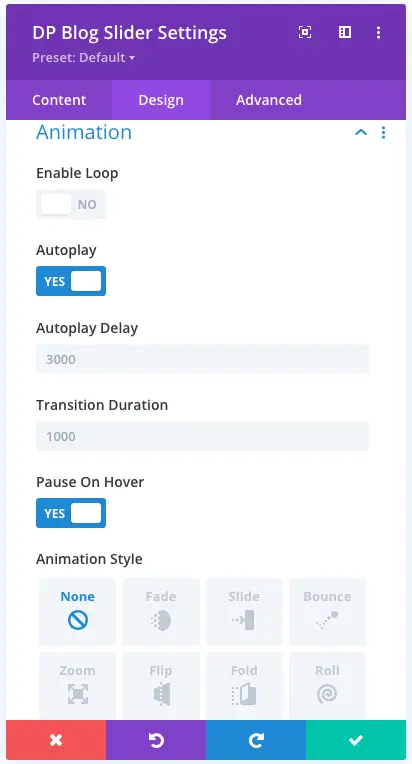
To enable loop on the post slider, simply check Enable Loop as Yes.

By default, the slider autoplay is on, however if you want it to not slide on auto, you can disable this by checking Autoplay to No. And it will only slide, when users click the arrows.
That’s it, we have successfully explored all the design options of the Blog Slider module. Now, let’s see some demo examples of the Divi post carousel.
Divi Post Slider Examples
The following demo examples are created using the Blog Slider module of the Divi plus plugin. If you want to start creating yours, then you can probably take inspiration from these.


Conclusion
To adopt an easy way to create Divi post sliders, then using the Blog Slider module is an ultimate option. You not only create post slider but you can also customize them on a higher level using its options to make the most out of it. The ignore sticky post and post offset are one of those options. Moreover, it will support the Theme Builder, which means you can create recent post sliders as well inside the post content. Hence, it will bring more exposure to the content of your website. So, if you want to add a beautiful, functional, and super engaging post carousel on the Divi theme, then Divi Plus Blog Slider is suitable for this kind of Divi designing need.
Get it today and let me know your experiencing using it in the comments section. If you have any suggestion, they are also welcome.


Couldn’t find an option to enable this module to show only posts from the current category. Using it inside the Theme Builder > All Blog Posts – template.
Any suggestions?
Vishvendra how did you display your images above the post (as in example #2 in your Divi Post Slider Examples)? Is this a custom CSS setting?