
Build your Divi WooCommerce store and have added the wishlist functionality? And now looking for a way to display customers’ wishlist items engagedly? Well, through a custom Divi wishlist page, you can easily display those items to your customers.
In the previous post, we discussed what a wishlist is and how a wishlist works. Check it out, if you haven’t added the wishlist button to your website.
And in this tutorial, we will show you how to create a custom WooCommerce wishlist page for Divi using the Wishlist module of Wishlist Manager. Just follow the steps one by one and when you reach the end, you’ll have your nice wishlist page.
If ready, then let’s get started!
Step 1 – Install Divi WooCommerce Extended
Wishlist Manager is an extension of the Divi WooCommerce Extended plugin, which provides you with multiple modules and extensions for a Divi WooCommerce site. Instead of using a dedicated WooCommerce wishlist plugin, you can use modules and extensions of this plugin to build a Divi and WooCommerce-powered store from scratch. Or you can implement various functionality to improve the digital store’s performance and looks. For example, using the WooCommerce Product Carousel module, you can add WooCommerce product slider – an interactive way to showcase products. Likewise, there are multiple products that make an eCommerce store amazing.
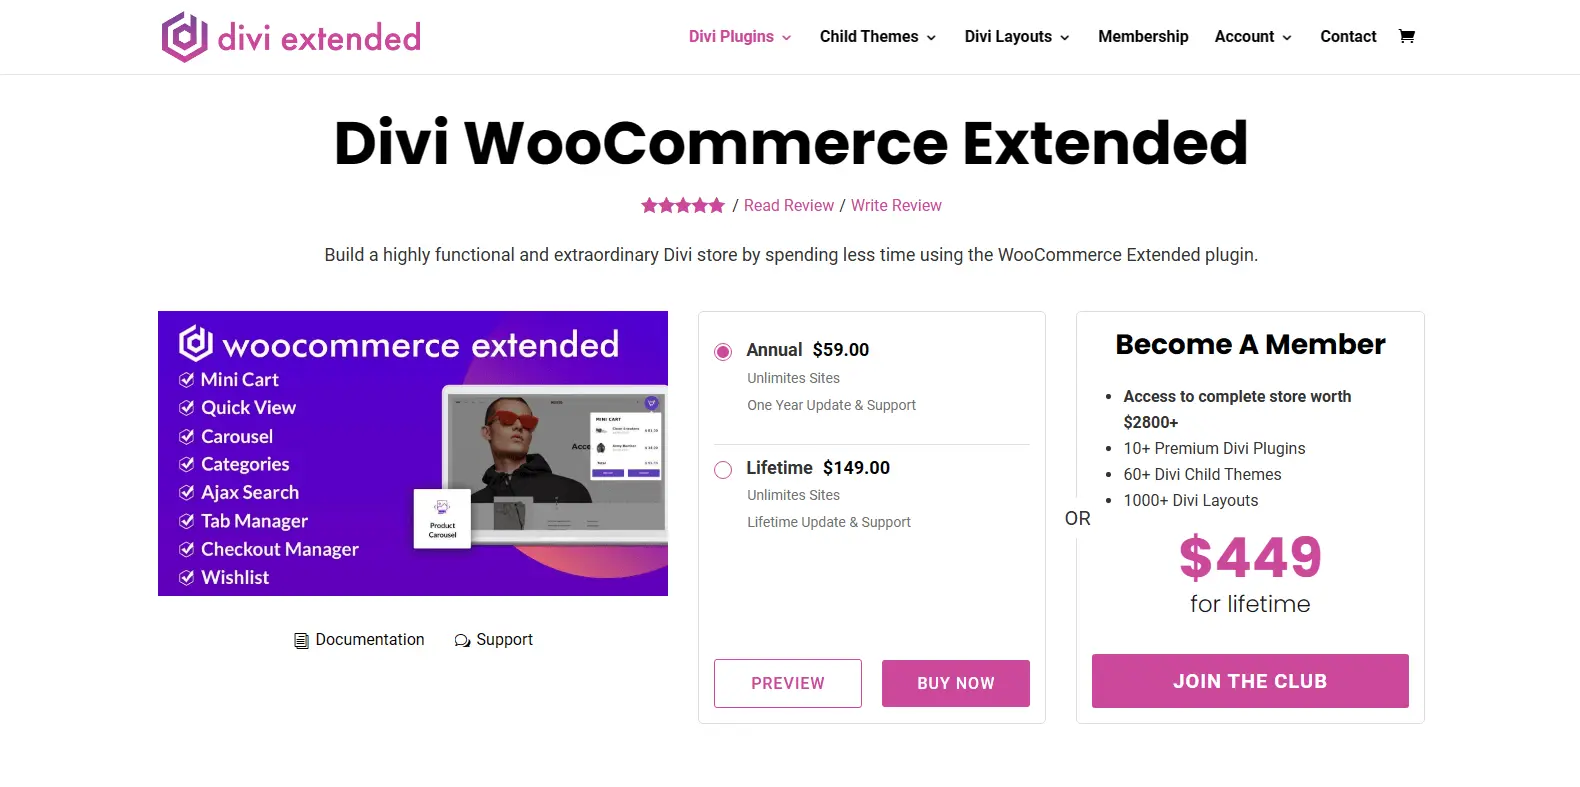
For a wishlist page design in Divi using this plugin, first, you need to get it from the Divi Extended Store. This plugin provides you with all the features like a dedicated WooCommerce wishlist plugin to design a wishlist page. The #1 Divi Author on Elegant Themes Marketplace. It’s a premium plugin, so you get different options to get it as per your requirements.
Yet, whatever you choose, it’s the fastest method to build a Divi wishlist page with no complex process.
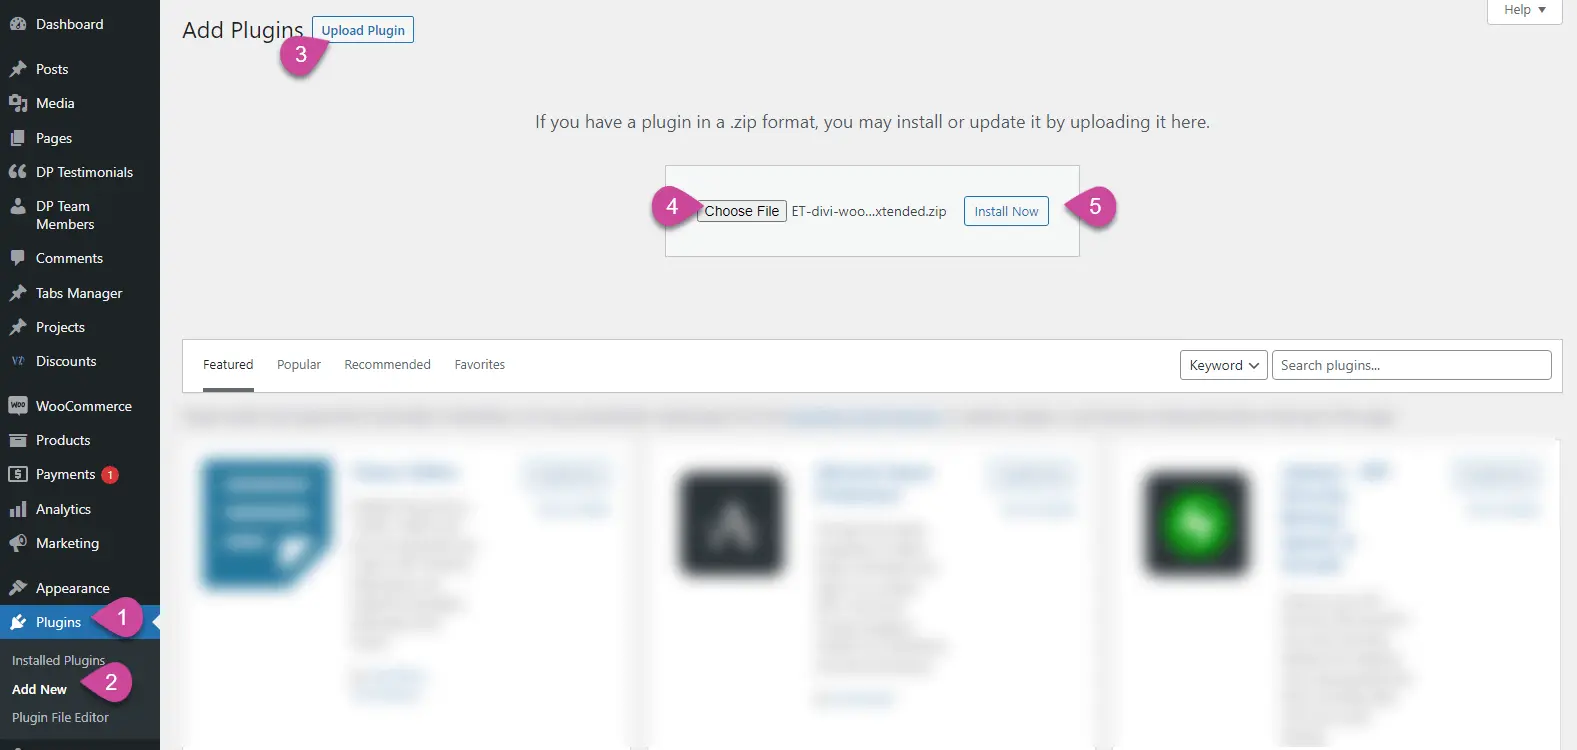
Once you have it, download the Zip file and go to the Plugins → Add New → Upload Plugin. Click, Choose File → select the file you’ve downloaded → Install Now. Once the plugin is installed, click Activate Plugin and move to the next step to enable the Wishlist Manager for the Divi wishlist page.
Step 2 – Enable Divi Wishlist Manager
To build our custom wishlist WooCommerce page for Divi, first, we need to enable the Wishlist Manager extension. So, to do that, on your WordPress Dashboard, go to Settings → Divi WooCommerce Extended.
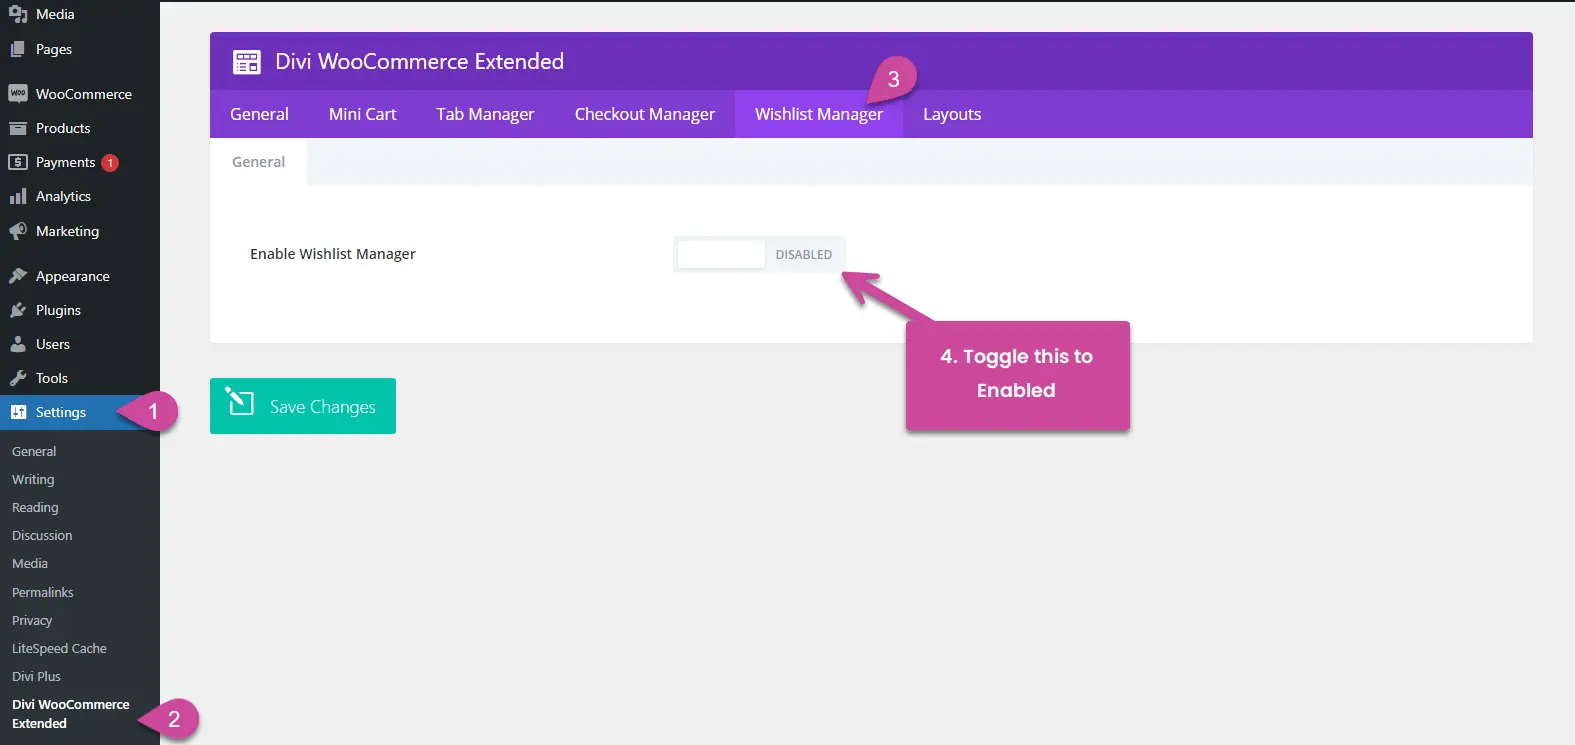
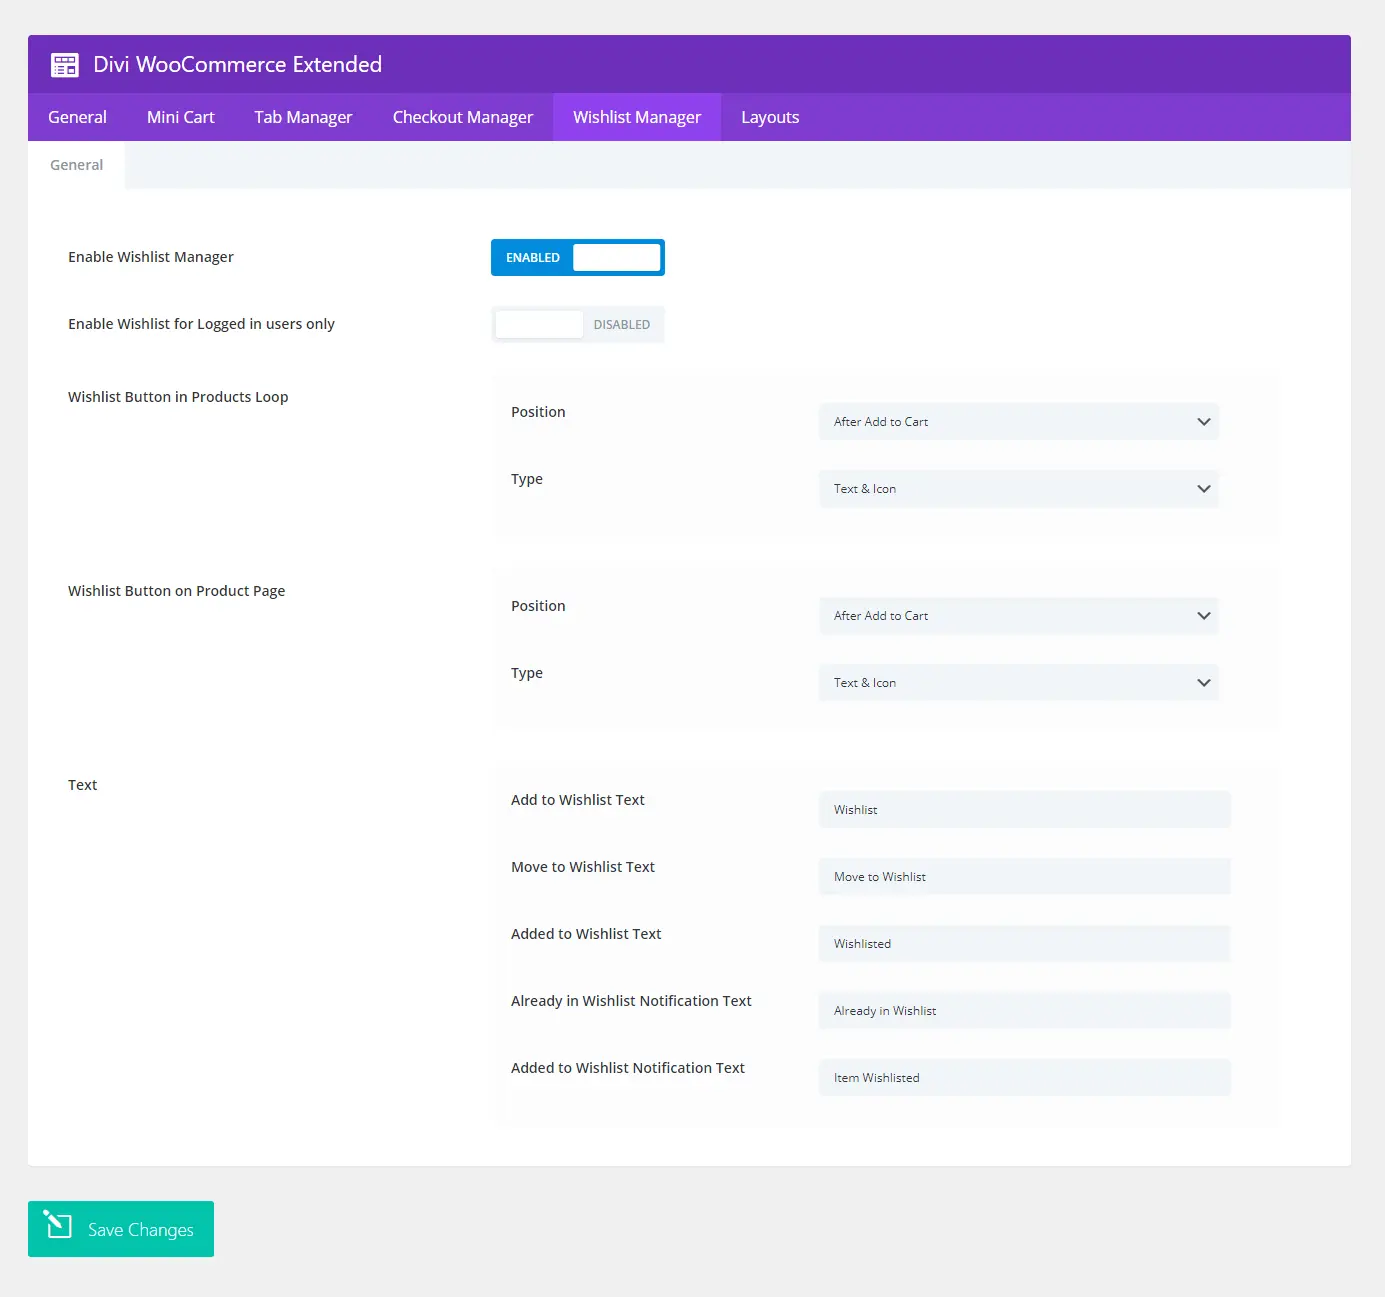
Then, in the settings panel, go to Wishlist Manager → and check Wishlist Manager to Enabled. As you enable the extension, you get the options to customize the wishlist button. Follow this tutorial, to learn how you can effectively use these options to add the wishlist for WooCommerce in Divi.
Once you’ve enabled the Wishlist Manager on your Divi WooCommerce store, we can move to the next step. We’re ready to build our custom Divi wishlist page.
Step 3 – Launch Divi Builder and Add Wishlists Module
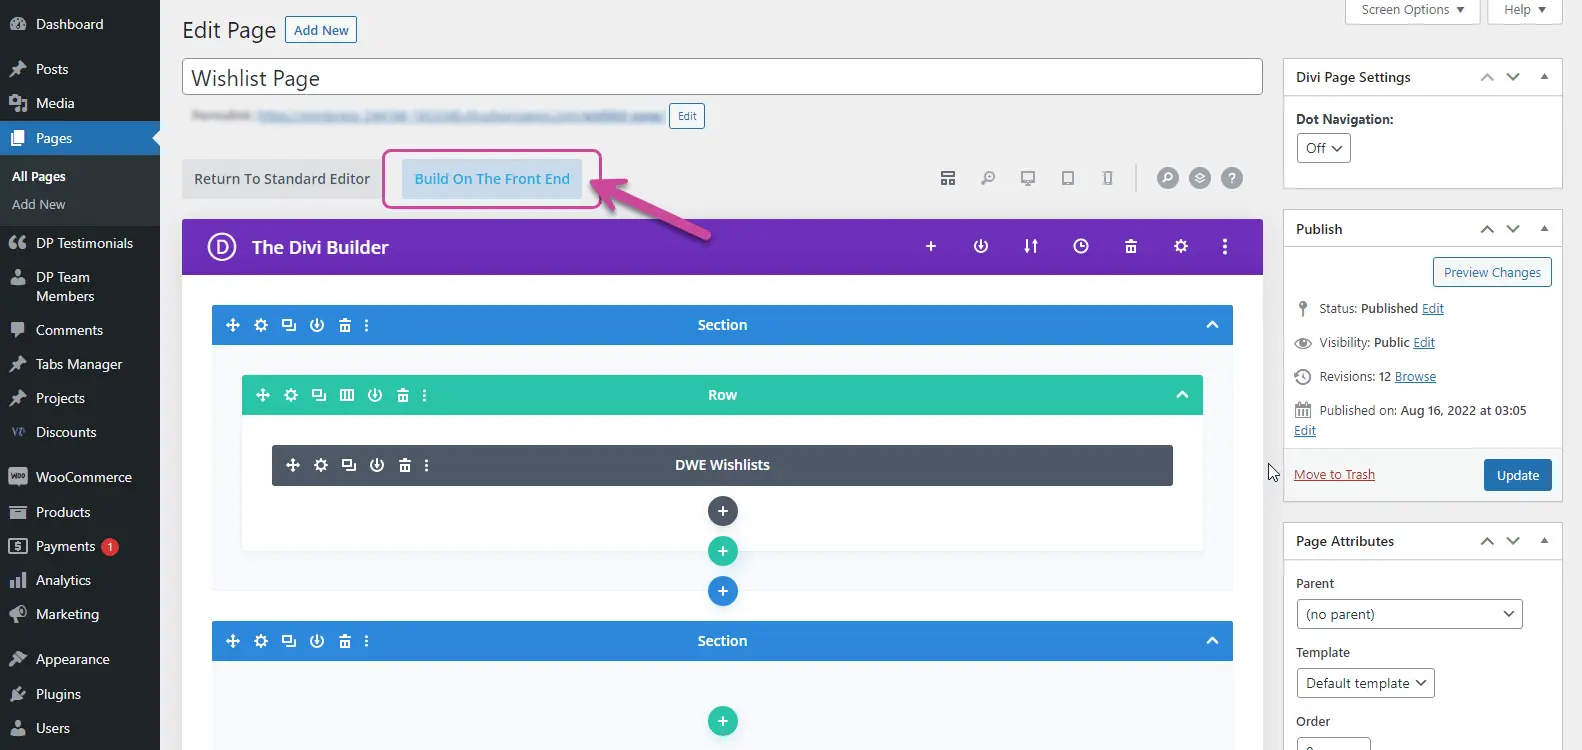
This step is where we get into the technicality of building the wishlist page. Though it’s all easy and simple. Create a new page or edit an existing one where you want to display the wishlist page. Launch Divi Visual Builder by clicking the Build On The Front End.
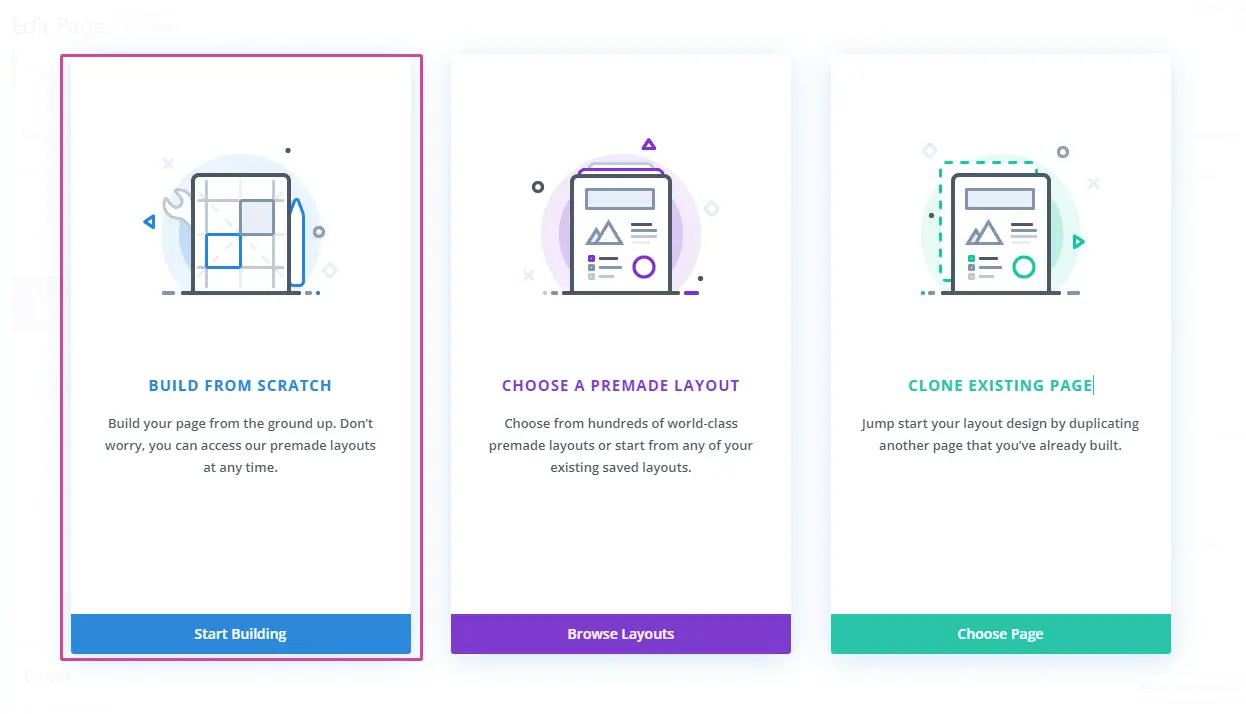
Visual Builder is where you can really enjoy the possibilities of Divi to build a modern website. When the builder loads, choose BUILD FROM SCRATCH.
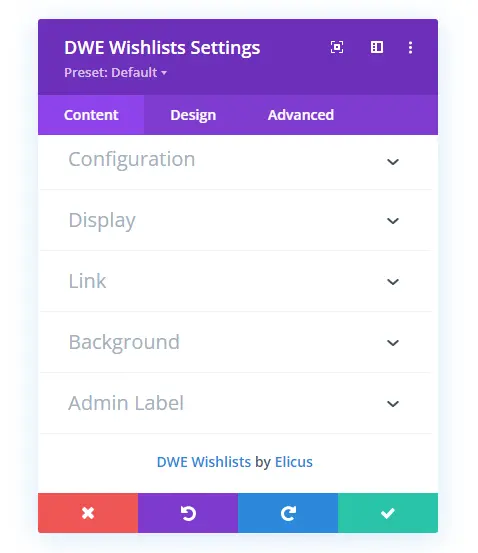
Once it’s loaded, add the following DWE Wishlists module from the module’s library.
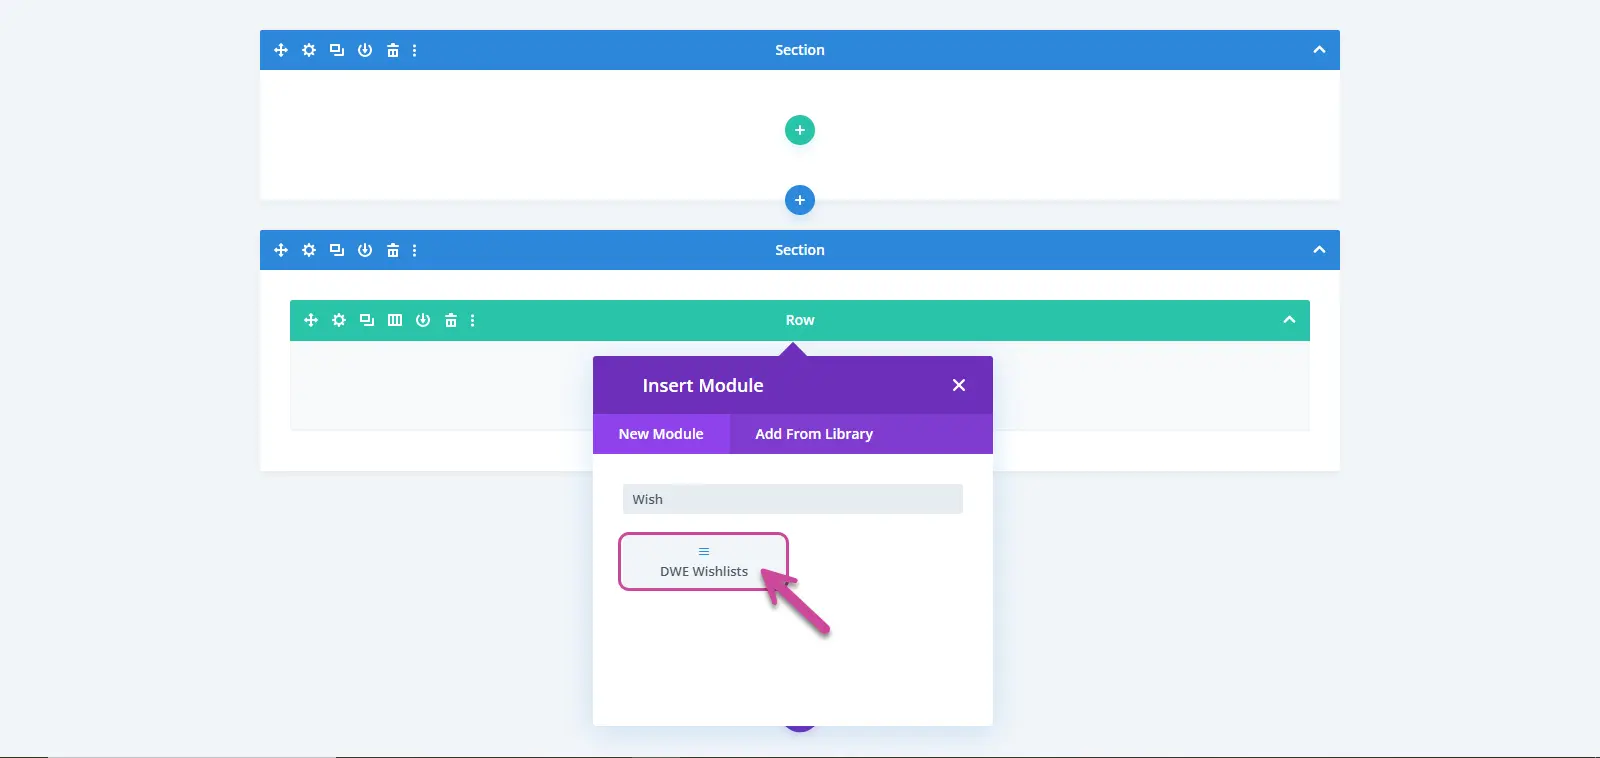
As soon as you add the module, you’ll see the products for the wishlist.
If you don’t see any product for wishlist page design, then what you need to do is first open the store and add some items to the wishlist. It’s simple, go to the Store → then click on the heart icon. Refresh the wishlist page you’re designing and you’ll get the products.
This you only need to do when you don’t see any product.
Step 4 – Customize Module Settings for Wishlist Page
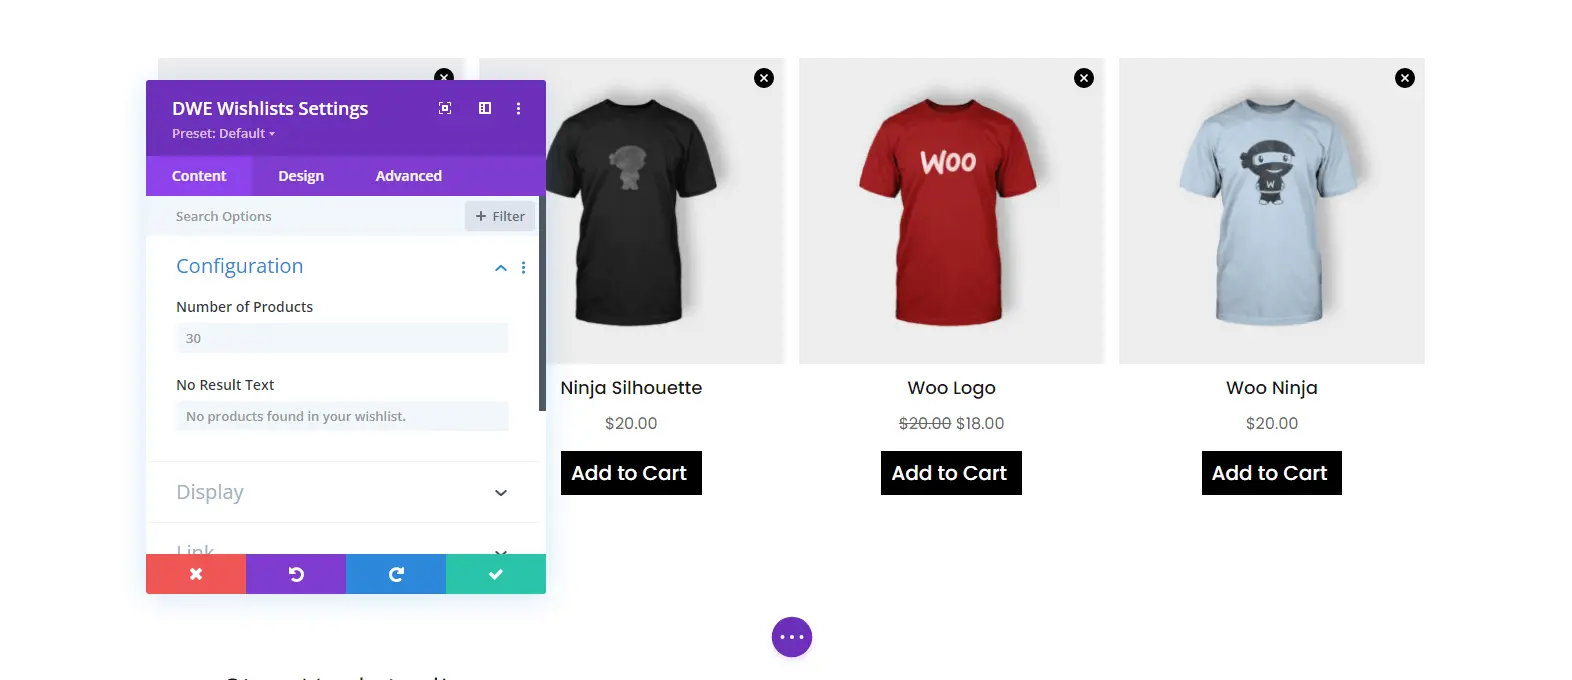
The settings you get first when the module is added to the page are Content. Therefore, let’s explore them first.
Customizing Content Settings of the Wishlist Page Module
In the Content tab, you get Configuration, Display, Link, and Background as the additional settings for the Wishlists module.
Configuration
In the configuration settings, you get the option to define how many products you want to display on the page. Plus, what should be the text when there’s no product added to the wishlist.
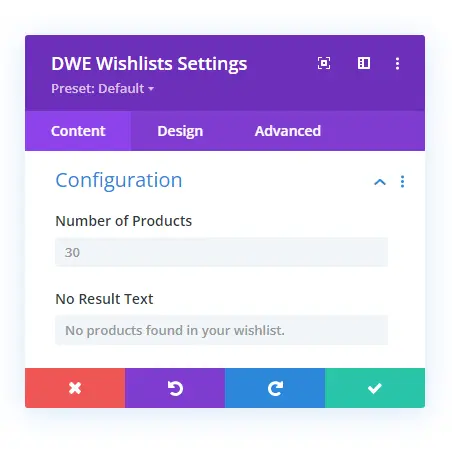
In this way, you can limit the load if there are multiple products in the wishlist improving the performance of the page. The custom text for no results allows you to present the message creatively and in the fulfilling sense.
Display
The Display settings of the Wishlists module first let you enable different fields on the products.
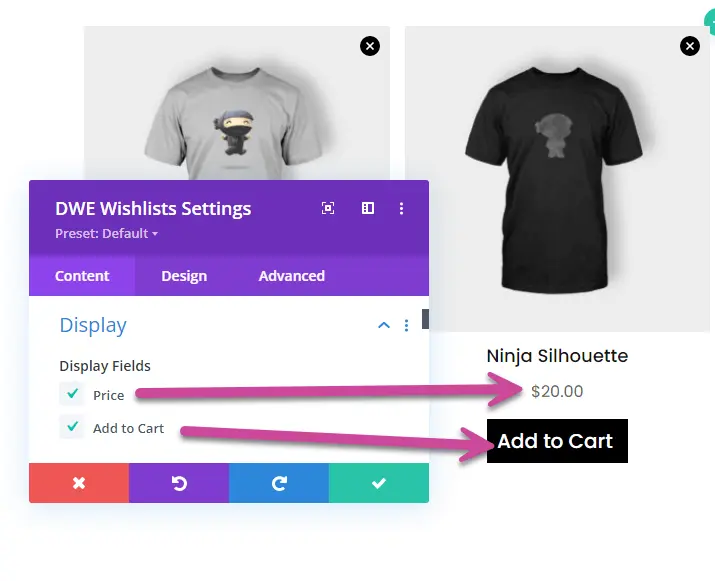
You can choose to display Price as well as Add to Cart button. Then, moving forward to the options, you get to adjust the products column up to 5. Plus, their spacing as well.
After that, you can apply the Masonry layout to your Divi WooCommerce store by checking the Use Masonry to YES.
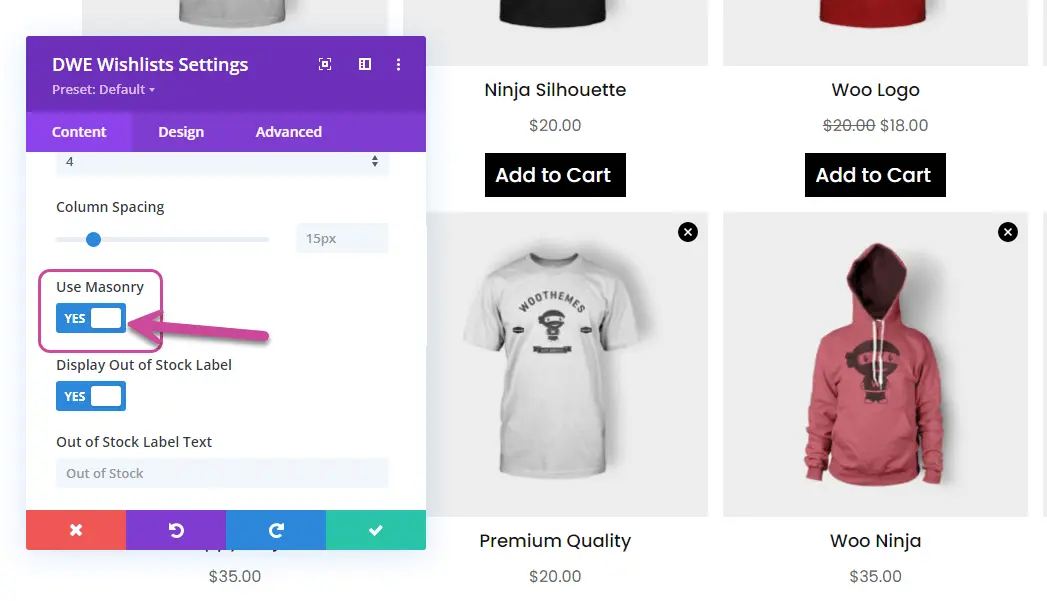
Then, the Display tab offers multiple fields to set custom text for,
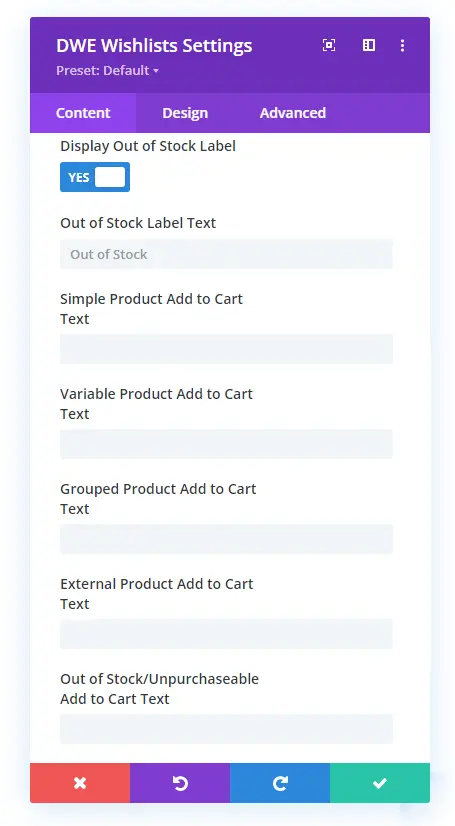
- Out of Stock Label Text.
- Simple Product Add to Cart Text.
- Variable Product Add to Cart Text.
- Grouped Product Add to Cart Text.
- External Product Add to Cart Text.
- And Out of Stock/Unpurchasable Add to Cart Text.
Link
Here, you can decide where the product page will open when the users click it,
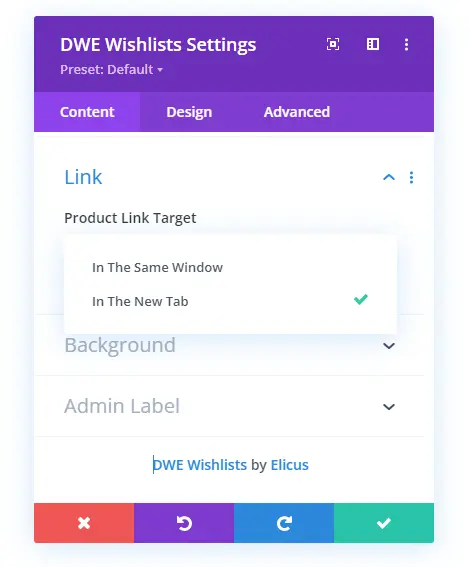
Whether In The Same Window or In The New Tab.
Background
The final setting we’ve got in the Content tab of this Divi WooCommerce module is Background. Here you can customize the product background with Color, Gradient, and Image.
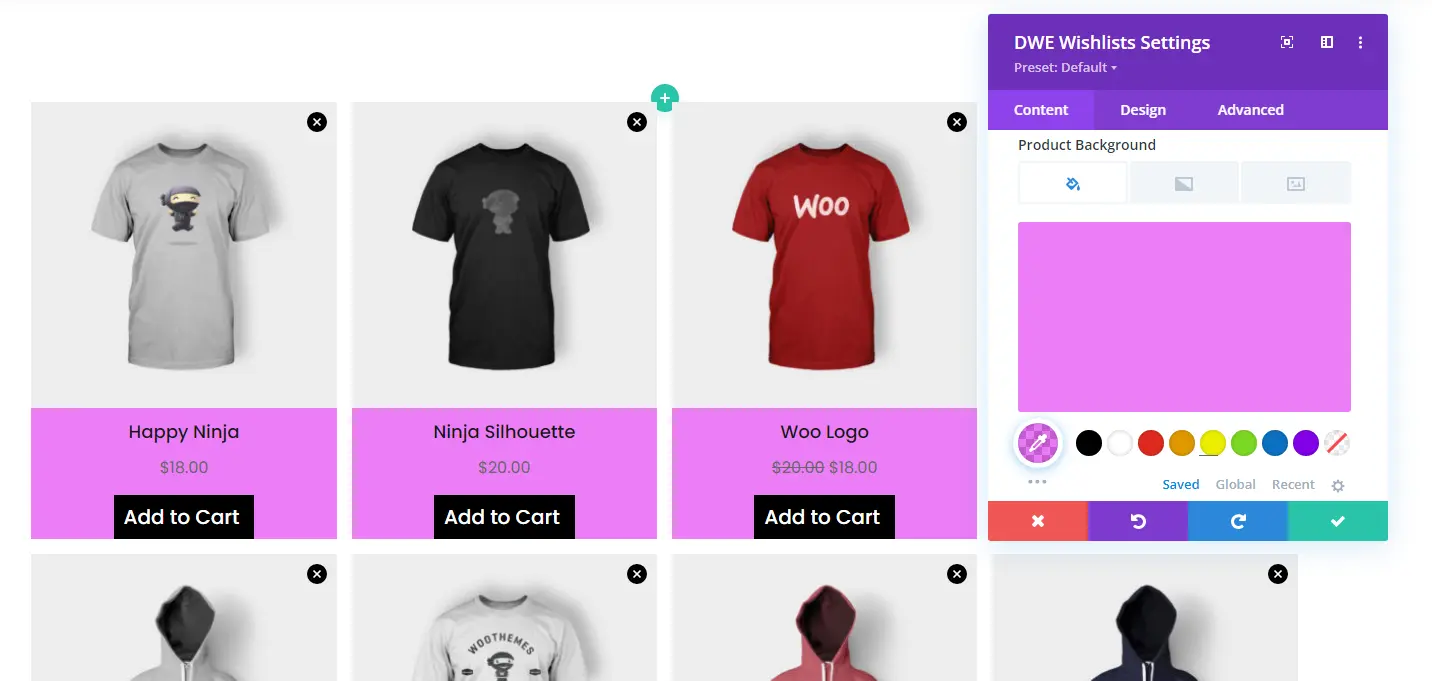
Apply changes per you need and then move to the Design tab to customize the wishlist page’s look.
Customizing Design Settings
The Design tab of the Wishlists module provides you with the following settings:,
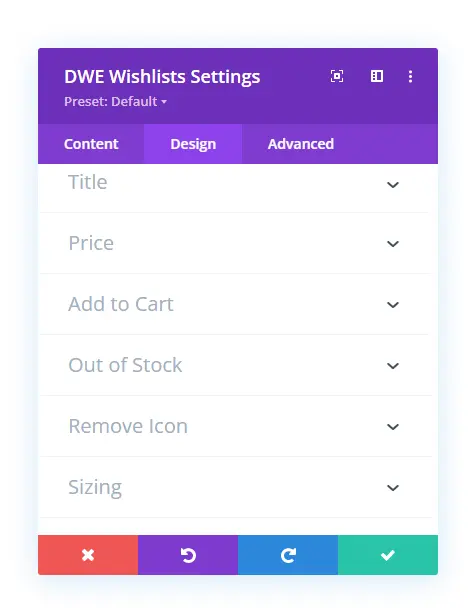
Let’s discuss each one by one.
Title
In the Title settings of the Design tab, you get the options to apply text customizations to the product title.
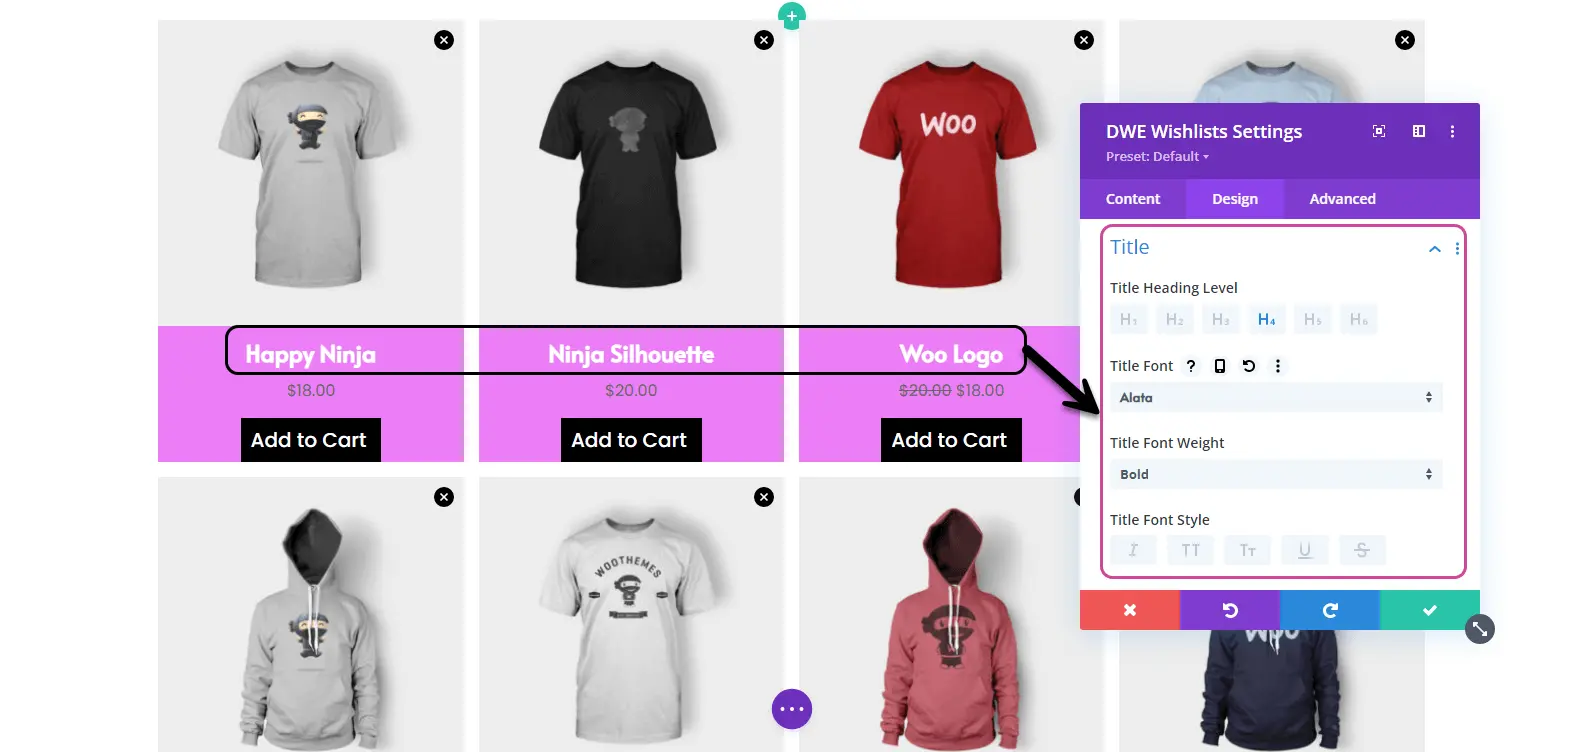
You get the heading levels, text font type, weight, style, and alignment. Plus, color, size, letter spacing, and more to make the title highly readable and match your store’s look and feel.
Price
In the Price settings, you again get the text customizations. However, here you can apply them to,
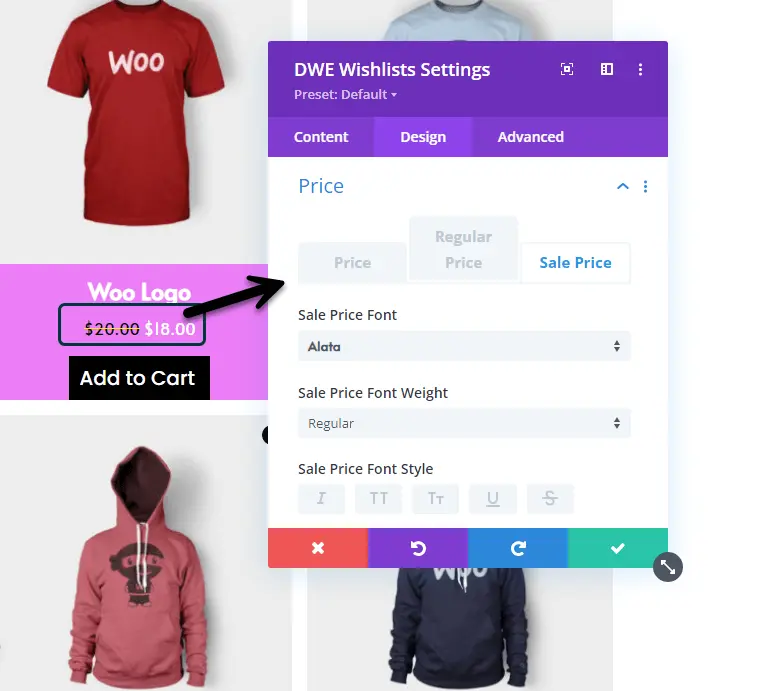
- Default Price
- Regular Price
- And Sale Price.
Based on your web store’s default font and text customizations, adjust the settings.
Add to Cart
Using the Add to Cart settings, you can enhance the design of your products’ add to cart button. The settings provides you with the option to apply a custom icon to the button.
Switch Show Add to Cart Icon to YES to use a custom icon from the available icon’s library.
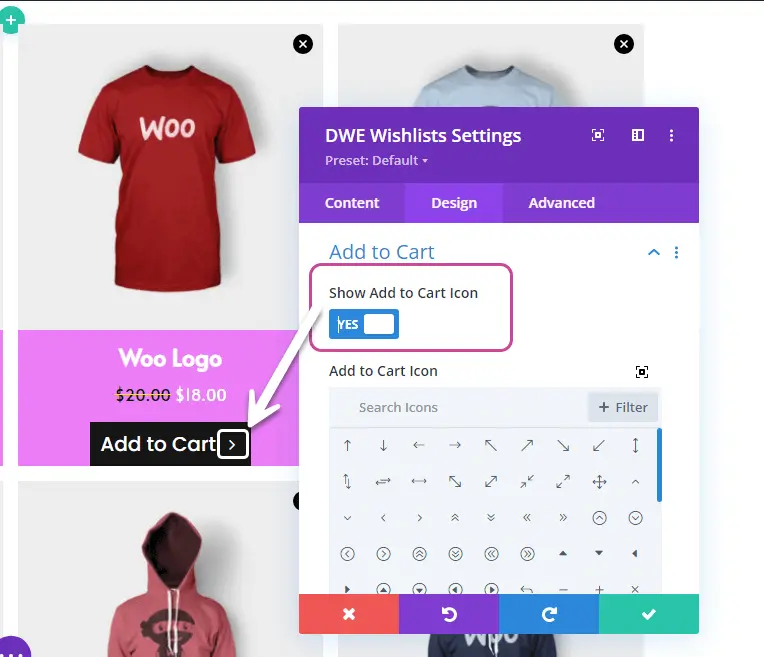
Then, you get the option of whether the icon should be displayed on hover or by default. So, if you want to display an icon on hover, then switch Only Show Icon on Hover to YES.
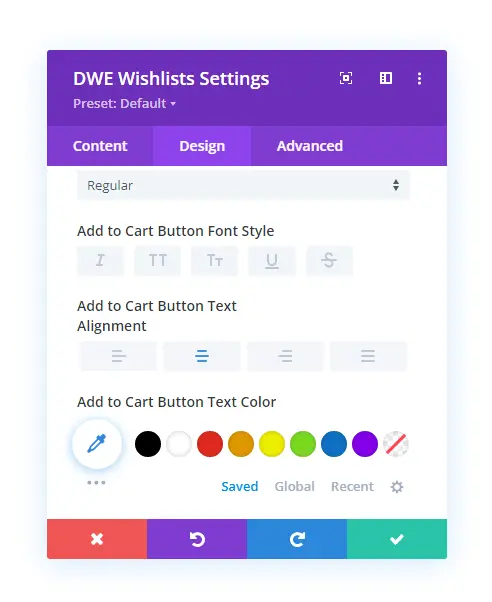
Then, use other options like,
- Add to Cart Icon Placement: to change the icon’s position to Right or Left.
- Add to Cart Padding: to adjust padding around add to cart button.
- Text Options: to make the add to cart button text match the website’s default look. Or enhance it.
After adjusting the add to cart button settings, move to the next option.
Out of Stock
Similar to the Title and Price settings, the Out of Stock settings allow you to apply text customizations to the Out of Stock text. You can change font family, weight, style, alignment, color, size, and more.
Remove Icon
Using the Remove Icon settings, you can perform the following customizations:
- Change the size of the icon using the Remove Icon Font Size option.
- Apply different color for the Remove Icon Background.
- And use the Remove Icon Color to apply color on the remove icon.
With these settings, you’ll be able to match remove icons with other settings of the Divi wishlist page.
Border
Using the Border settings, you can apply rounded corners to Products’ tile.
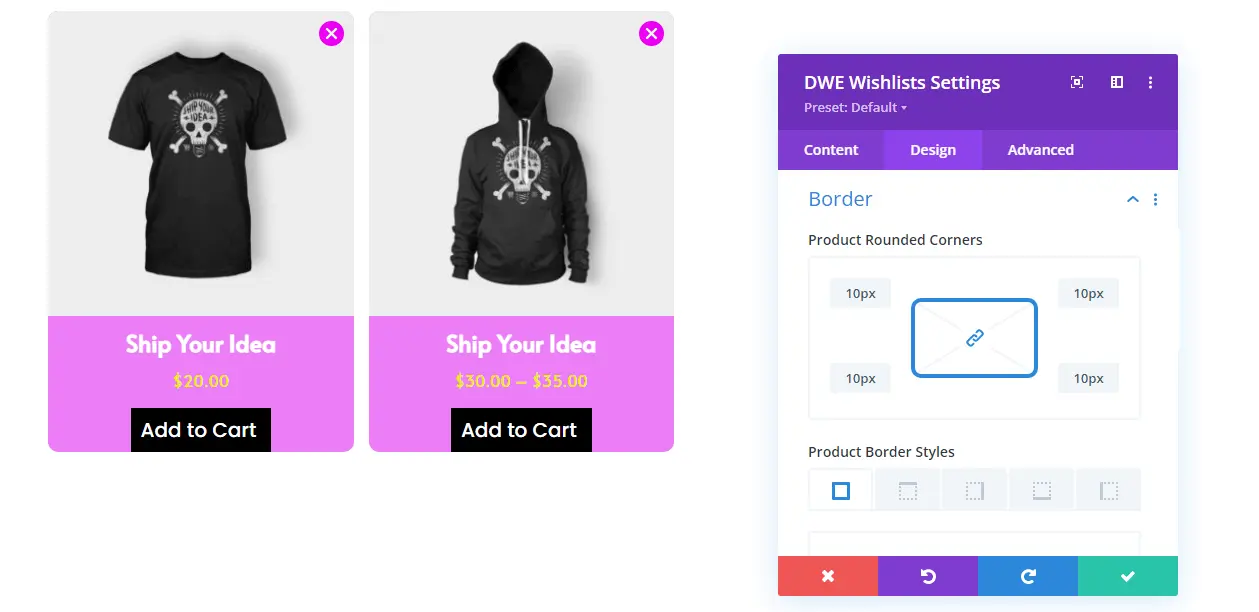
Simply define the value of how many rounded corners you want for the products.
Box Shadow
The Box Shadow settings enable you to apply shadow on the products’ tile using the Product Box Shadow option.
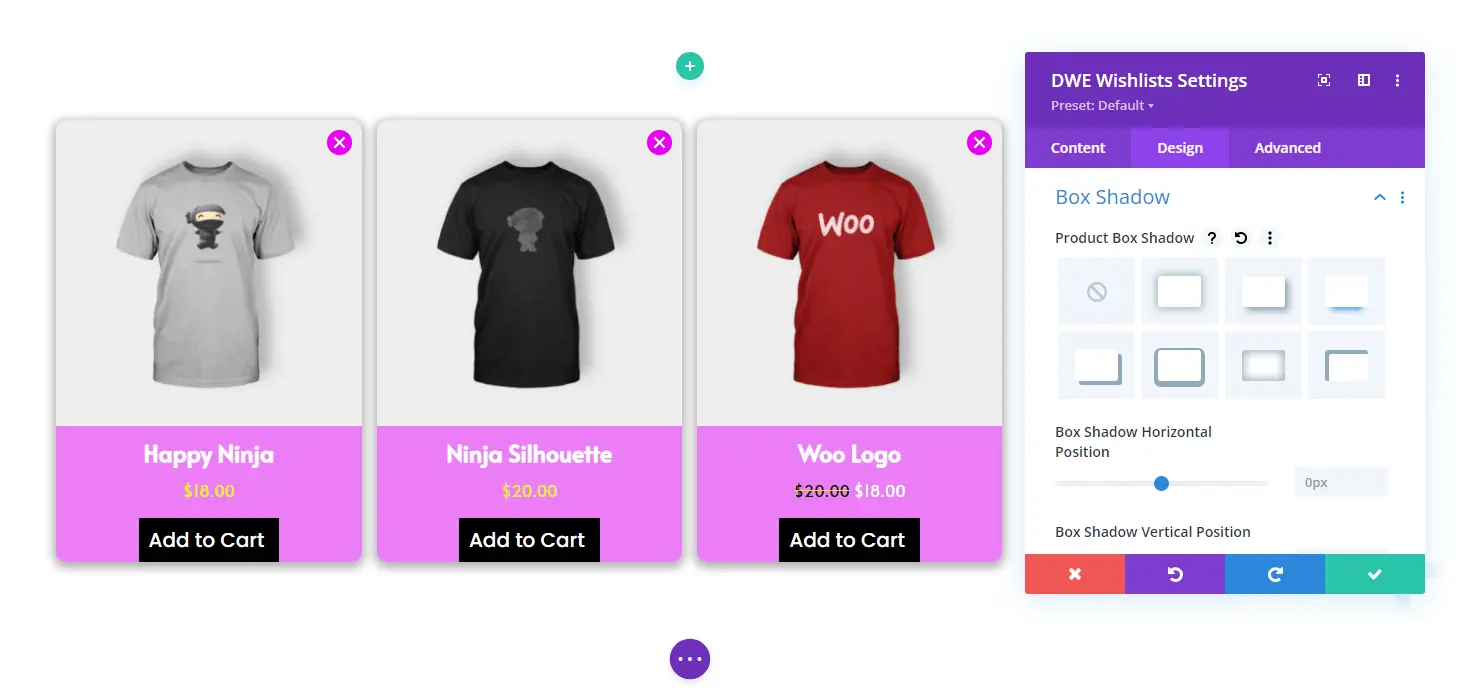
First, select the shadow, then adjust the values.
And that’s it.
Step 5 – Place Divi Wishlist Link
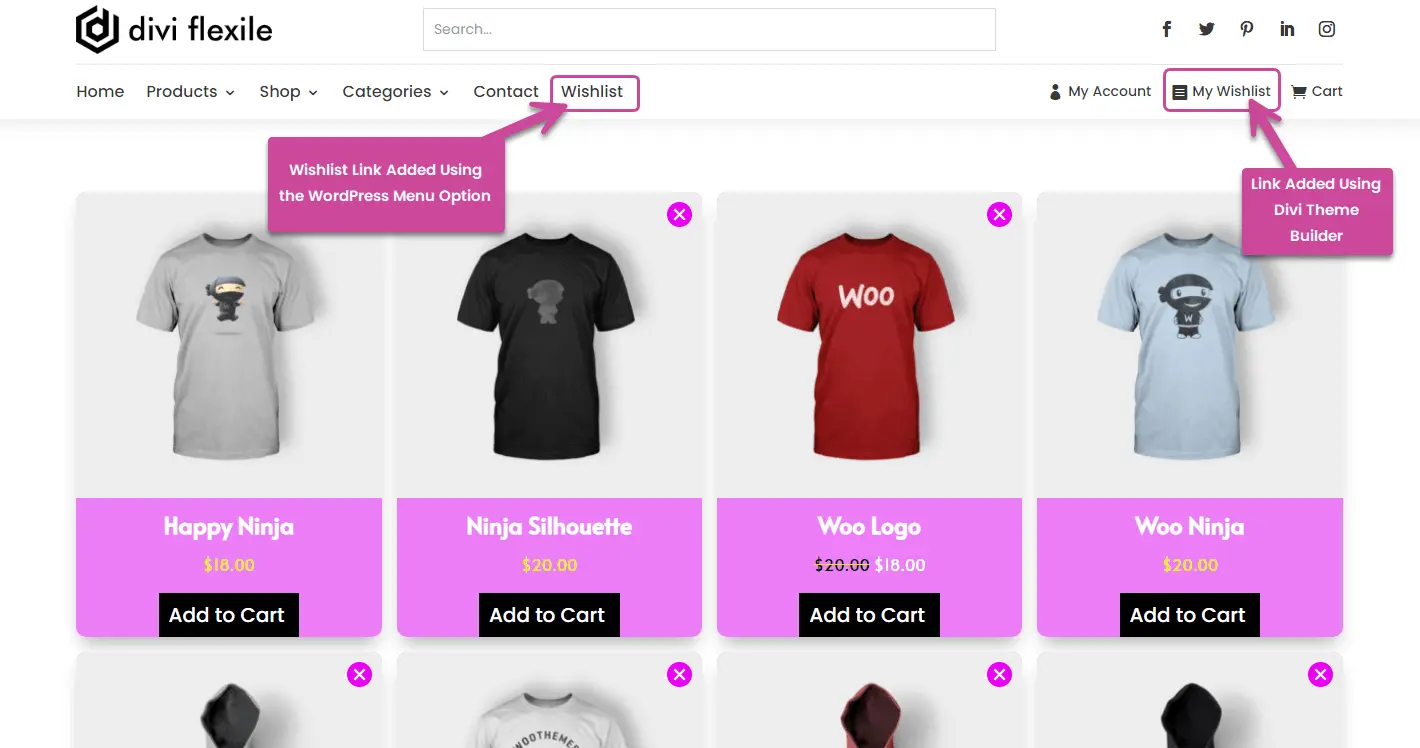
We have successfully designed our beautiful and impressive Divi wishlist page. Now, what’s remaining is to place the Divi wishlist link where the customer can easily access it. In experts’ opinion, the best place is the main menu. Or you can say Header.
The navigation will allow the customer to access the wishlist page whenever they need. So, for that, you can use the Divi Theme Builder to edit your header and insert the wishlist link. Or if you’re using the dynamic menu in your Divi header, then, it’s better to use the WordPress’s default menu option.
On your WordPress Dashboard, go to Appearances → Menus → select the menu → Primary Menu
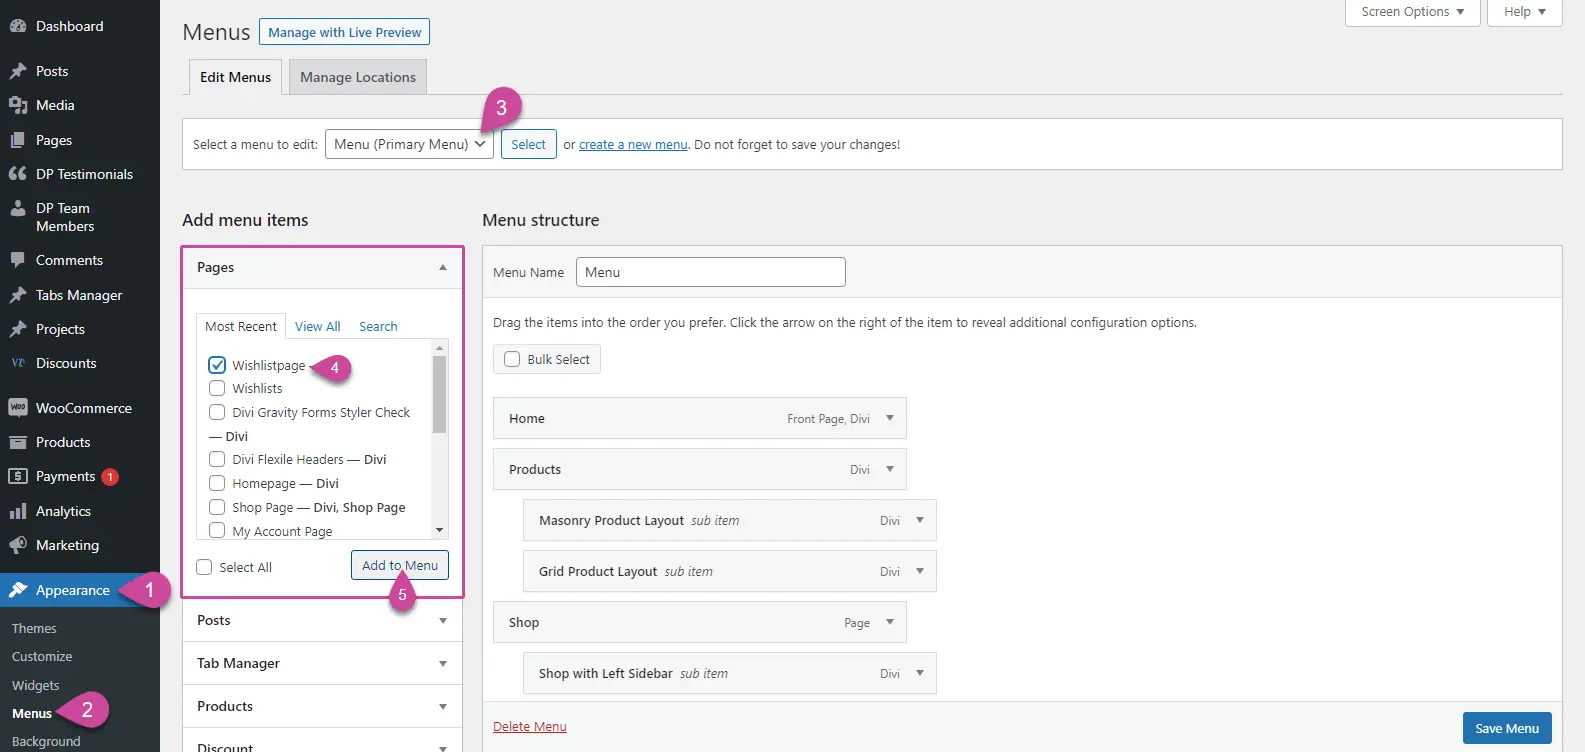
Here, select the Divi wishlist page from the Pages tab, then click, Add to Menu.
Once added to the menu, adjust it in the way you like and, once done, click Save Menu. And that’s it, we have placed the Divi wishlist link on the menu. Now, users will be able to access it easily. This is how it will be displayed.
Conclusion
So, this is how you create a Divi wishlist page with Divi and WooCommerce using the Wishlist Manager. All the steps are easy to follow regardless of your WooCommerce or Divi experience. You get the option to adjust the number of products you want to display on the page. You get the option to apply masonry effect and also have the capabilities to apply different styling to different elements on the page.
Overall, the Wishlist module makes it worthwhile to build and design a Divi wishlist page that resembles the quality of a modern web store.
Therefore, get the Divi WooCommerce Extended plugin to design your own WooCommerce wishlist page in Divi. And not only the wishlist page, but you can also perform various actions using the other modules and extensions of the plugin.
Additionally, you can use your wishlist page to collect lead information and it could be a viable option to market to your potential customers from within your website. Check out this post from Elegant Themes on the best WordPress marketing plugins.
Check out the plugin’s demo today to learn more about Divi WooCommerce Extended and how it can help you build a magnificent Divi eCommerce site.


0 Comments