You have created food menus on your site using the Divi Restro Menu plugin and now wants to add those menu items to a different site. But the number of restaurant food menus is large, and adding one menu item at a time is daunting. Therefore, in this blog post, we’re going to look at a simple technique that can save your time and add food items to a different domain very easily.
Watch below video to learn how you can easily add a large number of food items to a website.
Plugins required
To add a large number of food items from one domain to another using Divi Restro Menu plugin, you need to export those data in a CSV file. And to do that, you have to install 2 more WordPress plugins.
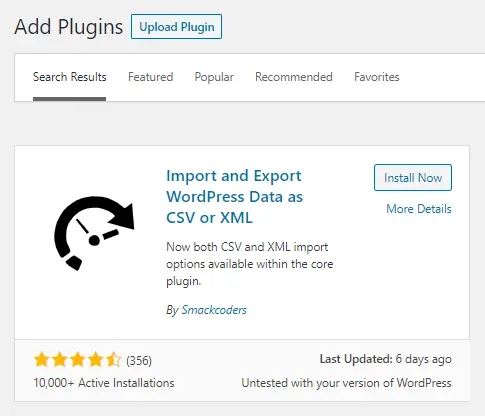
1. Import and Export WordPress Data as CSV or XML – by Smackcoders
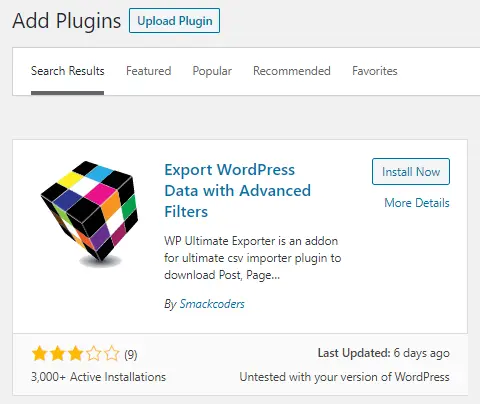
2. Export WordPress Data with Advanced Filters – by Smackcoders
Once you’ve installed these plugins mentioned above, activate them and move to the next step that is creating a CSV file.
Export food menu items to the CSV file
Step 1
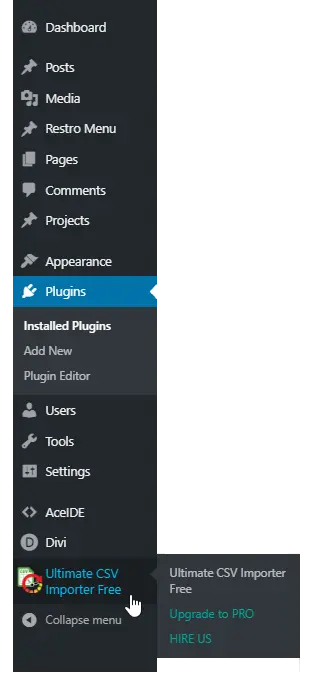
To create and export a CSV file of the restaurant menu you have on your site, go to WordPress dashboard and click Ultimate CSV Importer Free.
Step 2
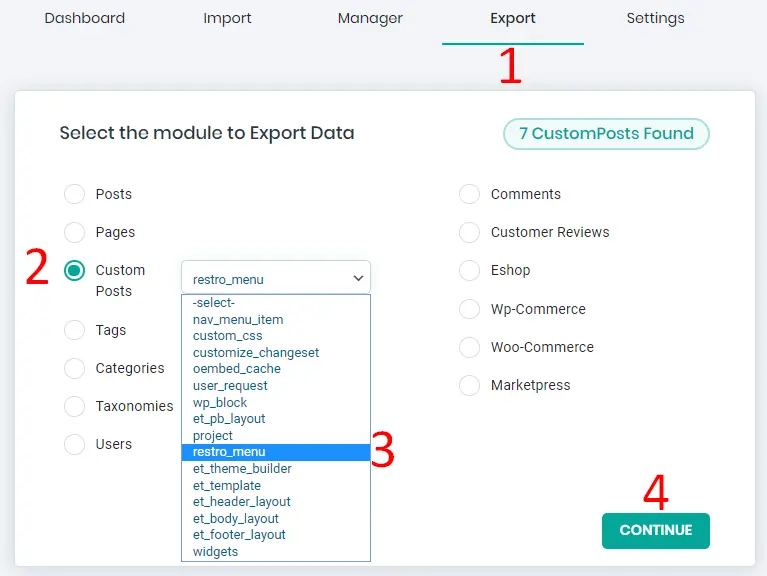
Then, head over to the export menu. Where you’ll get multiple options to export various data of your site such as Posts, pages, custom posts, tags, and more. In order to export restro menu data, you need first to click Custom Posts, then choose restro_menu from the drop-down list and hit continue.
Step 3
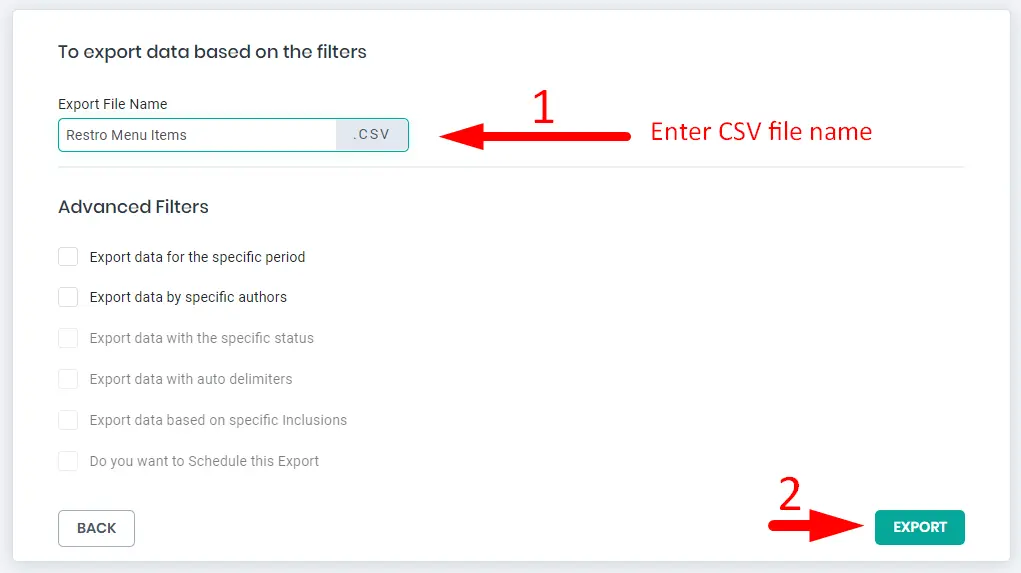
In the next window, you need to input the name of the export file and select some options available if required. Otherwise, you can click Export.
Step 4
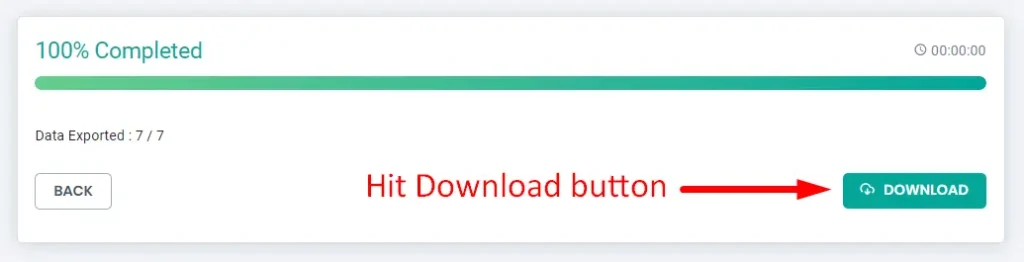
The export will take a little time if the size of the file is large. Once the process completes, you can download the file without any second-guessing.
Take a look at how the food menu items appear in the CSV file
The above CSV file containing data of the restro menu we’ve exported would look like the below picture.

It contains all the required information that is necessary to create a food menu item. Like, food menu item name, publish status, food menu item category, description, ingredients, price, and more.
Import CSV file to add items in the Restro Menu custom post type
Above, we’ve successfully exported the food menu items in the CSV file. Now, to import them on a different domain, we’re going to use the same plugin, we did before. Therefore, make sure that you’ve installed those plugins on both of the domains.
Step 1
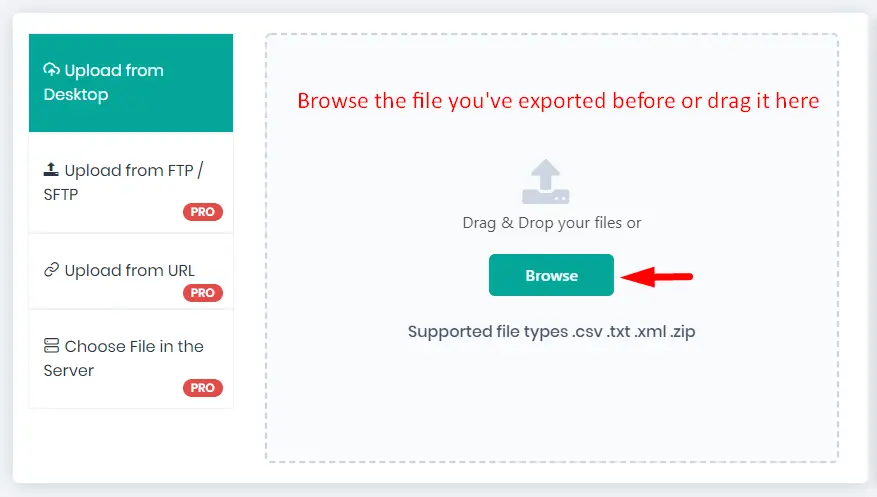
To import the restro menu file, go to Ultimate CSV Importer Free, as you did in the export section. Import window would open, and by clicking the Browse button, choose the file you’ve exported before.
Step 2
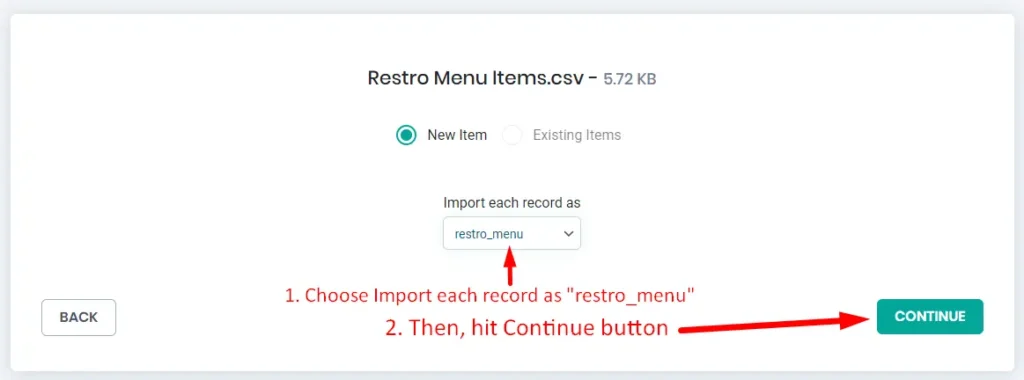
Once you select the file, you’d progressed to the next stage, where you can select how you want to import the data of the file. Choose “restro_menu” for the “Import each record as” option. This will import all the files as restro menu food items.
Step 3
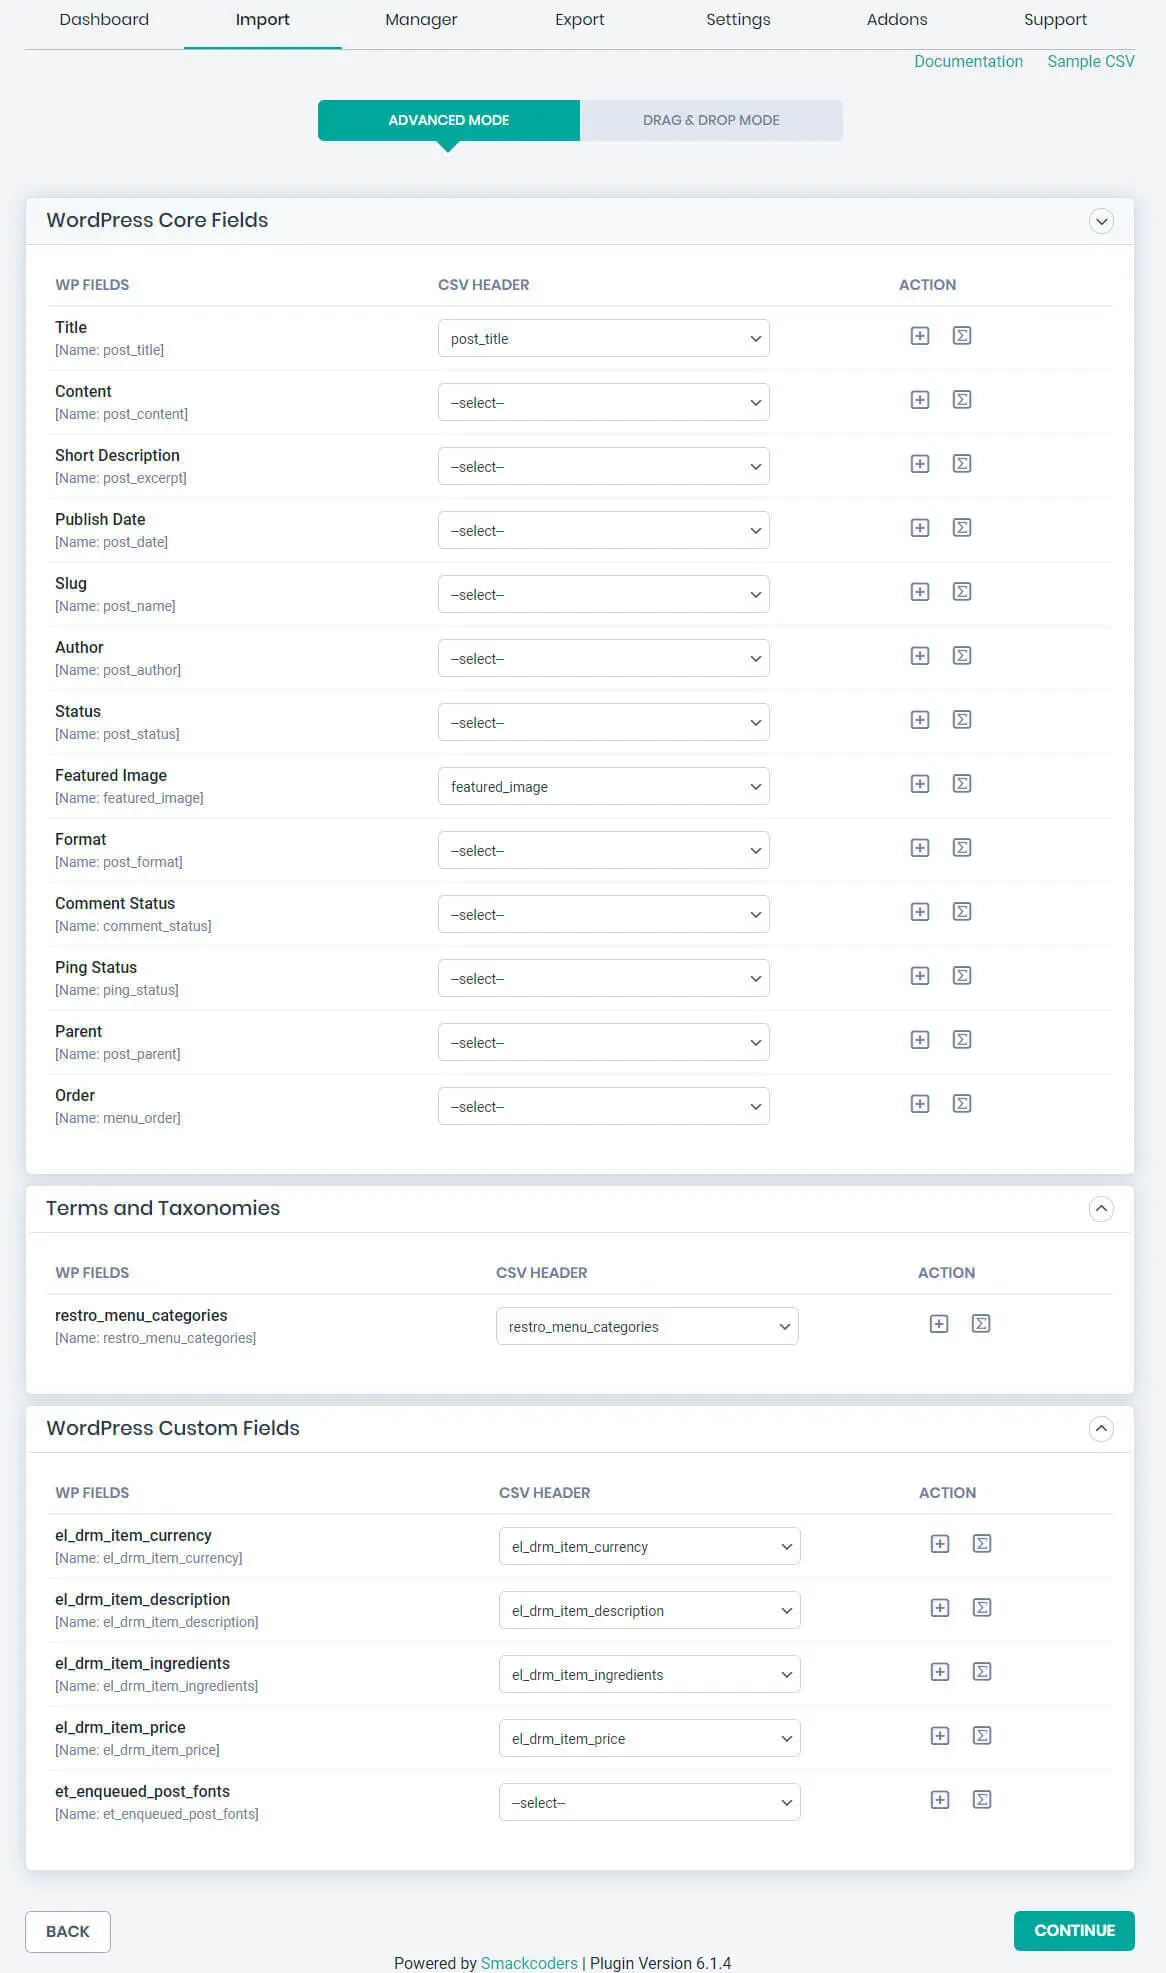
After choosing the record option, you’d progressed to the next step, where you can configure core food menu items, tags, and custom fields.
Step 4
Once you determine and configure the custom fields in the above step and continue, you’d see a new window. It would ask to download external images to your media. If you enable this option, it will download the image associated with the link available in the CSV file.
Enabling this option would also open other features for media handling. So, if you don’t want to fill up the space of your site, then you can directly progress to the next step by clicking the continue button.

Step 5
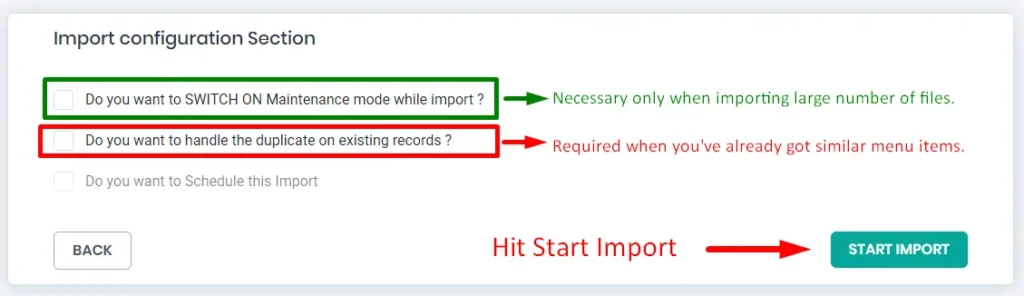
Upon the next step, you get the option focused on your site’s behavior. It asks you to put your site on maintenance mode while the import process runs. So, if you’re importing a large number of files, then it is for the best practices that you enable maintenance mode.
It also provides you the option to handle duplicate files. If you’ve got some files already on your restro menu custom post type, and you think importing files without selecting this option would create duplicate files, then you should choose this option—otherwise, Start Import.
Step 6
The import process would take a little time. Lest you’re importing more number of files, then the process would take time longer than expected. And once the food menu items are imported from the CSV file, you’ll see the below window. Where you can view the log, or close the task and head over to the restro menu custom post type.

Restro Menus after importing through CSV file
After the import, your food menu items would look similar to the items shown in the below screenshot.
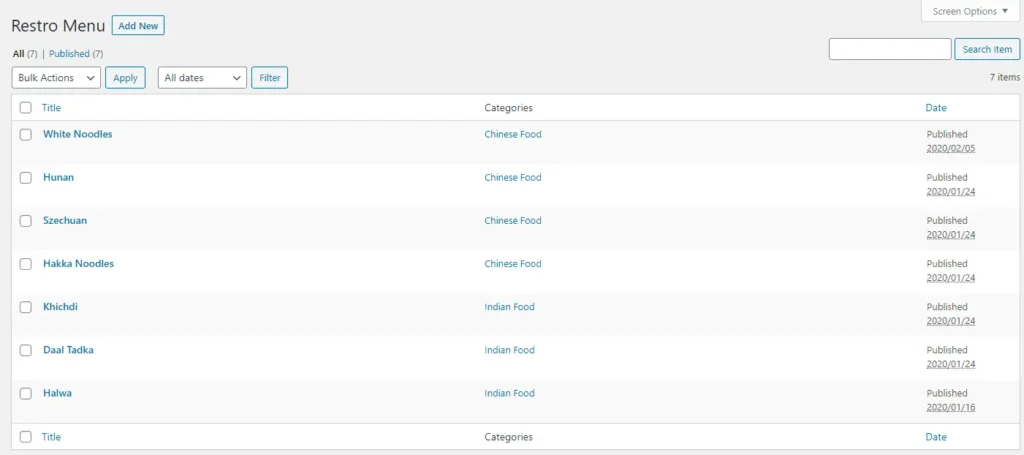
And thus, we’ve successfully imported the restro menu food items through a CSV file. Similarly, by following these steps, you can export and import food menu items to any domain. This process would take less time, and you’ll be able to create a large number of restro menu items.
Summary
Above, we’ve shown you, how easily you can export and import your food menu items through a CSV file into the Divi Restro Menu plugin. If you haven’t used this plugin yet to create attractive and beautiful food menu items, then go and try it now!


0 Comments