Highly successful websites offer their users solutions that are user-friendly. Solutions that won’t confuse them or take more time.
And a blog on the website is an imperative area that helps the website owners to expand their reach. It helps them make users aware of different services, products, or solutions they provide in a particular field.
A blog or an archive is something that contains an extensive amount of content, which can easily overwhelm the user.
If you don’t take any measures, then from a solution-providing base, it can become an endless maze of havoc. Where users continuously scroll to get the right information they are looking for.
However, by using some elements, it’s possible to make it user-friendly, for example, a search bar that easily lets users find the topic they are looking for. Another way you can make your archives more user-friendly is by using a blog filter.
What’s a Blog Filter and How Can it Help?
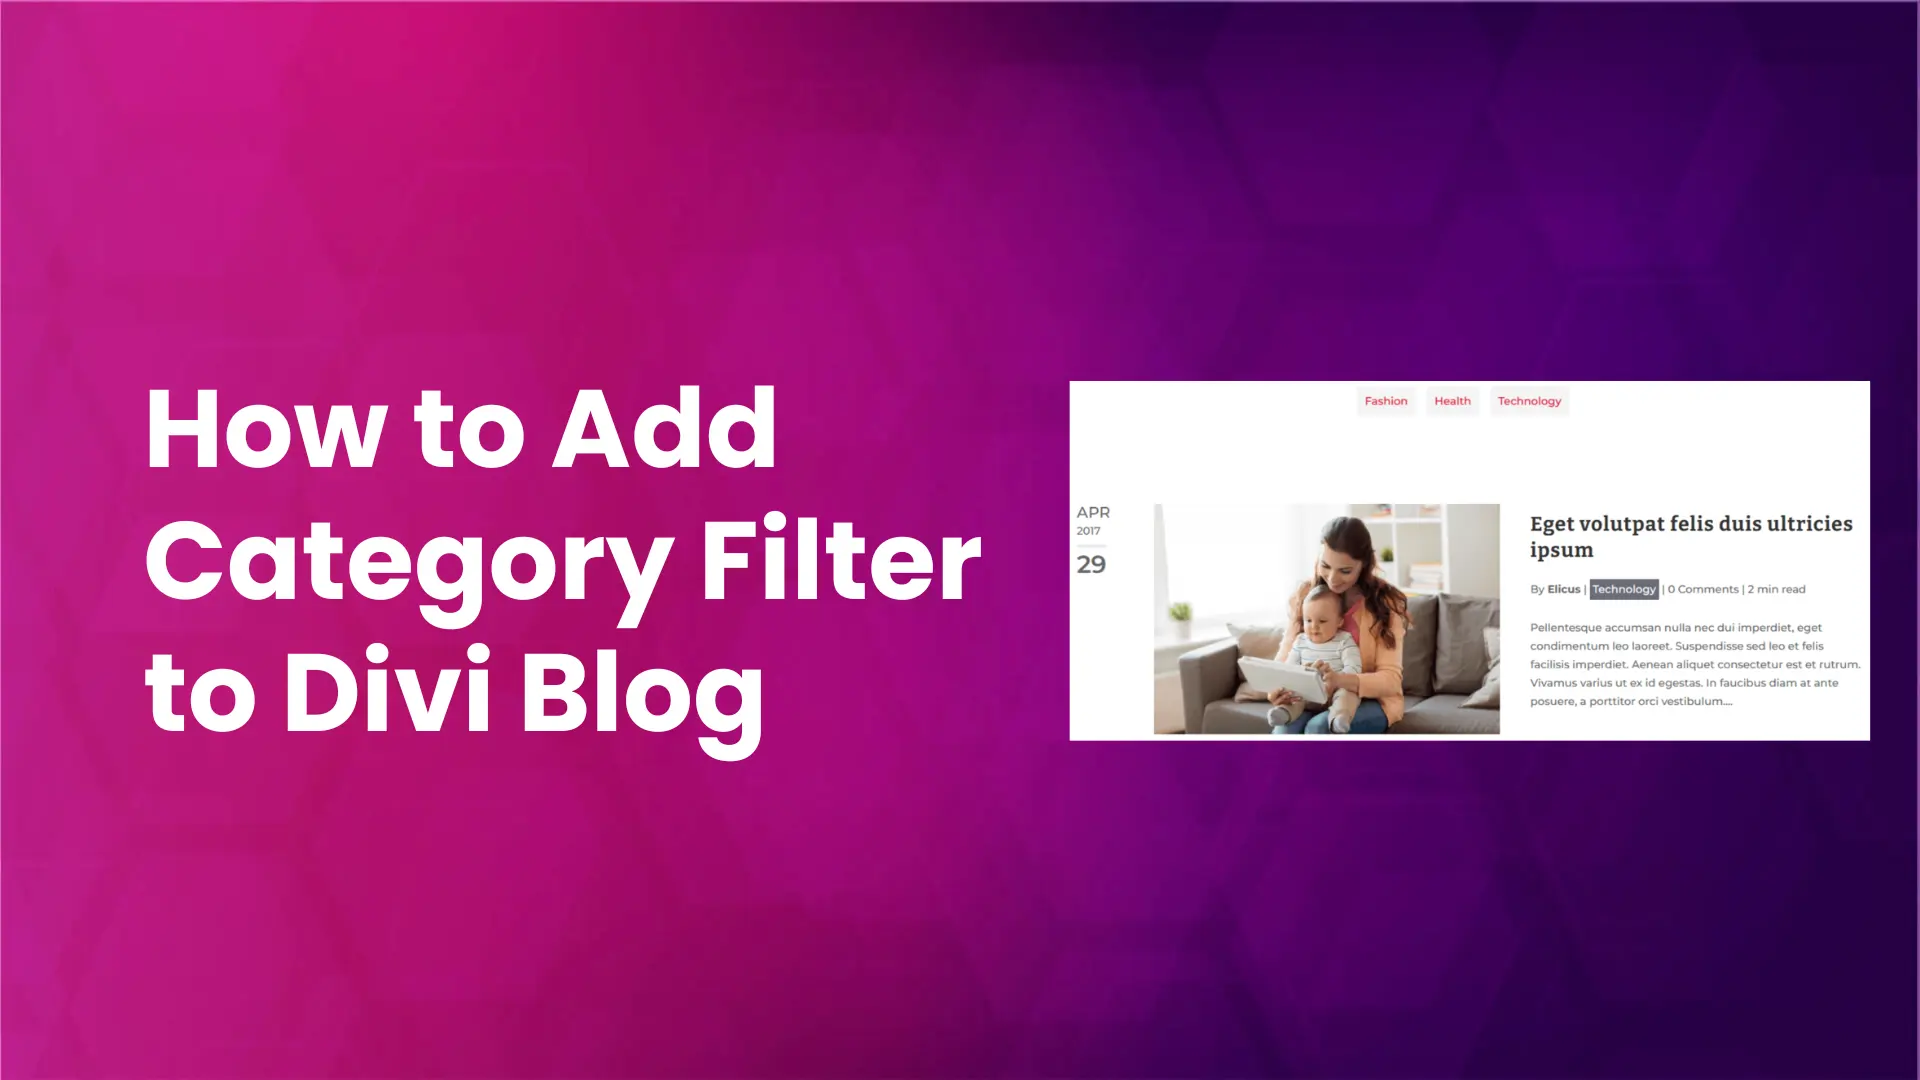
A blog filter is a webpage element that adds category shortcuts on the blog page, allowing users to find a topic of interest easily.
As you can see in the above example, there are different category shortcuts/filters on the archive page. When users click one of those category shortcuts, the archive loads posts related to that particular category.
This makes it easy for readers to find the information they seek. Or at least keeps the posts hidden that aren’t of their use. Hence keeping their mindset in the right zone without killing the energy or fun they find in search.
A blog category filter makes things more user-friendly as well as organized, with nothing that turns off the users. Now, the question is, how can you add a blog filter?
Well, if you’re using WordPress and that too with Divi, then adding a Divi filter is very easy. This post will guide you on how you can do it. We’ll use an amazing Divi blog plugin that brings the capability to add a blog filter in addition to other benefits.
Let’s look at the plugin and then head over to our step-by-step instructions to add a WordPress filter by category for blogs in Divi.
How to Add a Blog Filter in Divi (The Easiest Way)
Divi is a popular theme for WordPress. And for Divi, the blog plugin that is highly popular among the Divi community is the Divi Blog Extras.

It’s a premium plugin for Divi to enhance the look, the feel and the functionality of an archive page. More than 50,000 websites are already making the most of this plugin to transform a simple-looking blog page into something magnificent.
Likewise, you can enhance the level of your Divi blog by utilizing its different options, such as,
- Trying the 8 unique layouts that also include the masonry format.
- Apply slide effects that are coverflow, cube, slide and flip.
- Showcasing posts in the sidebar.
- Applying it to taxonomies such as categories and tags.
- Customize the meta description.
And implement the required feature for this post: the Blog filter by category.
The plugin has been featured on the Elegant Themes blog, and it’s the most-selling blog plugin on Divi Marketplace, with over 3.1k sales and 4-star ratings.
Thus, it is the perfect plugin for Divi to level up blog pages and add the Divi blog filter.
Keeping this all in mind, let’s move on to adding a blog filter.
Adding Divi Blog Filter Step by Step Easy Instructions
Adding a blog filter using Divi Blog Extras is very simple. You not only add the filter but get the option to apply a makeover to the archive entirely. Follow the below steps one by one to get your desired result.
If you prefer watching a video, then you can hit the play button for the above, else continue the below instructions.
#Step 1 – Install and Activate the Divi Blog Extras
As we discussed already, we are going to use Divi Bog Extras to add the blog filter. Thus, you need to install and activate it first. And for that, visit Divi Blog Extras on either Elegant Themes Marketplace or Divi Extended store.
Once you have it, you’ll get the download link, using which you can download the plugin’s file.
After downloading the file, ensure you extract the main files and create a new zip folder. For more information on how to extract the files, visit the documentation page.
To install the plugin, log into your WordPress website and go to, Plugins → Add New → Upload Plugin.
Click Choose File and select the file you’ve downloaded, extracted and zipped in a folder. Then, click on the Install Now button.
It will take a few moments to install the plugin, once it’s installed click on the Activate Plugin button.
#Step 2 – Insert the Blog Module
The plugin has been installed, now it’s time to process how to add the category filter.
If you’ve a blog page using Theme Builder, then all you have to do is edit the template. Go to Divi → Theme Builder → click on the edit for Custom Body.
Before you make any changes, know that Divi Blog Extras will apply its layout. So, if you’re thinking of keeping your old design, then it’s not possible. You can only add the category filter with Divi Blog Extras layouts.
Hence, if you’re ready to do that, then proceed.
If you don’t have a blog page already designed, then in that case, you can either use Theme Builder or create a new page. What’s recommended is to use the Theme Builder to access more blog related options from Divi’s default settings.
To create a new blog page using Theme Builder, click on the Add New Template.
Then, click on the Add Custom Body, this will provide you with two options,
- Build New Template
- or Add From Library.
Click on the Build New Template.
Then from the Template Settings, select Blog from Posts and All Archive Pages from Archive Pages, and click Create Template.
After this click on the Add Custom Body → Build Custom Body. This will launch the Divi visual builder. Here, what you need to do is, first, add a new Row and then insert the following, Divi Blog Extras module.
As soon as you insert the module, it will showcase the posts for the archive in the default layout option of Divi Blog Extras like the following,
To display our blog filter, we’ll follow the next step.
#Step 3 – Enable the Blog Filter and Apply Customizations
Displaying the category filter is very simple. First, click on the module settings icon right on the module.
Then, in the Content settings, go to the Elements → Use Category Filterable Blog → YES.
As you enable the category filter option, it will provide you with more options that allow you to,
- Display category filter as a Hamburger on Tablet and Mobile.
- Show the ‘All’ button/filter to display posts without applying the filter.
- Customize the ‘All’ button/filter’s text.
Once the filter is enabled, the blog will look like the following.
This is the default look and feel of the blog filter based on your website’s main design configuration. If you want to make additional changes, for example, add or remove categories from the filter, you can do that by going to the Query and selecting the only categories you want to keep.
Further, if you want to customize the styling of the blog filter, then you can easily do that in the Design tab → Filterable Category.
It lets you apply customization to both active and non-active filters. You can customize,
- Background color/gradient/image.
- Font Family, Weight and Style.
- Text color, size, and shadow.
- Letter spacing and line height.
After utilizing all of the options, you can have a blog page with category filters like the following.
You can also apply spacing, such as padding and margin to the filterable category by using the Spacing settings in the Design tab. That’s it; you’ve successfully created a Divi blog page with a category filter.
The Bottom Line
I hope the above steps have helped you successfully add a blog filter to your blog page. It’s an intuitive and fast solution to achieve this requirement to enhance user interaction as well as make the blog more accessible.
Also, the plugin offers more creative and functional solutions to transform your blog page in a better way. Therefore, get Divi Blog Extras today, and make the most out of your publishing efforts.
It’s a powerful plugin worth having inside your Divi designing toolbox.


0 Comments