Pulse animation is a dynamic and engaging effect that is useful to highlight tooltips on a Divi website using Images. There are two ways to activate the tooltip in Divi: click and hover. Hover-triggered tooltips are typically more common on web pages and are activated when users hover over particular content. You can use the Image Hotspot module of the Divi Plus plugin to create a hover tooltip on an image.
What things are offered in the Divi Plus Image hotspot module?
The Image Hotspot module of the Divi Plus plugin lets you highlight and convey a tooltip on an image with pulse animation. It gives you the option to
- Use a suitable image depending on your application.
- Choose a text, icon, or image for the tooltip.
- Choose a text, icon, or image for the Marker.
- Style the Marker tooltip in your own fashion.
This post will demonstrate how to build a hover tooltip in Divi using the Divi Plus Image Hotspot module. Let’s take a quick look at some purposes that can be fulfilled by hover tooltip and pulse animation.
Applications of Image Hotspot Module for Hover Tooltip in Divi Theme
We researched various areas or applications where the Divi Image Hotspot module can be implemented to create a hover tooltip with pulse animation. Let’s explore them and see how this Divi module can be used to do that.
1. Real Estate

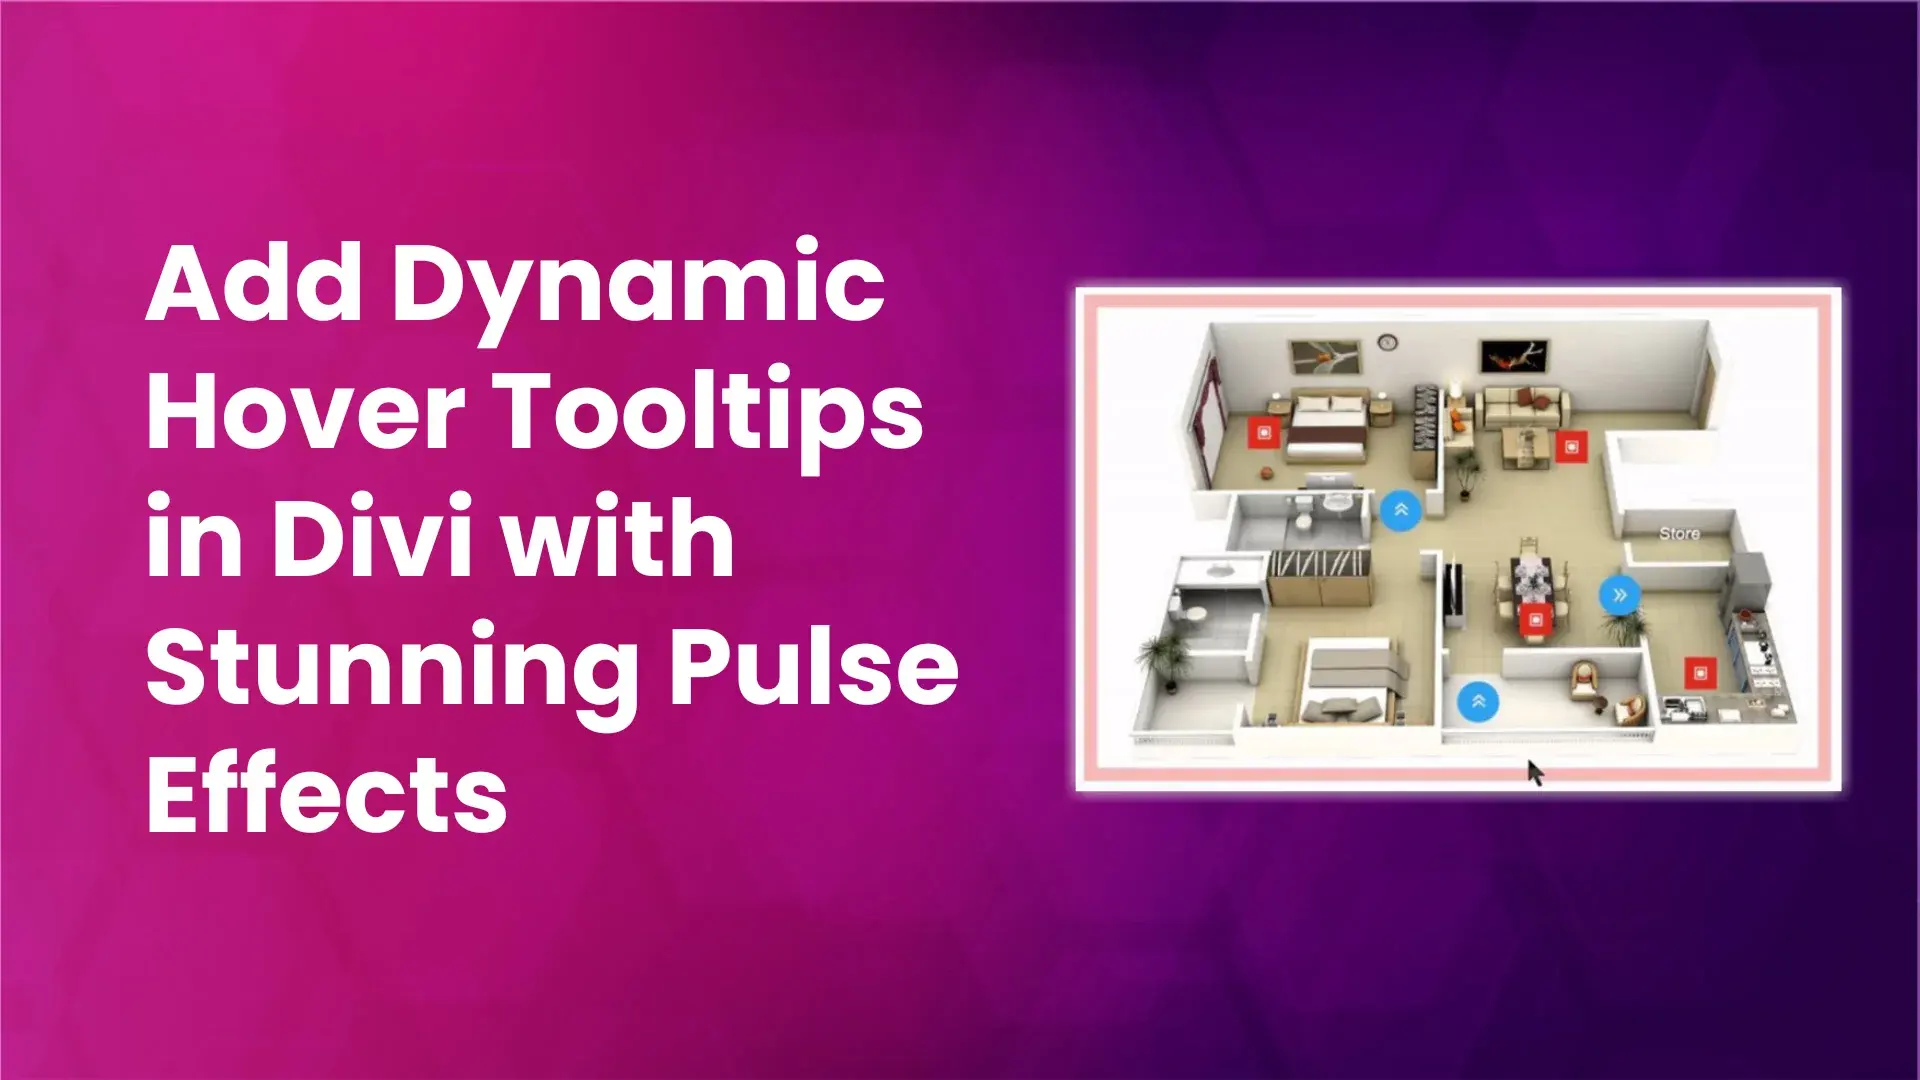
Real Estate floor plans and property images need some sort of symbols to highlight and convey information to the clients. The hover tooltip and pulse animation offered in Divi Plus Image Hotspot can do it by visually navigating clients through the property.
Steps to create a hover tooltip in Divi for a Real Estate floor plan.
1. Open your Divi website and select the page or post where you want to display the floor plan.
2. Edit it with Divi Builder and place the Divi Plus Image Hotspot module on it.
3. Upload the image of the floor plan in the Hotspot Content.

Note: One important thing that you should note before proceeding is that there are separate options for the Hotspot Marker settings and Global Hotspot settings.


4. Click on ‘Add New Hotspot Marker’ and you will move to the Hotspot marker settings. Choose the marker type as ‘Icon’. Here we have used an arrow icon to highlight the navigation. The square icon is used to display specific spots on a floor plan such as bedrooms, kitchens, etc.


6. Add the Tooltip content to display a small byte of navigation information about any specific room on mouse hover.

7. Move to the Global Hotspot settings. Adjust the horizontal and vertical position of the marker from the Marker Styling options located in the Design tab. Also, select the marker shape and its background color.


8. Choose the Icon color and a suitable Icon Font Size from the Marker Element Styling tab.

9. Go to the Hotspot setting located in the design tab. Select Show Tooltip On hover. Enable the Pulse Animation in Global Marker Styling.


11. Save it and display an informational floor plan of your property with pulse animation to the customers.
2. Automobile Infographics

The hover tooltip and pulse animation of the Divi Plus Image Hotspot module can be an incredible method to convey information in automobile image documentation and infographics. It will be useful to highlight every detail of an automobile part or vehicle.
Steps to create a hover tooltip in Divi for displaying automobile infographics.
1. Place the Divi Plus Image Hotspot module and add the image.
2. Add a Hotspot marker and this time choose the marker type as ‘Text’ and mention the Marker Text. Also, select the Tooltip content as ‘Text’ and mention the Tooltip Content that would be displayed on a hover.


3. Navigate to the Global Hotspot Settings. Adjust the horizontal and vertical positions of the marker using Marker Styling. Choose a Marker Shape as a ‘Circle’ and a suitable background color.
Also, enable Display marker Shape Border with an appropriate Font Size and Color.


4. Go to the Hotspot setting and select Show Tooltip On hover.

5. Navigate to the individual Marker Setting. Select the Font Weight of the Tooltip Heading as ‘Ultrabold’ from the Marker Text tab. Also, adjust the Heading Text Size. Use proper padding to make it look more clear and tidy.


6. Enable the Pulse Animation in Global Marker Styling. Select the Marker Shape as ‘None’. Choose a suitable Marker Shape Background color.

7. Save the design and use it to illustrate every detail about the vehicle or its components.
3. Advertisement Banners

We can also design stunning animated advertisement banners utilizing the hover tooltip and pulse animation of the Image Hotspot module. You can easily highlight discounts, hot deals, and offers in a captivating way using the pulse animation.
Steps to create a hover tooltip in Divi for creating banners with pulse animation.
1. Add the Divi Plus Image Hotspot module and upload the banner.
2. Go to the individual Marker settings. Add a Hotspot marker, choose the marker type as ‘Text’, and mention the discount in the Marker Text.


3. Select the Tooltip Content Type as Text and display marketing headlines on mouse hover. From the Design tab, adjust the horizontal and vertical positions of the marker using Marker Styling. Select Marker Shape as a ‘Circle’ and a suitable background color.


4. From the Global Marker setting, increase the marker text size to display discounts and offers. Go to the Hotspot setting and select Show Tooltip On hover.


5. Enable the Pulse Animation from Global Marker Styling. Choose the Marker Shape as ‘Circle’.

6. Save the design and attract users with the latest discounts, deals, and offers.
4. Product Infographics

If you like to explain the features or components of any physical product with its image, the hover tooltip with pulse animation offered by the Divi Plus Image Hotspot module is a smart way to do it.
Steps to create a hover tooltip in Divi for product infographics.
1. Insert a Divi Plus Image Hotspot module and add the product image.
2. Add a Hotspot marker, select the marker type as “Text” and mention the product’s feature in the Marker Text. Choose Text for the Tooltip Content Type to display feature information when the mouse is hovered over.


3. Navigate to the Design tab. Marker Styling allows you to change the marker’s vertical and horizontal positions. Choose a ‘Square’ Marker Shape and a background color that works for you.

4. Go to the Global Hotspot settings. Choose a suitable Marker Text size and Marker Font Weight. Select Show Tooltip On Hover from the Hotspot settings.


5. Turn on Global Marker Styling’s Pulse Animation. Keep the Marker Shape as ‘None’.

6. Save the final design and exhibit the product interactively on your website.
5. Milestone Infographics

These graphics display key milestones, accomplishments, events, and developments in chronological order, allowing viewers to understand the company’s history and progress at a glance. The pulse animation and hover tooltip can highlight it in a more engaging way.
Steps to create a hover tooltip in Divi for presenting milestones with effects.
1. Add a Divi Plus Image Hotspot module and the product image.
2. Add a Hotspot marker, choose the marker type as ‘Text’, and mention the company’s establishment year. Select the Tooltip Content Type as ‘Text’ and write the tooltip.


3. Go to the Design tab. Adjust the horizontal and vertical positions of the marker. Select Marker Shape as a ‘Square’ and an appropriate background color. Use custom value for Marker Text size and also adjust its font weight.


4. From Global Hotspot settings, select Show Tooltip On hover. Turn on the Pulse Animation of Global Marker Styling. Assign the marker shape ‘None’ to it. Save the design.


In a similar way, you can create some more beautiful designs using your creativity with the Divi Image Hotspot module. Let’s explore some new design ideas that can be achieved to implement the hover tooltip on your Divi website.
Puzzle Game Infographics
You can create some beautiful designs of Puzzle Game infographics to display numbers and numeric operations. You can use it to place small quizzes on your Divi website.

Maps
The hover on tooltip with a pulsating effect can also be used in maps to display flight information, location, and navigational things on your website.

Finally, we can conclude that there are endless possibilities that you can utilize to display hover tooltips for different kinds of requirements. You only need to use your creativity and explore the Divi Plus Image hotspot module to get the desired design.


0 Comments