One of the most important elements for your business website is the ability to display testimonials. Divi includes a built-in testimonial module, but this module only displays a static testimonial. It doesn’t work as a Divi testimonial slider and you’ll have to either make your testimonial modules global or recreate them for every page you want to place them. However, you can use a Divi testimonial slider plugin like Divi Testimonial Extended to slide your client reviews.
In this article, we’ll look at Divi Testimonial Extended, see what it can do and how easy it is to use.
Add New Testimonial for Divi Testimonial Slider
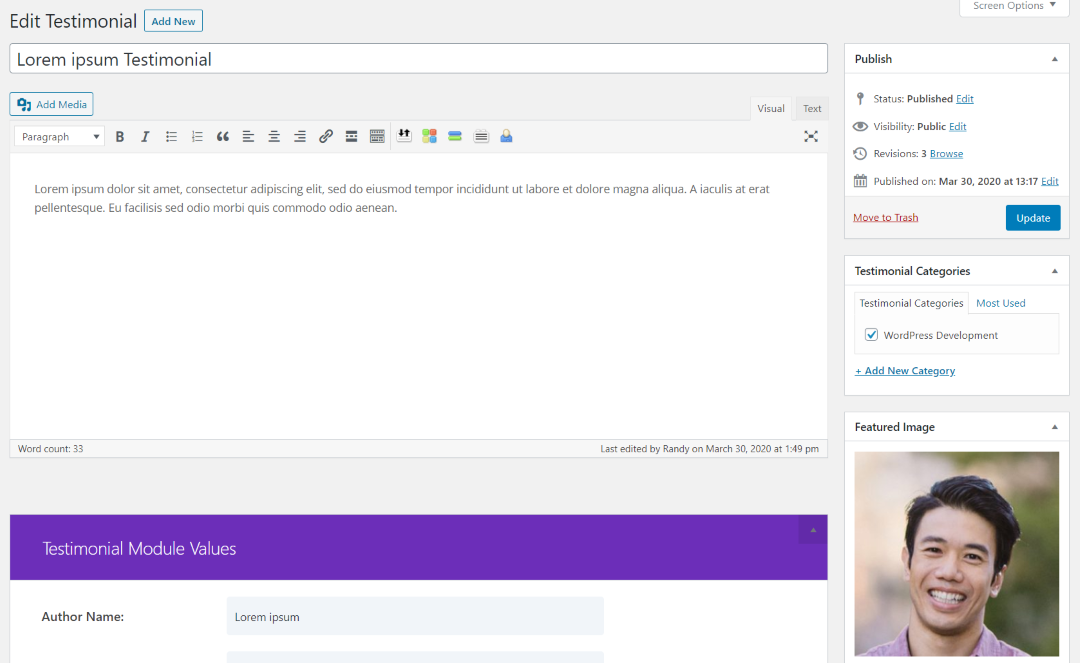
Divi Testimonial Extended adds a new custom post type called Testimonials. To create a testimonial, go to Testimonials > Add New in the WordPress dashboard. The testimonial editor works like the classic editor. Add a title, your content to the standard editor area, choose your categories, and add a featured image.
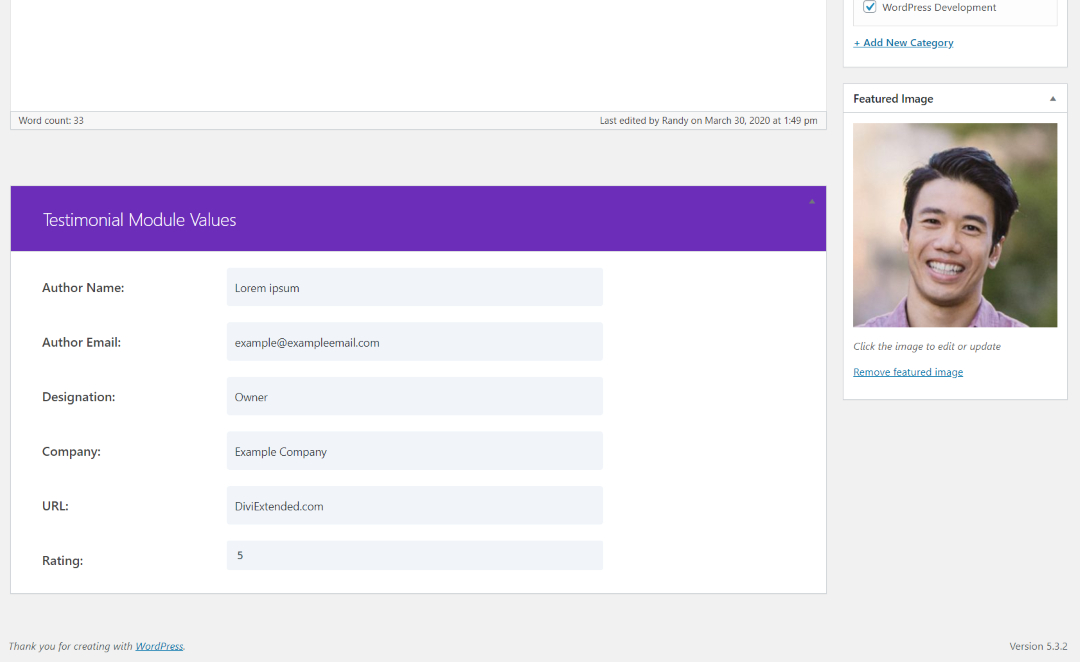
It adds a new section under the editor called Testimonial Module Values. Here, you’ll add the author name, author email, designation, company, URL, and choose a rating (choose from 1-5 stars).
Testimonials List
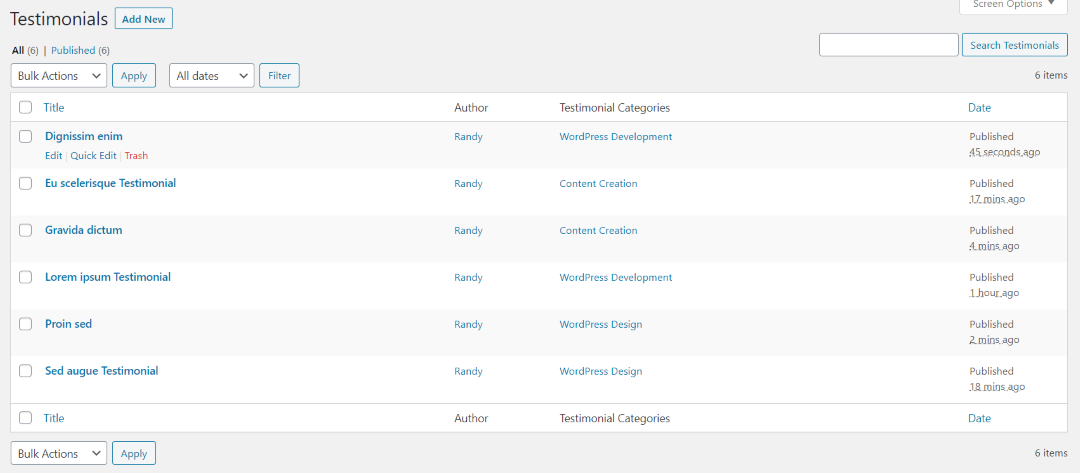
Once you’ve created your website testimonials, you’ll see them listed in the Testimonials dashboard menu. Here, you can edit, perform a quick edit, and send them to the trash. You can also perform bulk actions, filter by date, and search them. They show the title, author, categories, and date published.
Testimonial Categories
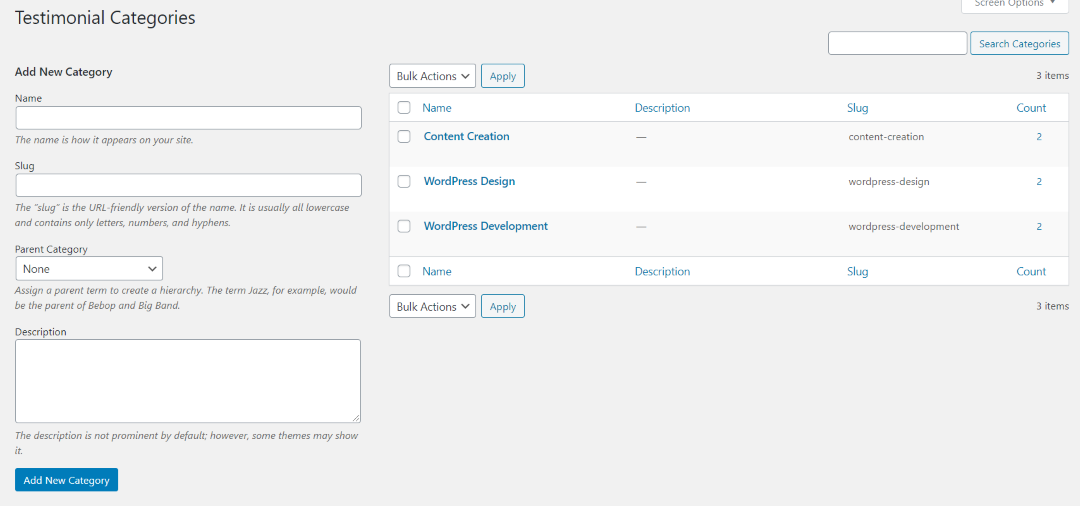
Since this is a post type, it does include its own categories. You can create them, edit them, delete them, etc., just like any WordPress category.
Testimonial Extended Module
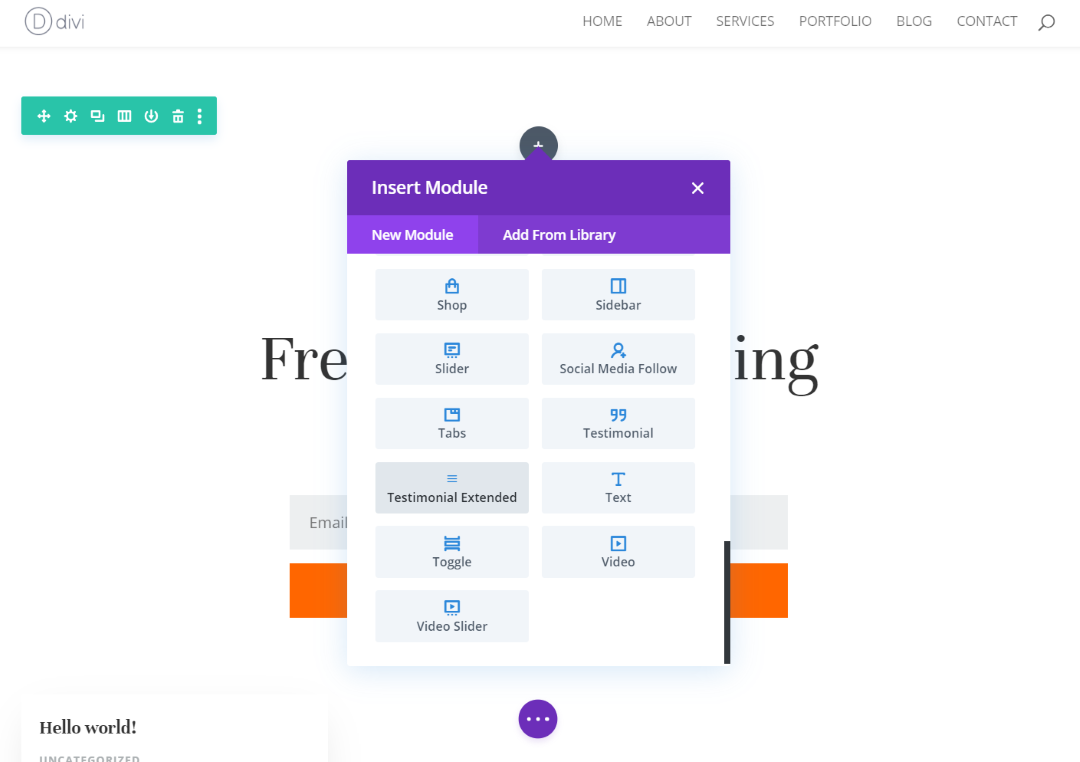
A new module is added to the Divi Builder called Testimonial Extended. You can use this module in place of multiple standard Divi Testimonial modules. And this is the module that will help you create Divi testimonial sliders.
Content Settings
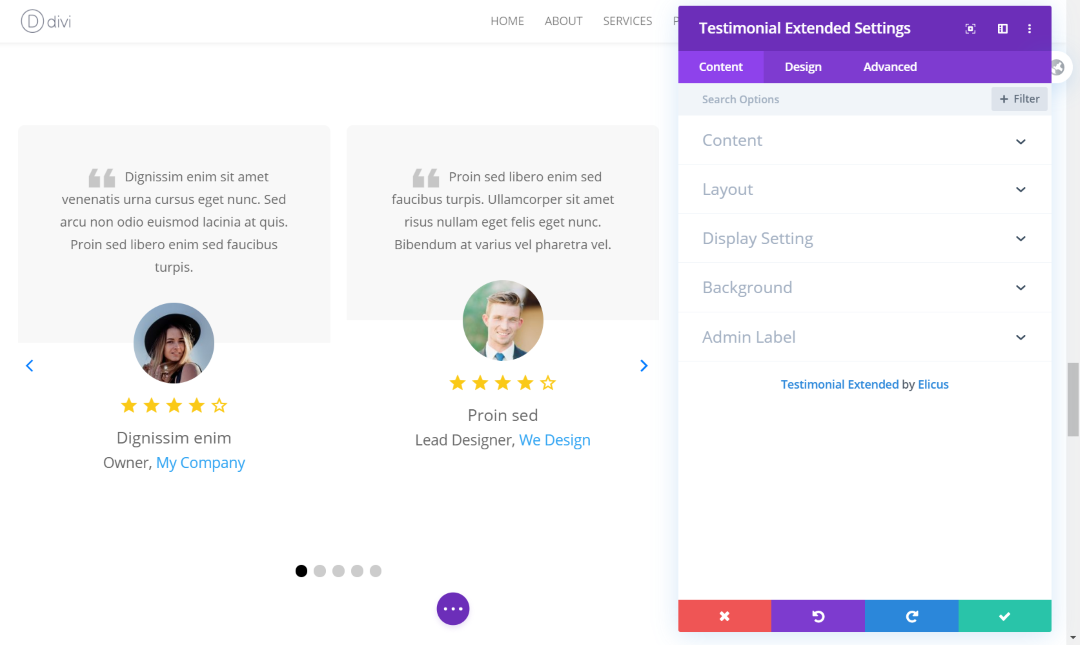
Adding the module automatically places a testimonial slider with the testimonials from your list. The module includes the standard Content, Design, and Advanced tabs. The Content tab includes options for Content, Layout, Display Setting, Background, and Admin Label.
Content
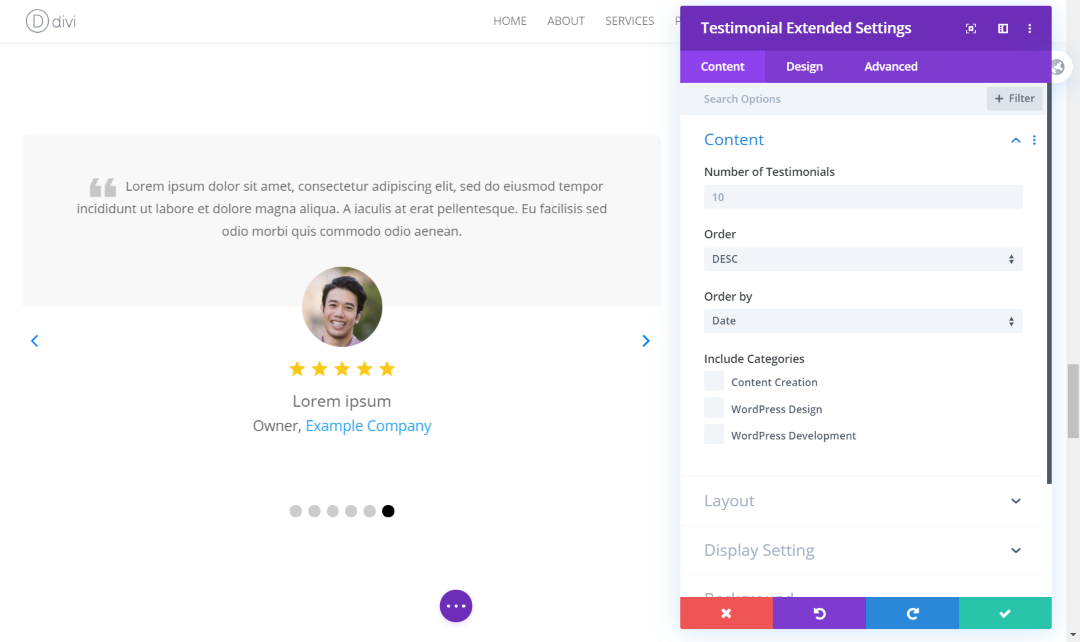
You can choose the number of testimonials to show, their order, and categories to display. The slider includes arrows and dots for navigation.
Layout

The Layout settings let you choose from 6 layouts, 4 slide effects, the number of testimonials per view to display from 1-5.
As in the Content example, this is Layout 1 using Slide Effect 1. The layout places the text at the top within a box with its own background. The thumbnail image overlaps it with the next area, which displays the star rating and information. Slide Effect 1 works like a normal slider. I’ve set the number of testimonials per view to 2.
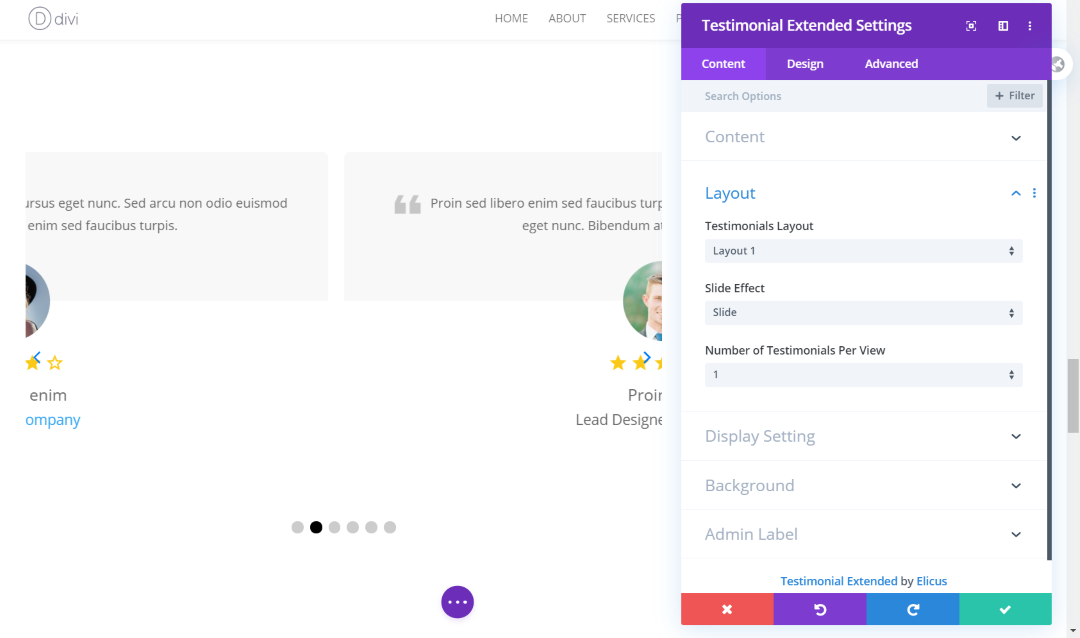
This example shows it in mid-slide.
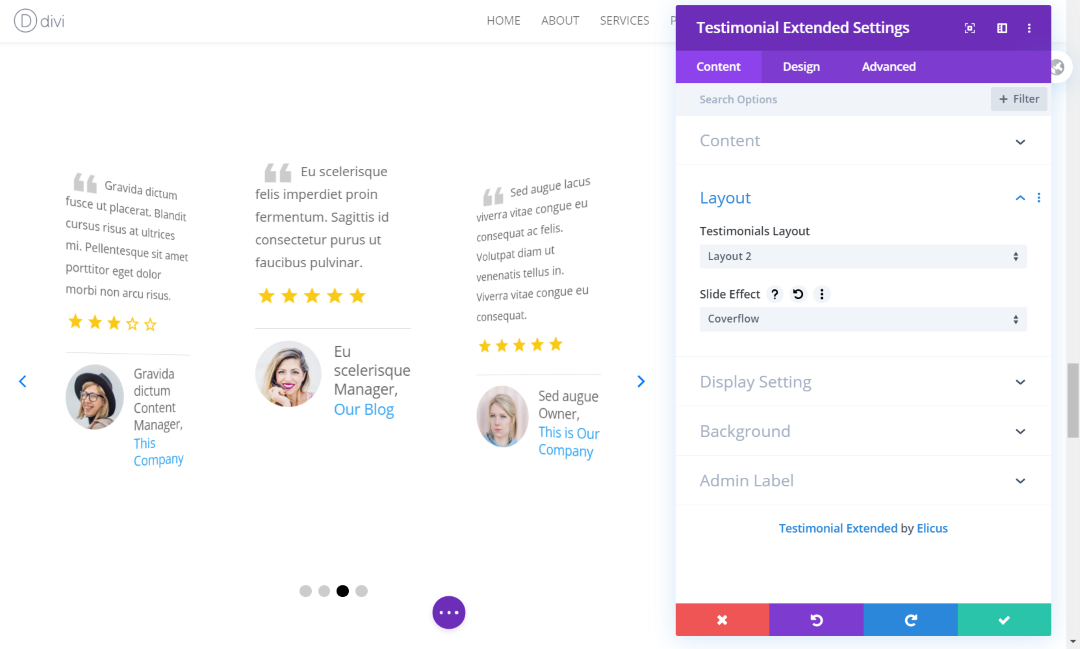
Layout allows you to choose the layout from 4 choices and choose the slide effect from 4 choices. This is Layout 2, which places the text at the top, the star rating, and then the image, name, title, and link at the bottom. I’m using the CoverFlow Slide Effect, which places three testimonials on the screen. The center testimonial is flat while the two on the sides are angled.
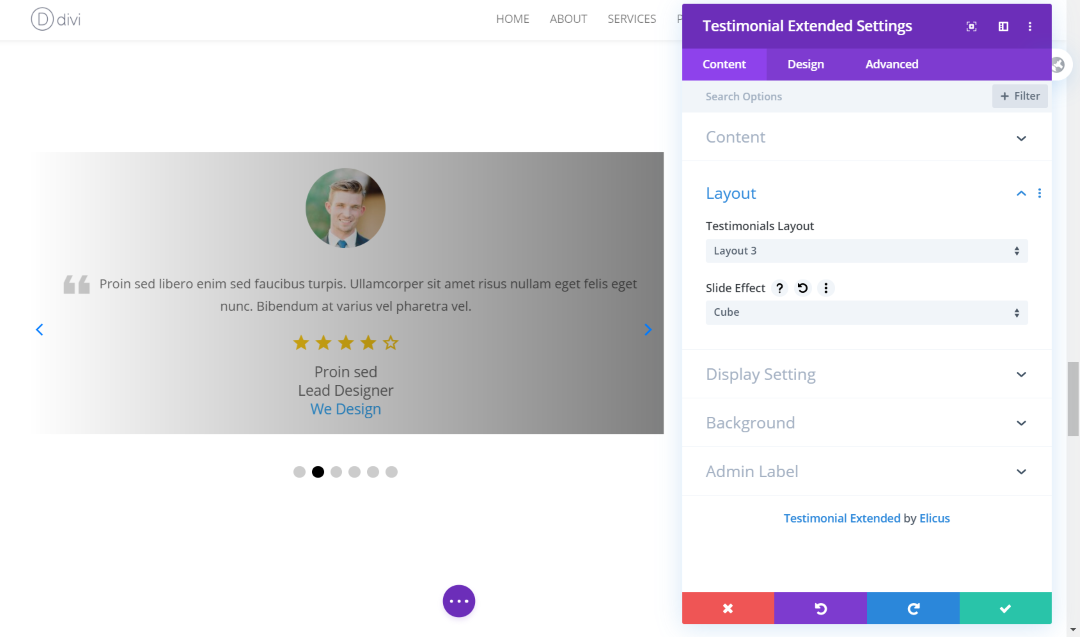
This is Layout 3. It places the image at the top.
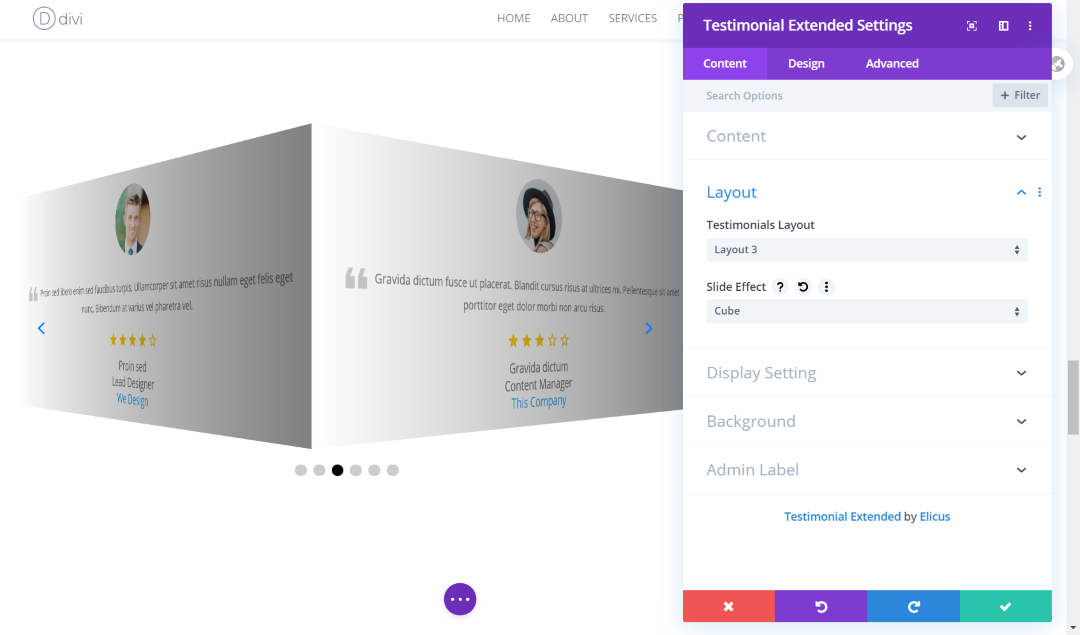
I’m using Cube for the Slide Effect. This effect places the testimonial slides as if they were the sides of a cube. The cube spins to perform the sliding effect.
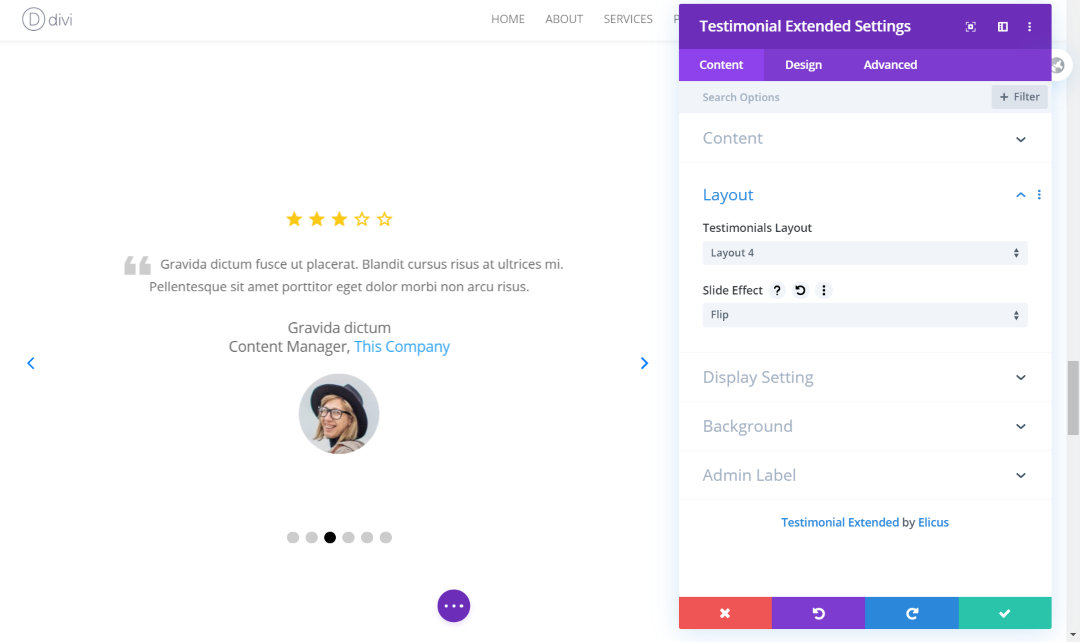
This is Layout 4. It places the star rating at the top, then the text, name and info, and the image at the bottom.
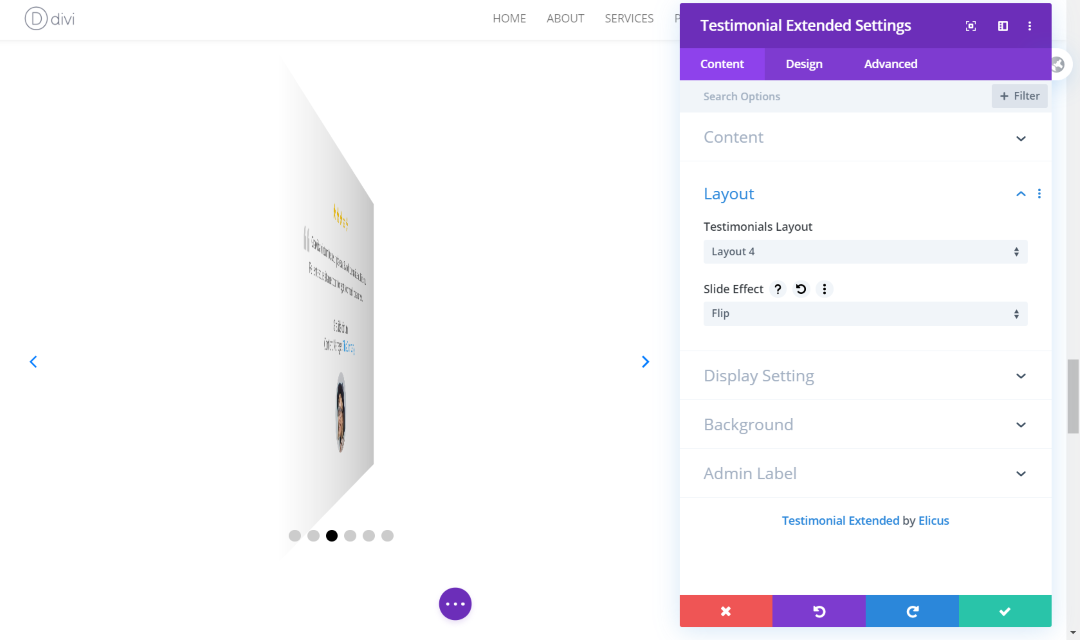
It flips the client testimonials on website like cards.
Display Settings
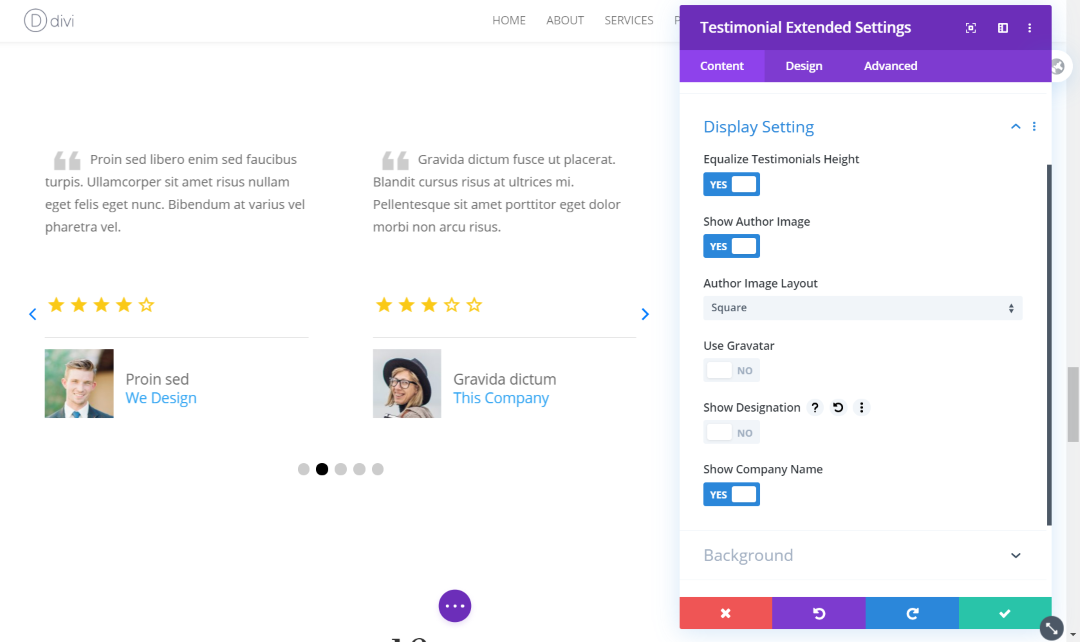
Display settings let you equalize the heights, show the author image, choose rounded or square images, use a Gravatar, show their designation, and show the company name. In this example, I’ve equalized the heights, chose to show square images, and hidden the designation.
Design Settings
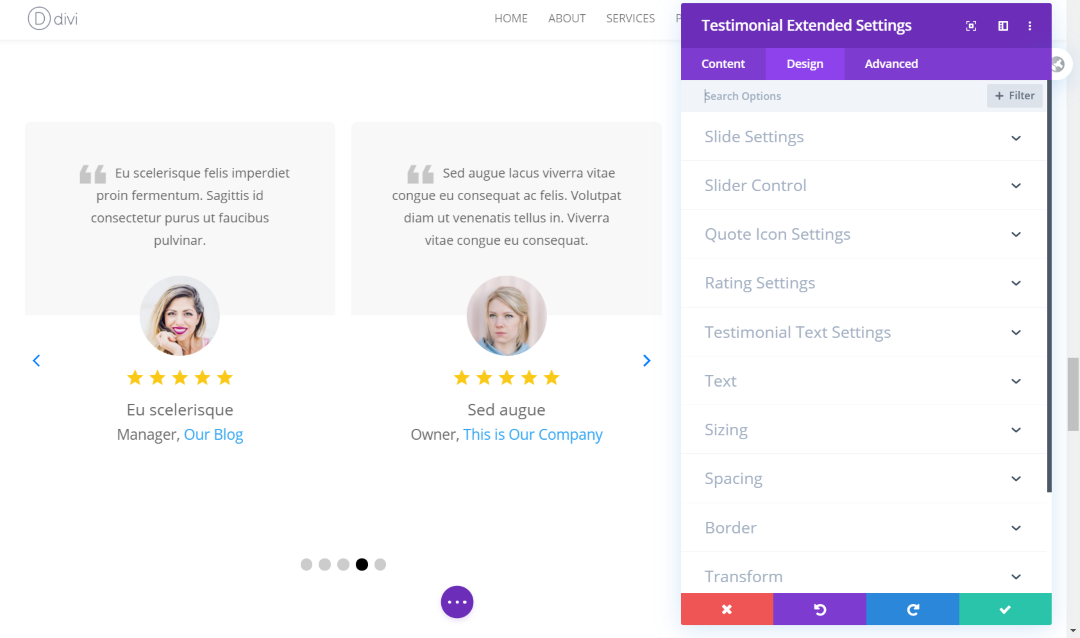
The Design tab includes settings for the slide, slider control, quote icon, rating, and testimonial text. It also includes the standard Divi settings for text, sizing, spacing, border, transform, and animation.
Slide
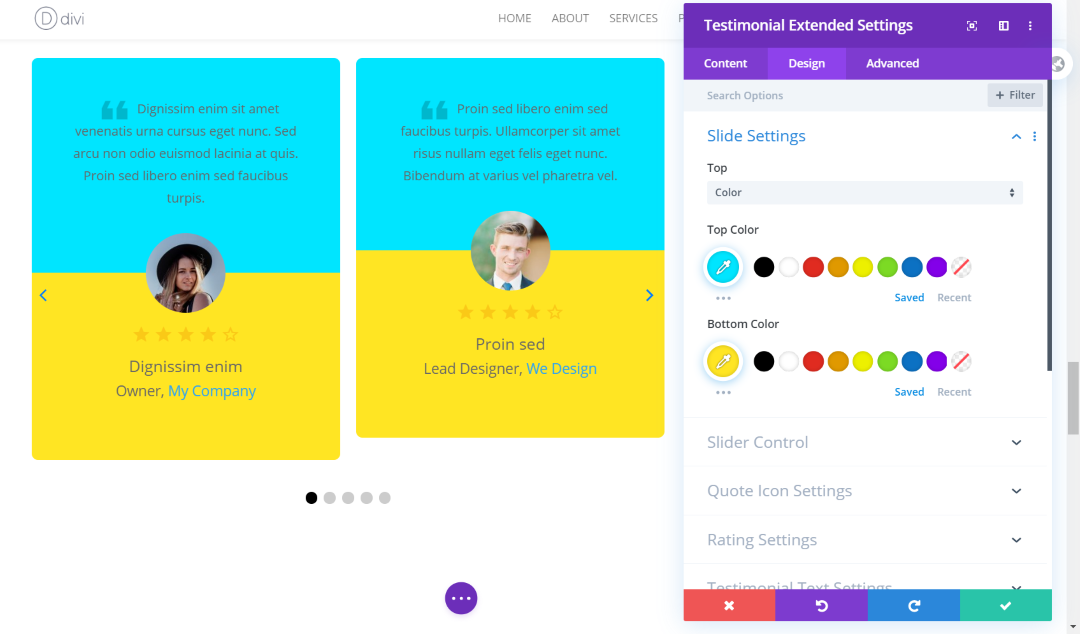
The Slide settings include color and background images. For colors, you can set the top and bottom of the testimonial card separately. Of course, you can adjust all of the text to work best with your colors.
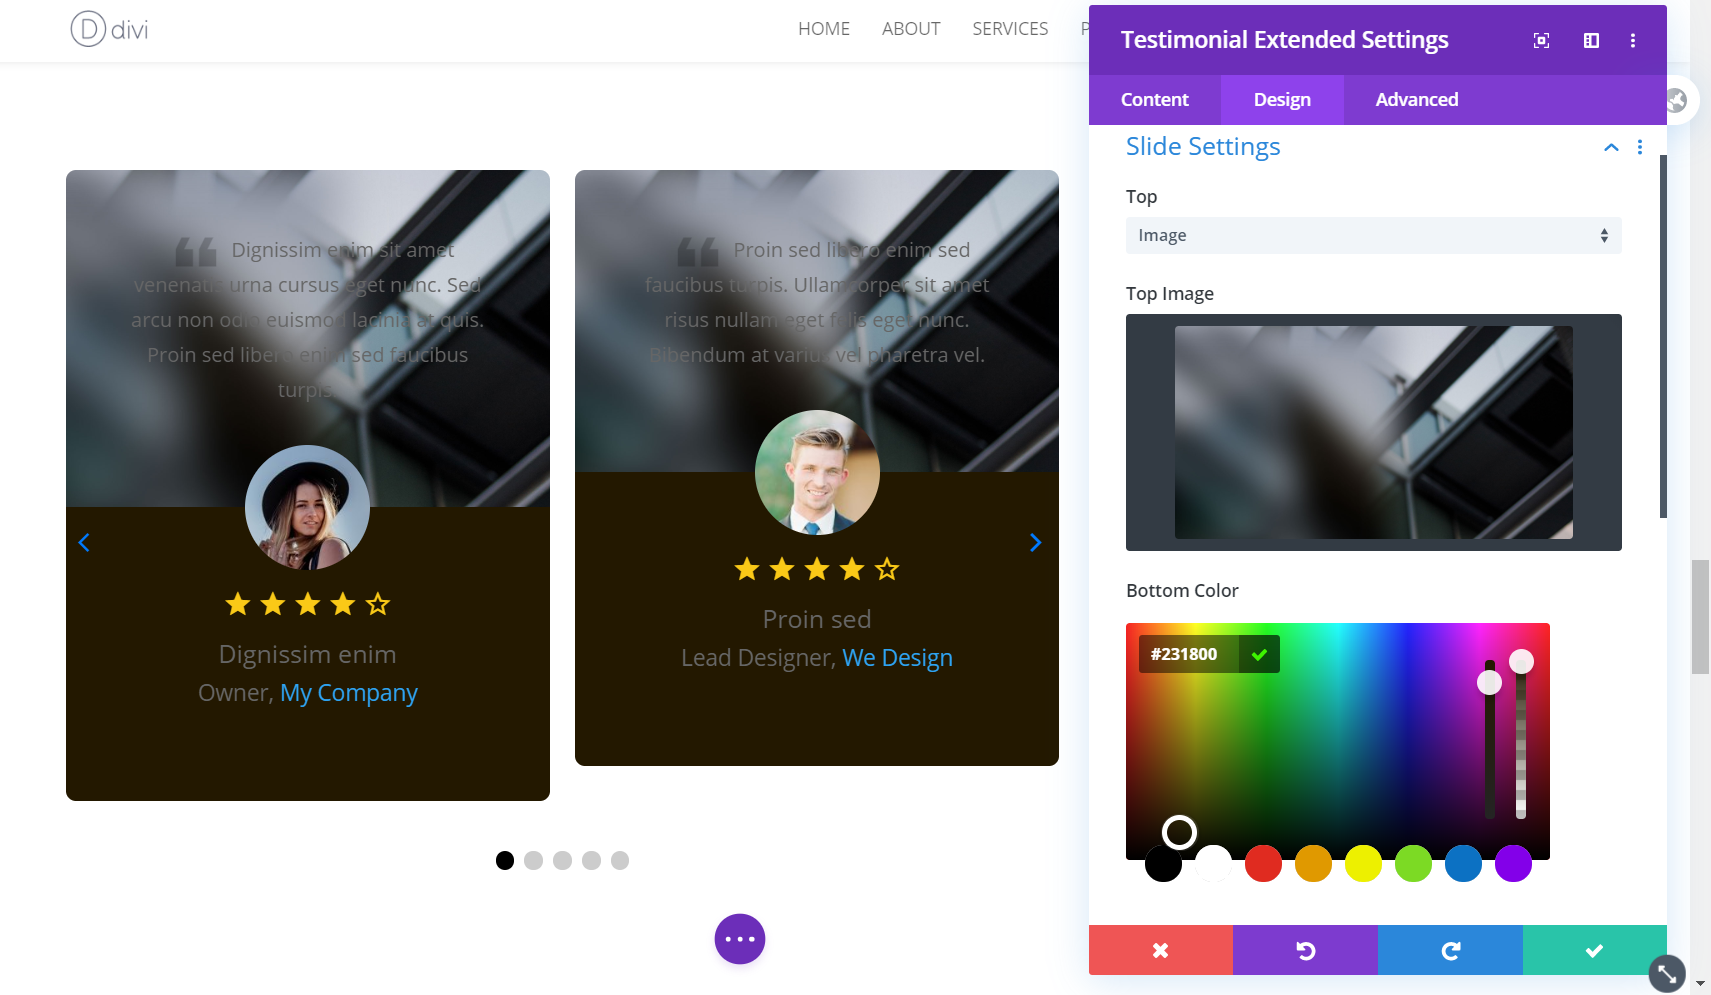
Images go to the top of the card. This setting still lets you choose a color for the bottom of the card. Fortunately, you can adjust the colors for the text so it will look great with different images and background colors.
Slider Control
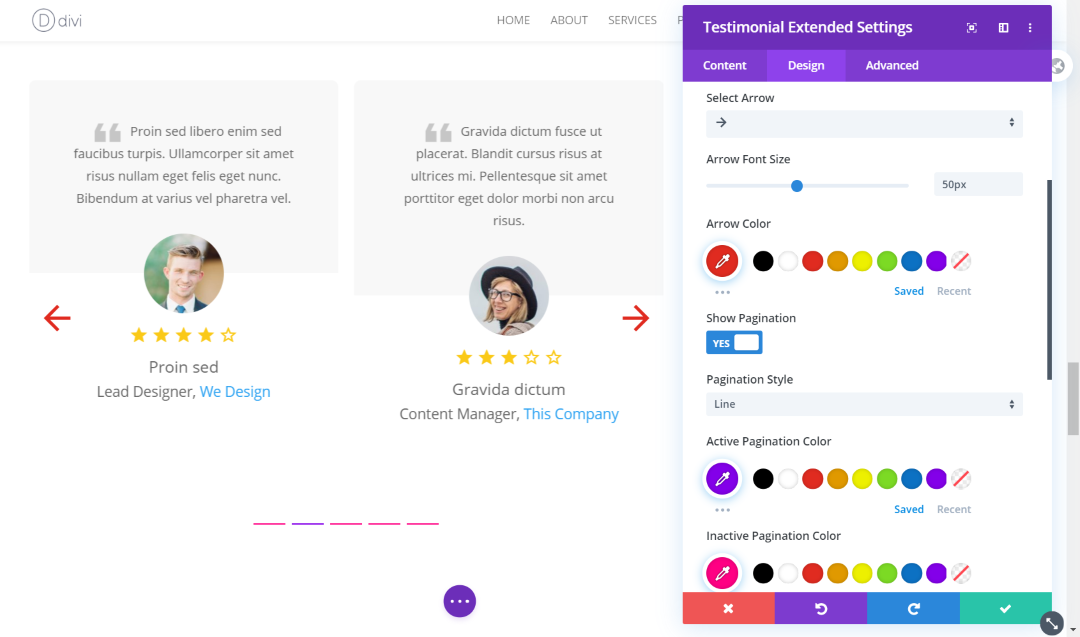
The Divi testimonial slider control gives you a lot of adjustments for the arrows and pagination. Choose to show the arrows, show them on hover, select the arrow design from 4 options, set the arrow size, and choose the arrow color. For pagination, choose to show the pagination, choose from 6 styles, and select the active and inactive colors. I’ve changed the colors of the arrows and the pagination, chosen a different arrow style, and changed the arrow size.
Quote Icon
![]()
The quote icon includes settings for the opening and closing quotes. You can enable and style each quote icon independently. Change the size, color, position from top, and left, center, or right position. I’ve increased the size of the opening quote, changed the color, position from top, and placed it in the center. I’ve left the closing quote disabled.
![]()
For this example, I’ve added the closing quote and adjusted the sizes, colors, and positions of both quote icons. The closing quote lets you set the position from the bottom.
Rating

The rating settings let you show the ratings, change the size, change the color of the rated star, and change the color of the unrated star. In this example, I’ve adjusted the size and colors of both stars.
Testimonial Text
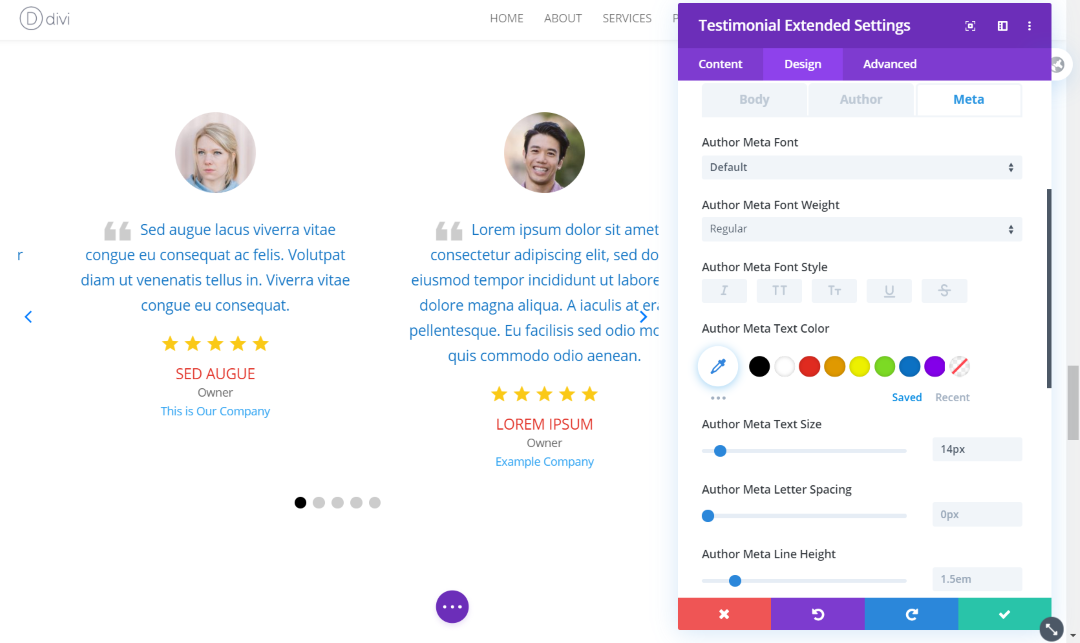
The testimonial text settings include independent adjustments for the body, author, and meta text. Choose the font, weight, style, color, size, letter spacing, line height, and shadow. In this example, I’ve adjusted the colors and sizes for all of the text.
Divi Testimonial Examples

Here’s an example from the Tutor layout pack. I’ve replaced the default testimonial module and used design elements from the layout. I’ve added the background color and border radius from the number counter section. Colors are from the blurbs and other graphical elements. I’ve included the border radius for both the row and the module. I’ve also set the module to display equal heights for the testimonials. It works well with the layout.
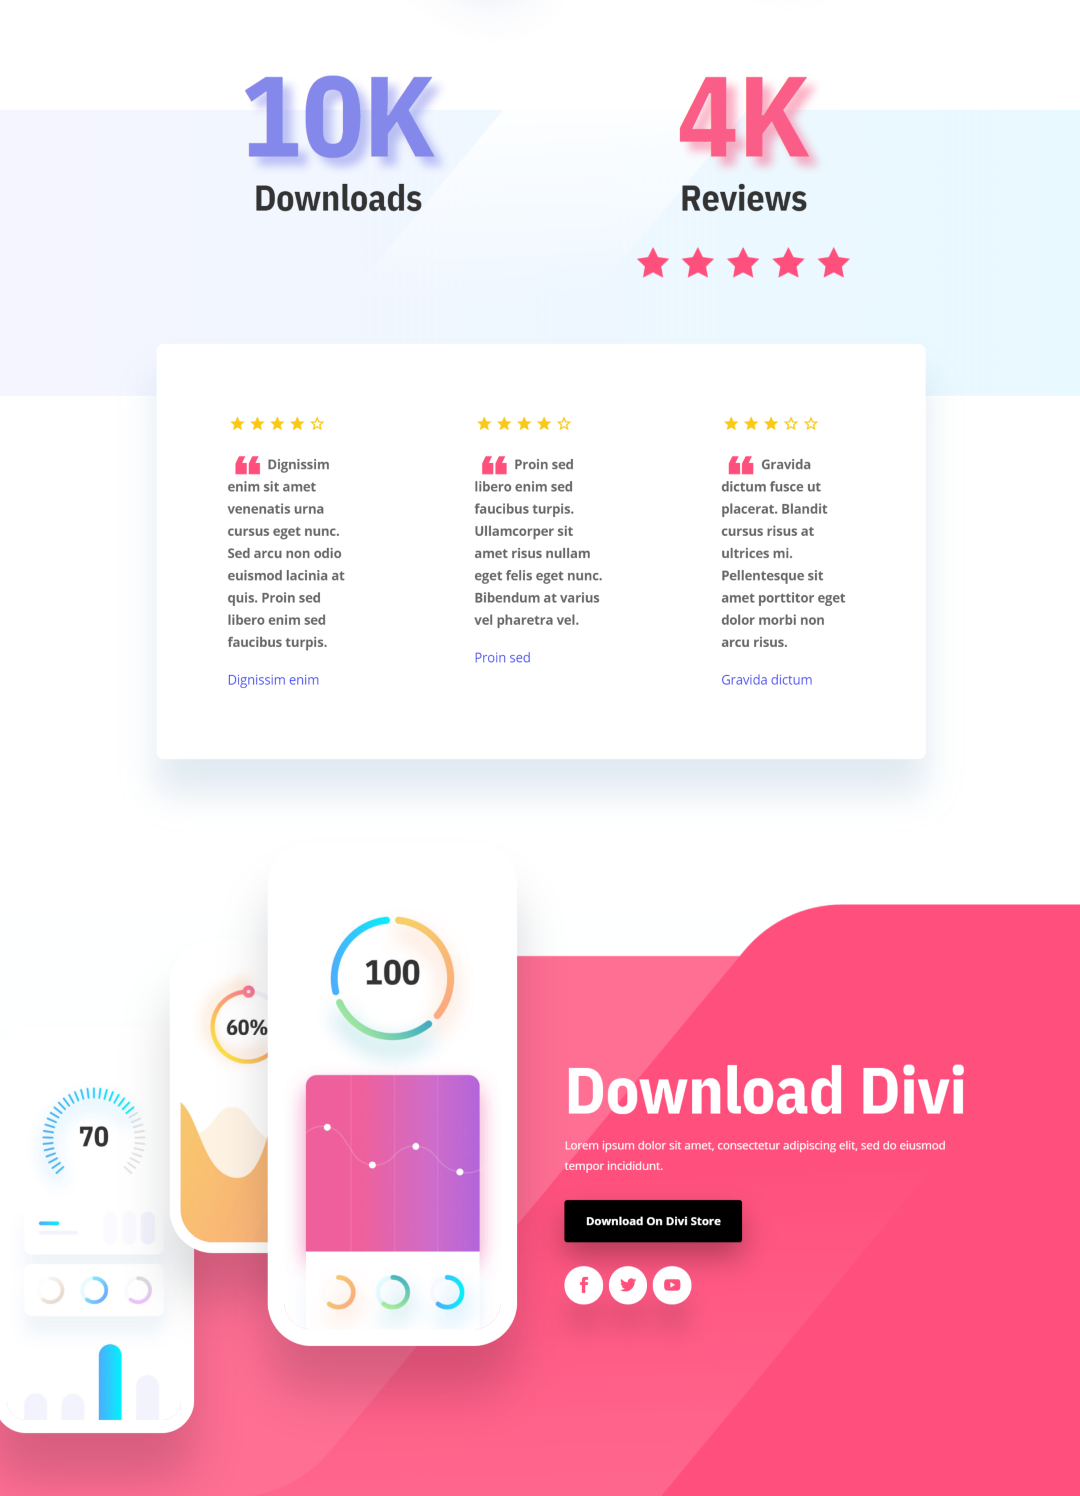
This one’s from the Mobile App layout pack. The original set of testimonials for the layout was created with images and text boxes. I’ve included a similar design by removing the images, company names, and titles. I’ve used Layout 4, which places the star rating at the top. The font is bold and the colors are from the layout for the quote icons and names. I’ve also kept the overlap and shadow effects.

This example uses the Auto Repair layout pack. I followed the design of the original by placing the images at the top and the names at the bottom. I’ve removed the arrows, navigation, meta, and quote icons. It still works as a testimonial slider and fits perfectly within the layout’s design.

Using the same Divi layout pack, I’ve now changed the testimonial layout to layout 1 and added an image to the top and changed the color of the bottom. I’ve made the text white and I gave the text over the image a text shadow to make it easier to read.
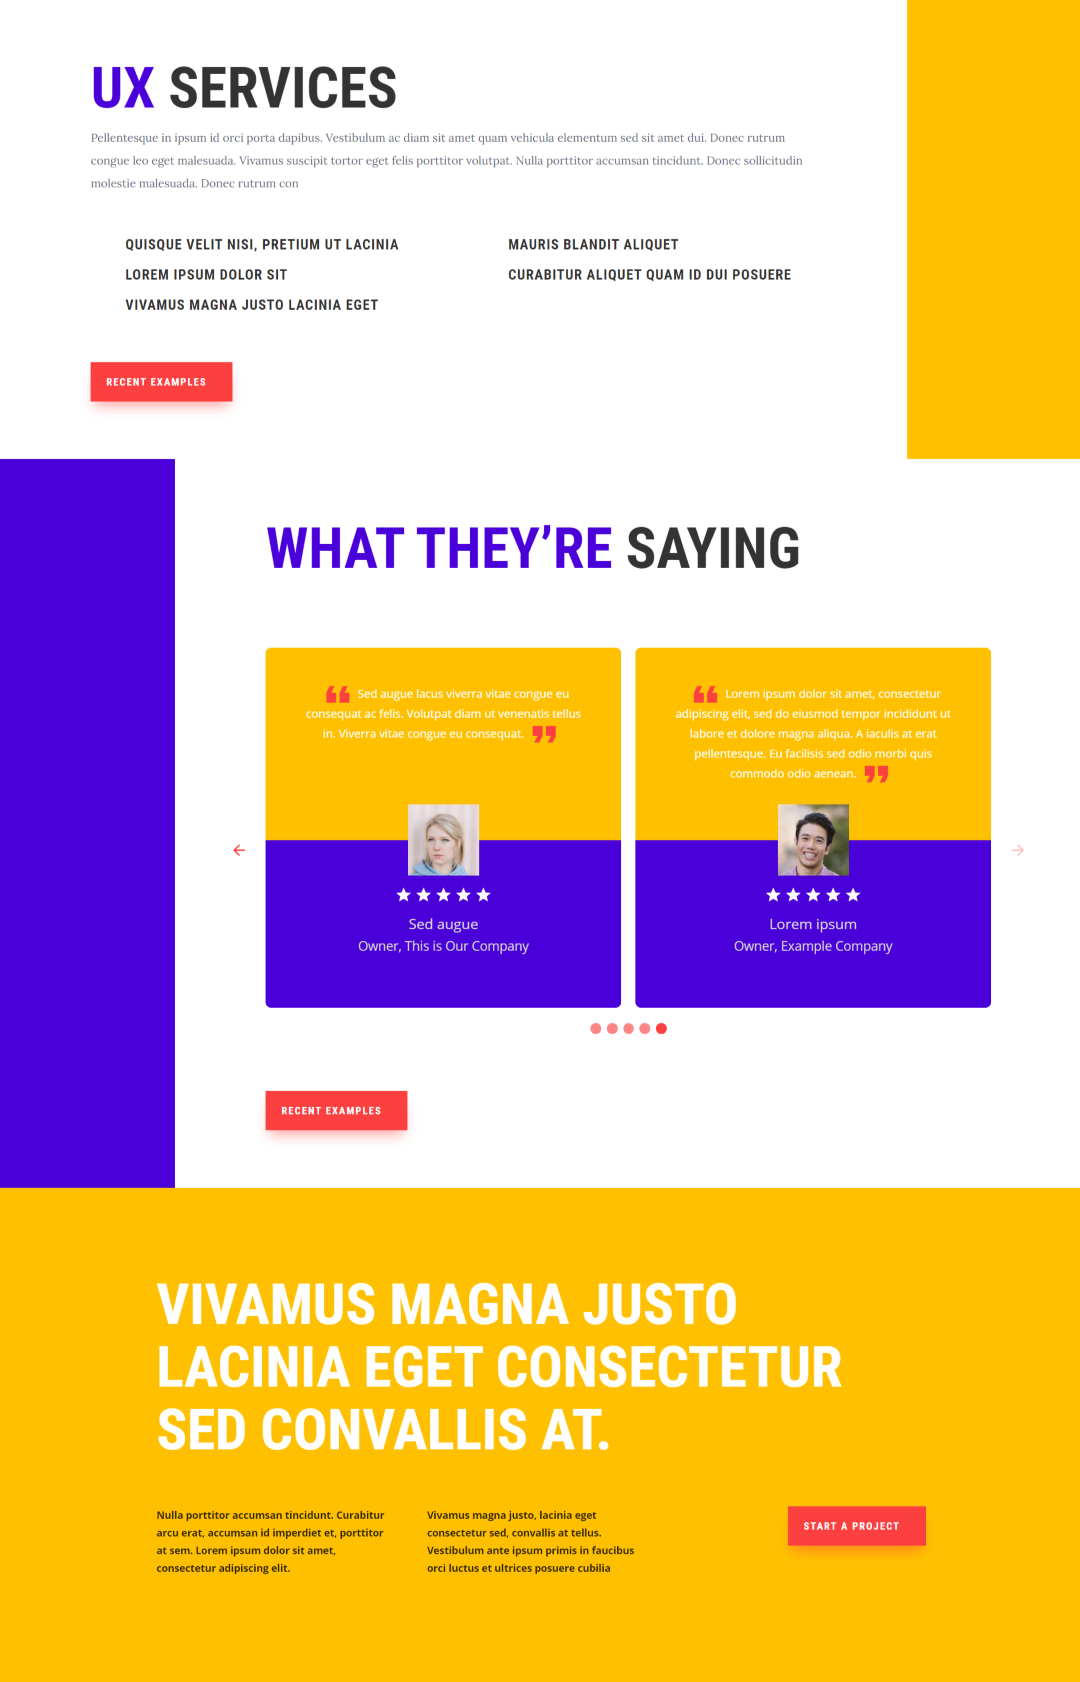
For this example, I’ve used the Advertising Agency layout pack and replaced the last section of services with testimonials. I’ve used colors from the layout and created a 2-color testimonial card. I’ve made the images square.
Testimonial Form
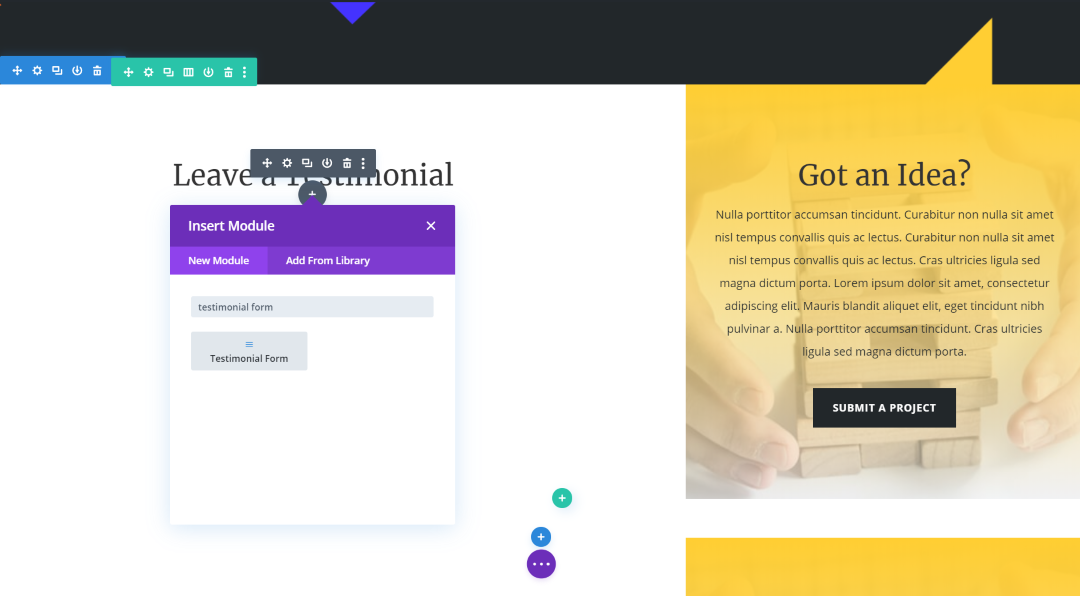
Testimonial Extended adds another module called Testimonial Form. This module creates a form that allows visitors to upload their testimonials to your website. In this example, I’m using the Contact page from Elegant Themes’ Venture Capital Firm layout pack.
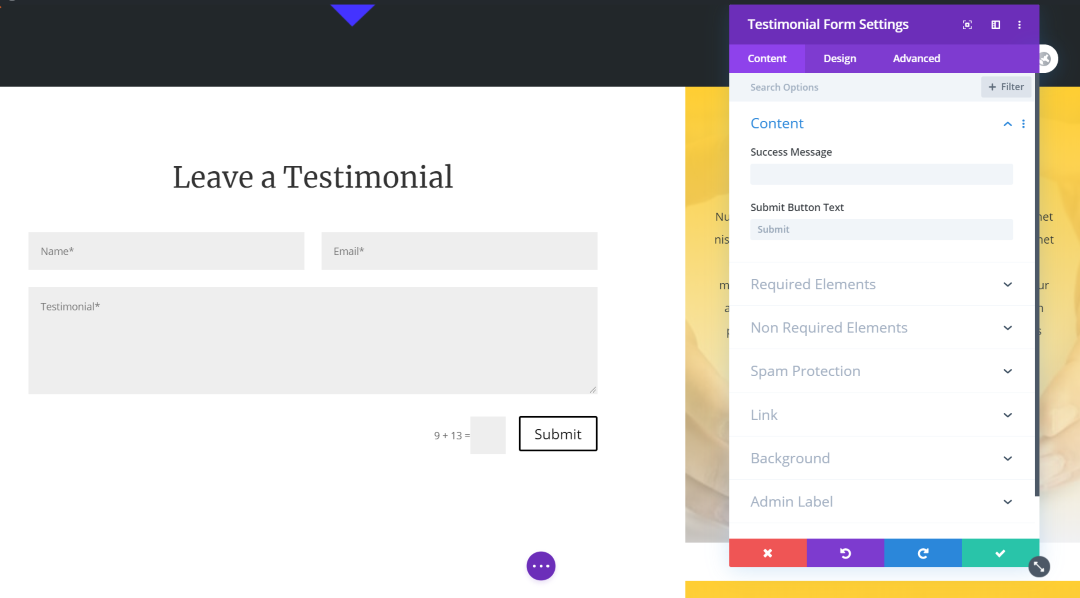
The module includes settings for a success message, submit button text, required and non-required elements, and spam protection.

The Required Elements settings allow you to change the field labels and send a confirmation email to the author.
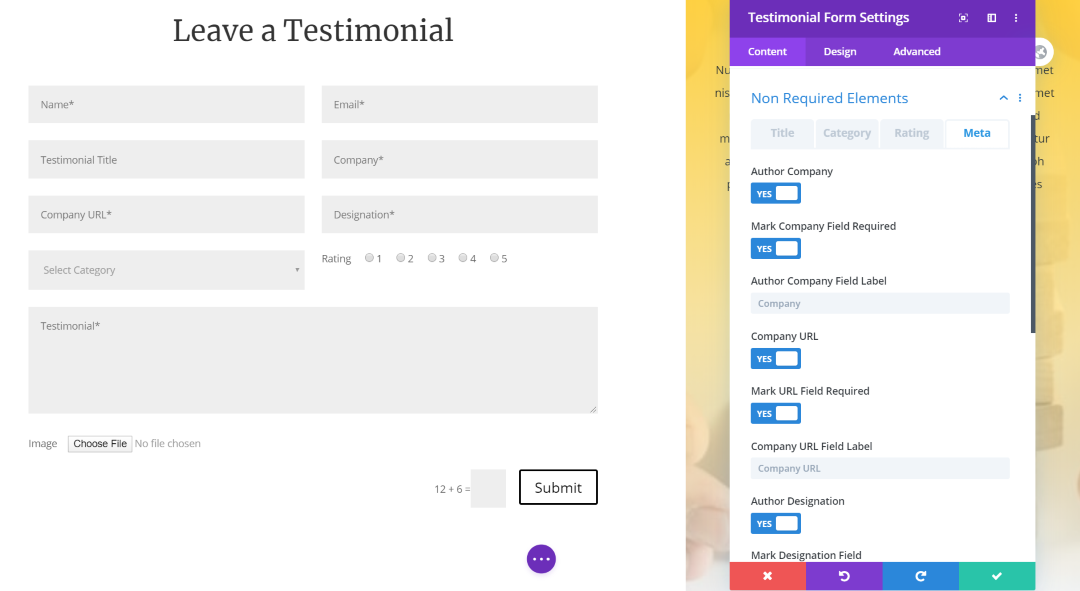
The Non Required Elements settings allow you to add new fields and mark them as required.
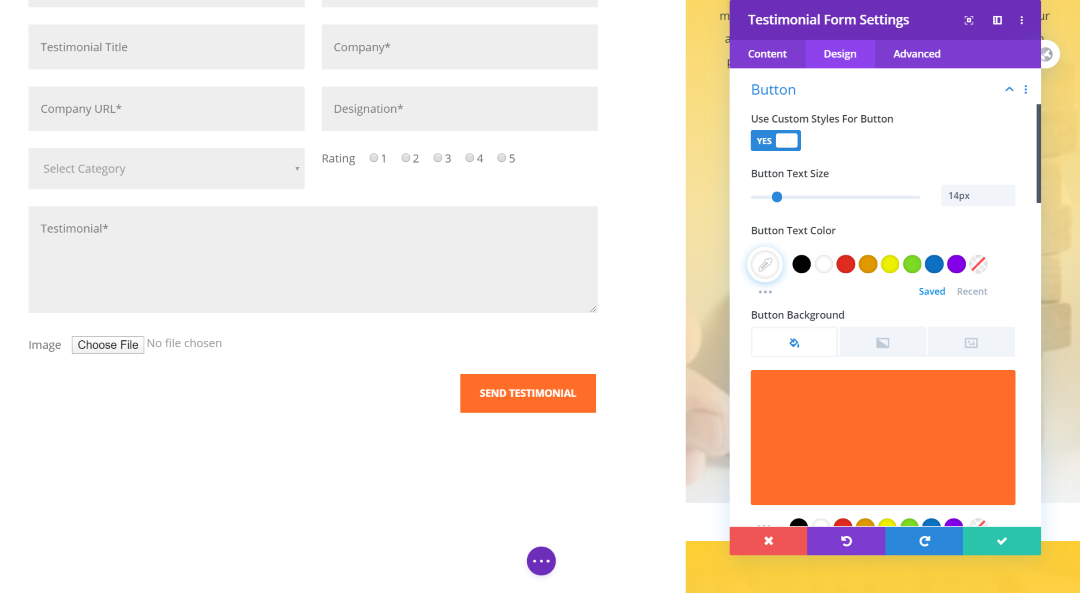
You can style every element including the text, notification text, fields, button, etc. In this example, I’m styling the button using elements from this layout.
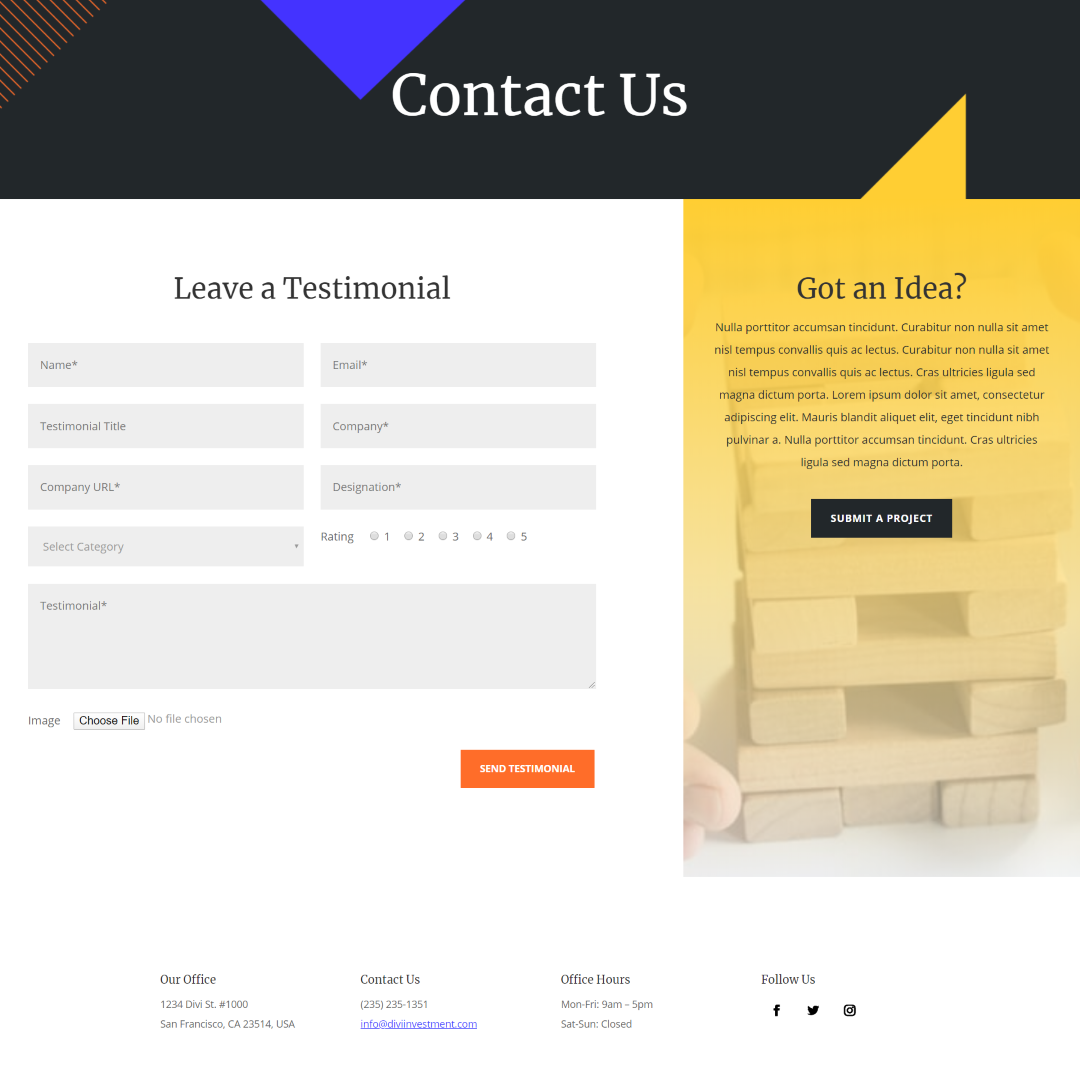
Here’s how the form looks within the layout. I’ve included all of the fields.
Submitted Testimonials
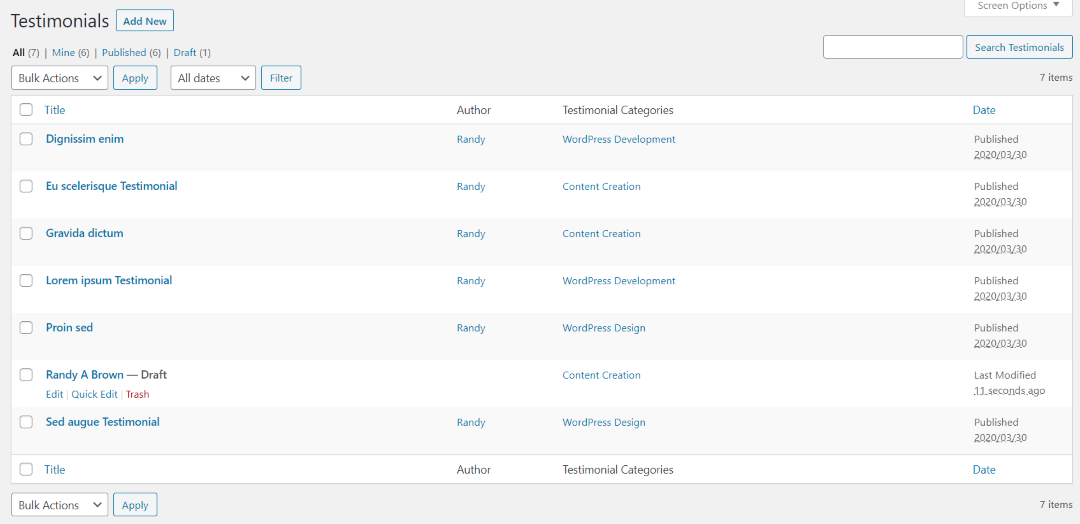
Once a testimonial is submitted it will appear on the list. It will also send an email to the admin to alert them that a testimonial was submitted. To approve the testimonial and have it to show in your testimonial slider, select to edit.

In the editor, select Publish.

The submitted testimonial will now appear in the testimonial slider.
Now how about creating an auto updating testimonial section to save yourself from all this configuration and make things easy.
Ending Thoughts
That’s our look at Divi Testimonial Extended. I found this Divi testimonial slider plugin to be highly intuitive. The module works like any Divi module, so all of the styling and options are here. I especially like that it creates a testimonial custom post type and then the modules can display them based on category. The Testimonial Form module makes it easy for clients to submit testimonials.
If you’re interested in a Divi testimonial slider, I highly recommend taking a look at Divi Testimonial Extended.
We want to hear from you! Have you tried Divi Testimonial Extended? Let us know what you think about it in the comments below.




0 Comments