
Looking to add masonry galleries on your Divi theme website and finding them hard? Well, it’s not rocket science; however, sometimes it feels more than rocket science. And for a non-techie person, it’s rocket science, biological science, chemistry science, and all the sciences in the universe. Therefore, in this blog post, I will share 2 methods that can help a developer and beginner to create a Divi masonry gallery easily.
Why wait, let’s start creating our beautiful masonry gallery in the Divi theme.
Table of Contents
Create a Divi masonry gallery without a plugin
To add a masonry gallery without using any plugin, we need to insert a script in the theme files, i.e., header.php to initialize our masonry package using the Divi Theme Options.
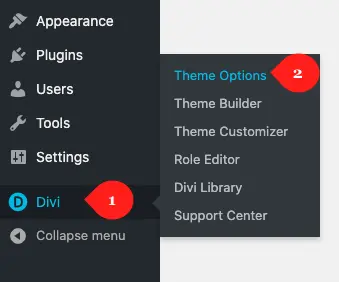
On your WordPress Dashboard, go to Divi → Theme Options
Then select Integration tab, and in the “Add code to the < head > of your blog,” add the below script.
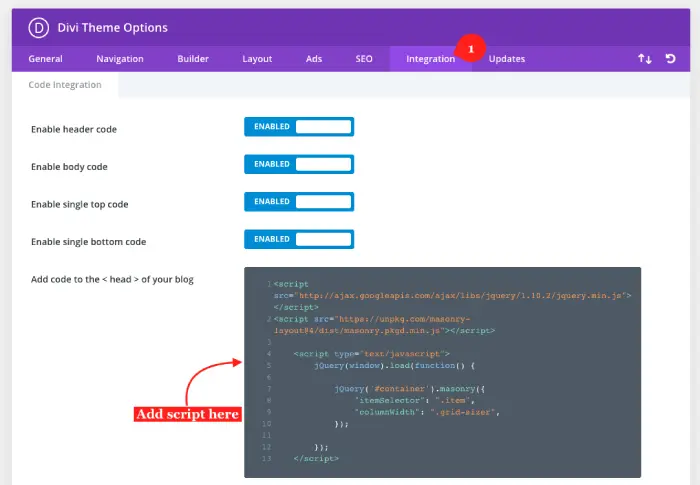
Here’s your script, add it to the head tag in the Divi theme options.
Step 2: Insert custom CSS
After inserting our masonry package script in the header file of each page, we need a custom CSS to identify each item in the grid layout of a masonry gallery.
To do that, first go to the page where you want to display masonry gallery. Then, click the Settings (⚙️) icon to open page settings.

After the page settings are opened, go to the Advanced tab, and then in the Custom CSS settings, input the below CSS.
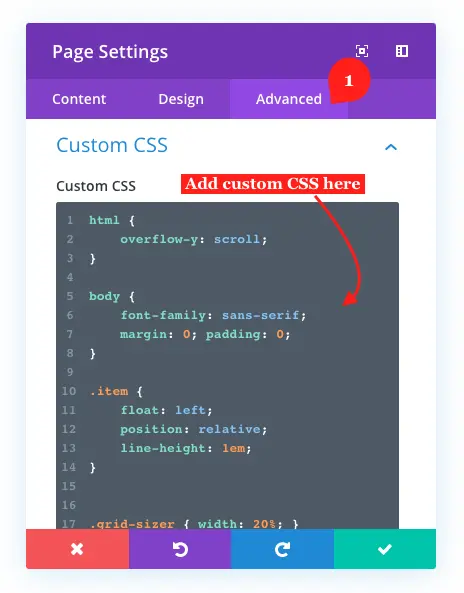
Here’s your Custom CSS for the masonry gallery 👇
Step 3: Add Divi masonry gallery HTML
Now the final step to add a Divi masonry gallery without using a plugin. After adding the custom CSS to the page’s advanced settings, save changes. And then insert the Code module on the page.
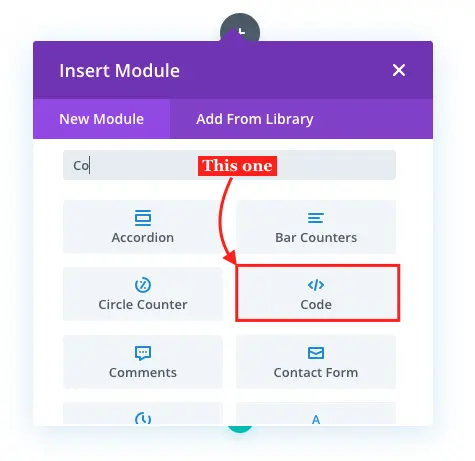
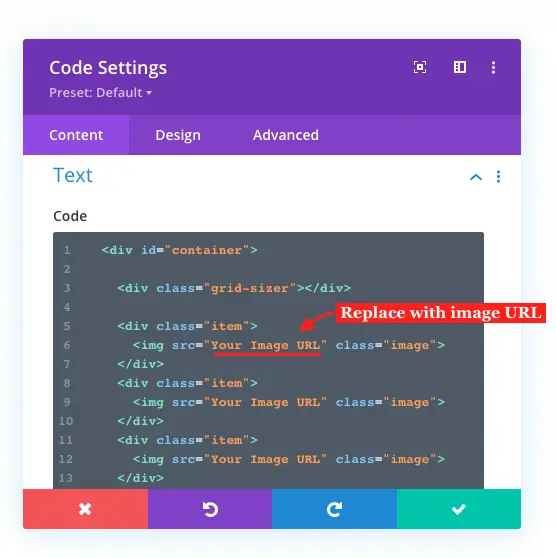
And in the code module, insert the below html.
When you insert the above code, make sure you replace the “Your Image Url” with an actual URL of the image. And, if you want to add more rows or increase number of items in the gallery, then copy the code from “<div class=”item”>” to “</div>” and paste it above the last “</div>” tag.
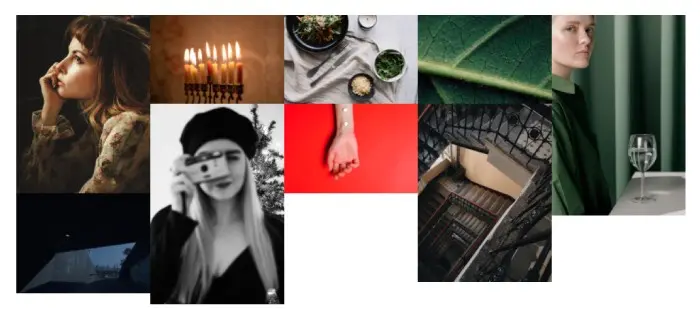
As soon as you do that, you’ll get your masonry gallery without using a plugin just like the below screenshot.
Create Divi masonry galleries with a plugin
Well, the above method will allow you to create Divi masonry galleries, but it would be hard for you to customize them. Moreover, each time you need to make some changes to the galleries, you need to adjust the code — a long and tiring process. However, if you go with a plugin, you can easily add Divi masonry galleries and customize them further to suit the website’s design specifics.
The two plugins that provide complete tools to create Divi masonry gallery are Divi Plus and Divi Gallery Extended. Both these plugins add a module to the Divi builder to create masonry galleries. Let’s see how we can use them.
Step1: Insert DP Masonry Gallery or Masonry Gallery module
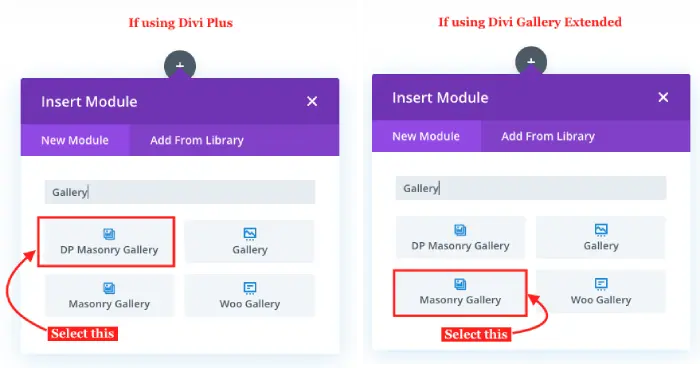
If you’re using Divi Plus, then insert the DP Masonry Gallery module. Or insert the Masonry Gallery module if you’re using the Divi Gallery Extended plugin.
Step 2: Add image
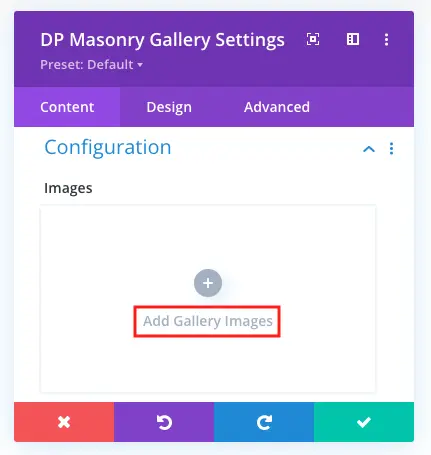
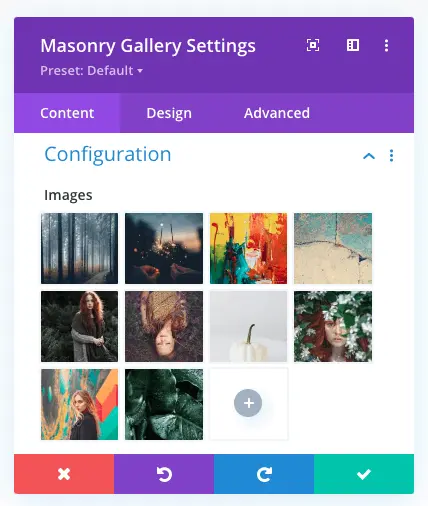
As soon as you insert the module, it opens the Configuration settings. Here, you can insert the images you want to use in a masonry gallery. Click Add Gallery Images to insert the images for a Divi masonry gallery.
Once you insert the images, the configuration settings would appear like the below image.
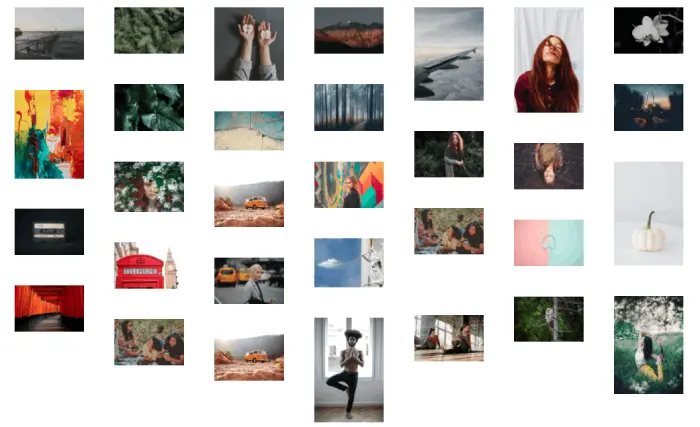
After adding the images in the masonry module, you get your masonry gallery just like the below screenshot.
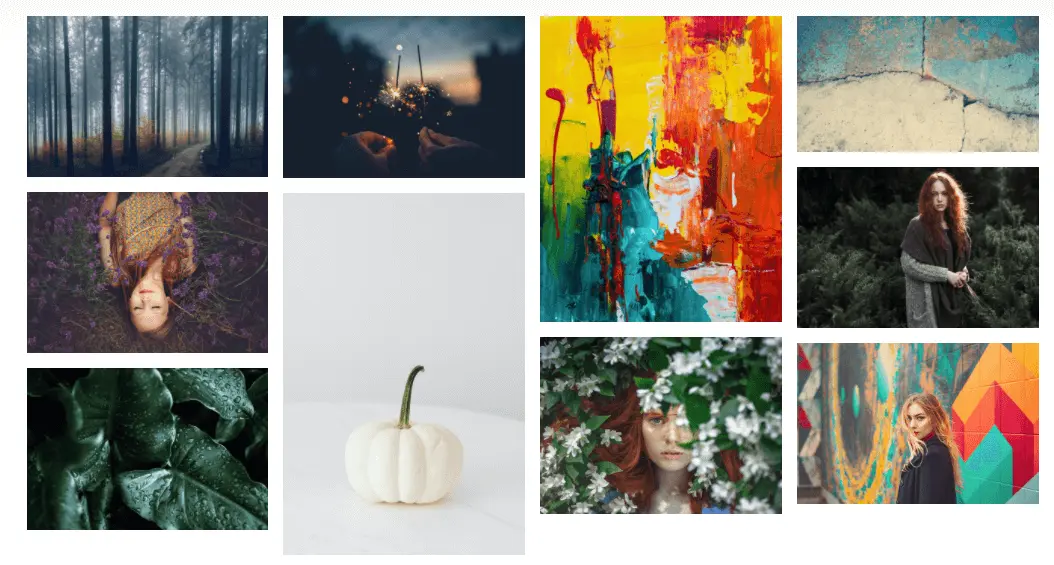
However, it’s the default look; there are further options that we can use to maximize the Divi masonry gallery’s appearance. We’ll check them, one by one.
Step 2A: Change number of columns in the masonry gallery
When you insert the masonry module, by default, you get 4 columns in it. Yet, it’s not something that you cannot change. Both the modules, DP Masonry Gallery and Masonry Gallery, provides you with the option to increase the number of columns in a masonry gallery.

First, open the masonry gallery module, then in the Content tab, go to Configuration settings → Number Of Columns. Here, you can select the number of columns up to 10. So, if you add more images in the gallery, they would look great with extra columns.
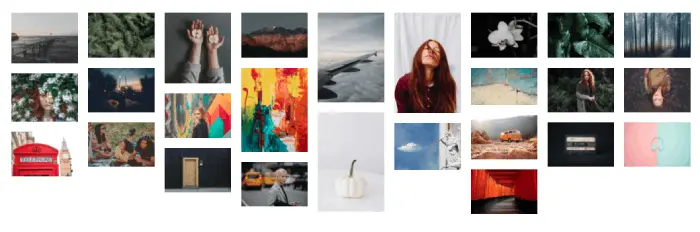
This is how the masonry gallery would look like after increasing the number of columns and images.
Step 2B: Apply column spacing
Design needs aren’t common for everyone. For example, many users like to have a subscribe button at the top menu, so some at the bottom. And this is undoubtedly true in the case of masonry galleries. By default, the layout it provides has spacing in between columns. However, some might not want that spacing. Therefore, to fulfill different users’ design requirements, the masonry module can eliminate the spacing. Or increase the space in the predefined spacing.
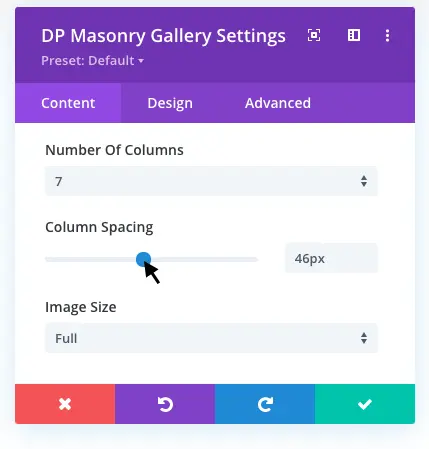
First, go to the Configuration settings → Column Spacing → move the slider or input the value.
Doing so will add or remove the spacing in the masonry gallery. To say, in the above screenshot, I’ve added column spacing 46px with 7 columns.

And in the above screenshot, to eliminate the spacing, I’ve set the column spacing to 0px with 10 columns.
Step 3: Enable the Lightbox
A lightbox adds an interactive touch to the masonry gallery. When users click on a particular image, the image will appear in a window, and that’s what the lightbox is.
To enable the lightbox, first, go to the Content tab → Elements → Enable Lightbox → Yes.
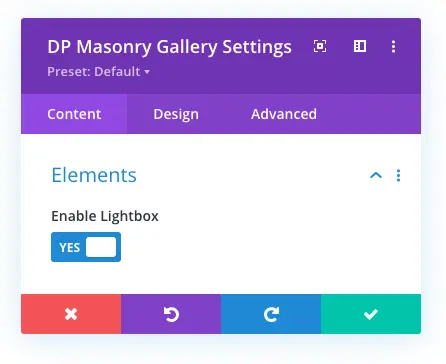
This will enable the lightbox, and the images would appear when the users click on them, just like the below illustration.

And that’s not all. After enabling the lightbox, it provides you further option to display title and caption on the image.
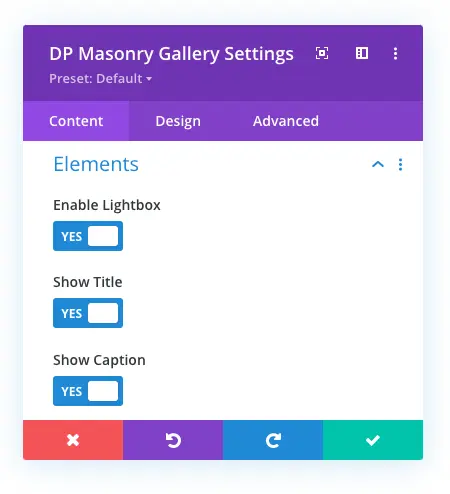
Once you enable the title and caption option for the lightbox, the images will start to show them.

Take an idea of how the title and caption will look from the above image. In the above image, the title and caption are customized, which we’ll cover later in this article.
Step 3A: Enable overlay on masonry gallery images
If you’re required to apply an overlay effect on masonry gallery images, then with these modules, you can do that too.
To enable the overlay effect on images when the user hovers, go to Elements → Enable Image Overlay on Hover → Yes. Then, choose an icon for the overlay.
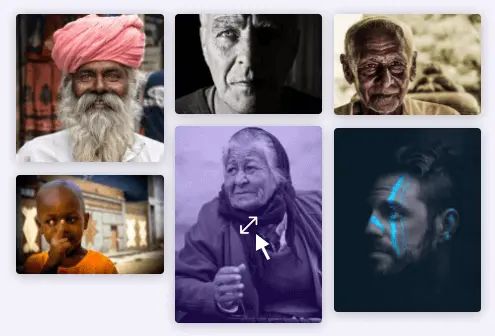
Just like the above image, after enabling the image overlay, the masonry gallery will display an icon when users hover upon the images. There are more settings available to style an overlay to make it more suitable according to the design specification. We’ll look at those options later in this article.
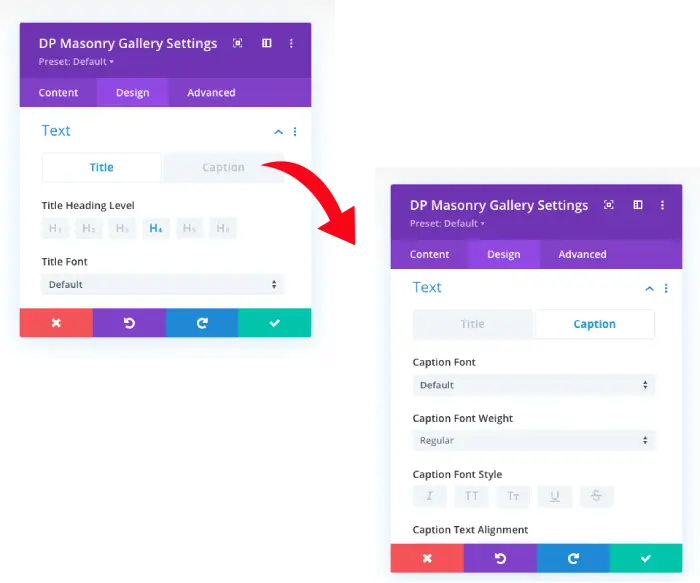
Step 4: Customize title & caption
The title and caption of an image will display when you enable the lightbox. Once the lightbox is enabled, you get the option to improve the title and caption’s appearance further.
Go to the Design tab → Text → select Title or Caption → and apply the customizations as required.
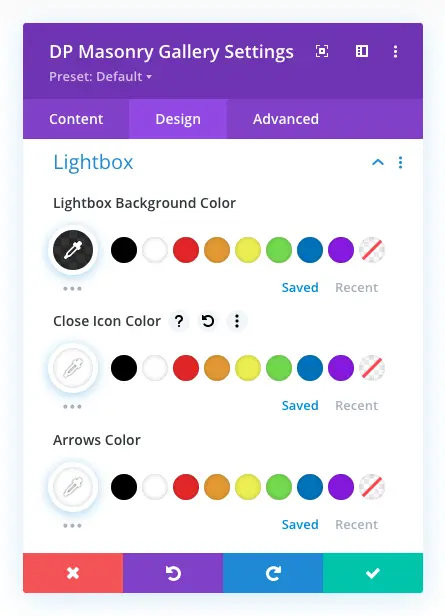
Step 5: Style the Lightbox
The available style options for the lightbox enables you to apply color for different elements. Like, background, close icon, and slider arrow.
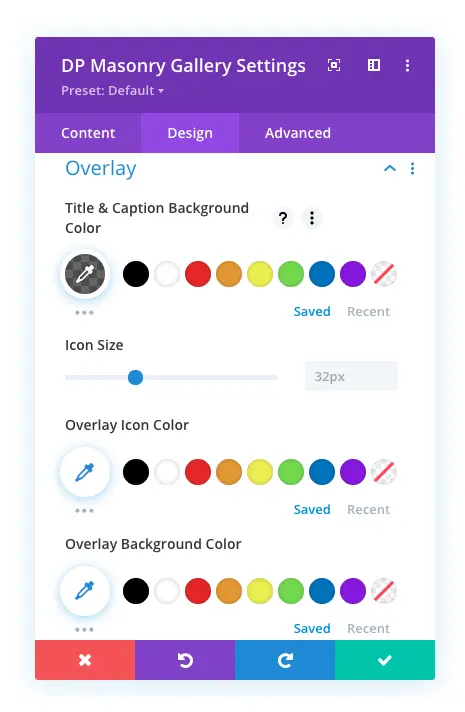
Step 6: Style overlay
As I mentioned earlier, the masonry gallery module provides you with more options to style the overlay. When you go to the Design tab and then Overlay settings, you get options to change the overlay icon’s size and color. Overlay’s background color and an additional option to change the title and caption’s background color.
Step 7: More styling options
The Border and Box Shadow settings enables you to apply rounded corners, border styles, box shadows and more to the masonry gallery images. After applying those options, you can get the following masonry galleries for your website.


Conclusion
It’s dependent on what you prefer. If you don’t want to install plugins and keep fewer third-party tools on the site, then the first method is good for you. However, if you want an instant way with loads of features and customizations to create a Divi masonry gallery, you’d be happy with the Divi Plus and Divi Gallery Extended plugin.
Try these methods today, and let me know how well it went for you.


Hi Echo,
We do have a Divi WooCommerce Extended plugin and Divi Cart Pro child theme which come with their own ‘Products’ modules. In both modules, DWE Woo Products (in Divi WooCommerce Extended) and DCP Woo Products (in Divi Cart Pro) have the option to display the products in a Masonry Grid layout.
Here are the URLs for both of these products we have specifically for WooCommerce-based websites:
Divi WooCommerce Extended: https://diviextended.com/product/divi-woocommerce-extended/
Divi Cart Pro: https://diviextended.com/product/divi-cart-pro/
You ever do something like this with Woo Products?
Just purchased this, and wondering why the thumbnails when I’m not logged into the site are super blurred and pixelated?
You can actually just do this with pure CSS now using display flex. No need for any javascript or plugins.
One of the divi demo layouts that you can import for free has a masonry grid. Then you can start from there.
the title and description of the photo are not displayed as in step 3. what to do?
Could any of this be used to create a masonry gallery that includes both photos *and* videos?