The Divi Search module adds a search bar to the site that enables users to search posts and pages. Furthermore, with its design options, you can make it look appealing and decide what to display in the results. However, it doesn’t provide support for WooCommerce products. Plus, every time users search for something, they have to visit a separate page of search results. Therefore, to provide users better and faster search results right under the search bar with WooCommerce support, the Divi Ajax Search module comes in play.
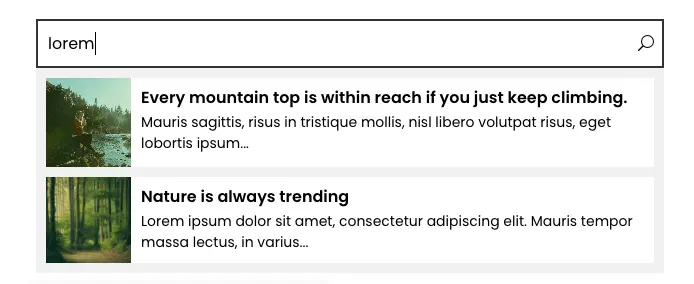
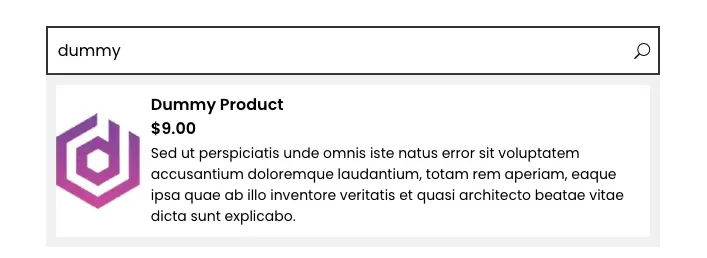
Using this module, you can display attractive search results under the bar just like below illustration.
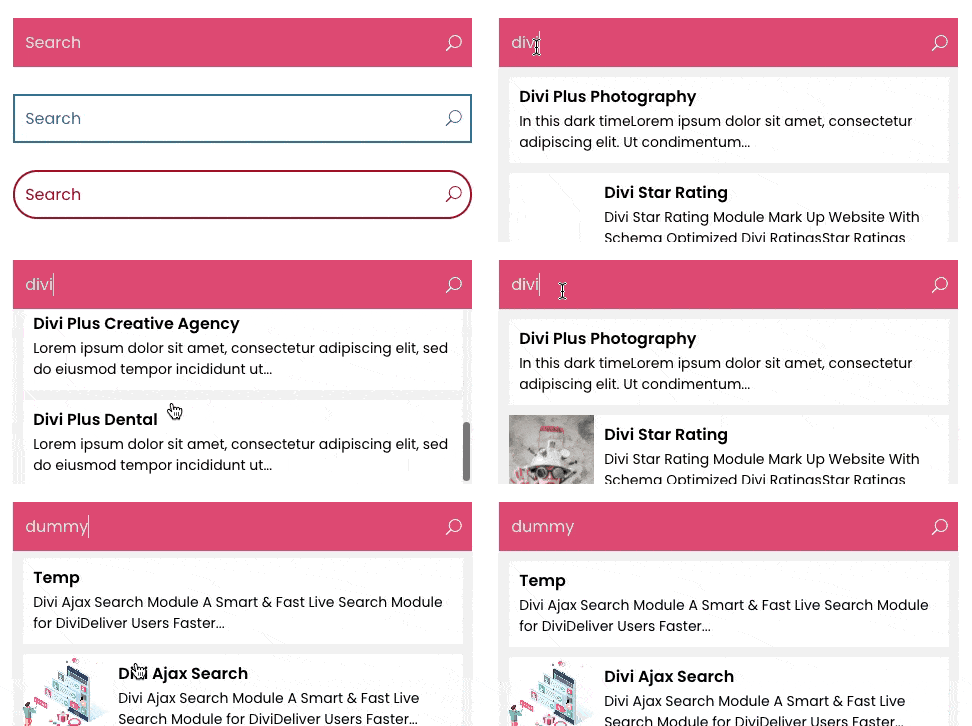
And in this blog post, we’re going to see how we can use this module to make the most out of it. So, you can use this on your site for extra benefits. Therefore, without any further due, let’s get started!!!
Step 1: Install the plugin
The following steps can help you successfully install and activate the module to create an ajax search field for Divi.
A: Get Divi Plus from Elegant Themes
To power up your website with Divi ajax search, first, you need to get the Divi Plus plugin. It’s a multi-purpose plugin for Divi available at the Divi Marketplace. It comes with 34 Divi modules, including the Ajax Search module we require in this post.
B: Download & Install the plugin
After getting your copy of the plugin, you can download it right from the product page. Or, go to your Elegant Themes Account >> My Download, scroll a bit, and Download.

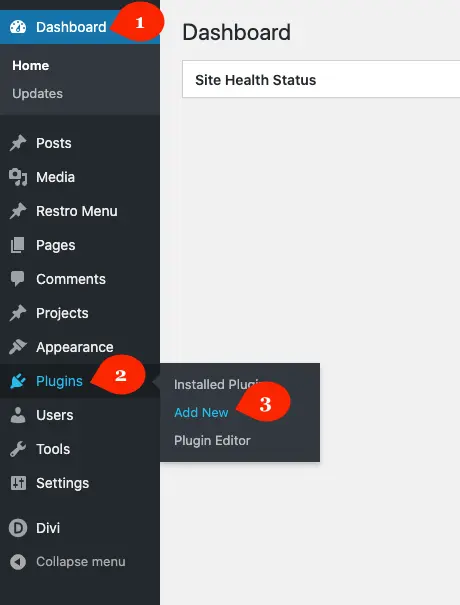
Once downloaded the plugin, go to your WordPress Dashboard >> Plugins >> and click Add New.
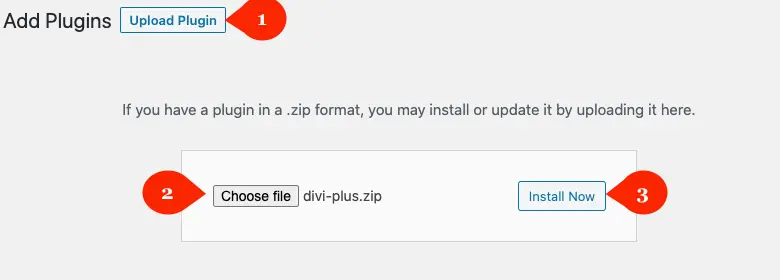
Then inside the Add New plugin window, click Upload Plugin, and choose the file you’ve downloaded from the Elegant Themes or our store. Once successfully uploaded the file, click Install Now.
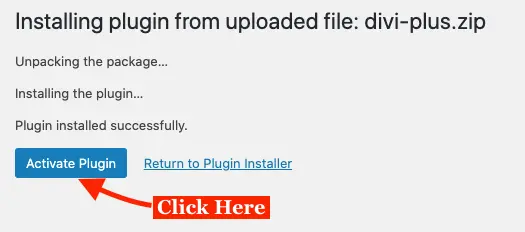
As soon as the plugin gets installed, WordPress would ask you to activate the plugin. Simply click Activate Plugin that would appear on the next window after installation.
That’s it; we’ve successfully installed our plugin. However, our job isn’t done yet. We have to make sure that the Ajax Search module is enabled, and to do that, follow the next step.
C: Activate the module
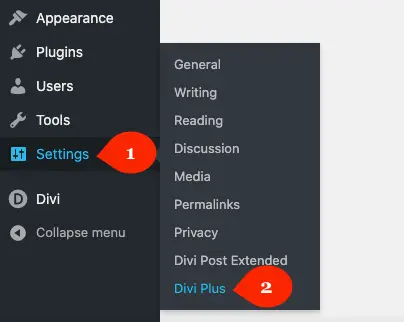
To check whether the Ajax Search module is enabled or not, go to your WordPress Dashboard >> then Settings >> and Divi Plus.
Here, you’d find all the modules available in the Divi Plus. Check whether Ajax Search is enabled or not. If not, then simply tick the checkbox next to it, and Save Changes.
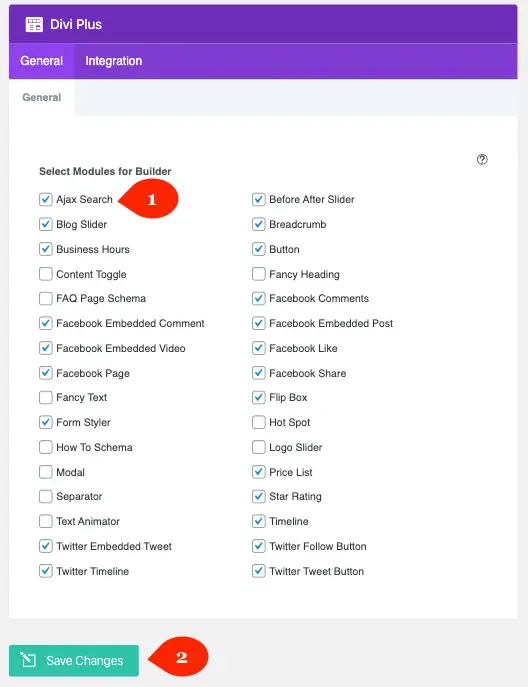
That’s it, our module is activated and we’re ready to explore it further.
Step 2: Insert module
To begin adding a Divi ajax search on a webpage, simply create a page or edit an existing one. Then deploy the Divi Builder and choose to build on the Front End.
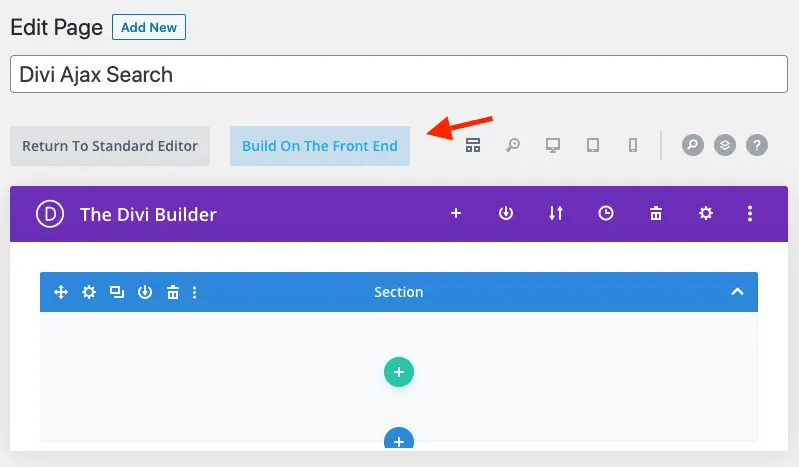
In this way, we’d be able to see the changes we’ll make to the ajax search. Once the Front End builder gets loaded, insert a new row, and then DP Ajax Search module.
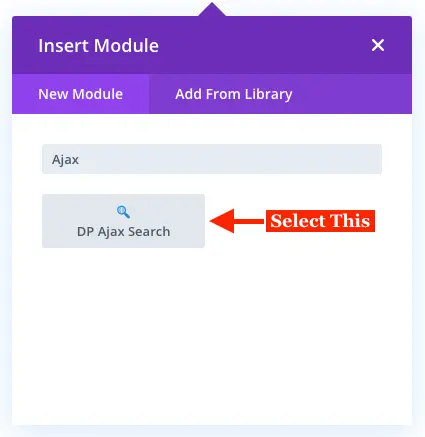
The module has been inserted, let’s configure it for good.
Step 3: Configure the Divi Ajax Search field
As soon as you insert the Divi Ajax Search module, it will open up the Content tab. And the first setting you get is the Configuration.
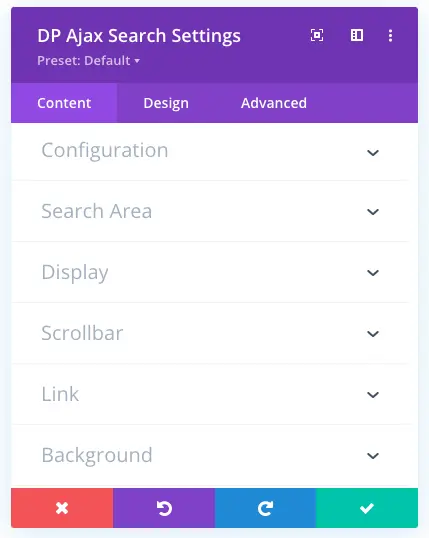
Therefore, to make the most out of it, follow the below steps.
A: Search Field Placeholder & Numbers
The first field available in the Configuration settings allows you to input placeholder text. And the second one enables you to choose how many search results you want to display.
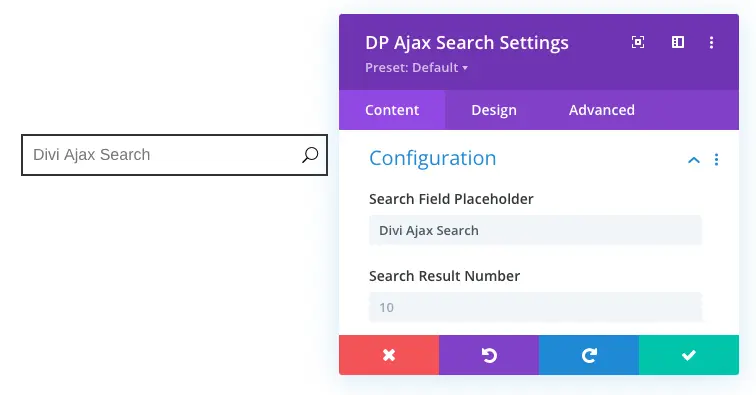
By default it showcases 10 results under the search field, but you can make changes according to the requirements.
B: Configure Search Order
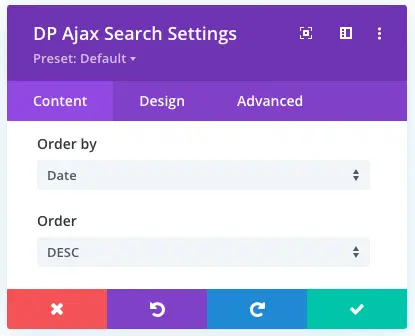
Once you’ve set the placeholder text and search result number, the next options you get in the Configuration settings are the Order By and Order.
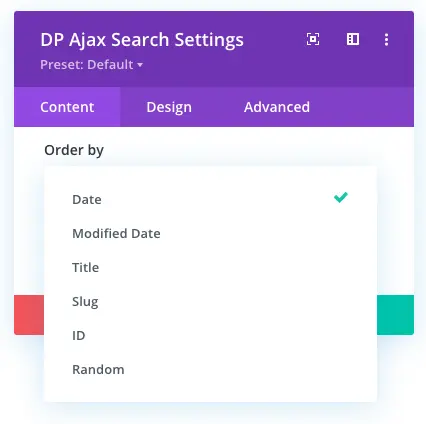
The Order By option provides you with option to display search results in 6 ways. Date, Modified Date, Title, Slug, ID, and Random.
And the Order option enables you to display Order By results in Ascending and Descending order.
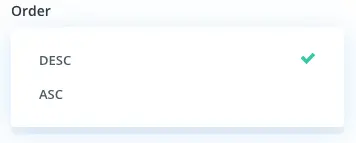
C: Set No Result Found Text
Finally, the last option Configuration settings provide is the ability to set a no result found text. You can input any custom text to represent the unavailability of a particular search query.

And when something will not found on a website, the Ajax Search field would return no result found text as the below screenshot.

Step 4: Configure Divi Ajax Search Area
After Configuration, the Search Area settings provide us with the option to select where we want to run a particular query and for what post types. For now, we can select Title, Content, and Excerpt as a location for a query to search in. To assign an ajax search field its search location, all you have to do is tick the checkboxes in the Search In next to the option of the search area settings.
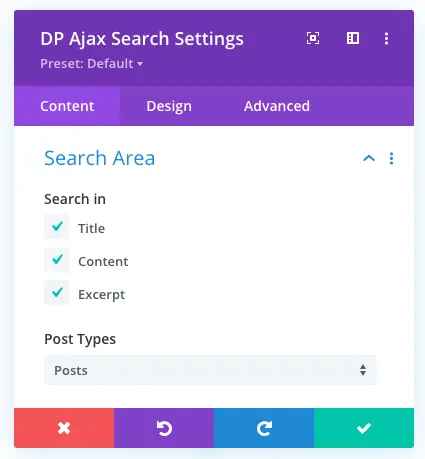
Moreover, the post types available to run the search in query for are Posts, Pages, Projects, WooCommerce Products, Custom Post Types, and the option to include all of these.
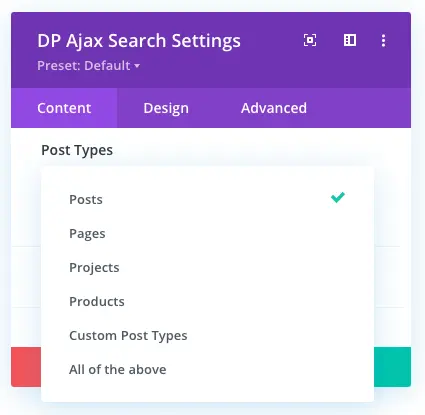
When you select one of these, the ajax search would look for results in the title, content, or excerpt of the selected post type. For example, you’ve selected Title as Search In, and Post as your post type. Now, when a user searches in the ajax search field, it would look for results in the title of the post.
Step 5: Configure, How to Display Search Results
The Display settings in the Content tab of the Ajax Search module, enables you to customize the search field and its results. Under this particular setting, you get the option to hide/show the search icon. Decide what to display in the search results from the Display Fields options that are Title, Excerpt, Featured Image, and Product Price. You can also try any combination of these available options like Title with Excerpt, or Title with Featured Image, and so on.
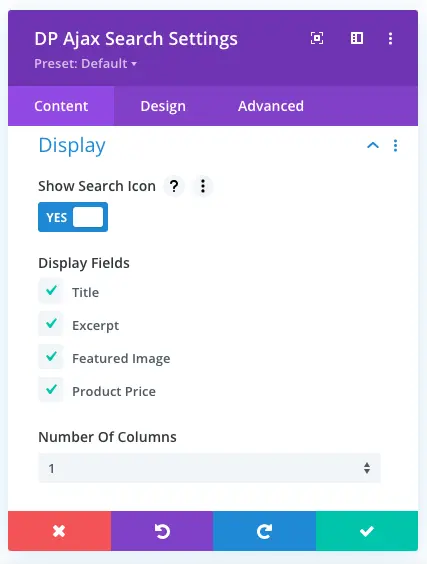
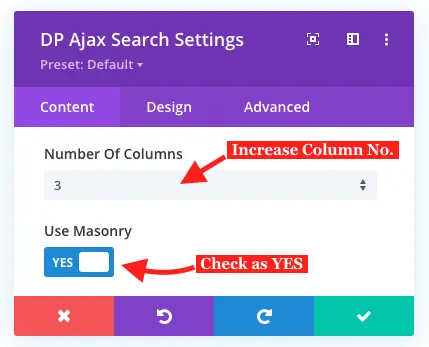
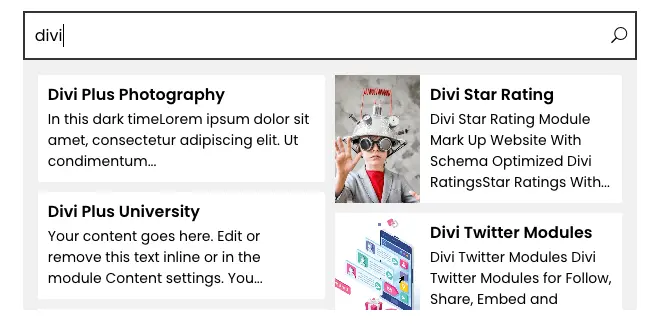
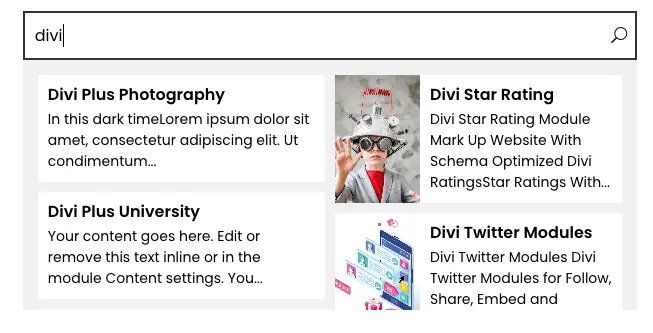
Moreover, this same setting allows you to display search results in columns. And when you choose to display search results in columns, it also enables you to apply the masonry effect. To display search results in masonry format, all you have to do is increase the Number Of Columns from one and check Use Masonry as YES.
The below illustration, nicely represents the masonry search results of the Divi ajax search module.
Step 6: Add a Scroll bar
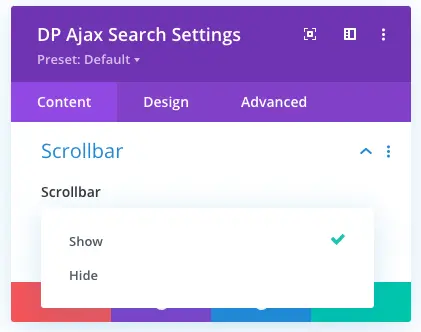
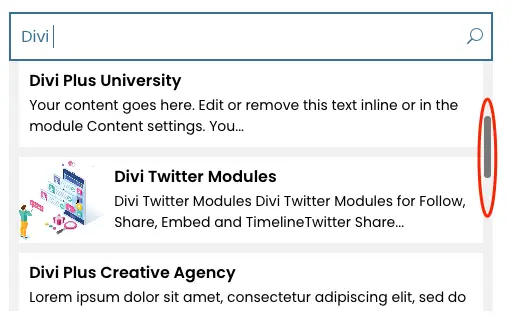
Yes, you can add a Scroll bar to the ajax search field results. To achieve this styling option, go to the Scrollbar settings of the Content tab. And simply select the Show option from the dropdown menu. To hide the scrollbar, simply choose Hide from the menu.
And when someone searches something on the Ajax search field, the scroll bar would appear in the search results same as the below screenshot
Step 7: Configure Search Results Linking
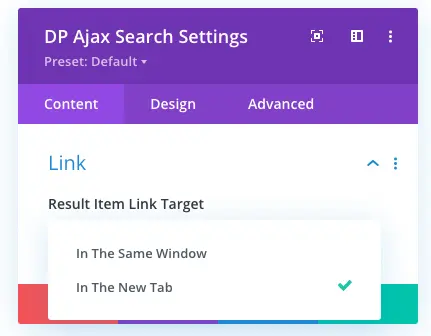
The Link settings available in the Content tab, provides you with the option to either open search results In The Same Window or In The New Tab.
Step 8: Style Search Results Item & Box Background
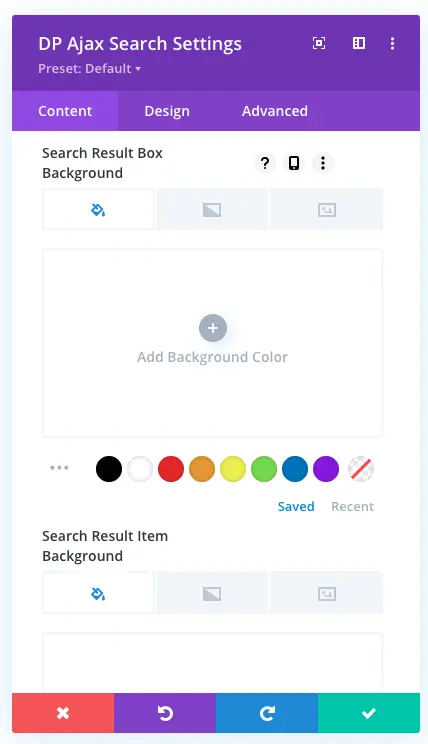
And finally in the Background settings, you get the option to change the background of the Search Result Box and Item with Color, Gradient and Image.
That’s it, we have explored all the Content settings and added required elements of the Divi Ajax Search module. Now it’s time to apply some style on them in the Design tab.
Step 9: Style Divi Ajax Search
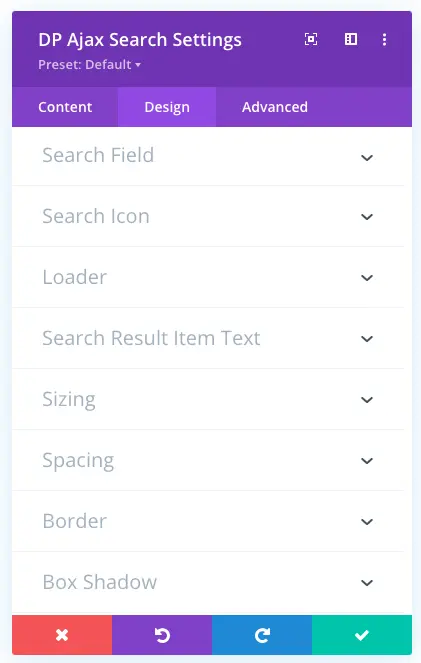
There are multiple settings available in the Design tab of the module, so we’ll explore them one by one to help you understand those easily.
A: Style Search Field
If you want to apply background color to the search field, then go to the Search Field settings.
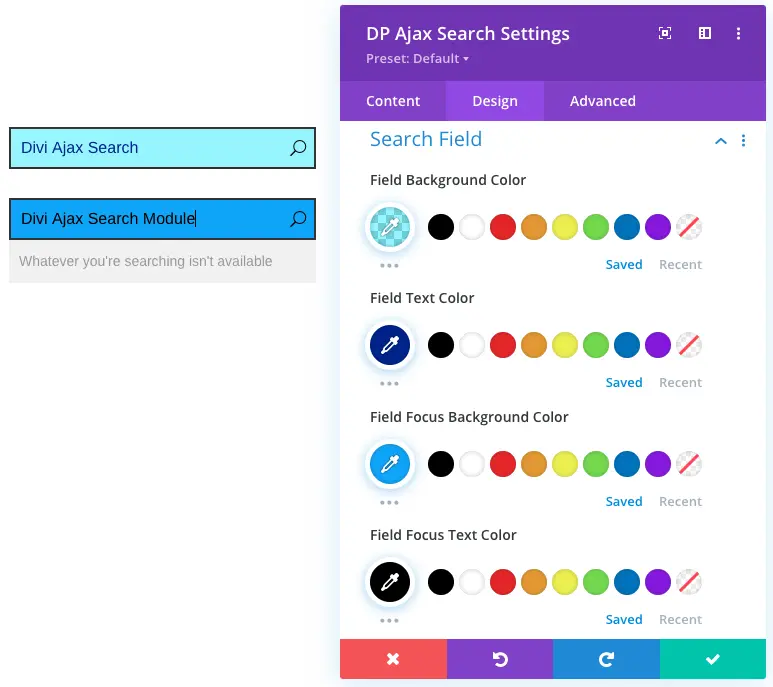
Here, you can apply a background color to the search field when it’s still and focus background color when users type a query. Moreover, it also provides the option to apply still color to the text as well as focus color too. Apart from color styling, you can also bring changes to the padding of the search field and apply text customization such as Font Style, Size, etc.
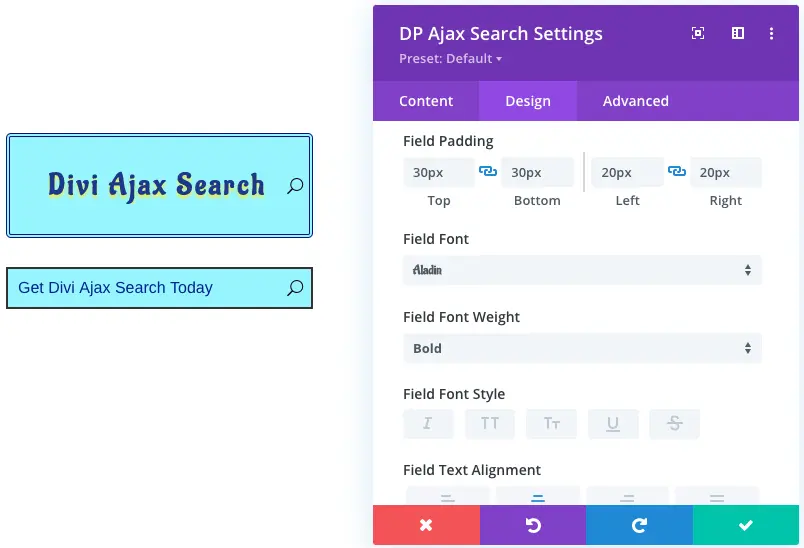
B: Style Search Icon
To give Ajax Search field icon a different color other than the default, go to the Search Icon settings.
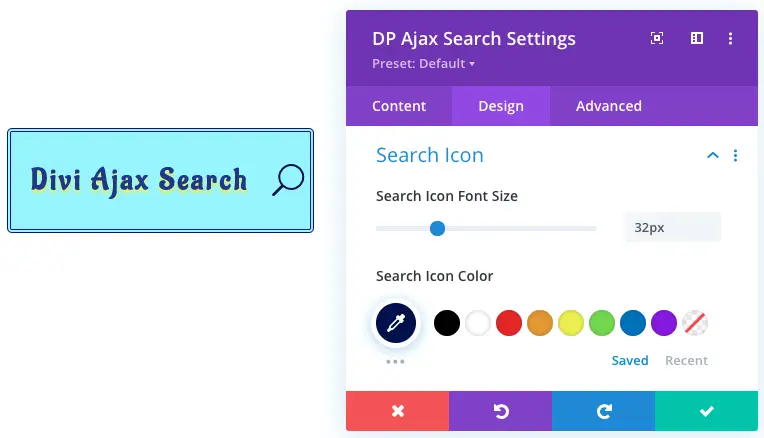
Here, you can apply custom color to the search icon. Plus, it would also provides you with the option to make changes in the icon size.
C: Style Search Loader
To give Ajax Search field Loader a different color other than the default, go to the Loader settings.
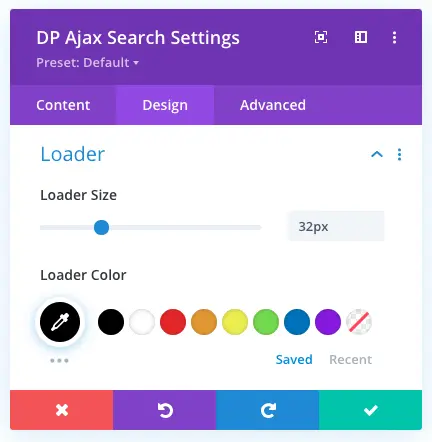
Apart from color styling, here, you can also make changes to the loader size.
D: Style Search Result Item Text
The Search Result Item Text settings will be required when you want to make text styling for the Title, Excerpt, and Price of the search results.
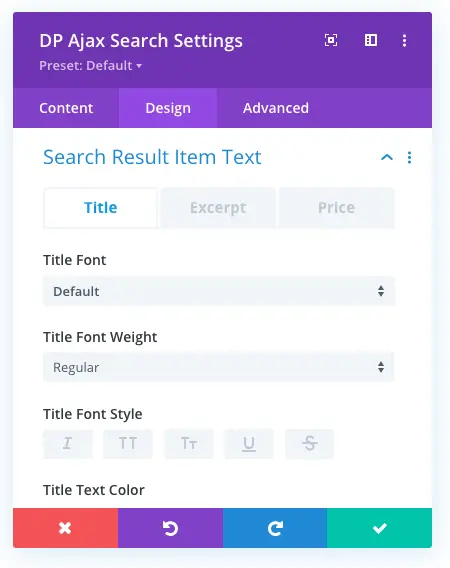
It includes all the text customization options that are required to bring some style in a text. You can change Font Style, Font Weight, Text Color, and everything Divi allows for text styling.
Step 10: Other Design Options (Shadow, Border & Spacing)
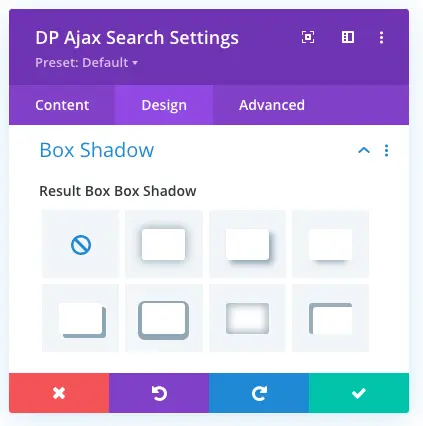
The Box Shadow settings available in the Design tab provides the option to apply Box Shadow on the Result Box.
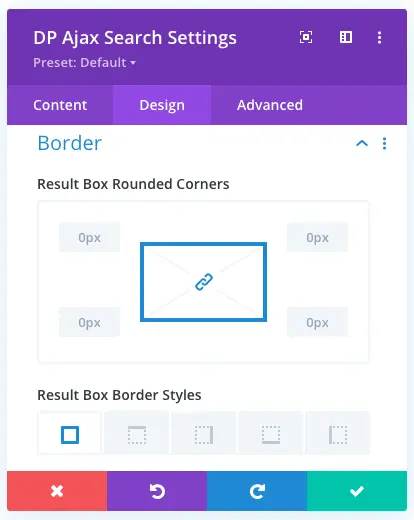
The Border settings allows you to apply Rounded Corners and Border Styles to the result box.
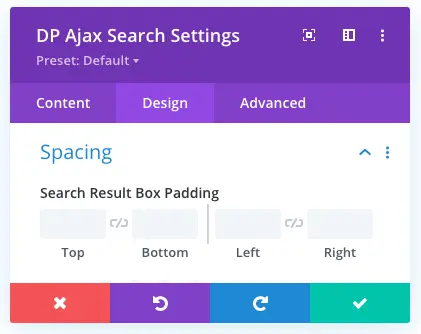
And the Spacing settings of the Design tab, provides you with the option to add padding in the Search Result Box.
That’s it, we have, explored all the Design options of the Divi Ajax Search module. Now, let’s see some examples of it.
Examples of Divi Ajax Search
Conclusion
After going through all the options of the Divi Ajax Search module, what I find is that it’s a powerful performance addon to the Divi theme. Where users with the native search module are not able to display their WooCommerce products, this module solves the problem. And not only products, but you get pretty much options to make a search field functional at all the areas. Moreover, apart from the performance aspect, you can also style this module to suit your website’s surroundings. So, in my option, it’s by far the useful module you can get to add a search bar.
Get the Divi Ajax Search module today, and let me know what was your experience using it. If you’ve already used this module, and you’ve got any query or suggestion, then I’m waiting in the comments. Let’s share more with the Divi community together!


why is this tool just working on firefox and not in other browsers ?