Popups are a great way to maximize your marketing benefits. Not only do they capture users’ attention, but they also drive leads. One can surely see positive results using popups if they follow all the best practices.
You can use popups for multiple reasons. For example, using popups, you can display a discount offer. Ask users to sign up for a newsletter, make an announcement, etc. And it’s not limited because the content is diverse.
Nowadays, video content is more popular, and because of that, many marketers/website owners use video in popups to maximize its functioning.
Based on that fact, if you have decided to create a Divi video popup, then it’s a superb decision. Why? Because Divi’s a powerful WordPress theme that can help you achieve any design requirement. And creating a Divi video popup is one of them.
Following the steps below, you can easily create a video popup in Divi. Ensure you follow each step correctly.
Step 1: Install and Activate the Divi Modal Popup
Divi provides impressive tools to build different kinds of web page elements. However, creating a popup with the available/default options isn’t possible. Therefore, to build our Divi video popup, we need to install a Divi popup plugin.
For this tutorial, we will use the Divi Modal Popup plugin by Divi Extended.
Divi Modal Popup is a premium plugin and one of the best-selling products on the Elegant Themes Marketplace. Using this plugin, it’s easier to build any kind of popup. You can use Video, Image, Text and even Divi Library layouts in the popup’s body. Hence, allowing you to create Divi popups of ultimate possibilities. It provides multiple trigger options,
- On-page load.
- Elements (Button, Image, Icon, Text and CSS ID.)
- Time Delay.
- On-scroll.
- And Exit-intent.
Furthermore, you can place a Divi popup window on different locations of the page. Apply interesting animation effects, speed curves, and other customization options. To get the plugin, visit the Elegant Themes Marketplace, or you can also access our store.
First, download it. Then, upload and install it. And once installed, activate the plugin by clicking the Activate plugin.
Step 2: Insert the Modal Popup Module
After activating the plugin, edit the page where you want to display the popup. Or create a new page. The plugin can work accurately on both classic and visual builders. However, to maximize Divi Builder’s potential, launch visual builder by clicking the Build On The Front End.
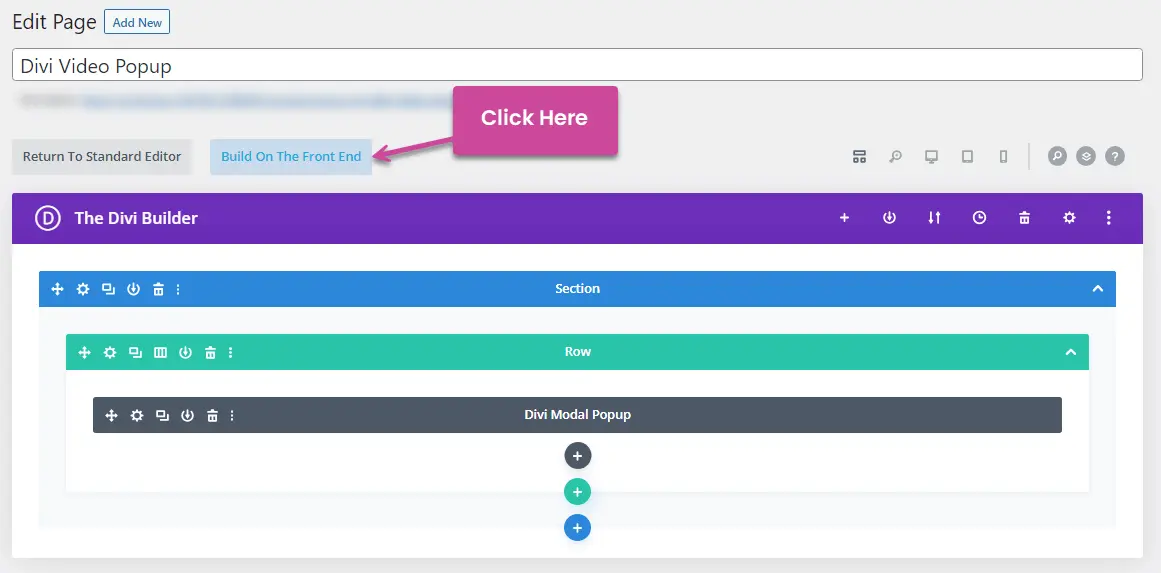
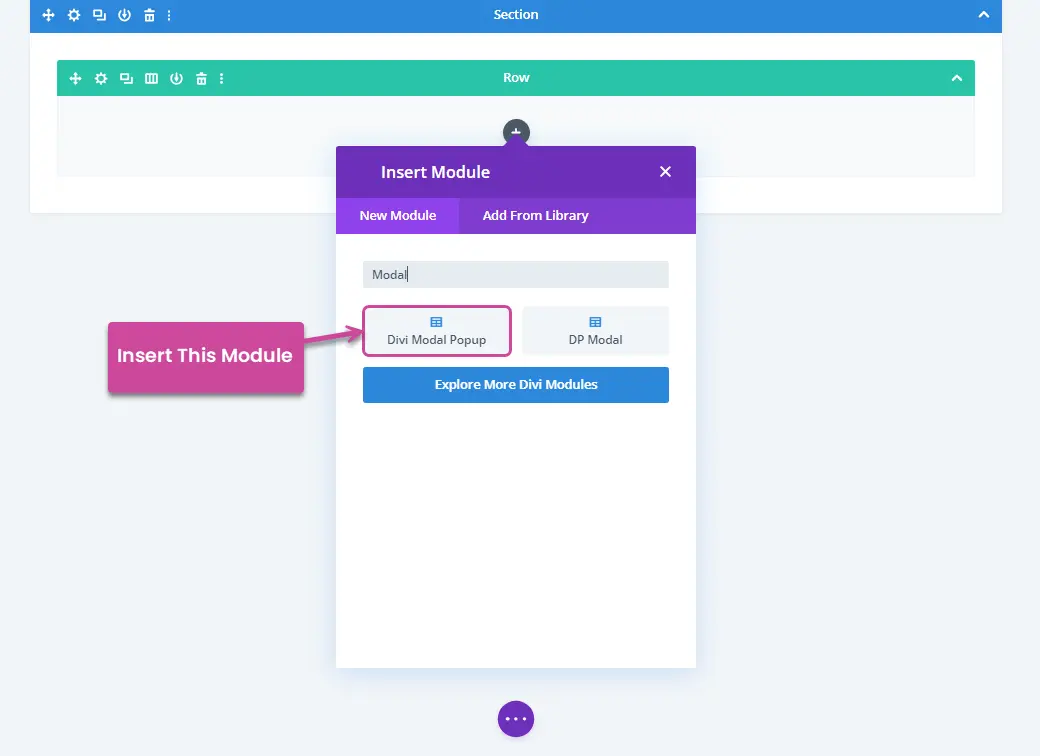
Once the visual builder canvas is loaded, insert the following Divi Modal Popup anywhere/ any section of the page.
As soon as you insert the module, it will load the following settings with a default Button Trigger element.
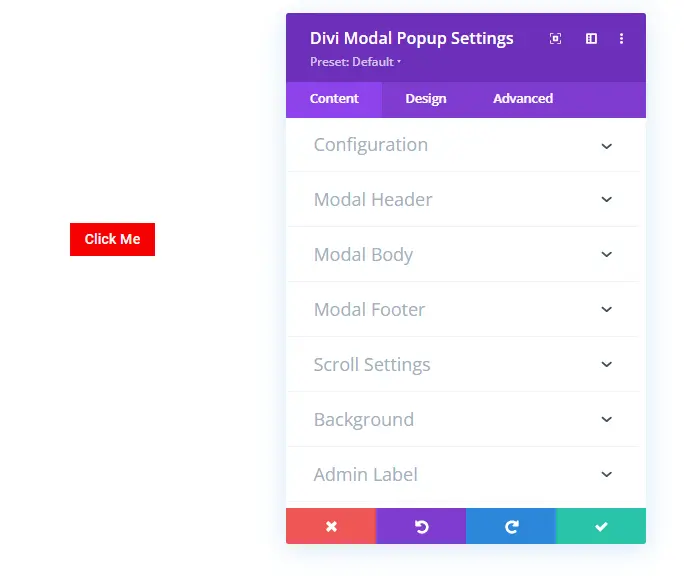
Using these settings, you can configure and customize your Divi video lightbox. To build your video popup in Divi, first, go to the Modal Body in the Content tab.
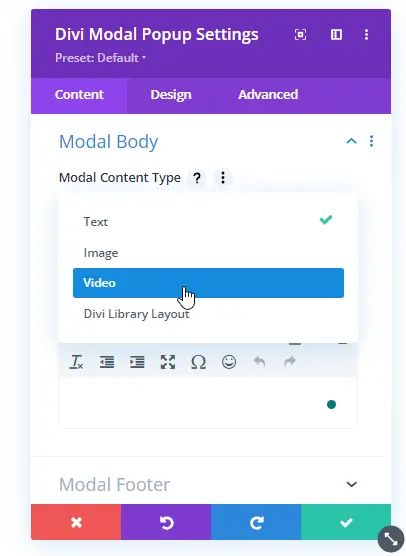
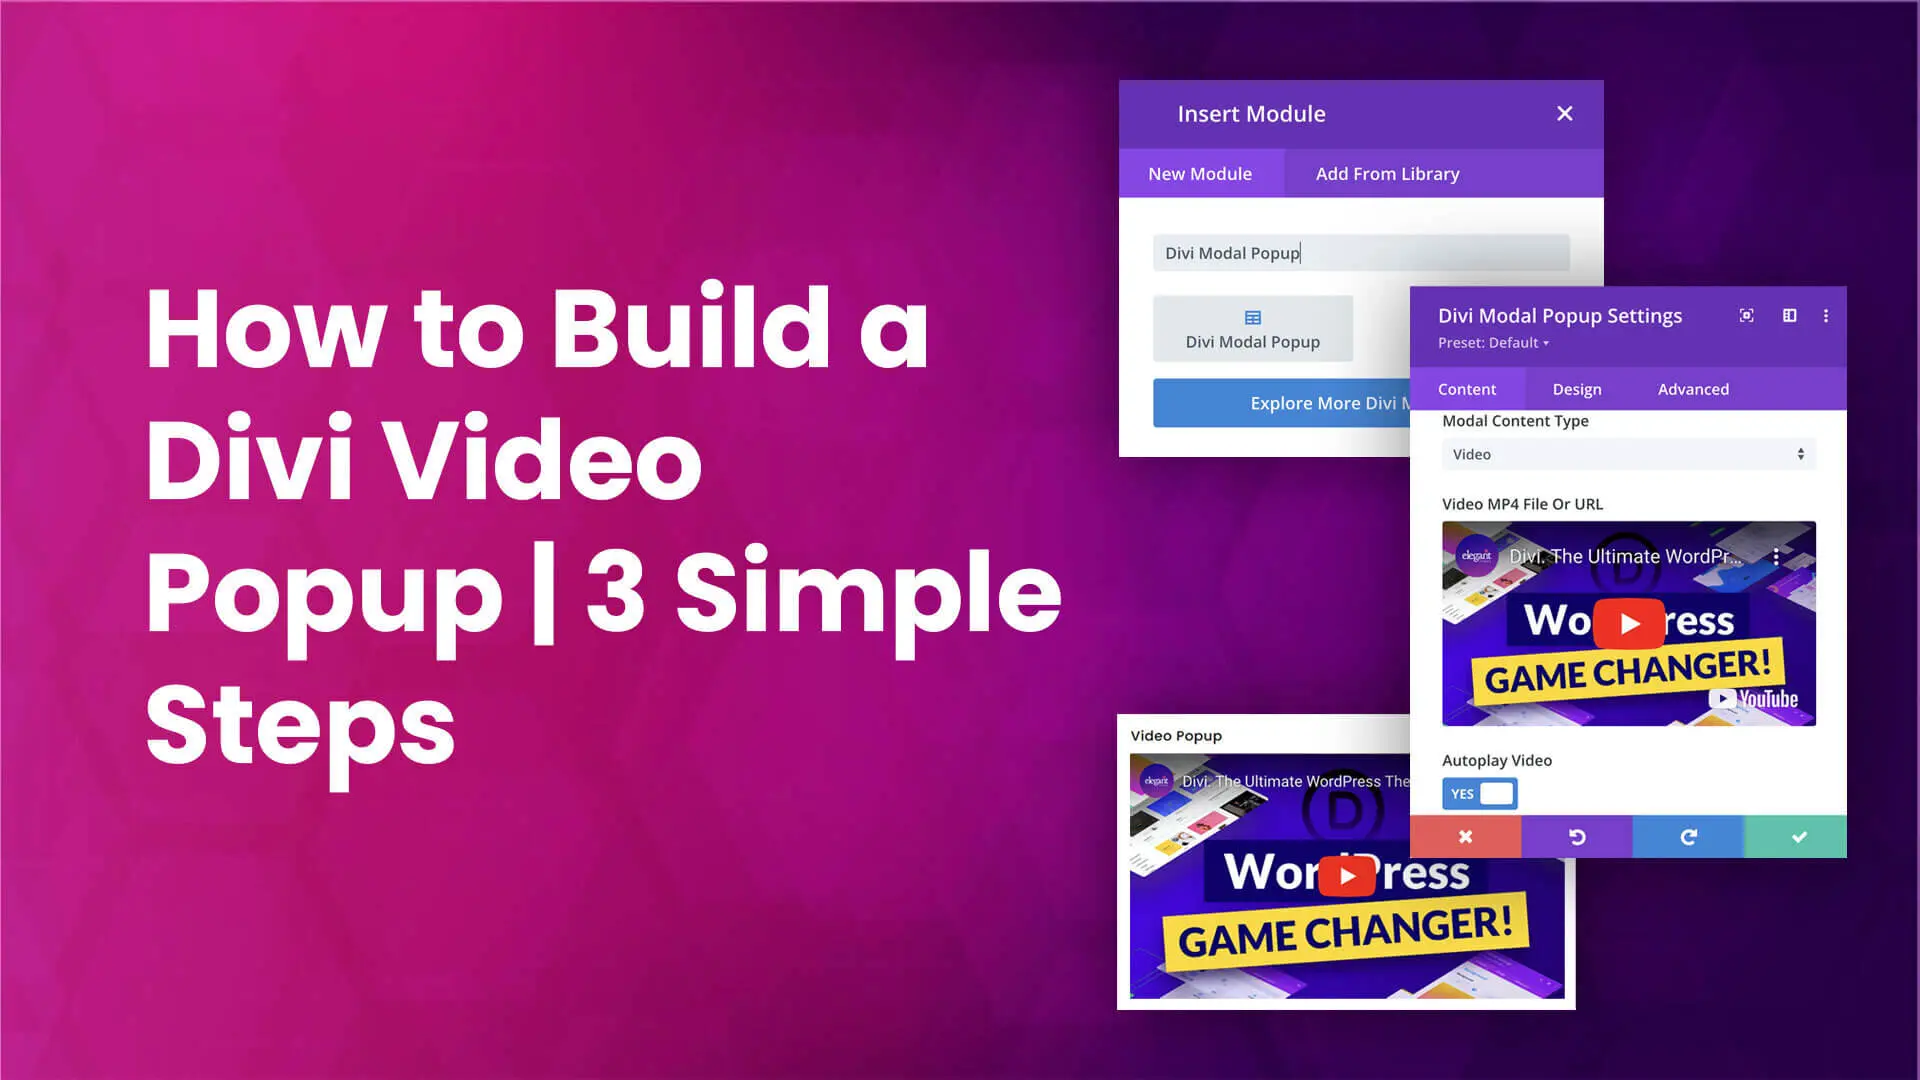
Then select Video from Modal Content Type. As soon as you do that, you’ll get another field where you can select your video for the popup.
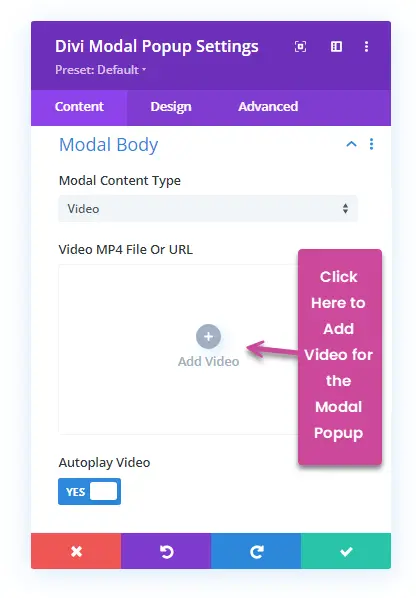
Add the video by clicking the Add Video button. If you want to autoplay the video in the popup window, simply check the Autoplay Video to YES.
Move to the next step, to customize the video popup further.
Step 3: Configure and Customize Divi Video Popup
The configuration of the popup is simple. The first setting you get in the Content tab by default is Configuration.
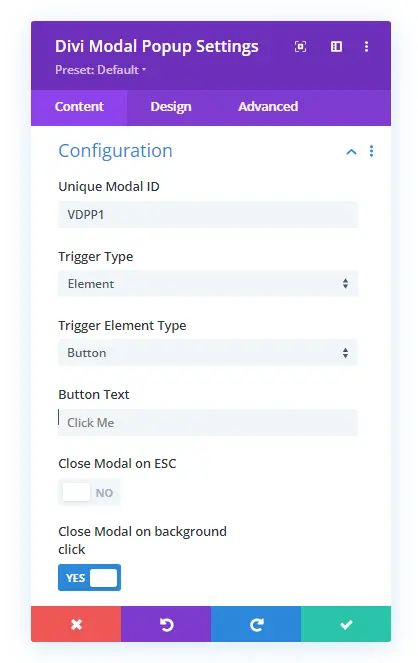
Here, you can assign the modal popup ID. Choose what trigger type you want to use. Based on the trigger type, you get further options.
For example, if you select the trigger type as Element, you get the option to select the Trigger Element Type, Close Modal on ESC and Close Modal on Background click.
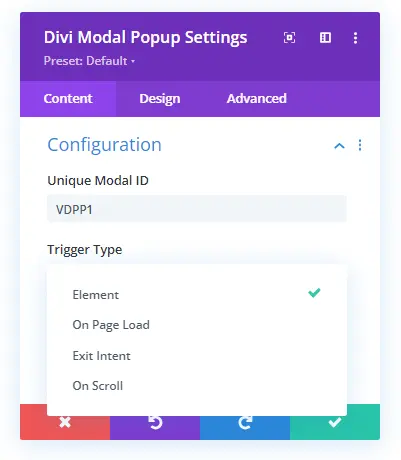
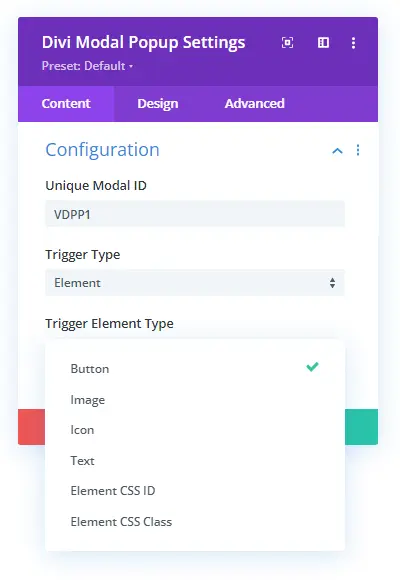
These options vary depending on the element type as well. According to your requirements, utilize the configuration settings, then head over to the Modal Header.
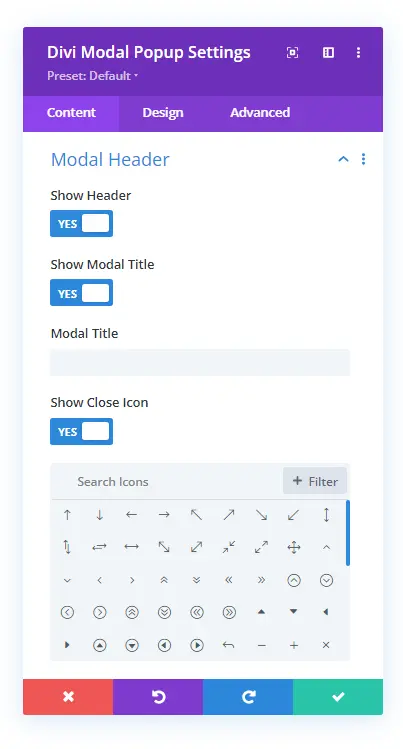
If you’re going to use the header for the Divi video popup, this is the setting you need to utilize. Here, you can decide to enable,
- Header
- Modal Title
- And Close Icon.
Further, when we move down to the settings, we get the Modal Footer.
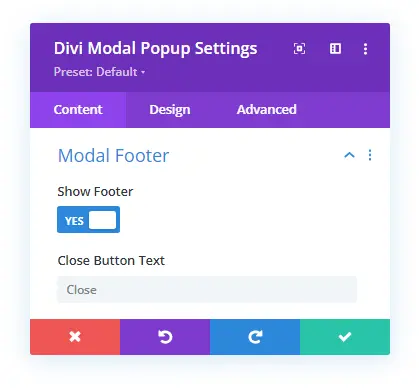
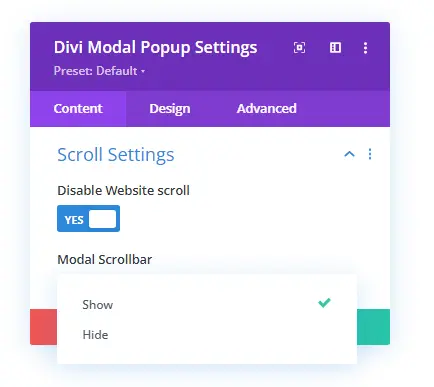
Here, you can decide whether you want to display a Close Button as well inside the modal popup window. After this, we get the Scroll Settings, which allows you to Disable Website Scroll. Plus, you can choose whether or not you want to display the modal scroll bar.
If you want to make changes to the background of the different elements of the popup. Open the Background settings.
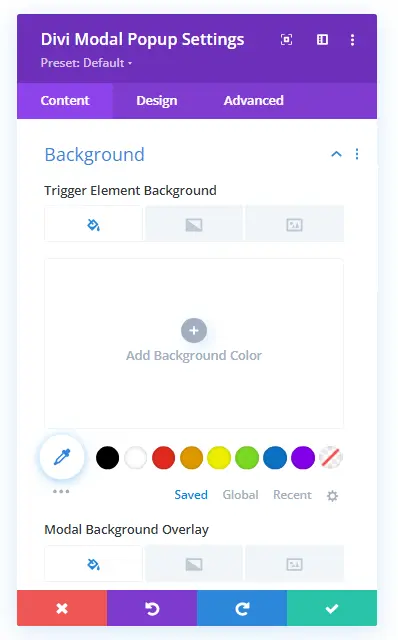
Here, you can customize the background with color, gradient and image of the
- Trigger Element
- Modal Background Overlay.
- Modal Background.
- Header Background.
- Body.
- And Footer.
Once you have utilized all the settings in the Content tab, move to the Design tab, which provides you with the following set of settings.
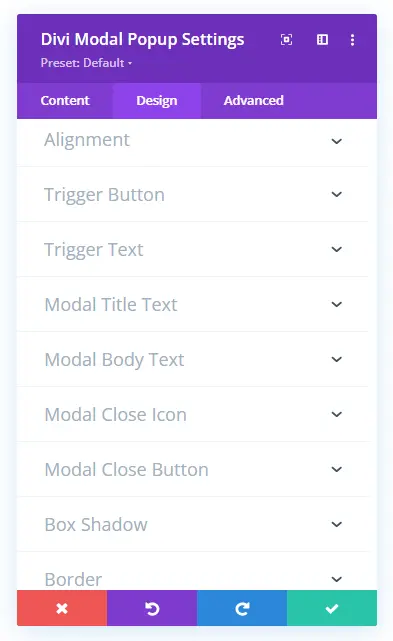
Each setting will allow you to enhance the popup’s working. Explore them one by one and apply changes to your requirements. Once done, ensure you save the settings, and that’s it; you have created a Divi video popup.
The above is a basic example of a Divi video popup.
Conclusion
I hope you find the above solution simple to achieve at the same time high functionality. Using the Modal Popup plugin, you speed up the process of creating a video popup in Divi. And not just video popups, but you can build almost any type of popup for your website.
It’s simple, it’s fast, and it gives you the perfect capabilities to create the right kind of popup you need.
Hence, try the Divi Modal Popup plugin today and tell us how amazingly it matches your expectations. If you need help using it, you can always reach out to our customer support team to make the most out of it without being stuck.




0 Comments