E-commerce websites frequently overlook their Divi Footers. The majority of businesses see the footer as a final graphic on a page. Some people view it as a typical navigation menu. However, if we customize it properly, this minor component of a website can greatly benefit your business. You can also use the stunning Divi Flexile Footer layouts for that purpose.
In this post, we will discuss two things about Divi Footers.
- Things that should be kept in mind when you create or edit footer in Divi.
- How to edit footer in Divi using theme customizer.
- How to edit footer in Divi using Divi builder.
Let’s first discuss some of the prior and necessary things that should be kept in mind while creating or editing the footer in Divi.
Things that should be kept in mind while creating or editing the footer in Divi
1. Footer Menu
You always plan to add a superb navigation scheme to the top menu which would be helpful for the users to browse your website easily. That serves the purpose for the first-time visitors but if the same thing is done with the Divi footer menu, it has the capability to fulfill the needs of regular and repeated users extending the navigation capabilities of a website.
2. Call to Action
Call to Action elements are always good for your business website. When the user reaches the end of your website he becomes more attentive in the search for proper information. You can include your Newsletter signup box on the footer for quick lead acquisition. Including an input field for the user’s Email would also be a good idea to collect user information.
3. Keyword Strategy
The footer would be a smart location to place keywords. You can accommodate important keywords in the footer links and sentences to take your SEO strategy one step ahead.
4. Social Media
This is also a part of marketing and brand promotion. You can also feature the social media profiles on the footer which would be helpful in generating leads from the social media platforms.
Essential components of a footer
Before starting up things you should also have an understanding of the crucial components of a footer for almost all types of websites. Let’s quickly go through them.
1. Logo
The logo of the Brand must be included as it is a part of the brand promotion and awareness. Your brand identity can be further developed in the page footers. Use the header logo in the footer after making a few minor adjustments.
2. Privacy Policy Link
Legally, Privacy Policy agreements must be in place if you gather personal information from users, such as their email addresses or payment information. This makes it crucial to create a legally compliant privacy policy and include it in the footer.
3. Copyright Notice
To prevent someone from duplicating a picture, animation, paragraph, or otherwise attempting to steal content from your website, the Copyright Notice is required. The copyright symbol and the year that the website was published can both be displayed in the footer.
4. Contact Information
You need to make it as simple as possible for prospective leads to contact you. That’s why website footers frequently include contact information like company mail, phone number, or mailing address.
5. Email-sign up
You may improve your consumer base and create more leads by using your footer. To engage a visitor who recognizes the value of your content and wants more, it would be a good idea to include an Email sign-up form in the footer.
6. Social Media Icons
Another option for potential customers to contact you is through social media. It is therefore a best practice to include social profile icons and links in the footer of your website.
After understanding all these aspects of footer customization, now we can take the next leap to edit the footer in Divi using theme customizer.
How to edit footer in Divi using the theme customizer
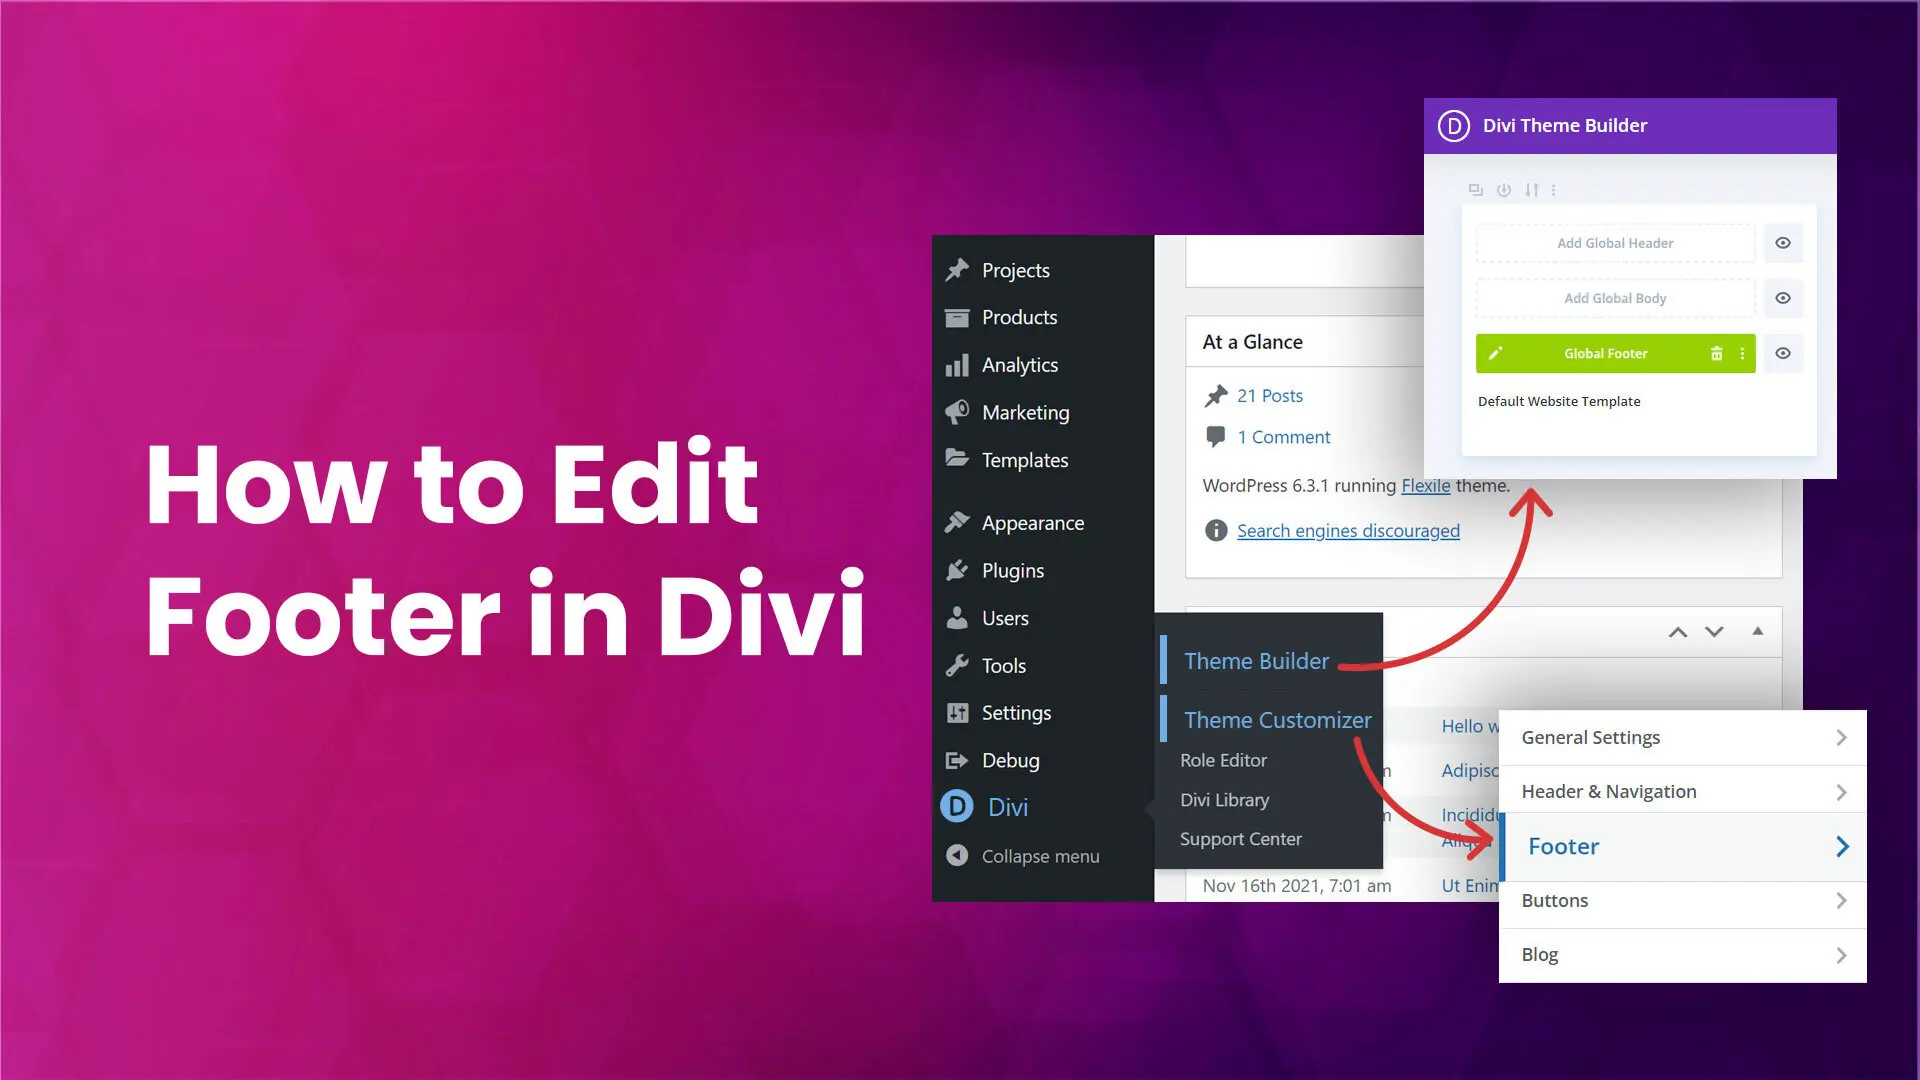
The first way to edit the Divi footer is through the theme customizer of WordPress. Navigate to Appearance >> Customize and the theme customizer will open up with a set of customization options.

After clicking on the Footer option, further options to edit the footer elements will appear on your screen.


The Footer comprises three major components: Header, Body, and Bottom bar. Don’t get confused, this header is a part of the footer which displays all the menu items of the header menu on the footer.

Layout
Select the Layout option to make changes in the structure of the footer.
The column layout structure completely depends on the number and type of elements that you want to display on your footer.

Widget
From the Widget section, you can customize
- Header text size and Font style
- Body text size and font style
- Widget Text, Link, and Header color.

If you want to edit any widget you can simply click on the edit icon and the options for that will appear on the right side. Insert or edit a heading, list, or any other element to the widget easily from the right-side editing area.

Footer Menu
Explore the Footer Menu to style the elements of the Footer menu in Divi but make sure that the footer menu is enabled and selected at the Menu locations. You can customize the below elements of the Divi Footer menu.
- Background Color
- Text Color
- Font Size
- Font Style

Bottom Bar
Style the Bottom Bar and customize the font sizes, text colors, background colors, and social icon colors.

As you have gone through all the steps to edit footer in Divi using the theme customizer, now we must switch on to the other part of this article where you will be learning the footer customizations using the fantastic Divi builder
How to edit footer in Divi using Divi builder
First, go to your Dashboard. If you had already Divi installed on your website then the Divi option would appear in the bottom part of the WordPress Dashboard. Hover on that and select Theme Builder.

Select the footer you want to edit and click on the build global footer option. After clicking on that, you will be redirected to the footer builder.


Insert a section and add a new row with an appropriate number of columns that match the needs of your website. This website is an online shopping website that’s why, we have used a row section with five columns to accommodate the Logo, product categories, Help, About, and Newsletter with social media icons.

Insert an image module to accommodate the Logo in the column.

After selecting the appropriate Logo image, it would immediately appear in the first column of the section.

Choose a suitable background color for the section that matches up with the design needs of your website.

Insert some of the product categories in the footer as Quick links to grab some customers from the footer instantly. For that, you can create a menu from the Appearance option of your WordPress dashboard. Navigate to the Menus option and click on Create New Menu link.

Name the new menu which you are going to use in your footer area. Add the pages or custom links in your menu that you want to see in the footer area. Click on the Create Menu button to save the changes.

Now go to the Widgets from the Appearance option of your dashboard. Give a name to your widget and click on Create.


Now select the Navigation Menu block by clicking on the plus icon. Select the menu created for the footer. You will see that all the pages or custom links of your footer menu will appear on your custom widget. Finally, click on update to save the custom widget.


We are creating a custom widget so that we can use the Sidebar module of Divi for creating Quick links on the footer. Reload the page again to view your custom widget.

Now Go to the Divi Theme Builder and edit the footer of the Default website template. Now in the second column add a Sidebar module.

Select the custom widget that was created by us and click on the green tick. You will see that all the items in our Divi footer menu will start appearing in the first column.

Similarly, you can add the Help options such as Contact Us, Documentation, and FAQ links in the next column using the Sidebar module again. Place the About Us section links with Customer stories and your services in the fourth column. In the last column, we can place a Newsletter with an input field and a CTA button to let the users subscribe to it. This can be done using the Email Optin module in Divi.

Mention the title as Newsletter and enter some relevant information in the text area.

Disable the First Name and Last Name options which are enabled by default.

In the last column, place the social media icons to showcase the social profiles of your brand.

Use the Social Media Follow module and choose your social media platforms accordingly.

Last but not least are the Copyright Notice, Terms of Service, and Privacy Policy Link which are the essential part of the footer of any website. They need to be planted on the bottom of the footer. For that purpose, you can drop a new row with three columns. Now insert the Text module in those three columns to place the Copyright Notice, Terms of Service, and Privacy Policy Link.

Finally, we have customized and edited a Divi footer using the theme builder. Just save it and you can use it as a global footer on every page of your website. For that, you only need to add it to the global footer from the Theme Builder settings. As we edited the Divi footer for an e-commerce website, we included the latest offers using the Heading module on the top of the social icons to engage the customers looking for particular information or products over the online store.

In this way, you can edit footer in Divi without going through any complicated process. You can either use the theme customizer or the Divi builder for that purpose. We recommend the Divi builder as it has more convenient customization options to edit the footer precisely. Apart from that if you want some spectacular pre-built Divi footer layouts for your website then you can try the Divi Extended Footer layouts for that purpose. Just take a quick look over some of the fantastic ready-to-use Divi Footer layouts.


Where is it now? When I load the customize page the footer options loads but disapear. How can I edit the footer options?