The pricing table for a Divi website is essential to highlight the pricing of your plans, subscriptions, and services. The pricing table design should be interactive and explanatory to capture the user’s attention about the offerings. The Divi pricing table layout should have a compact design to enhance space efficiency and must be flexible enough for users to explore everything easily. Deploying a Divi Pricing table with a slider would be a smart idea. The slider will help customers easily compare pricing options without overwhelming them with stuffed information. Creating a custom pricing table slider with Divi is slightly difficult and requires coding skills to craft it. Still, there are some easy methods to achieve that.
In this post, we will demonstrate to you some easy ways that you can implement to introduce a Divi pricing table with a slider on your website.
Step-by-Step Methods to Create a Pricing Table Slider with Divi
We have done detailed research and found these solutions to create a Divi pricing slider. You can explore these solutions and implement the suitable one on your Divi website that fits your requirements.
1. Use the In-built Divi Slider Module
This is a convenient way to showcase pricing and plans to the users in an engaging style. The built-in Divi slider module provides you with the functionality to create slides and movingly display them. We can use this Slider Module and configure it to work as a pricing table module on our websites. Let’s see how we can do it.
Customize Divi Slider Module for Pricing Table
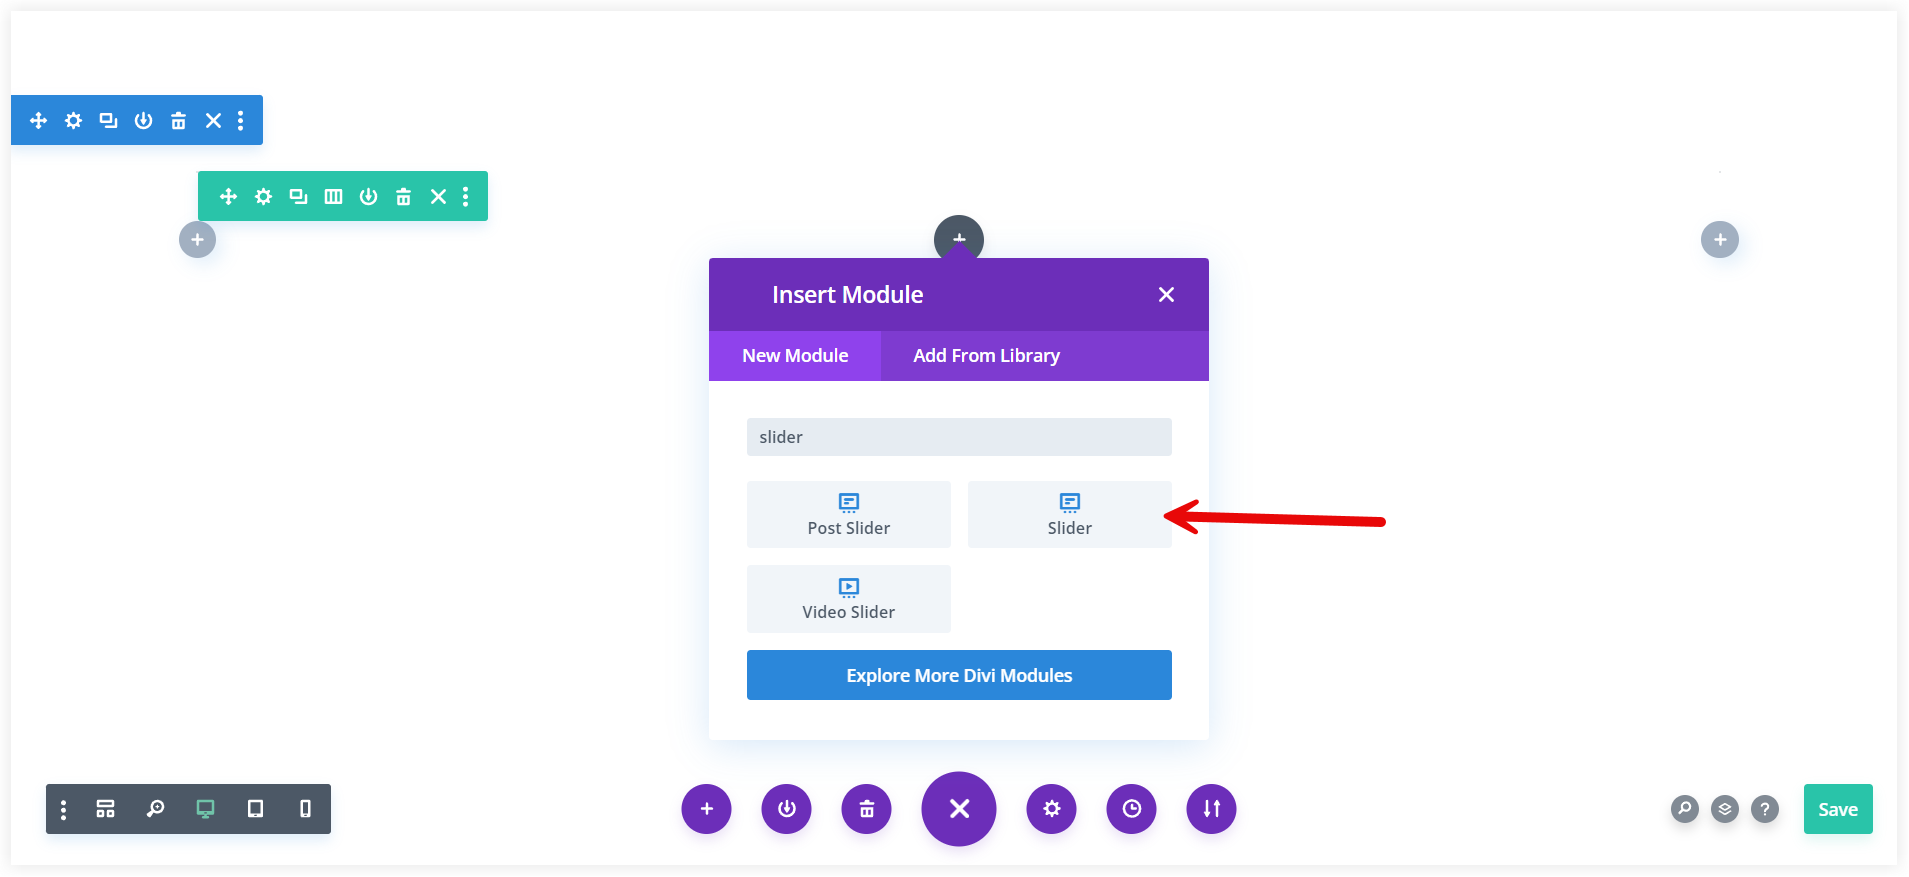
Navigate to your WordPress dashboard and edit the page where you want to place the pricing table. Select the Slider module in Divi Builder.
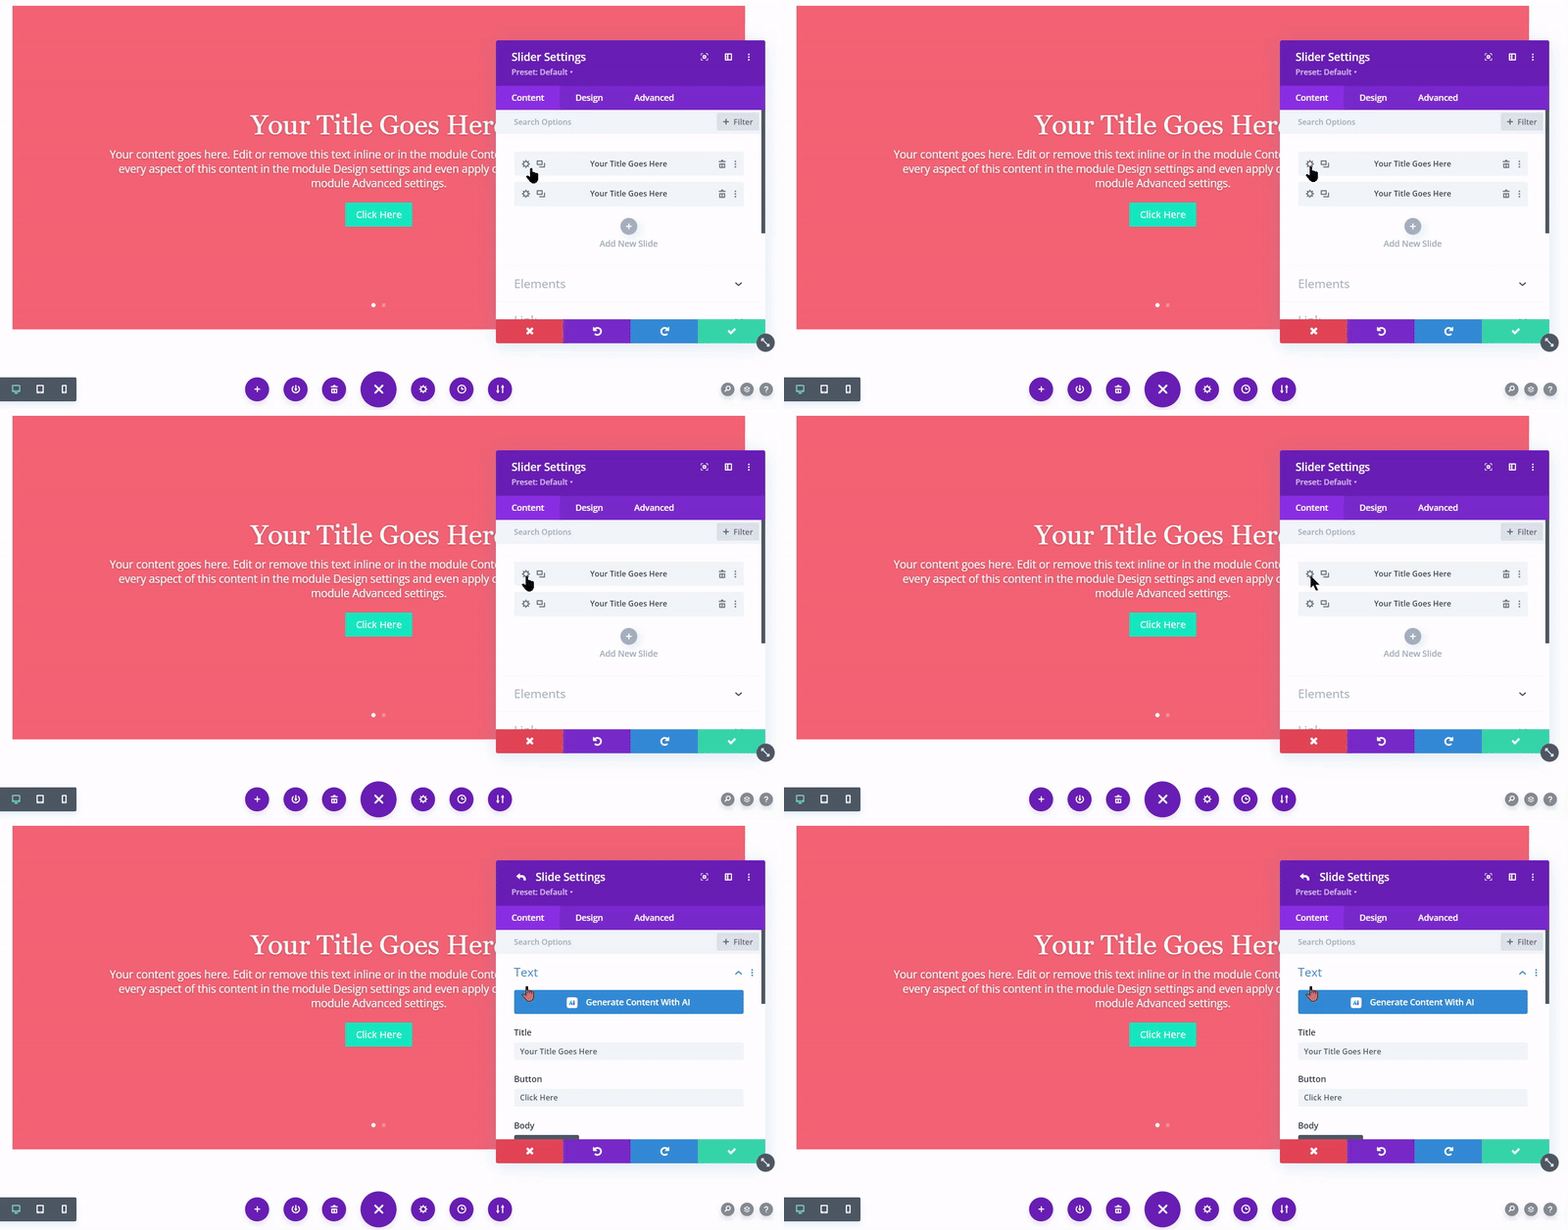
You will see two pre-built slides and the option to add more slides. Edit the first pre-built slide.
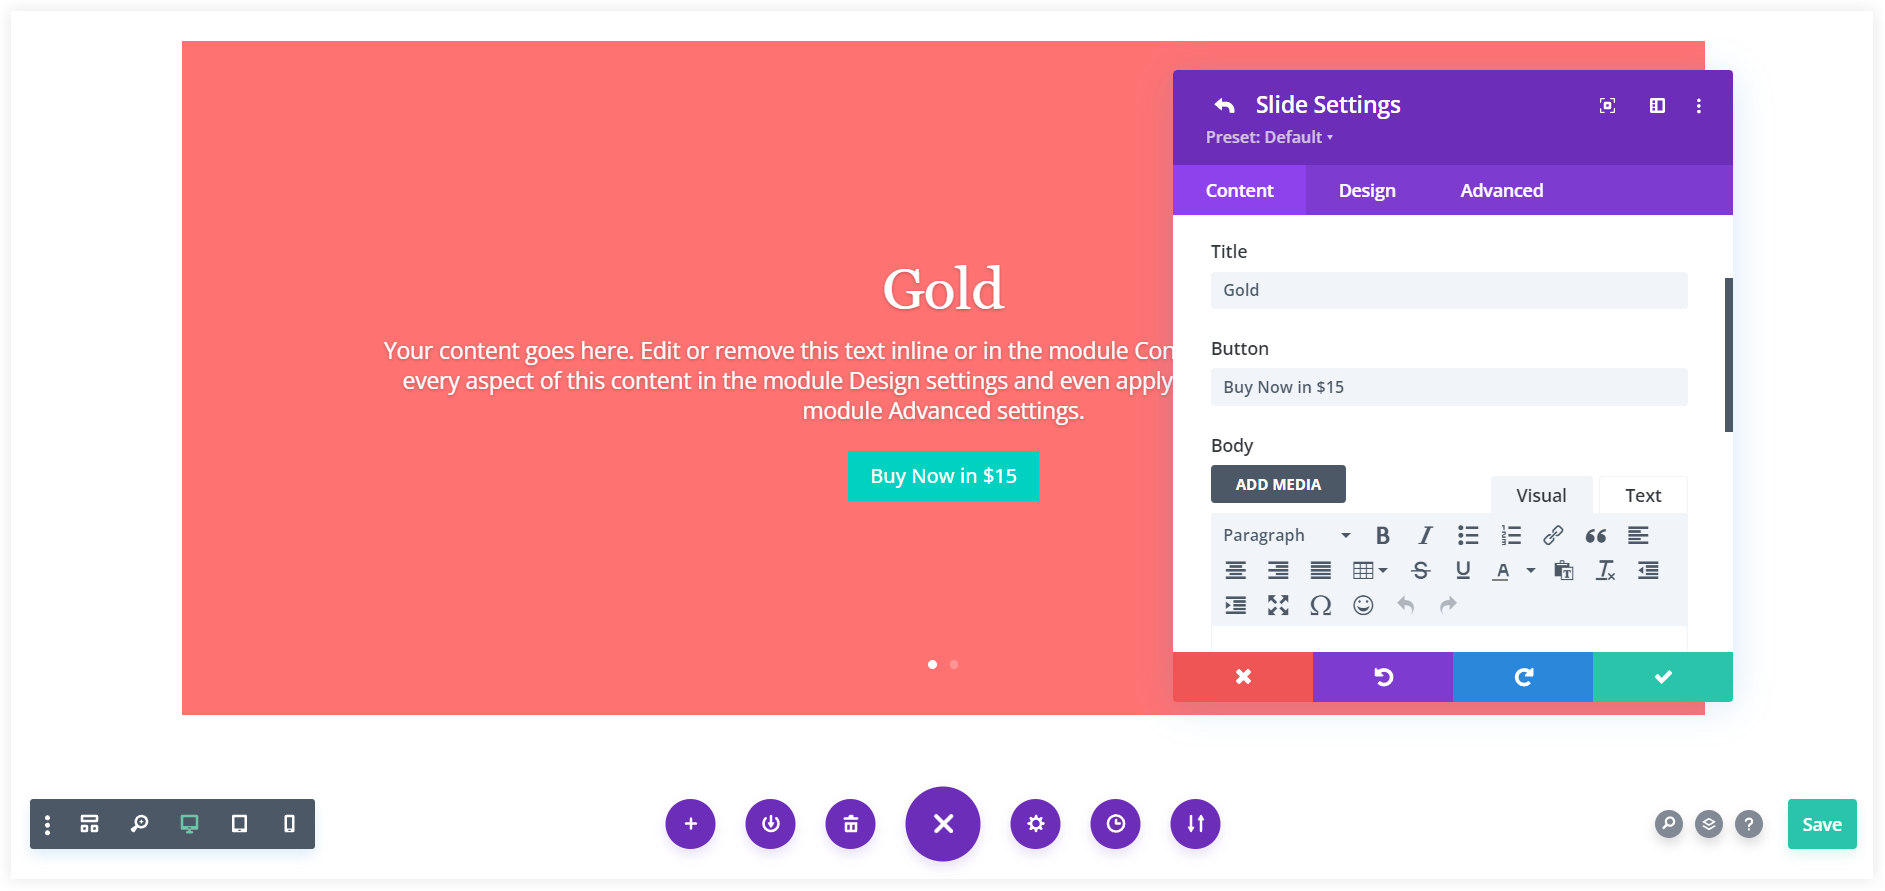
Enter the name of your plan, subscription, or service in the Title section. Change the Button text to ‘Buy Now in $15’, ‘Subscribe in $15’, or any similar CTA text. Remember to mention the pricing with the CTA text on the button.
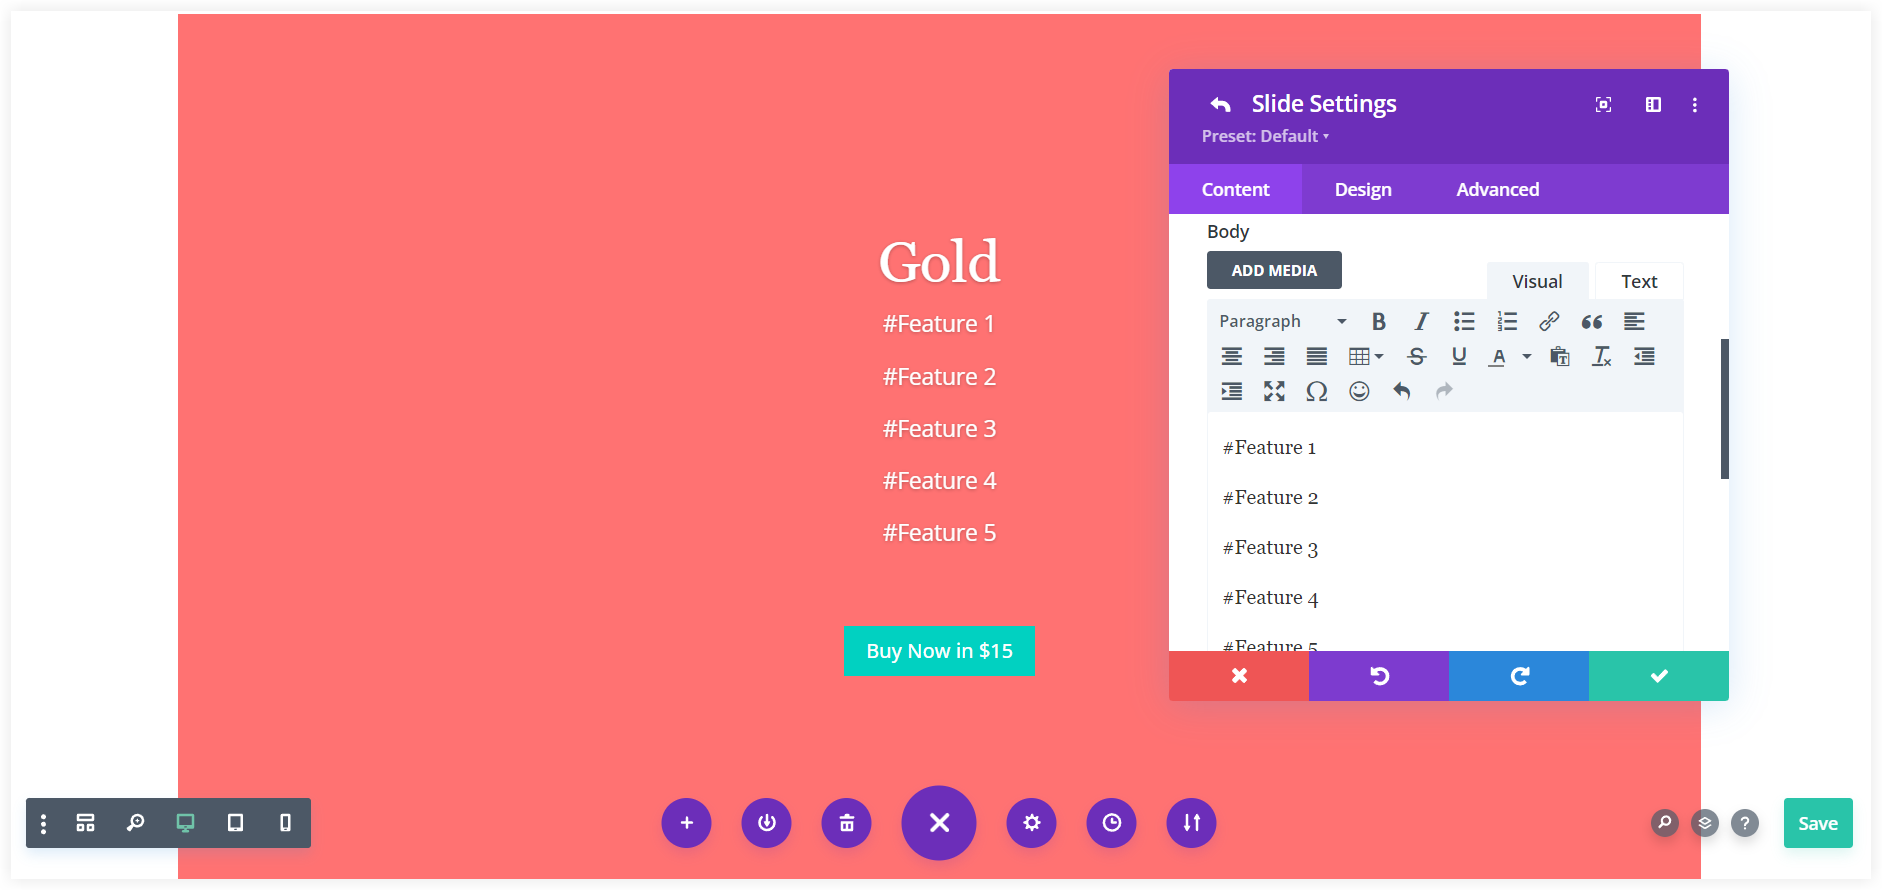
In the Body section, mention the features or offerings of the plan.
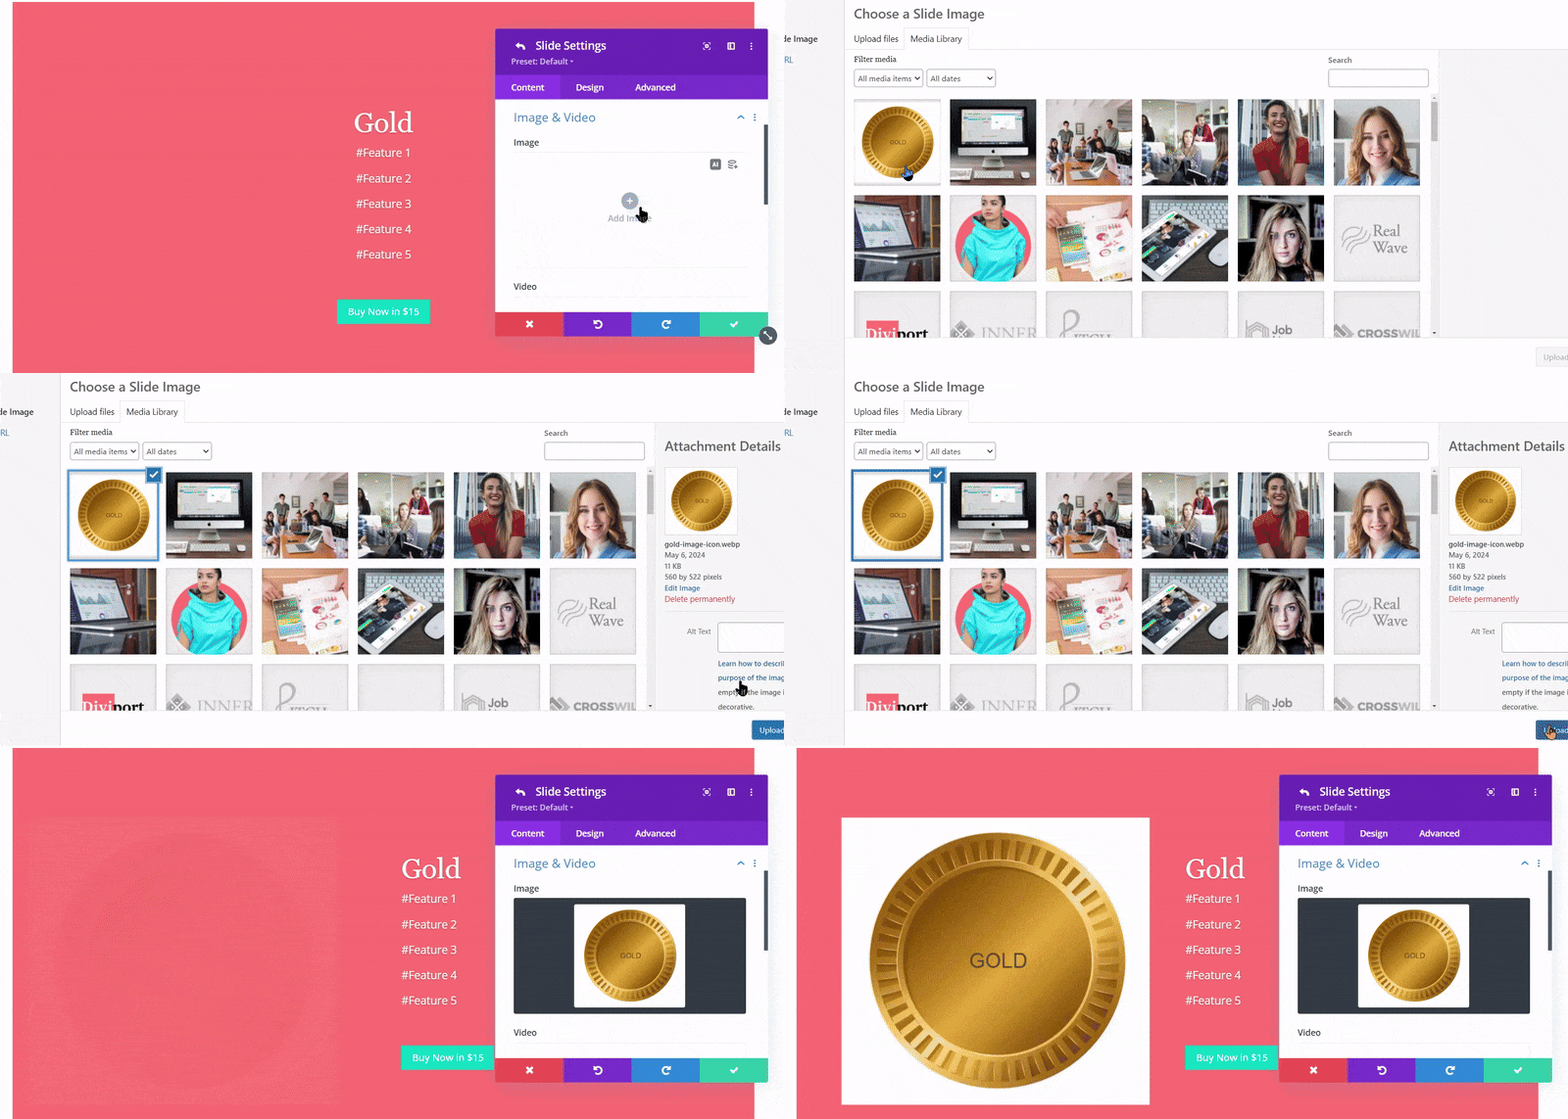
Next, you can also add an image or graphics related to the service plan or subscription to give a quick idea about it and capture the user’s attention.
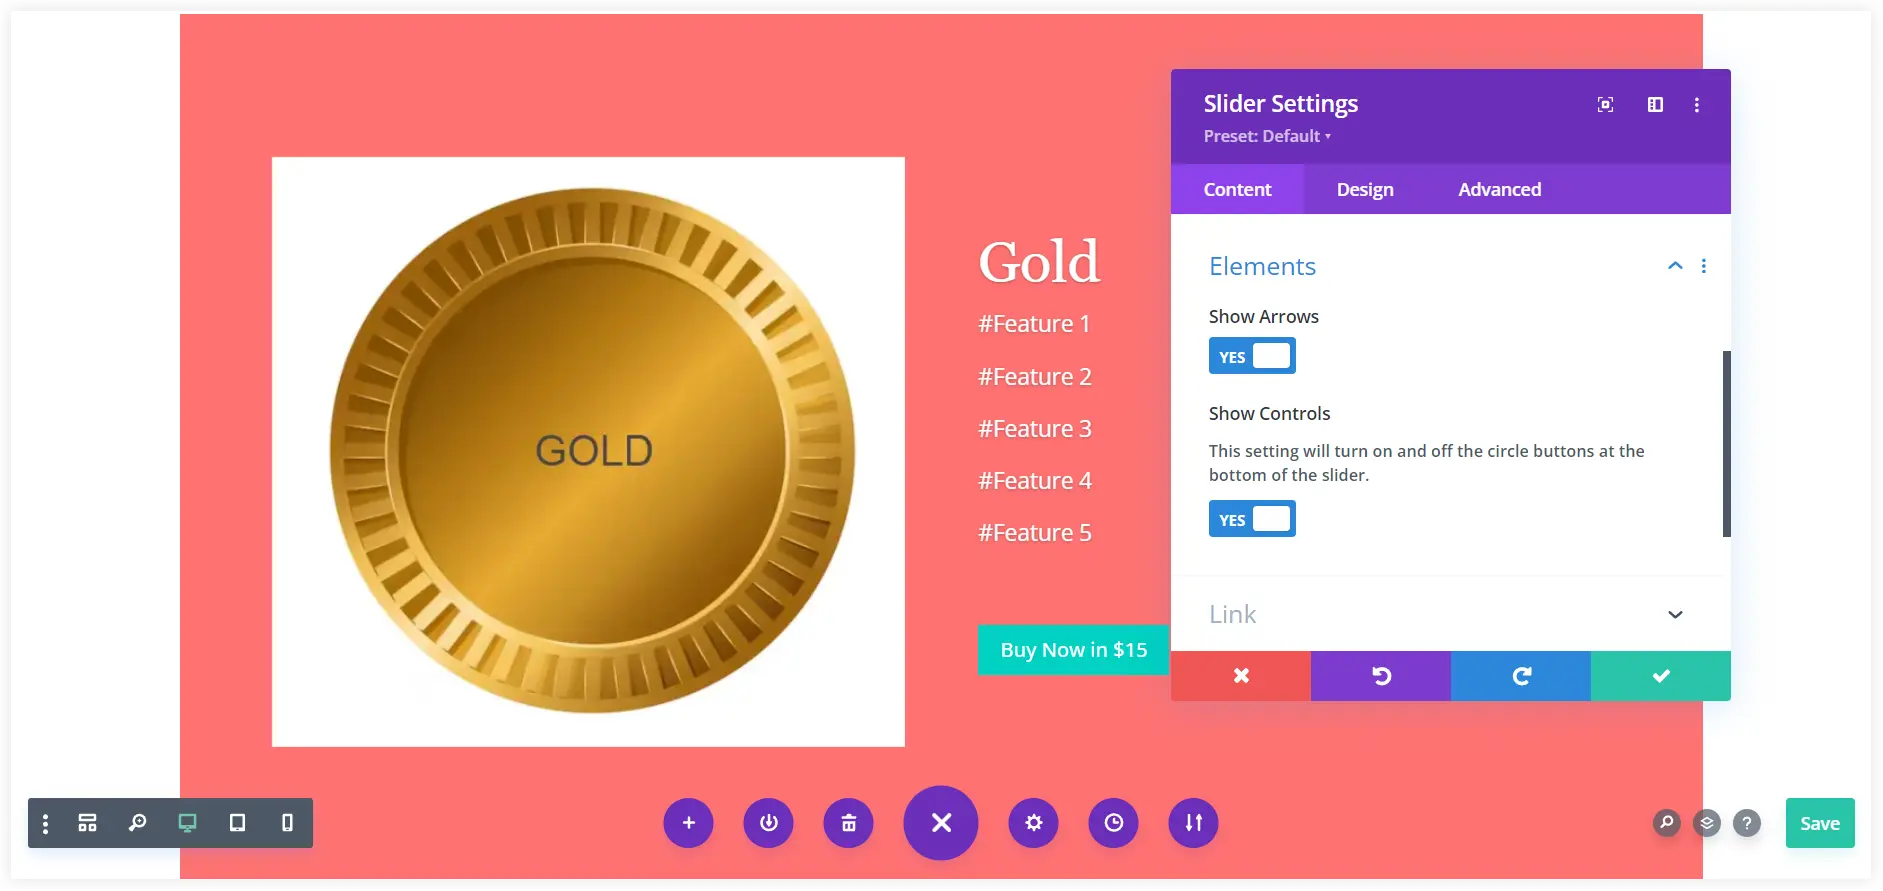
The pricing table slider must have navigation arrows and pagination dots. These help users explore the table and know which pricing card is active. Enable them to make it look like a pricing table.
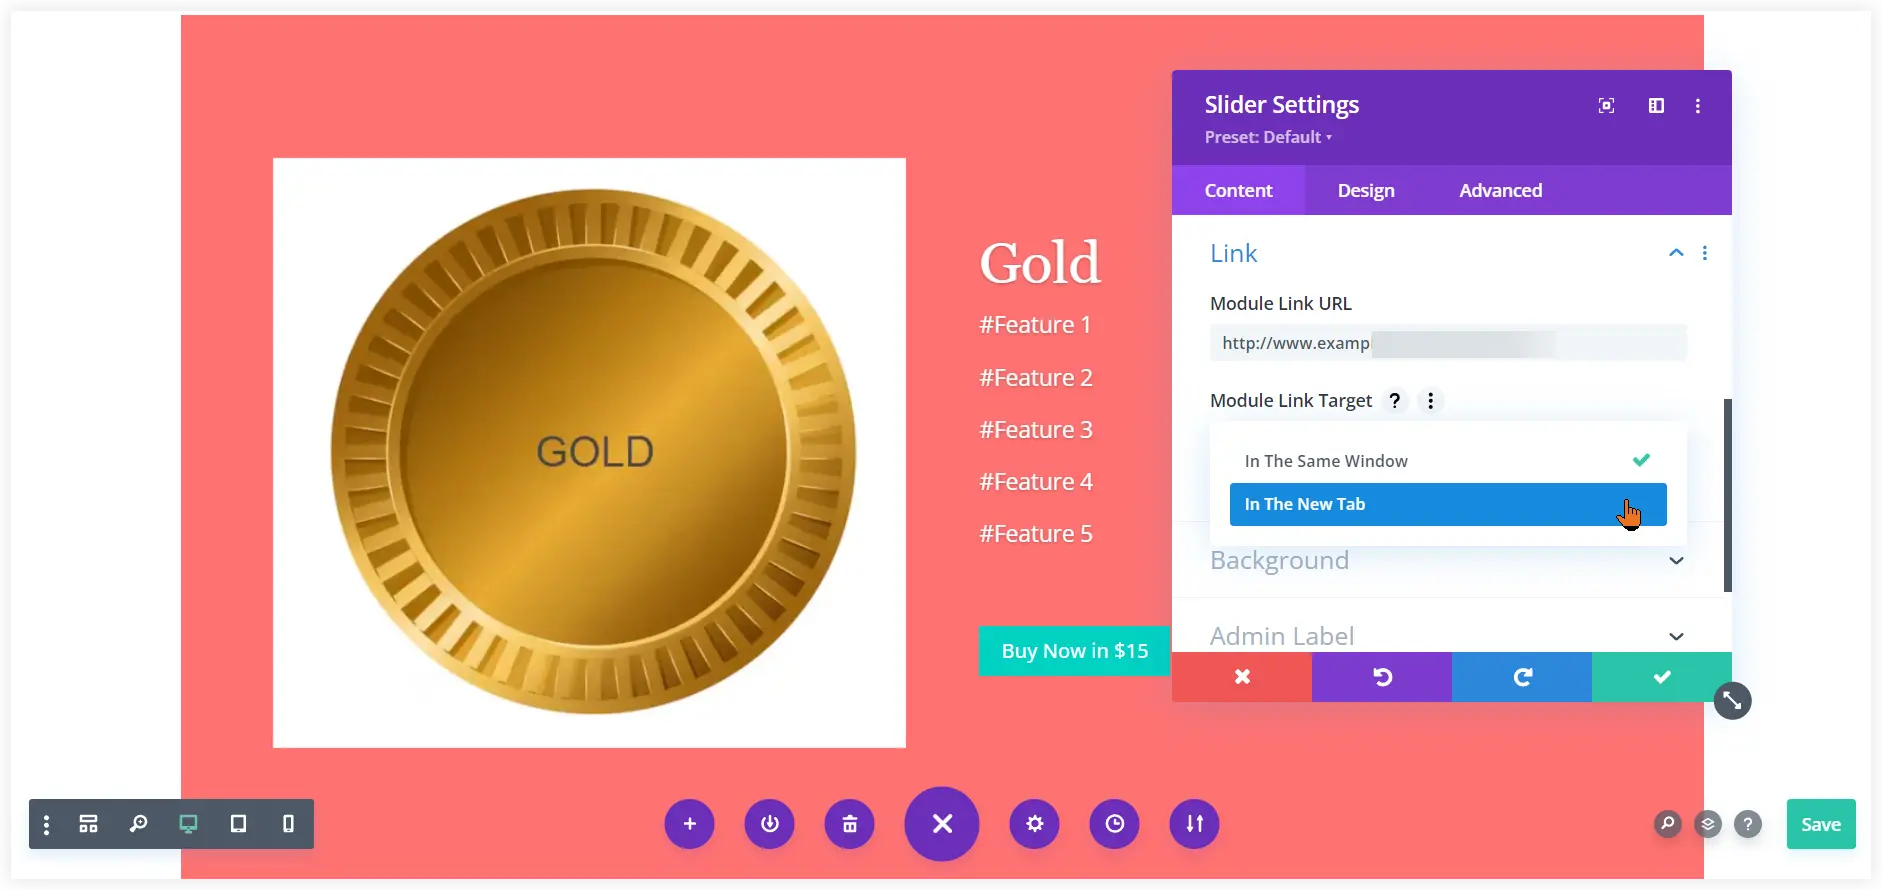
Mention the link of the checkout page in the Module Link URL, so that users can easily purchase it, if interested. It would be a good idea to redirect users to a new tab using Module Link Target. This would help users purchase or subscribe to plans without leaving the pricing table.
Style the Slider Pricing Table
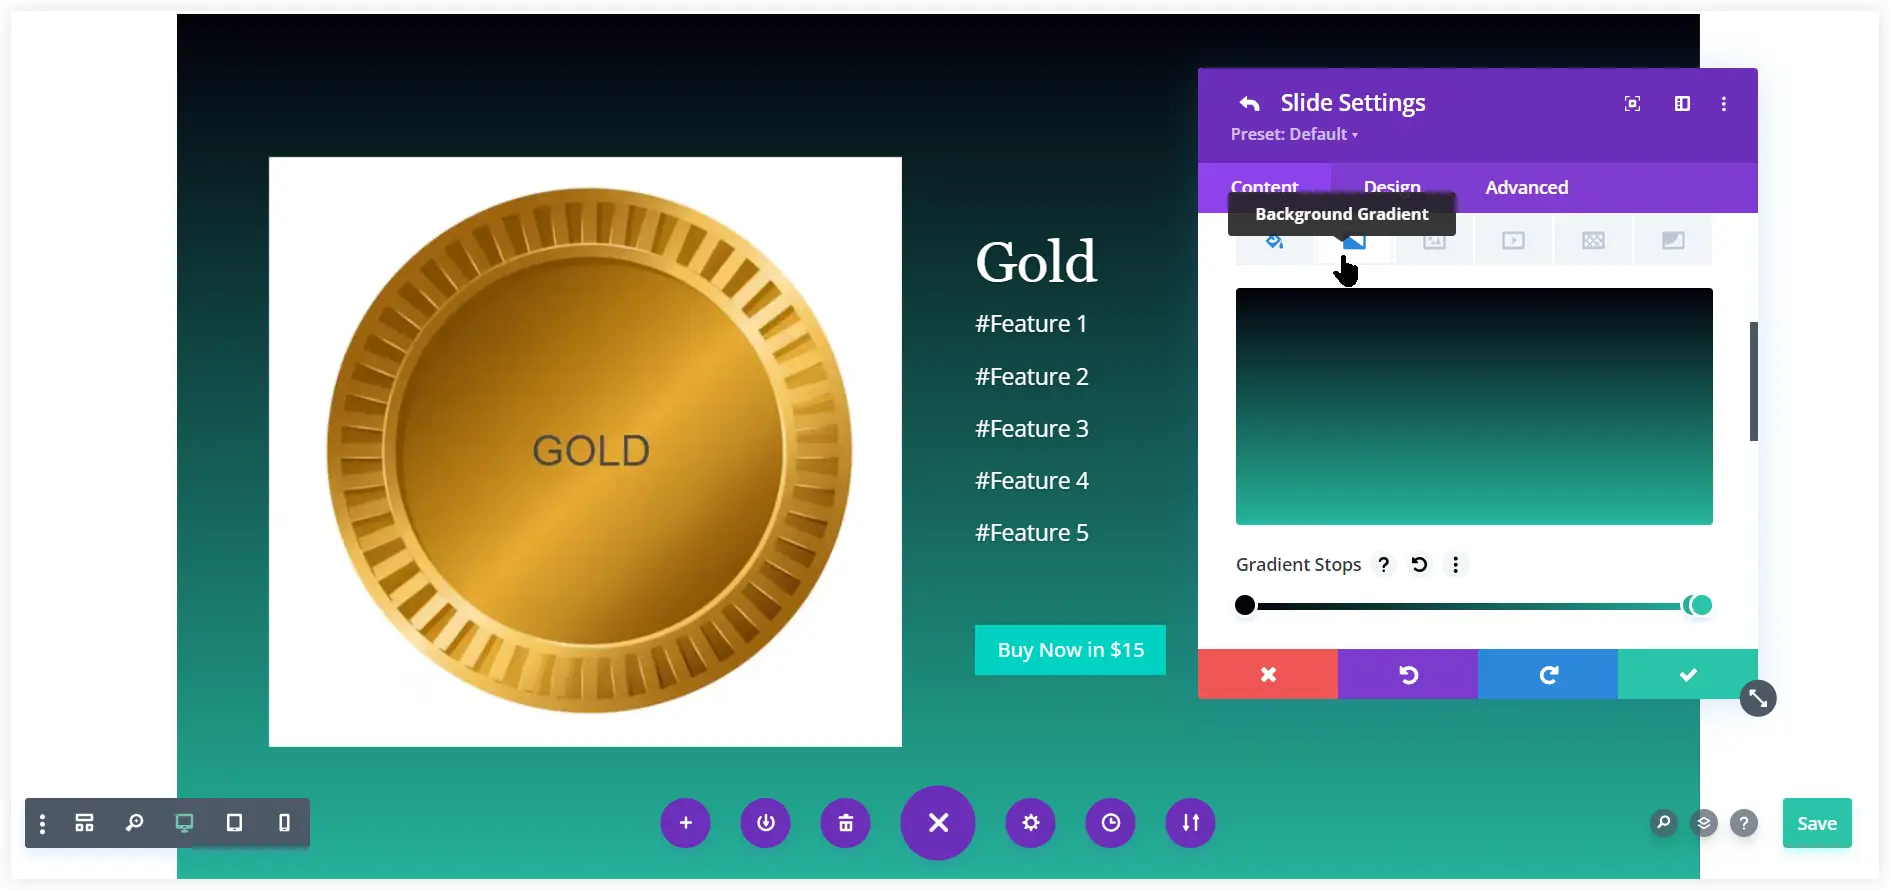
Add an appealing Background Color to capture the immediate attention of the users toward the sliding pricing table. Background gradient would make the pricing table more appealing and interactive.
Navigate to the Design tab. This is responsible for the pricing table design. Enable the Use Background Overlay to add a custom color behind the slider content. Similarly, enable the Use Text Overlay to add custom color behind the slider text.
Navigate to the Design tab. This is responsible for the pricing table design. Enable the Use Background Overlay to add a custom color behind the slider content. Similarly, enable the Use Text Overlay to add custom color behind the slider text.
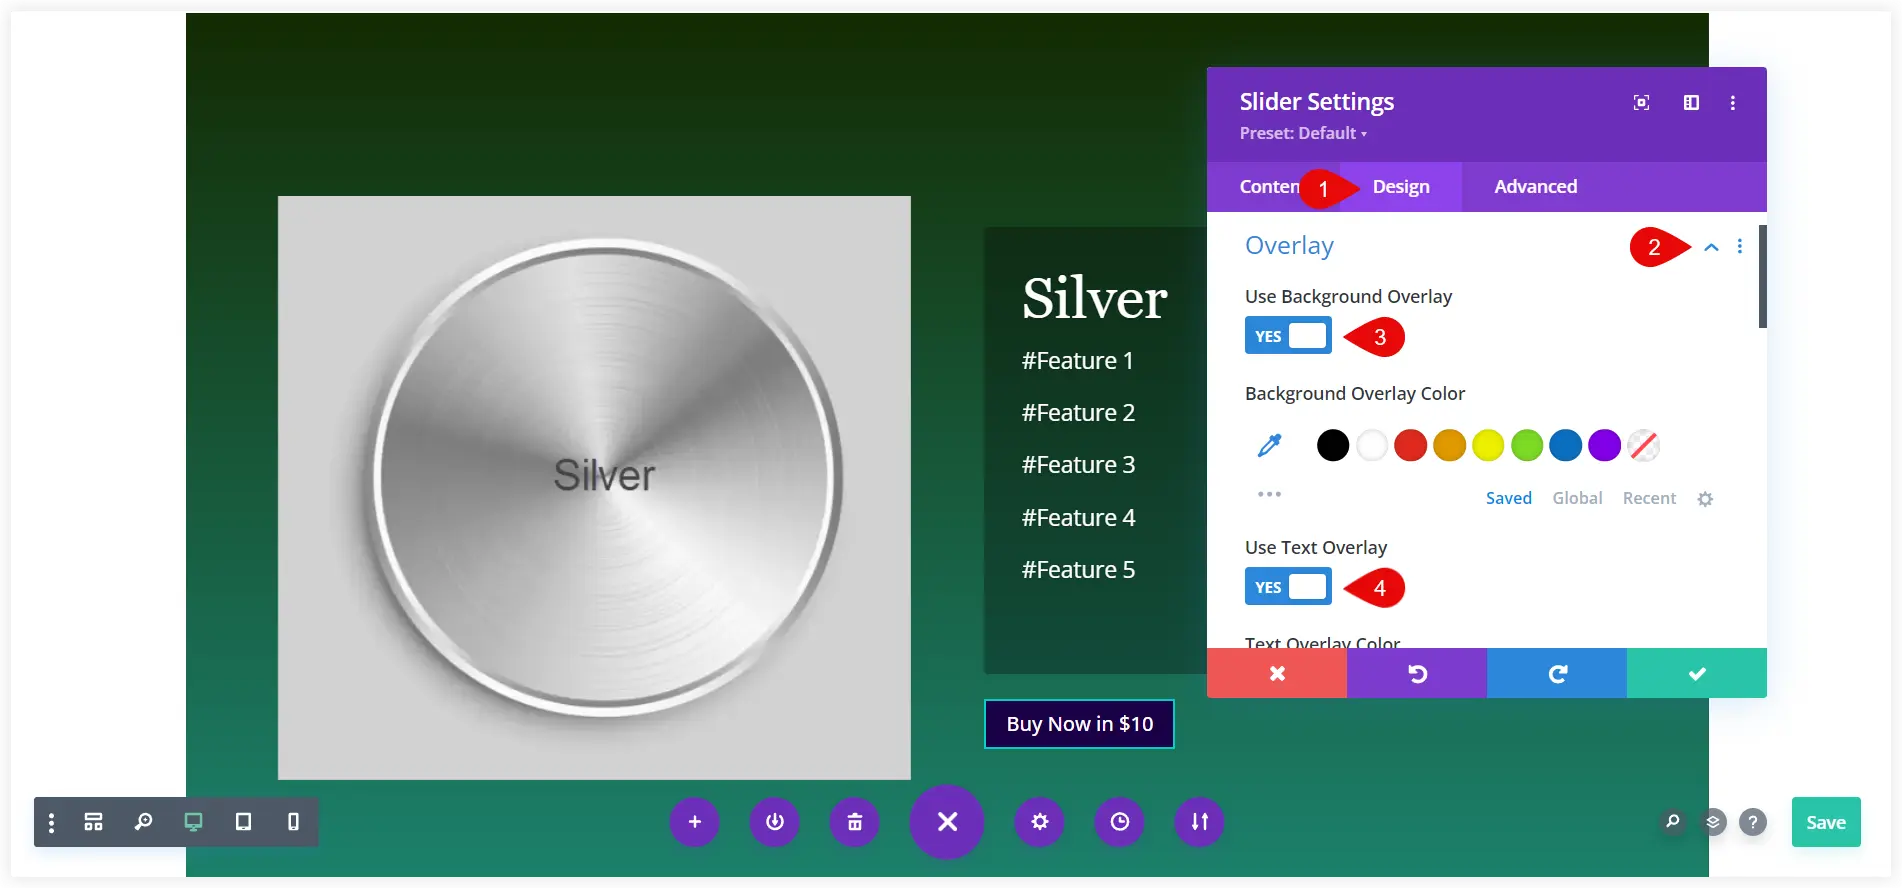
Click on Save and repeat the same steps with the second pre-built slide to add the second plan.
See how it looks after a little customization using the styling options in the Design tab.
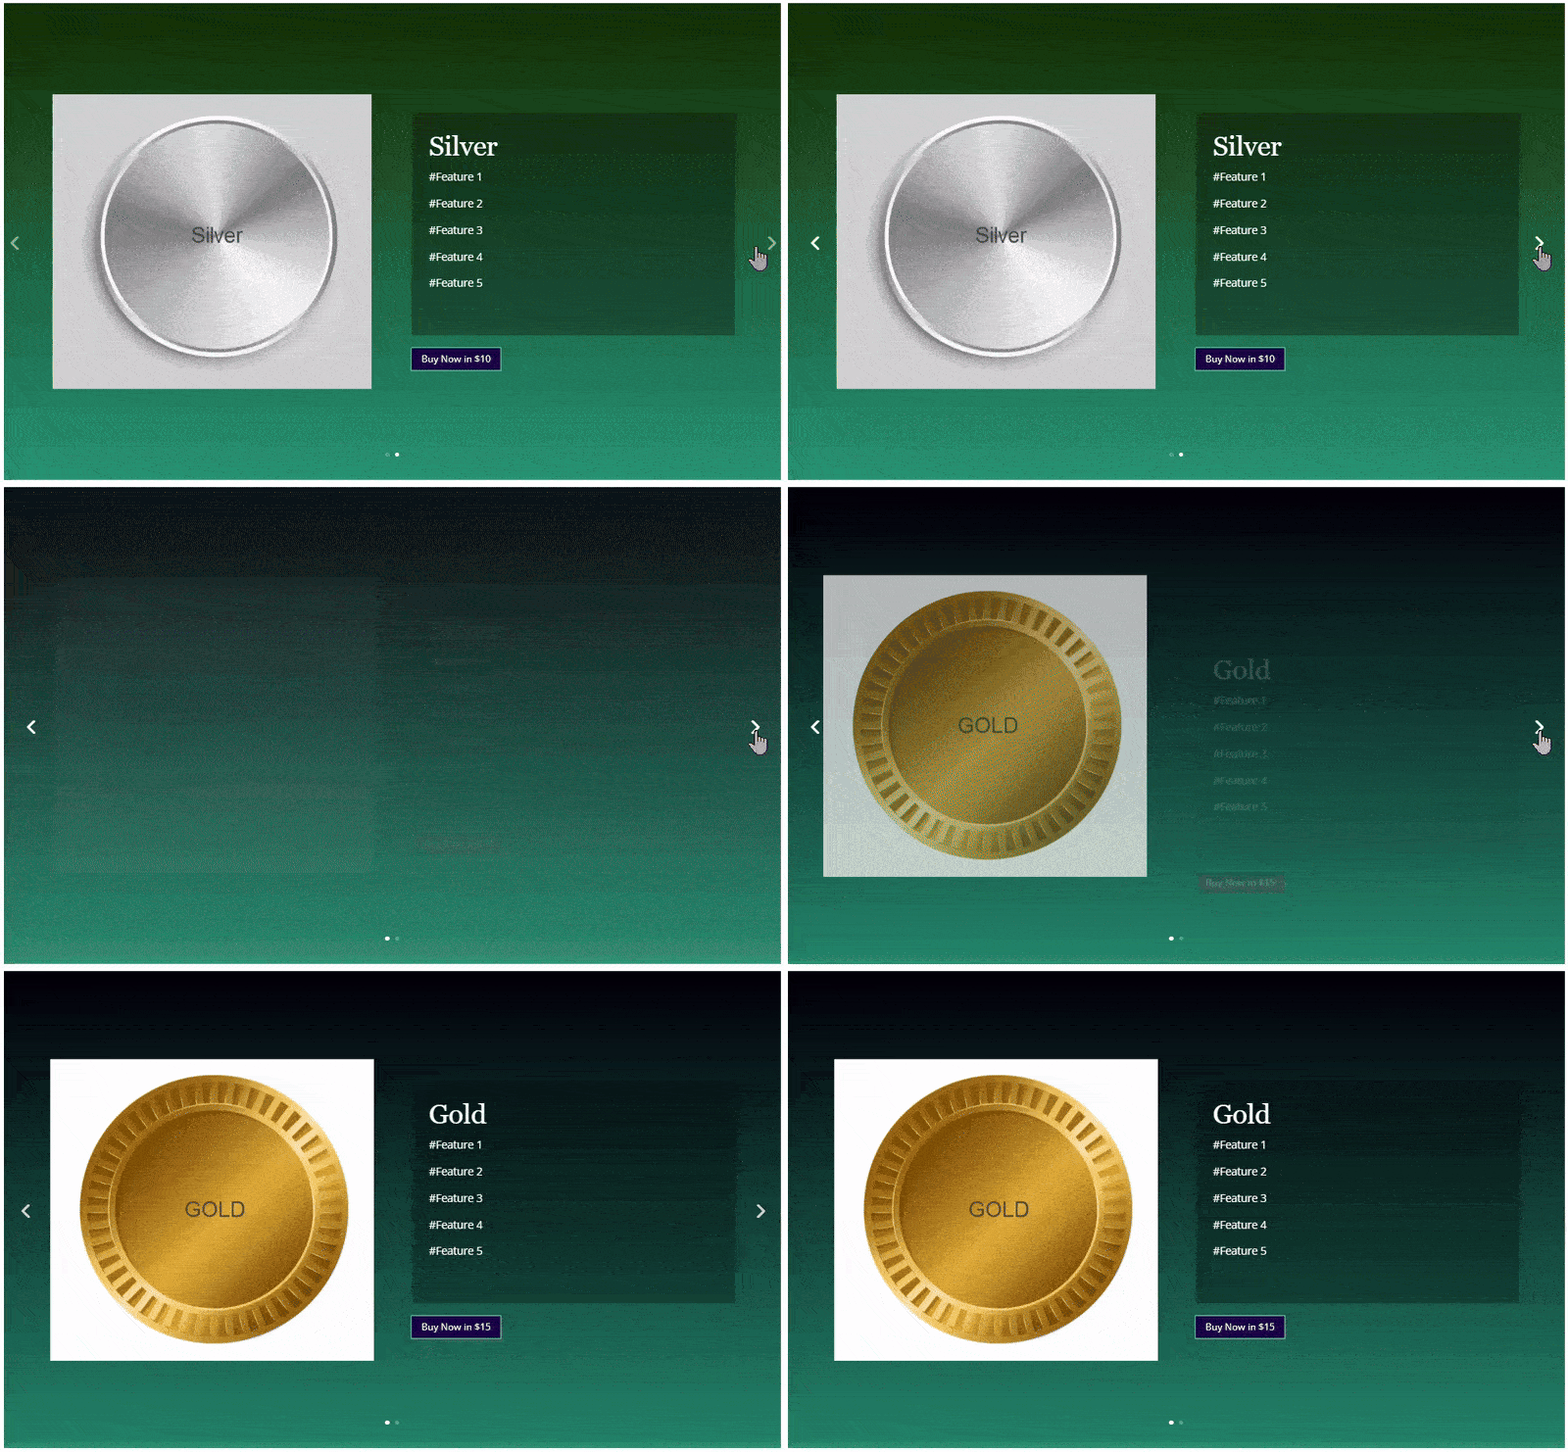
Have you observed that the slider movements of this built-in slider are not customizable? The image slides in from the left slide and the text slides up from the bottom. If you want a more customizable solution and want to create a pricing table slider with Divi that offers movement control of the slider, the Pricing Carousel is there for you. In the next step, we will see how a pricing table slider with Divi can be created using the Pricing carousel.
2. Use Third Party Plugins
The second way to incorporate a pricing table with a slider is third-party plugins. Several third-party plugins are available to do that. We have used the Pricing Carousel module of the All in One Carousel for Divi plugin to create a pricing table slider on our website. It provides you with more options to customize the pricing table layouts and craft it in your way. Pricing Carousel module caters to the purpose of a carousel or slider pricing table on your website.
Let’s see how we can do it.
Before moving on to the following steps, you must install the All in One Carousel for Divi plugin on your website.
Configure Pricing Table Content
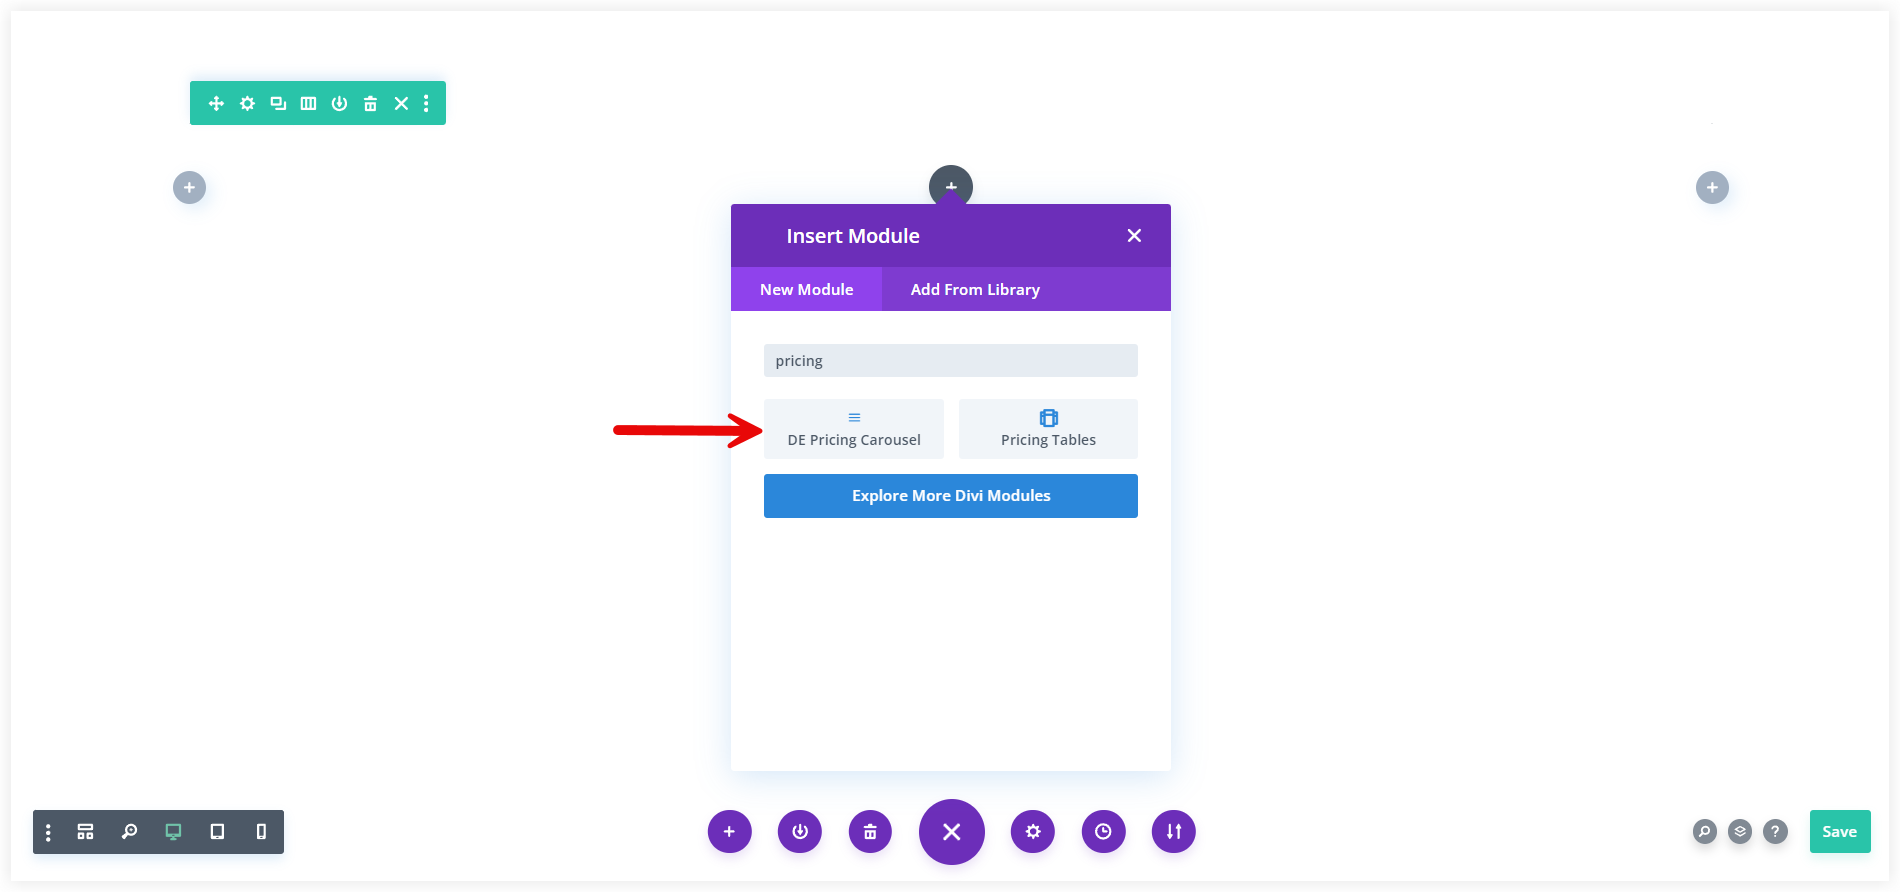
Search the Pricing Carousel module and place it on your page using Divi Theme Builder.
Add a new pricing slide and start customizing the slides with the wide range of provided options.
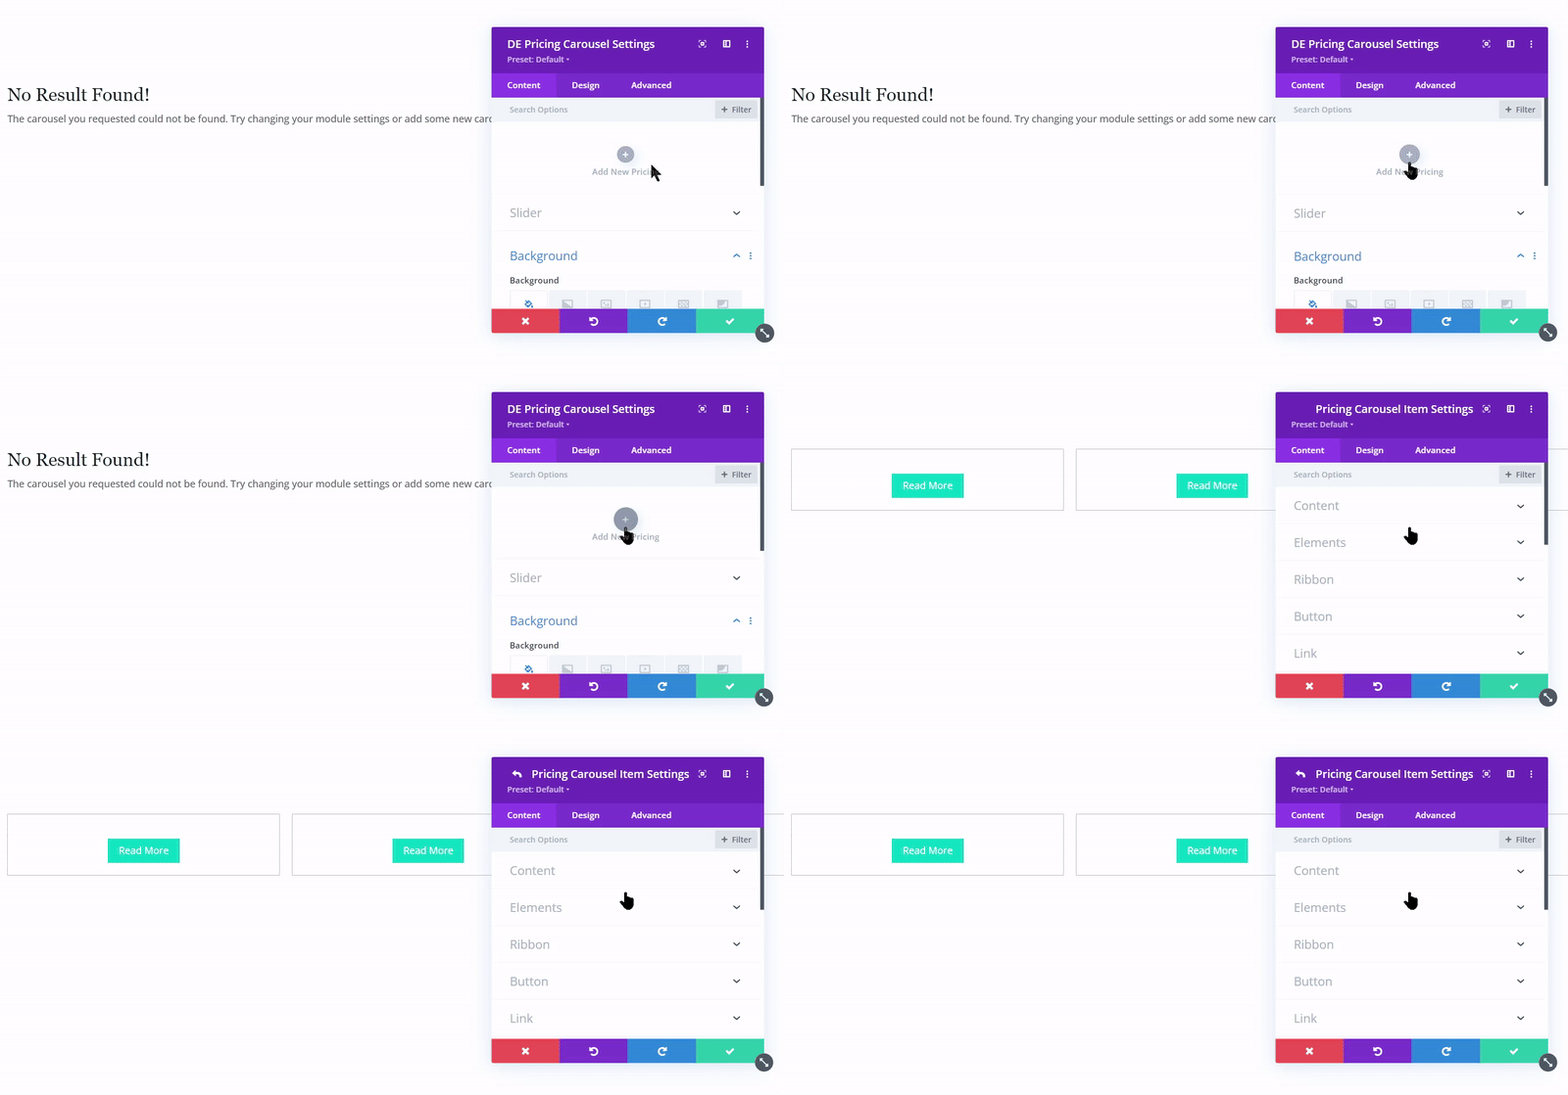
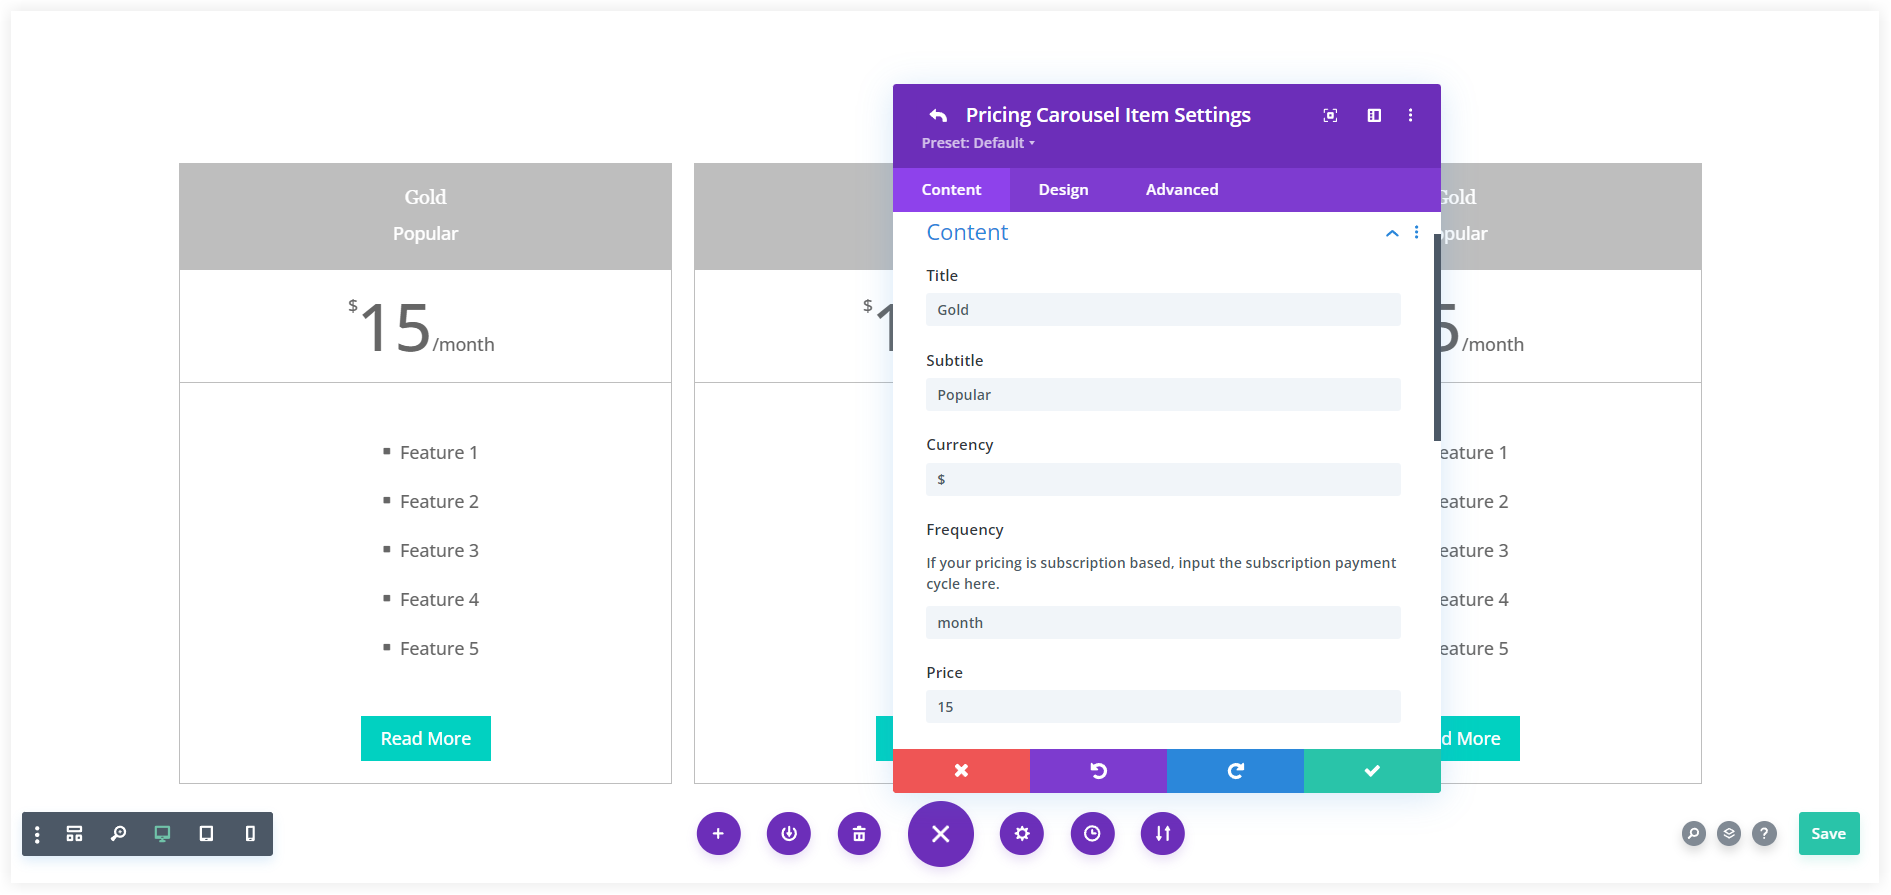
Mention the Title, Subtitle, Currency, subscription Frequency, and Price of your plan or service. These attributes help in highlighting all the important information about the pricing.
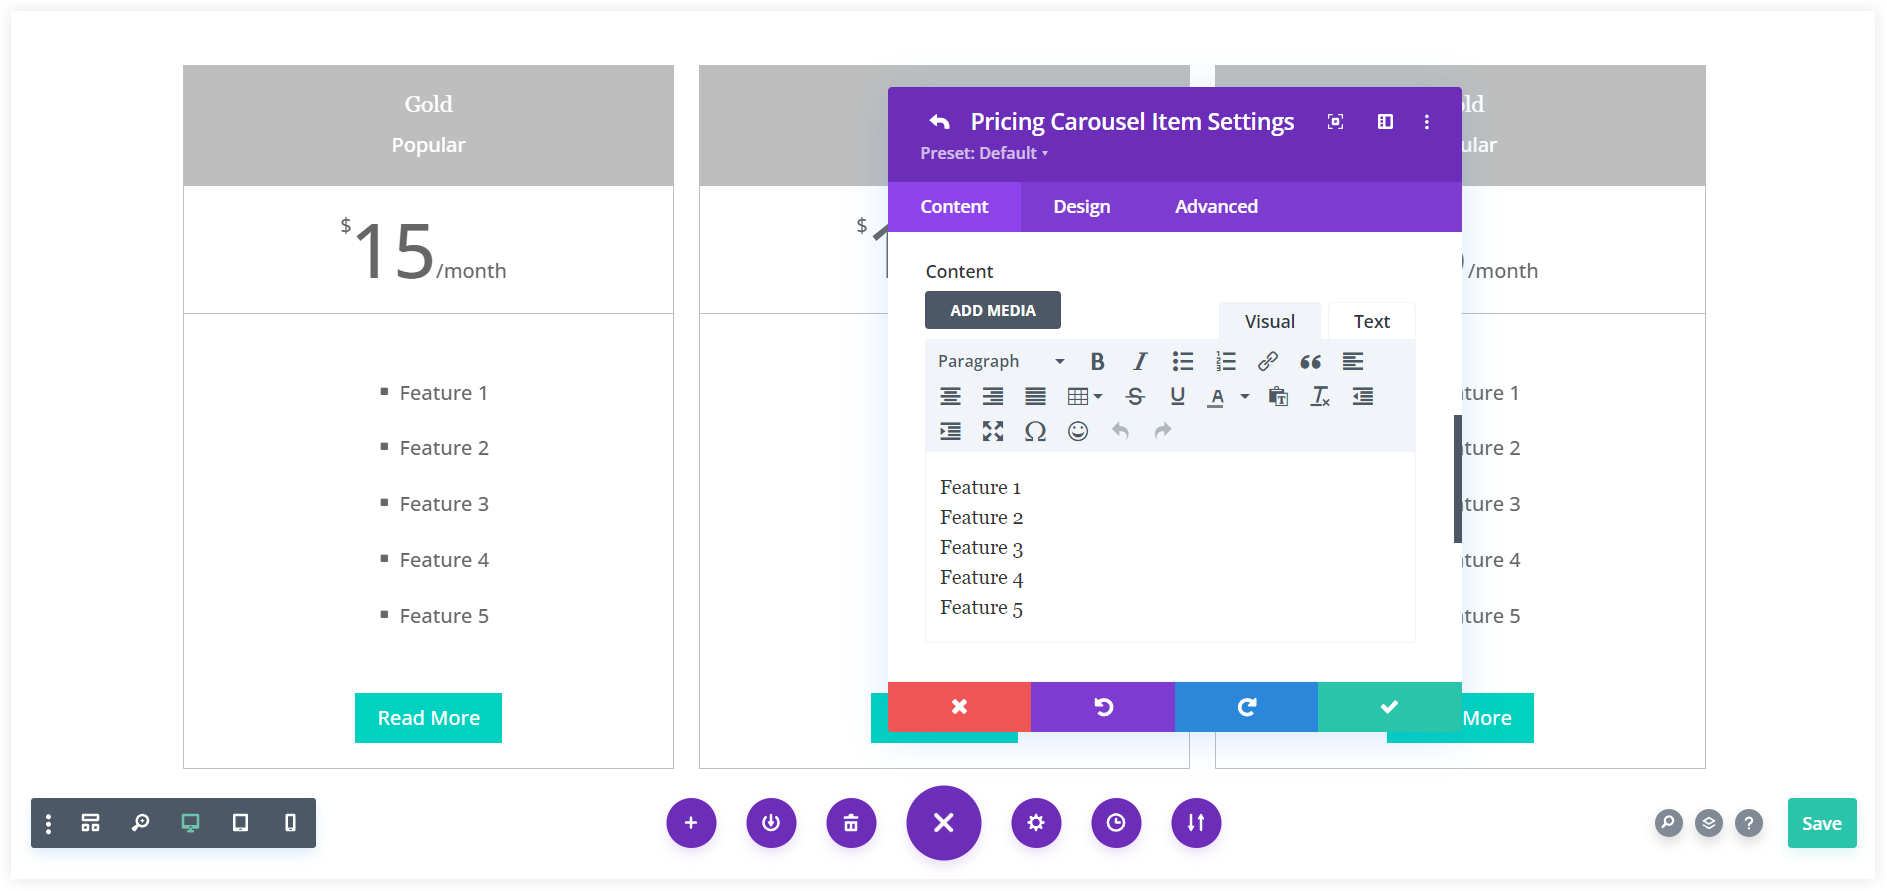
Write all the features offered in this particular plan in the Content section. Write them in a bulleted list to make everything clear for the users.
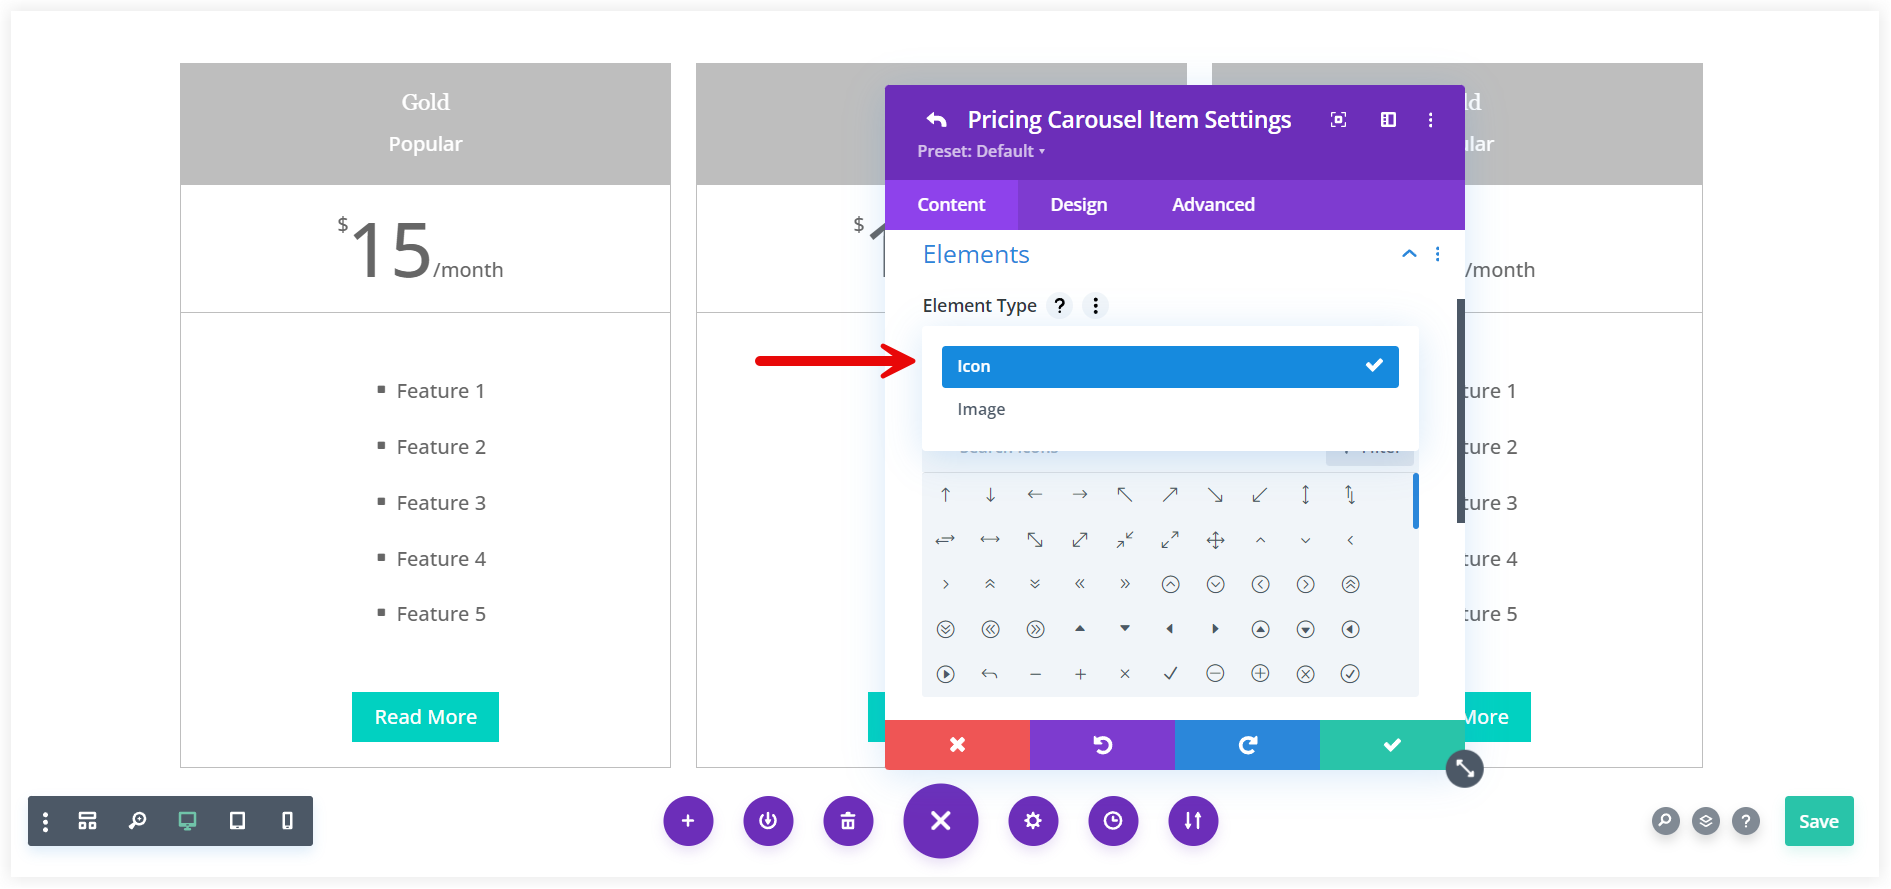
You can add an icon from the built-in library or upload an image in the pricing table to denote the pricing or plan. The icon or image will be helpful for the users to get a quick idea about a particular plan.
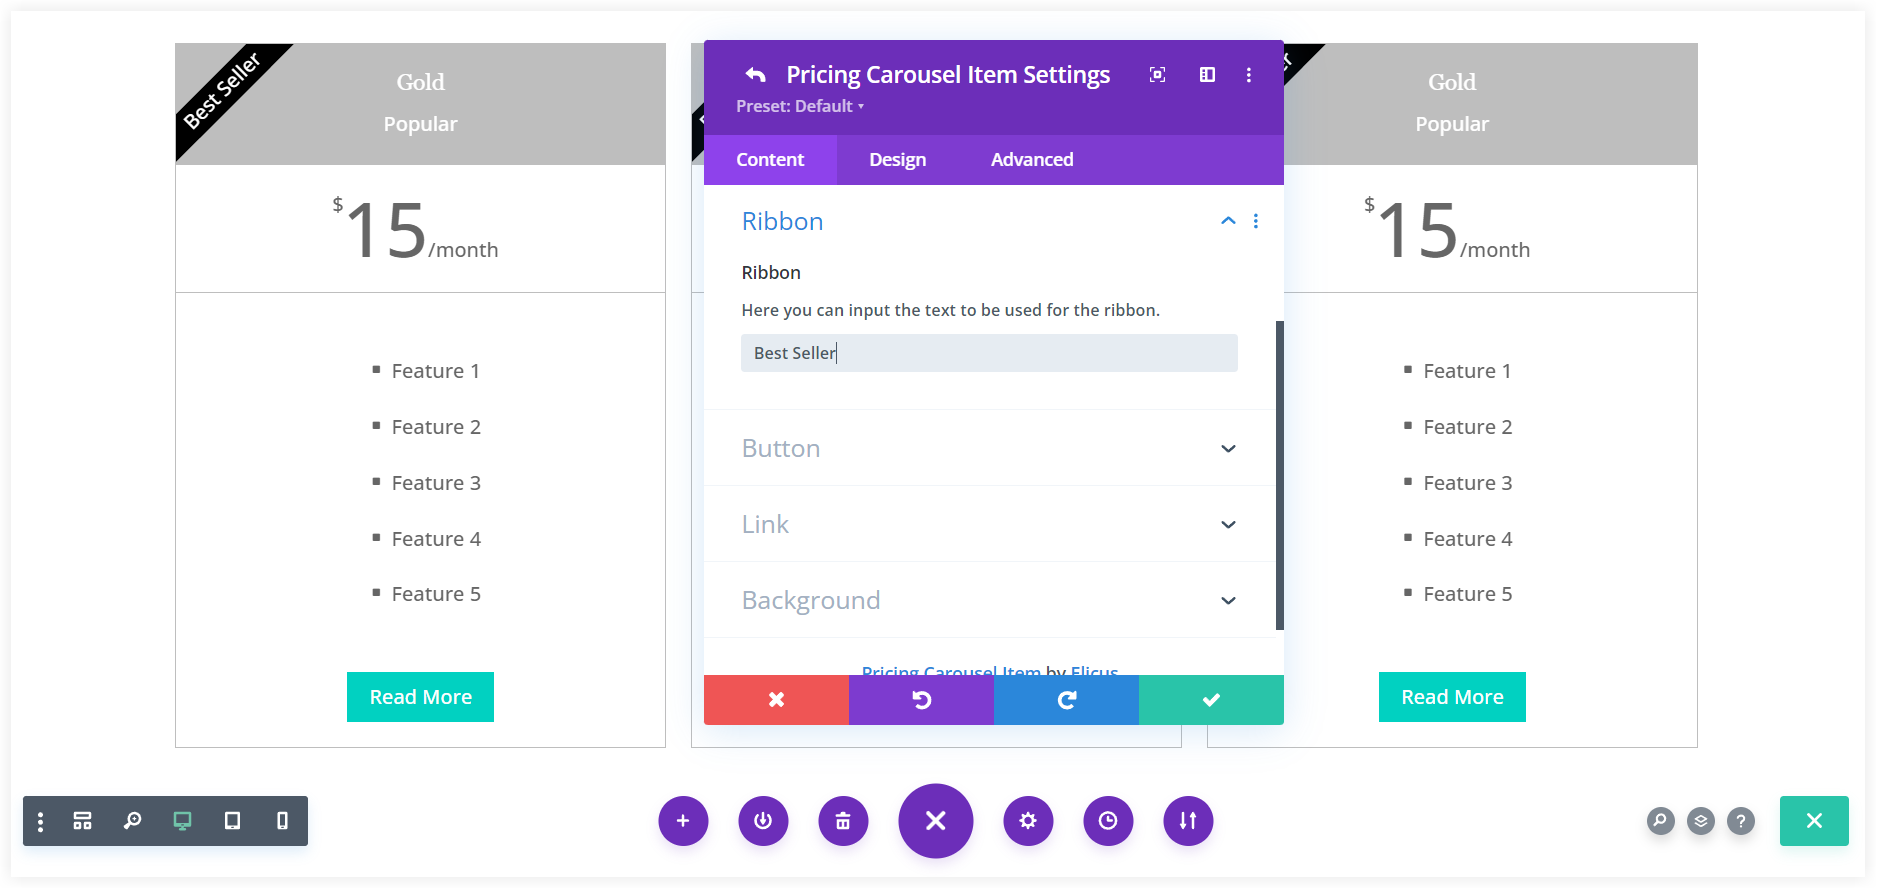
The Ribbon can be used to notify users about the ‘Best Seller’, ‘Best choice’ etc, for a pricing slide.
Finally add the Button Text, and URL that would redirect users to further checkout process. Select the Link Target that will open the purchase link on the same or a new tab. We suggest you select open in the new tab to ensure a good shopping experience for the users.
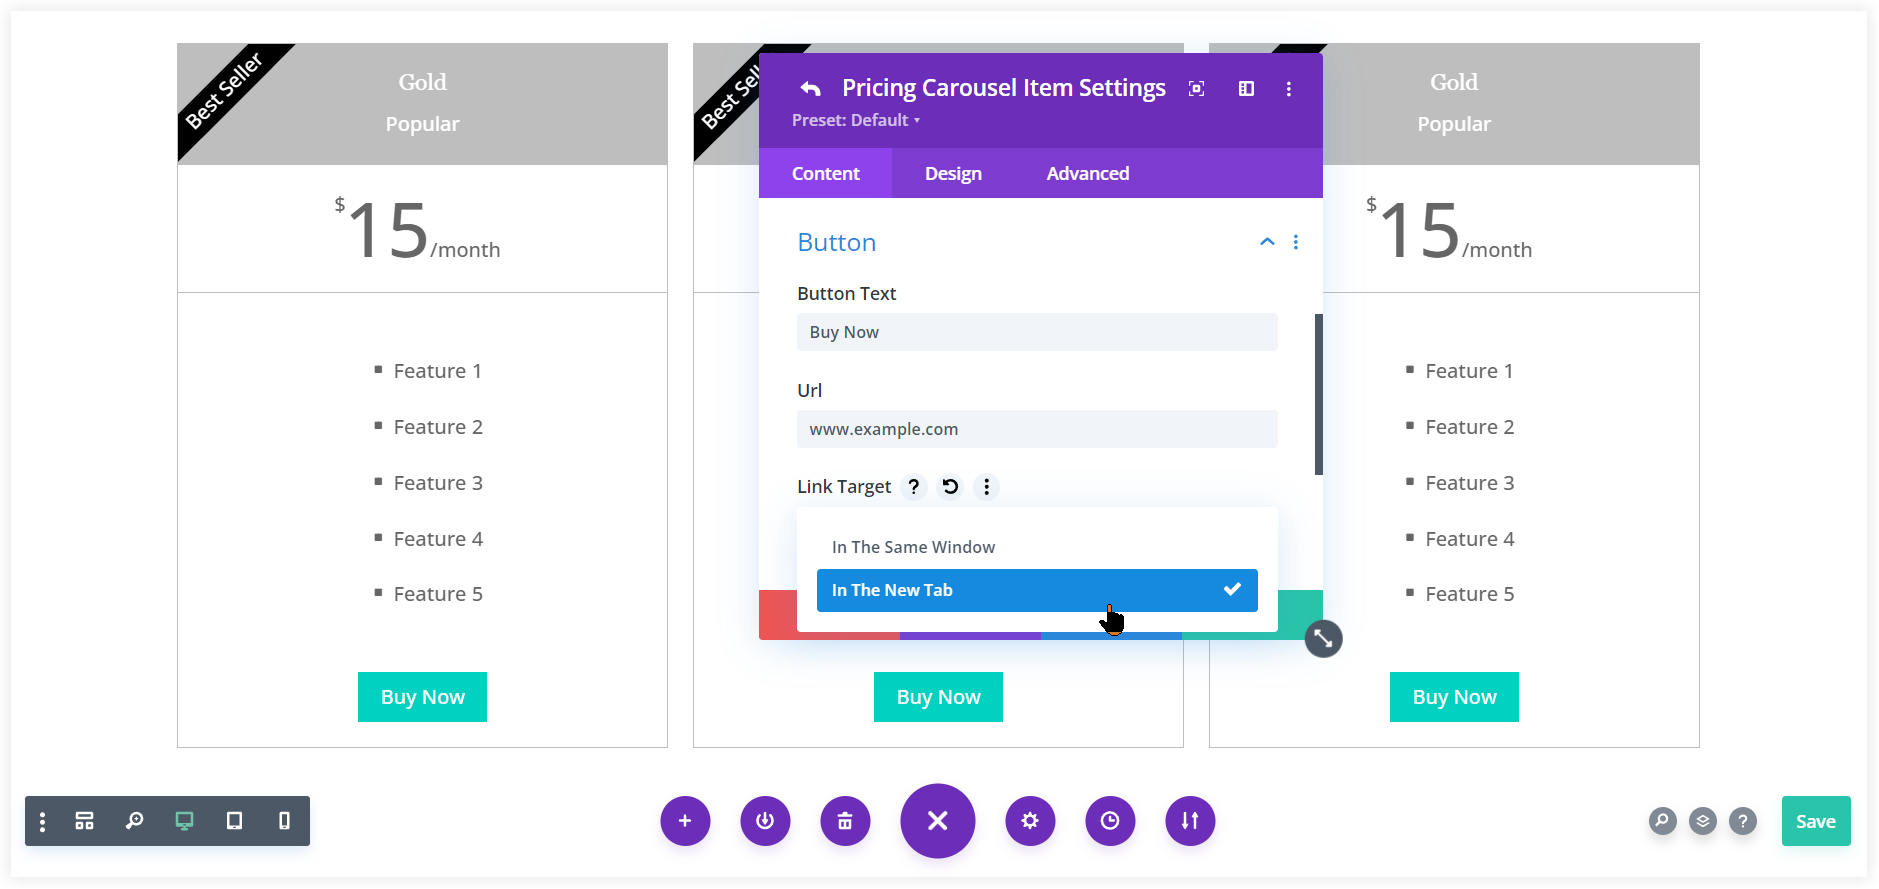
Repeat the above steps to create more pricing slides.
Tune Up the Slider Settings
After making all the slides, navigate to the Slider settings of this module. This section allows you to configure and personalize the slider movements, effects, navigation, and other related settings.
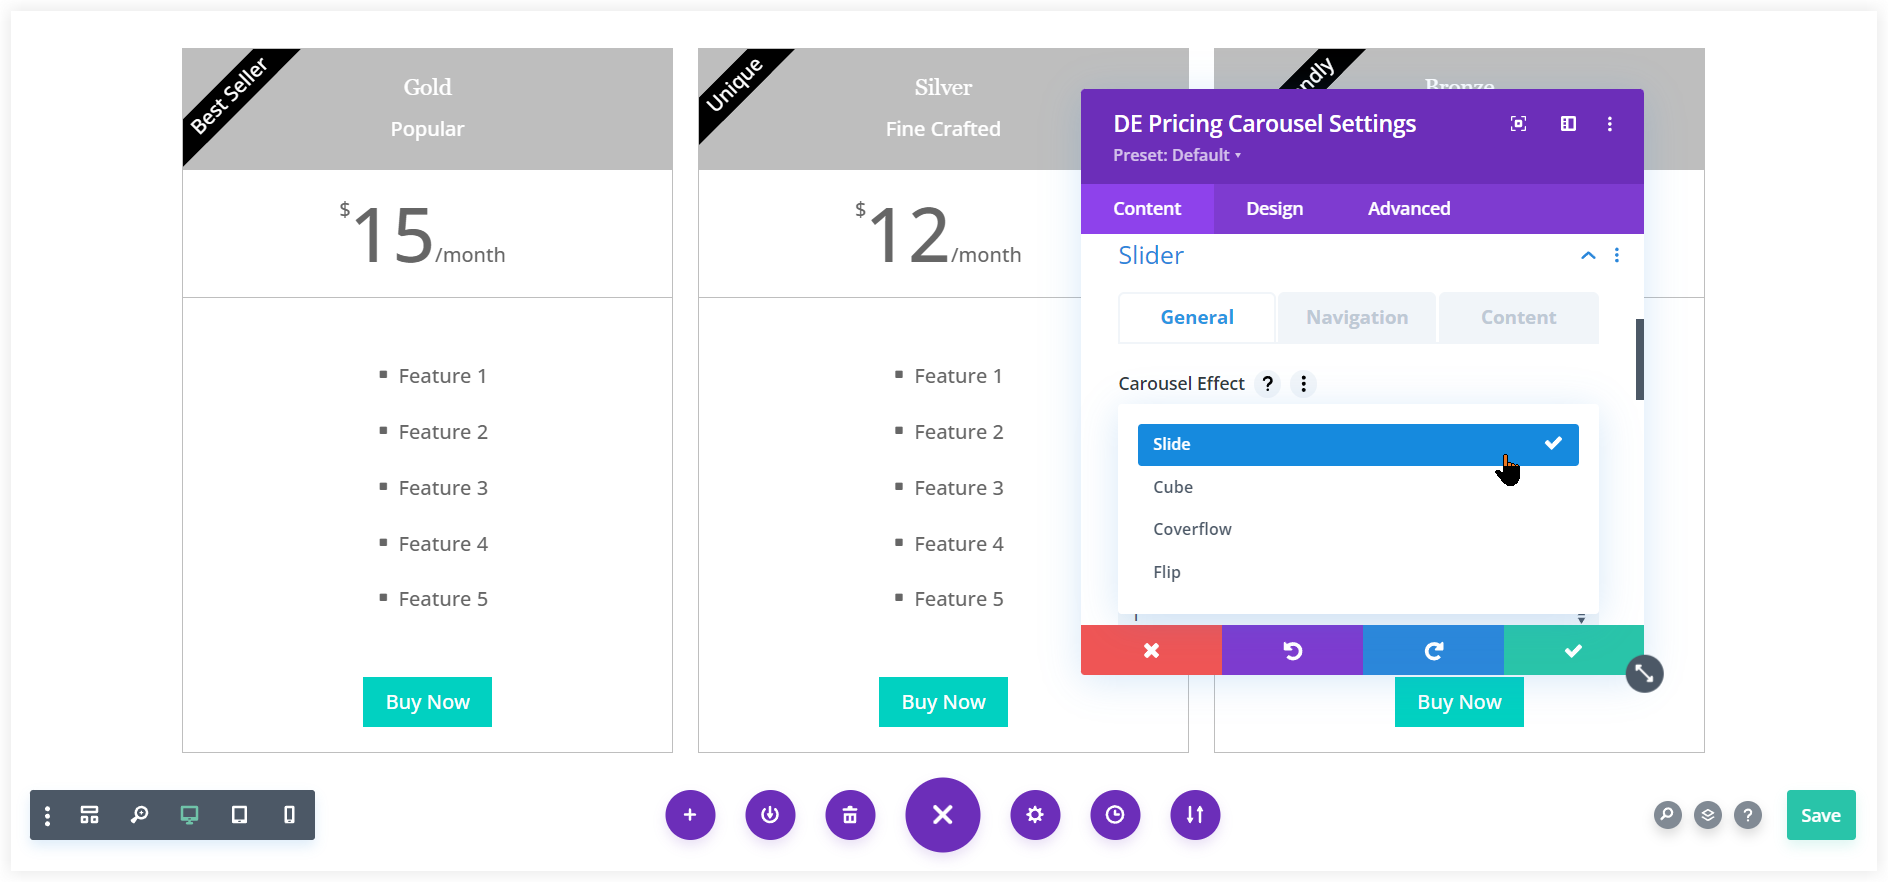
Choose a suitable Carousel Effect out of the four that makes the presentation of your slider pricing table appealing. We prefer the Slide effect that moves your pricing table in the conventional sliding pattern.
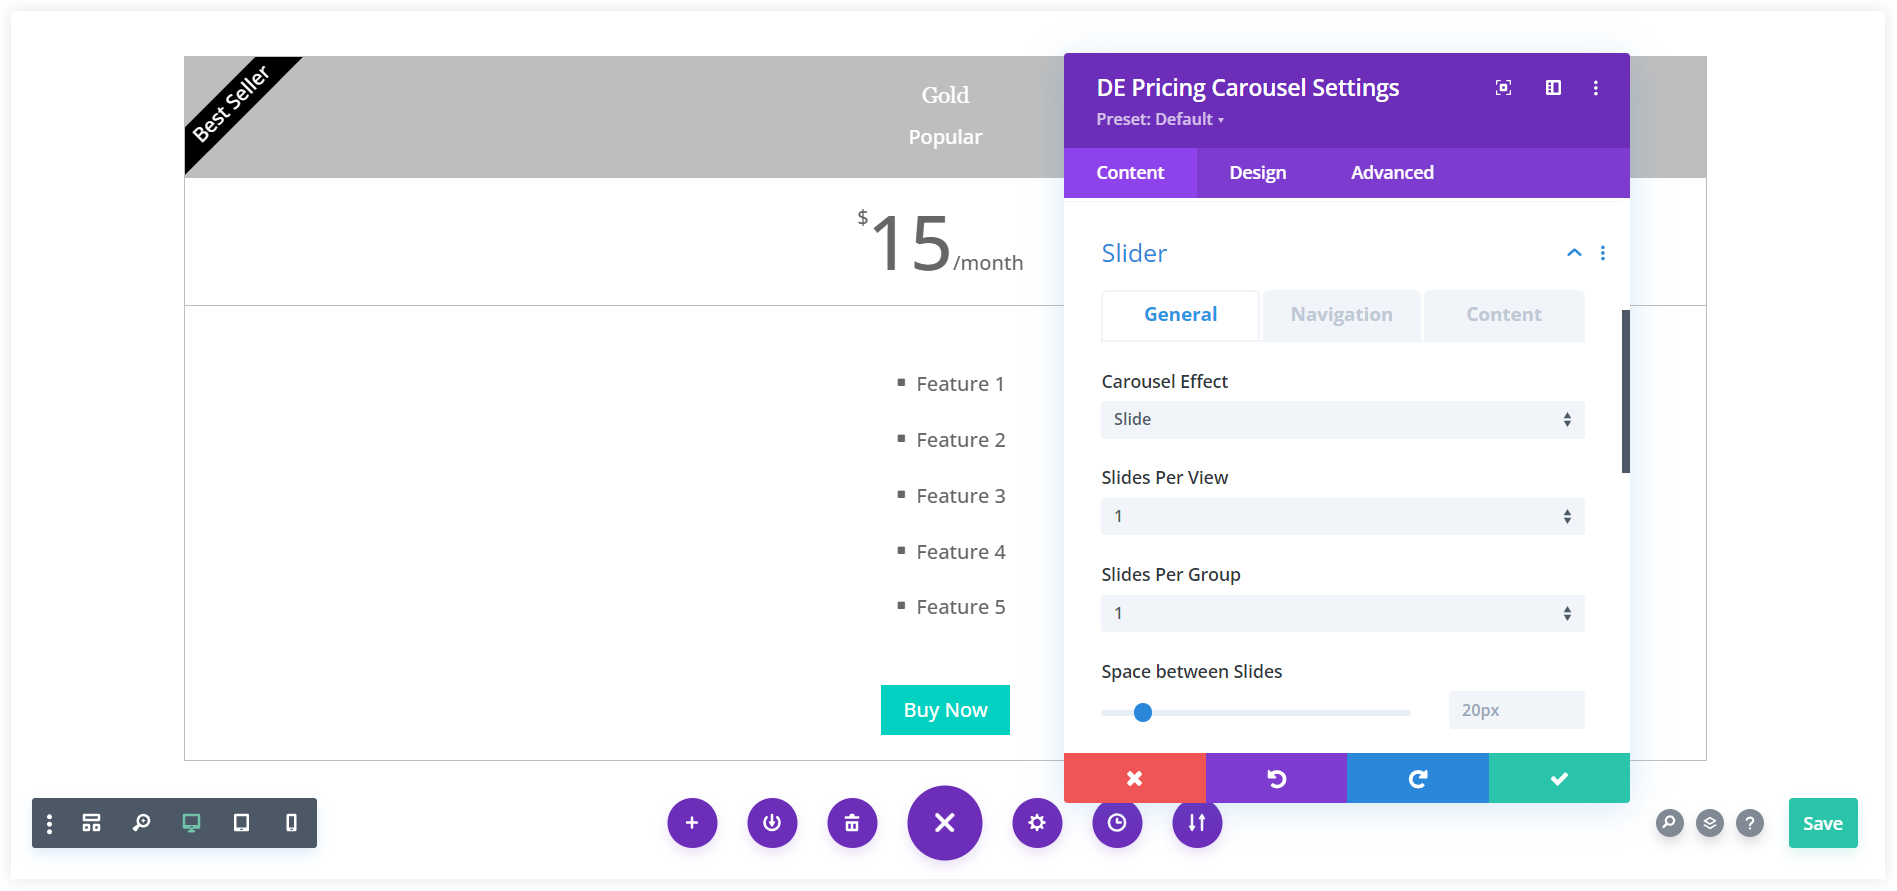
Configure the Slides Per View by selecting 1 as we want our pricing table in a slider format showcasing one pricing slide at a time. Adjust the Space between slides to make it look uniform.
Turn on the Enable Loop, Autoplay, and Pause On Hover. Enable Loop will make sure that when the last slide is reached, the slider resets to the first pricing slide. The pricing slides will all be shown sequentially via Autoplay until the final slide is reached.
If you want the user to manually navigate through all the pricing slides, disable them. Pause on Hover will be helpful to halt the slider pricing table when Autoplay is on.
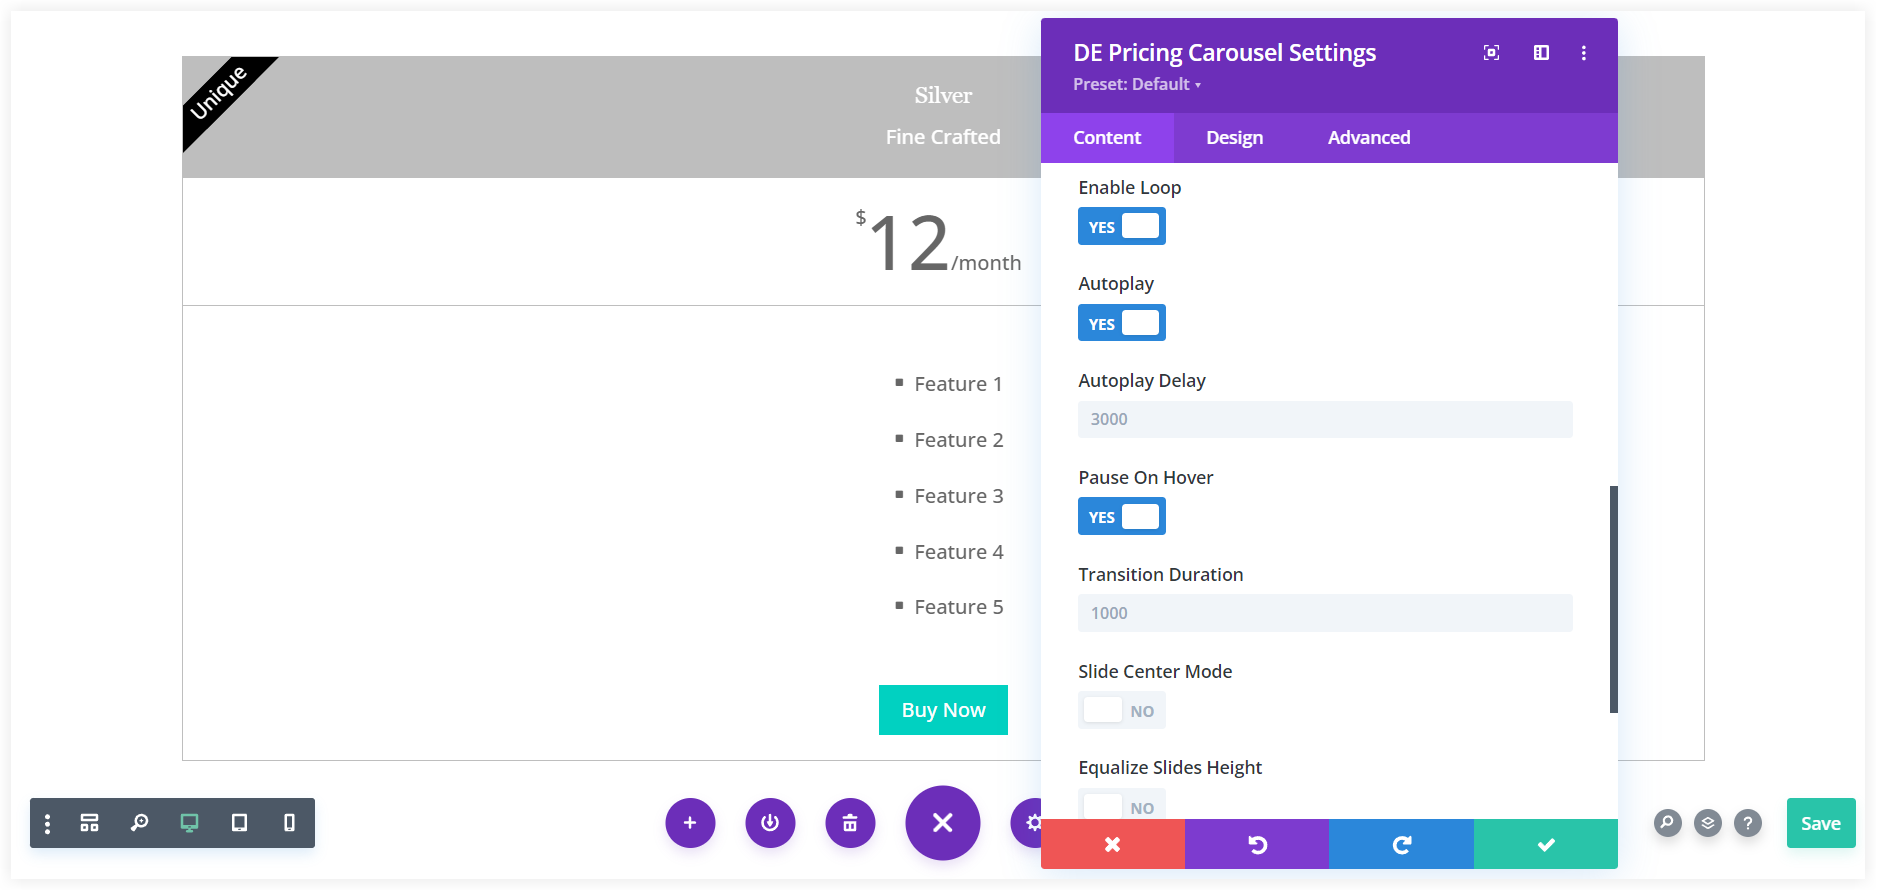
Leave the rest of the settings in this section disabled.
Activate the Pricing Table Navigation
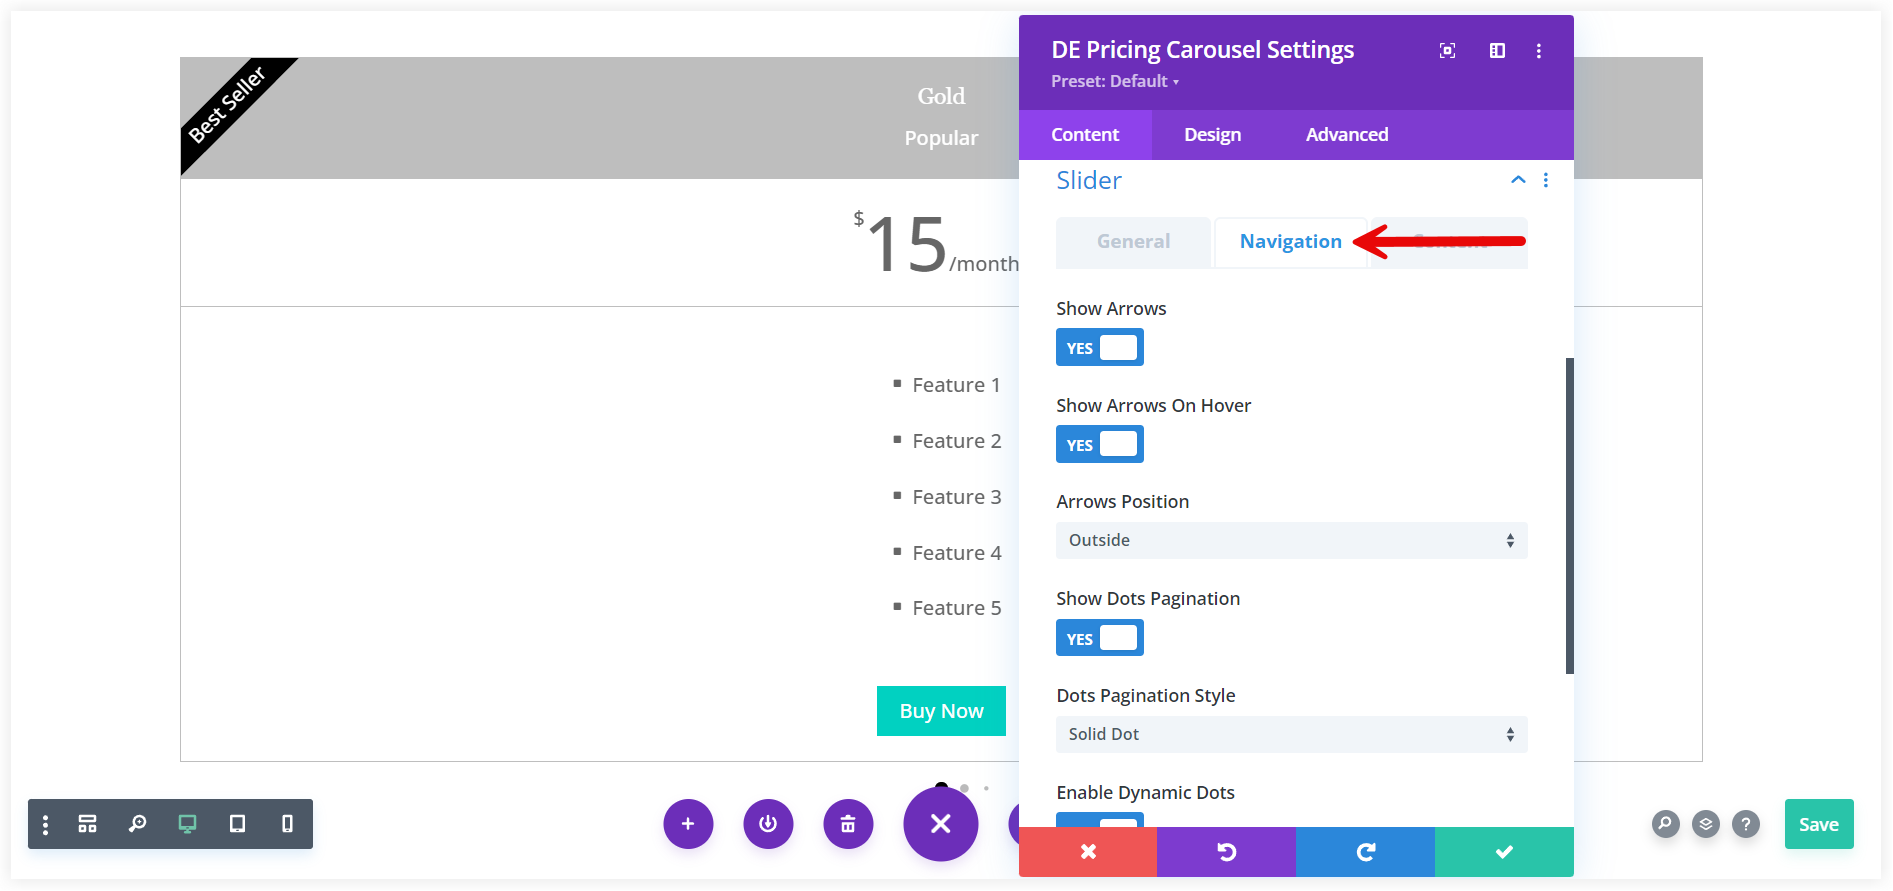
Go to the Navigation tab and enable Show Arrows to display arrows and Show Arrows On Hover to activate them with a mouse hover. Keep the Arrow Position ‘Outside’ for a clear view of navigation arrows on the pricing table with a slider for the users.
Additionally, you can enable Show Dot Paginations to alert users to changes in the slider pricing table and the current pricing slide. Dot Pagination Style and Enable Dynamic Dot options are also available to make them more dynamic and appealing.
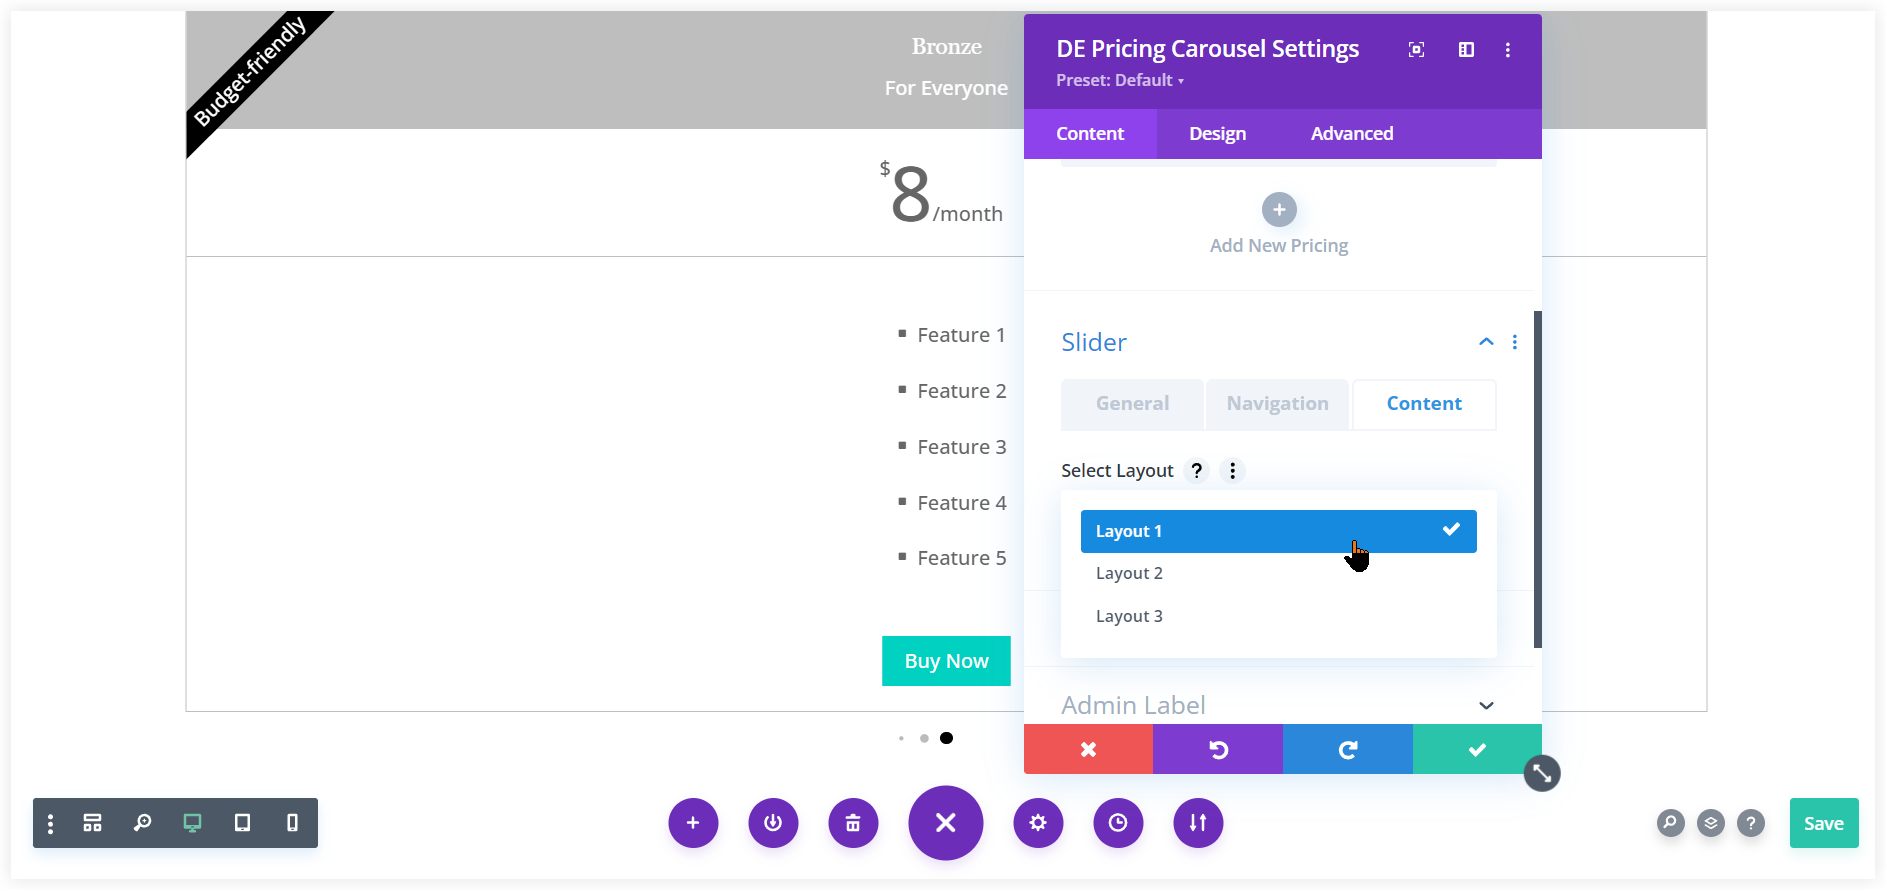
From the Content tab choose your favorite layout for the pricing table that goes on perfectly with the visual appearance of your Divi website. It completely depends on your choice but we prefer to make it look simple and understandable.
We just changed the background color of the heading to make it look eye-catching. You can use the extensive styling options under the Design Tab to personalize its appearance.
That’s done. You have created a divi slider pricing table that will engage customers to explore the offered options, compare pricing, and buy plans accordingly.
Final Pricing Table Design with Slider

The above two methods can introduce a slider pricing table on your Divi website easily without diving into any coding or technical hassles.
There is one more way to deploy a pricing table with a slider on your Divi website with the help of ready-made pricing table layouts. You can explore various pre-built slider pricing table layouts from Divi Layouts Extended and can use them easily with extensive personalization possibilities.
The final takeaway of this post is you can easily create a wonderful pricing table with a slider in Divi using these options but it is completely up to you what solution you prefer. If you want a simple and attractive solution you can go with the in-built slider module of Divi. In case you want a stylish full-fledged sliding pricing table you must go with the Pricing Carousel module. It has better personalization options and settings to build unique pricing tables on your website.



0 Comments