
A website is all about capturing the visitor’s attention, offering them a solution or information they are looking for in the most convenient way. Without a user-friendly design, it’s not possible. Hence, you need to add interactive elements that make exploring the platform easy and highly rewarding.
One of those elements is Progress Bars–a user activity-based element that gives the user an idea of how much of the content or information is left on the page they are exploring.
It is highly informative and rich in experience without disrupting the exploration.
Therefore, if you’re designing a Divi website and want to improve its UX, it’s highly recommended that you utilize Progress Bars in Divi for areas where their usage is appropriate, for example, a blog post.
Below, we’ll look at some of the Progress Bars in Divi that are easily available. In addition, we’ll look at the steps for adding them.
If you’re ready, let’s get started!
A Quick Look at Progress Bars
Progress Bars on a website are interactive elements that, based on the user’s scroll depth, indicate how far they have scrolled or read and how much remains. This helps users mindfully explore a website and maintain proper control over their work hours or shifts.
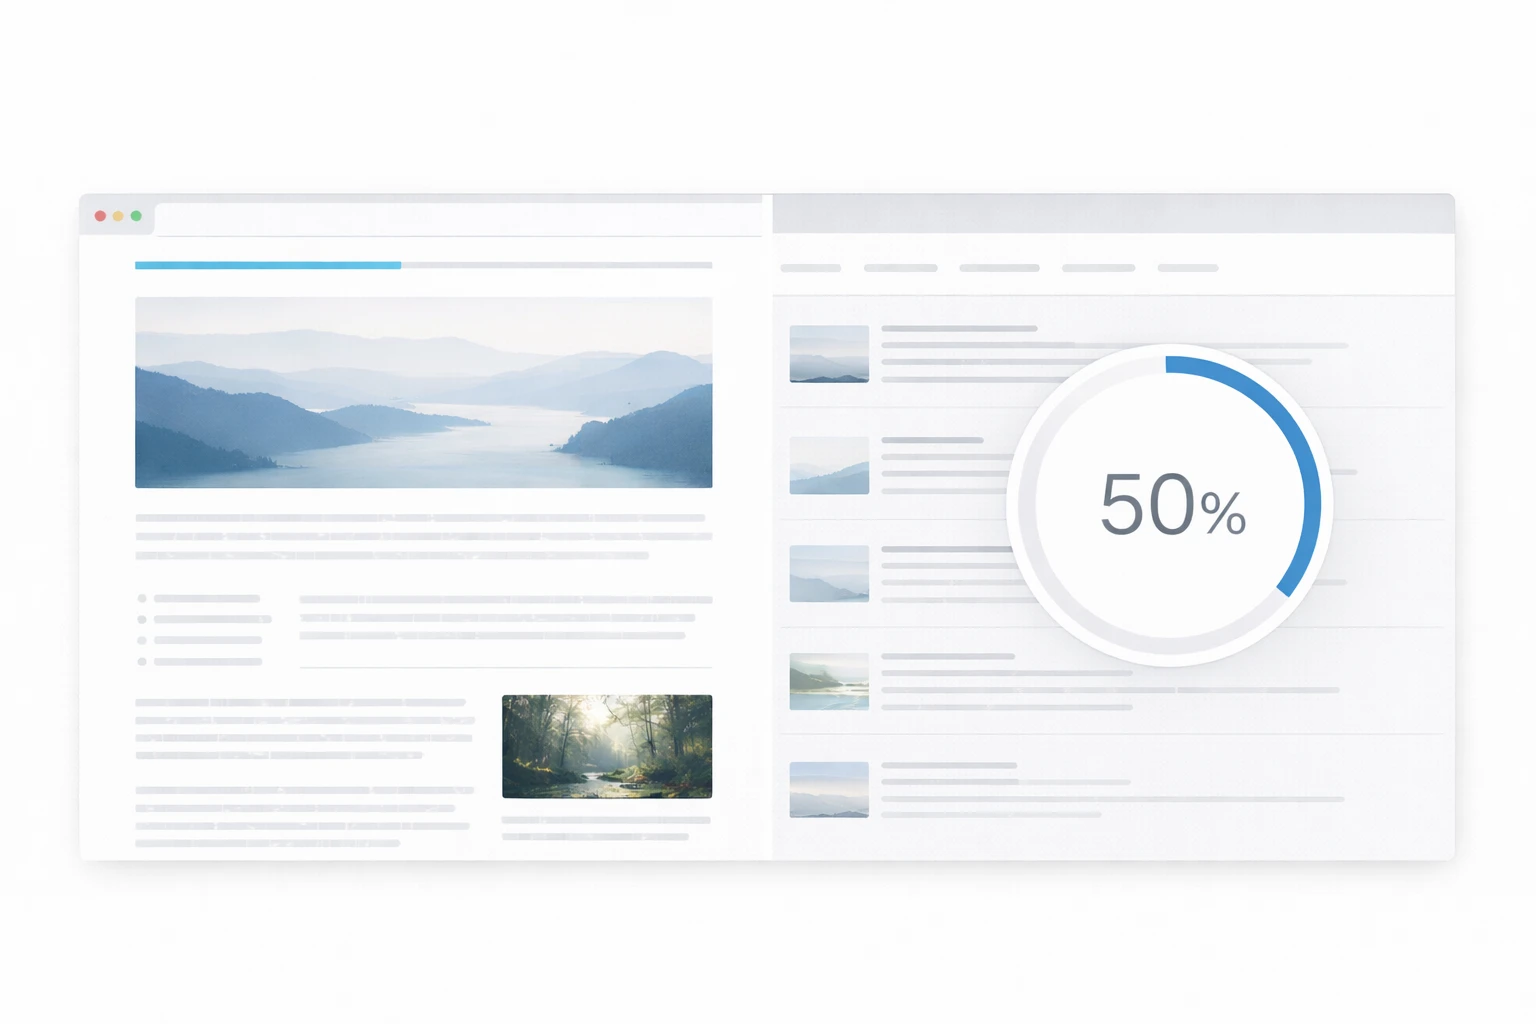
There are different types of Progress Bars you can create and add to your Divi website. However, the most popular ones are:
- Line progress bar
- Circular progress bar
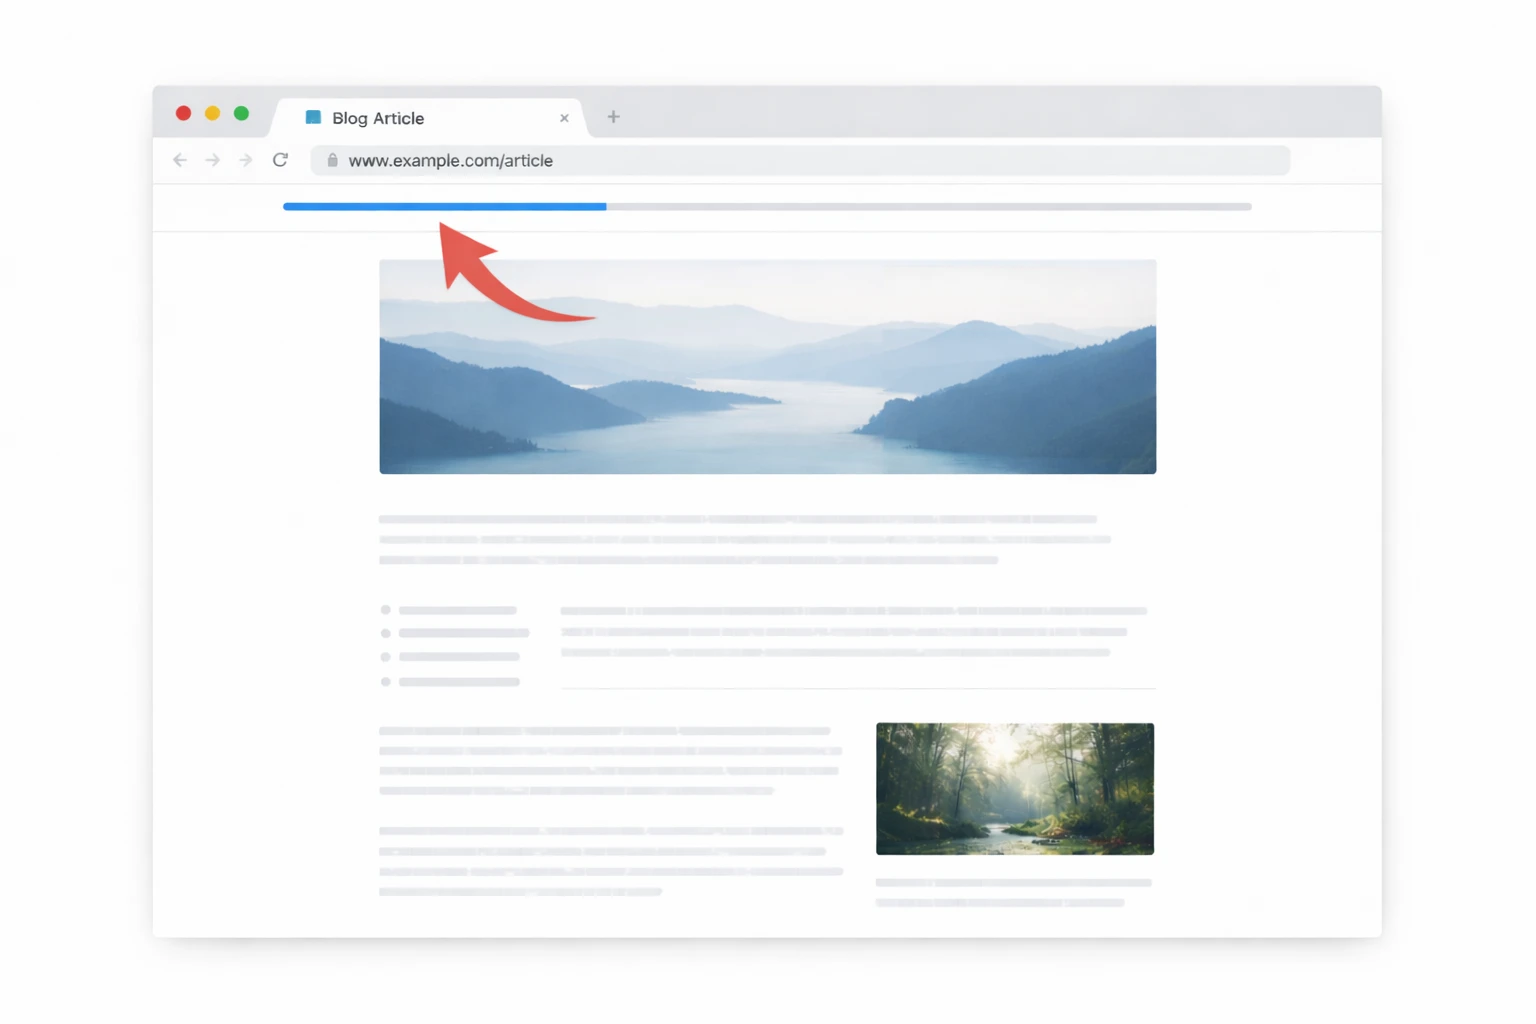
These can be used for various areas on the website. You can implement a line progress bar to showcase the length of a blog post.
While using a circular progress bar, you can give an estimate for the depth of an archive.
No matter the area, the purpose is always the same: how much content is on the page, how much the user has explored, and how much is left for them to be explored.
A delicate approach that keeps the user mindful of their exploration.
The Divi Plus Progress Bars Module
Divi Plus is a multi-module plugin for Divi that offers additional capabilities, including the Progress Bars module.
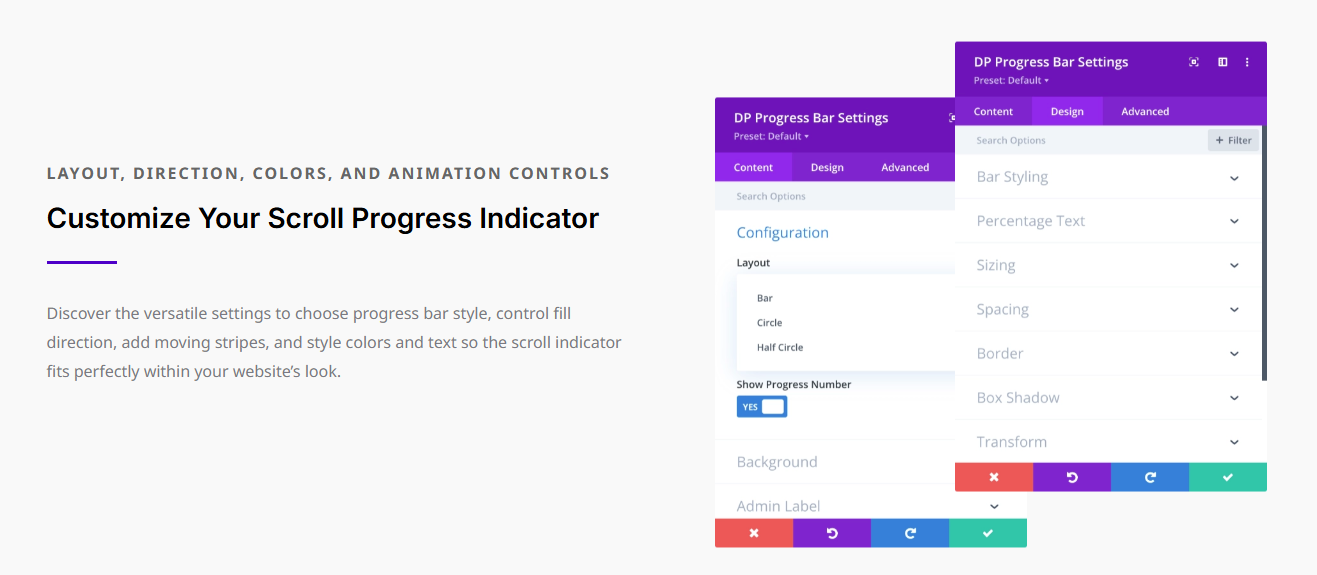
The module offers highly customizable options, using which you can create three types of progress bars in Divi, such as:
- Linear
- Circular
- Half-circle
All of these layouts include additional options to further optimize them, helping you meet your project requirements effectively. For example, these layouts support showing a striped animation, progress number, changing progress bar direction, and using a custom background.
Thus, a highly effective Divi module for creating engaging, user-friendly progress bars.
If you’re excited to use the Divi Plus Progress Bars module and create your unique Divi progress bar, then the following section can help you utilize the module effectively. From design ideas to basic steps, you’ll find everything in the coming section.
Step-by-Step Guide to Adding Liner, Circular, and Animated Progress Bars With Divi Plus
Follow the sections below to add different types of Progress Bars in Divi using the Divi Plus Progress Bars module.
Step 1: Download Divi Plus and Install It
Yes, the first step to add engaging and interactive progress bars on your Divi website is to get the Divi Plus plugin and install it.
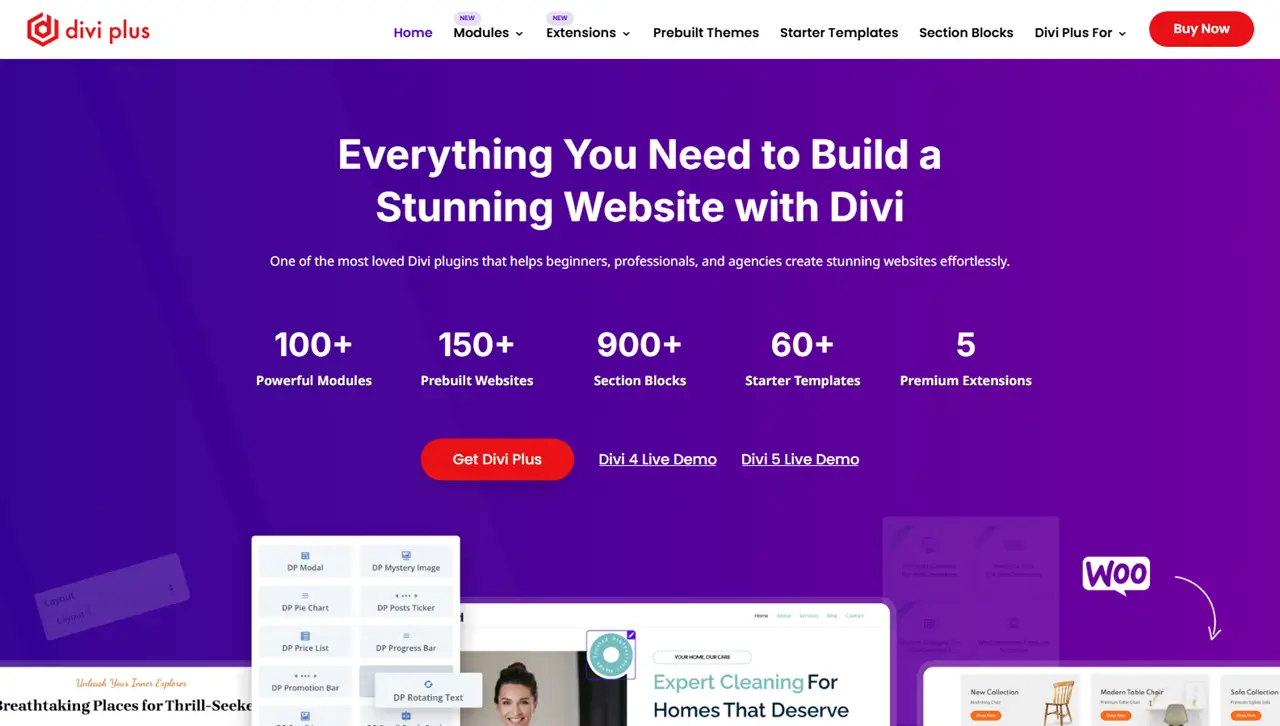
It’s a multimodule plugin for Divi with 1000s of other resources. It comes with prebuilt layouts, themes, and sections that make it easy to build a Divi website regardless of type, domain, or functionality.
For a Divi lover, this plugin is a must-have. Learn more about Divi Plus.
The plugin is available at both the Elegant Themes marketplace and Divi Extended store. Get it from where you feel most convincing.
Once you have downloaded it, follow these instructions on how to install Divi Plus.
After successfully installing it, move on to the next step to activate our Divi Progress Bars module.
Step 2: Activate the Progress Bar Module
To activate the Divi Plus Progress Bars module, go to Divi Plus in your WordPress dashboard.
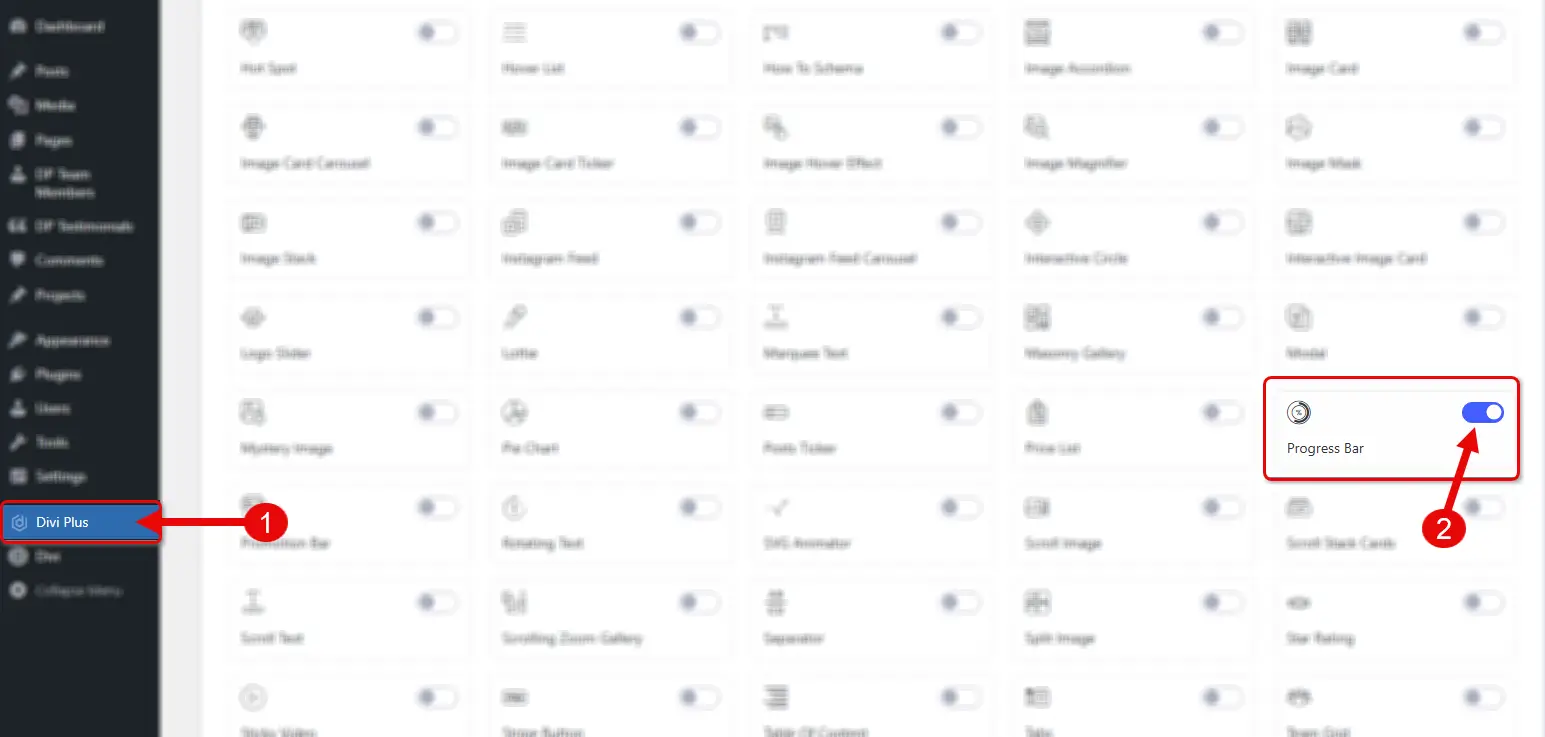
Then, look for the Progress Bars module, and turn the toggle to enable it. Once the module is installed, you’re good to go to create your progress bars in Divi.
Step 3: Add Progress Bars in Divi
We have enabled the module, now, go to the page or template where you need to display the Progress bars. For this tutorial, I have selected the Blog Post template as the location where our progress bar will display.
You can choose any place you need to show the Divi progress bars as steps and adding it will likely be the same.
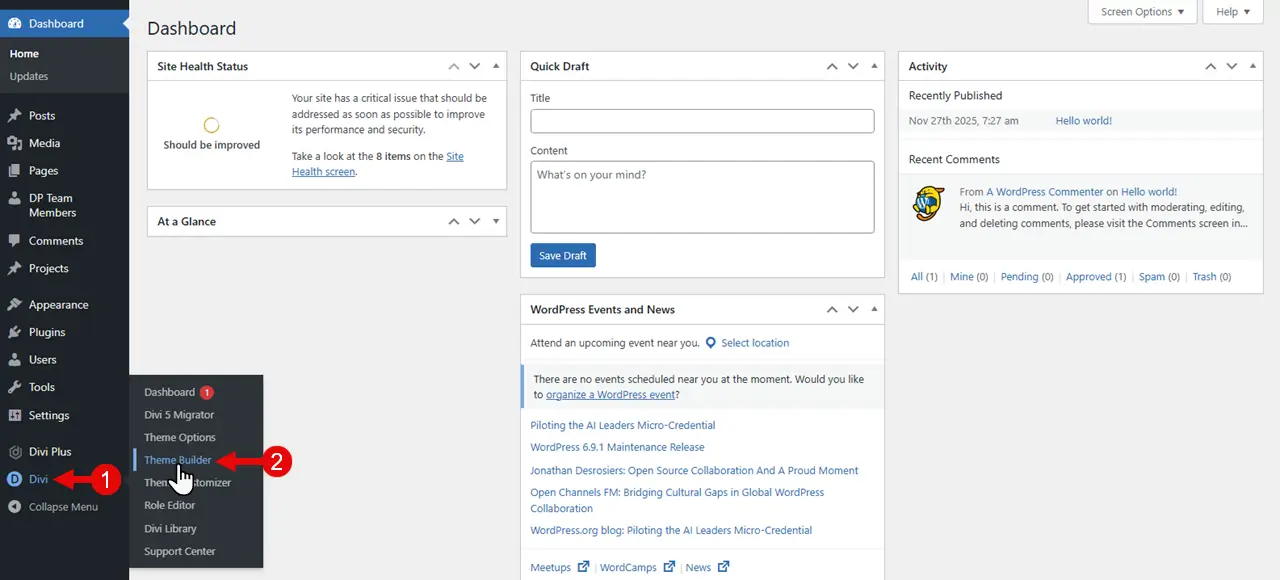
So, in order to add it to a template, access the particular template by clicking Divi → Theme Builder → Add New Template.
Click Build New Template → Posts → All Posts → Create Template. Then, click Add Custom Body, and choose to Build Custom Body.
After this, you need to open the template, and once you’re inside the builder, you’ll find it like the following.
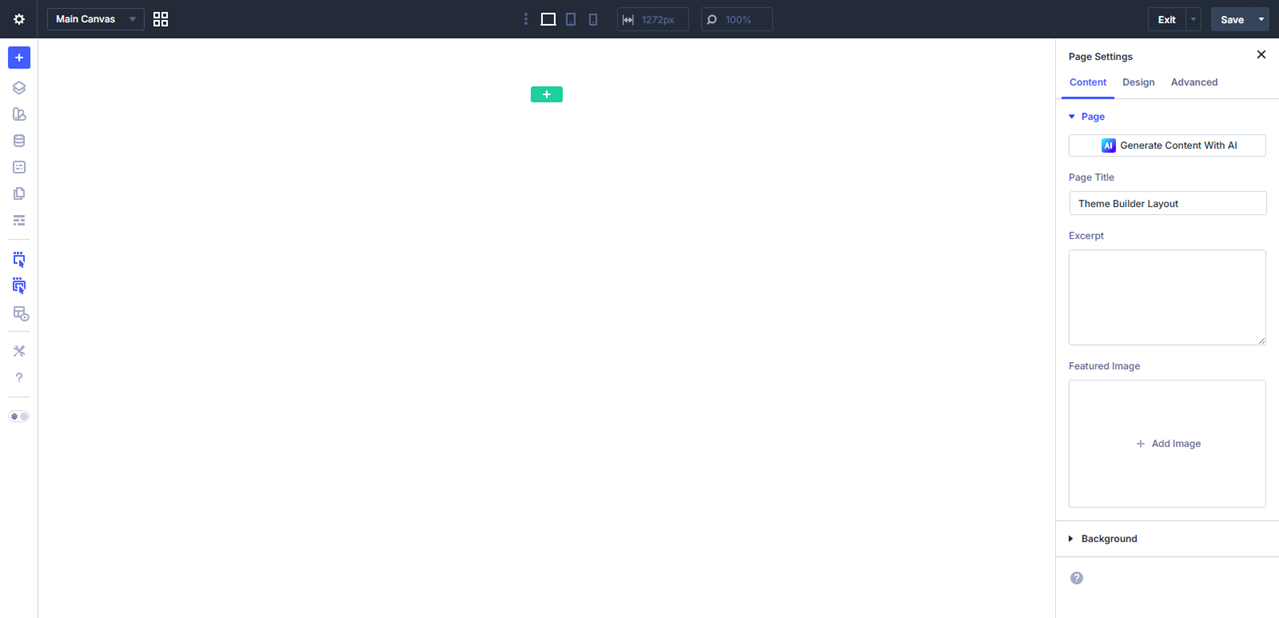
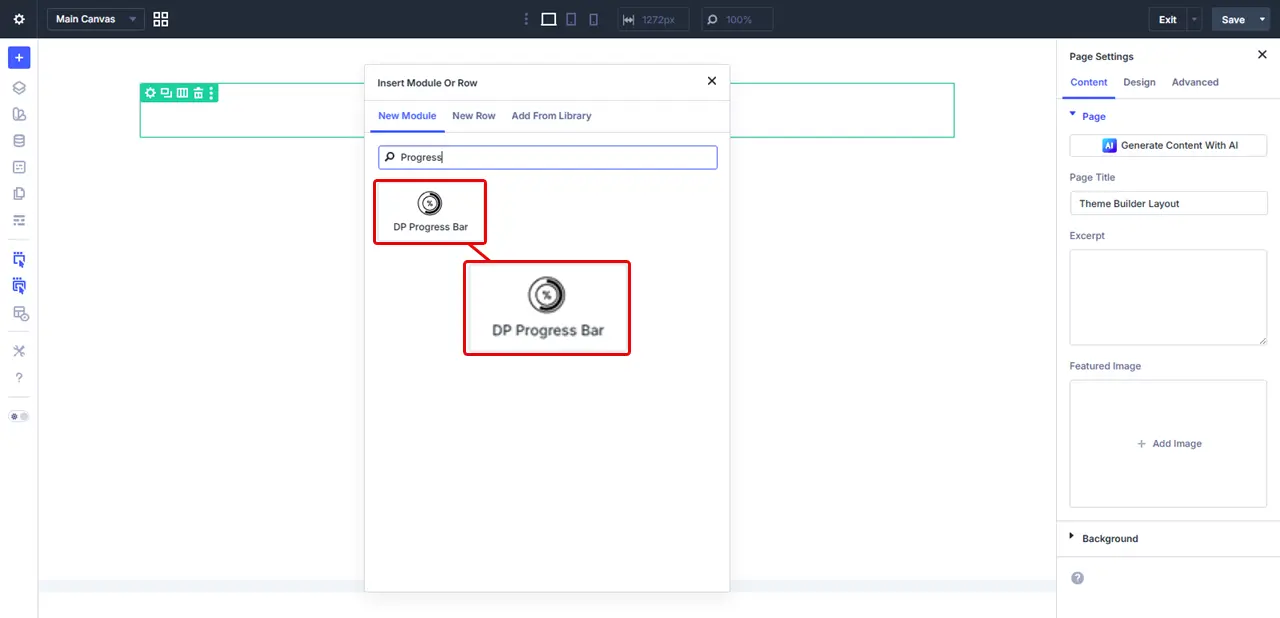
Now, click on the Plus button, then select to add a new row, and then click again on the Plus module button.
Search for Progress Bars and select the DP Progress Bars.
As soon as you insert the module, it will appear like the following as a Horizontal Linear progress bar.
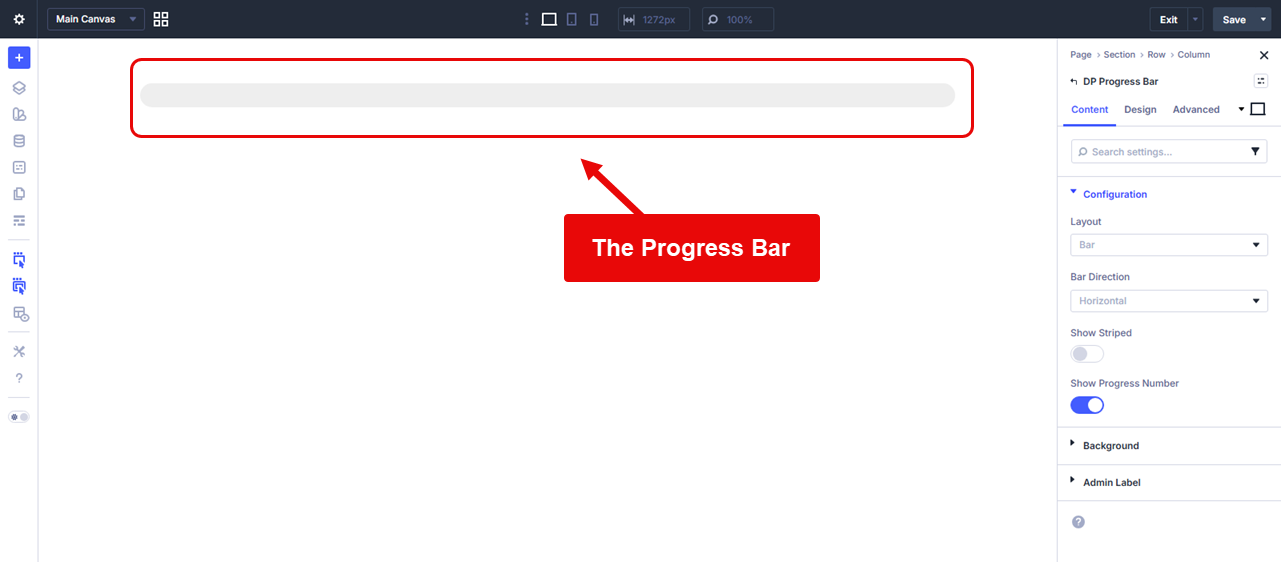
The following sections will help you change the progress bar’s layout.
How to Add a Vertical Linear Progress Bar in Divi
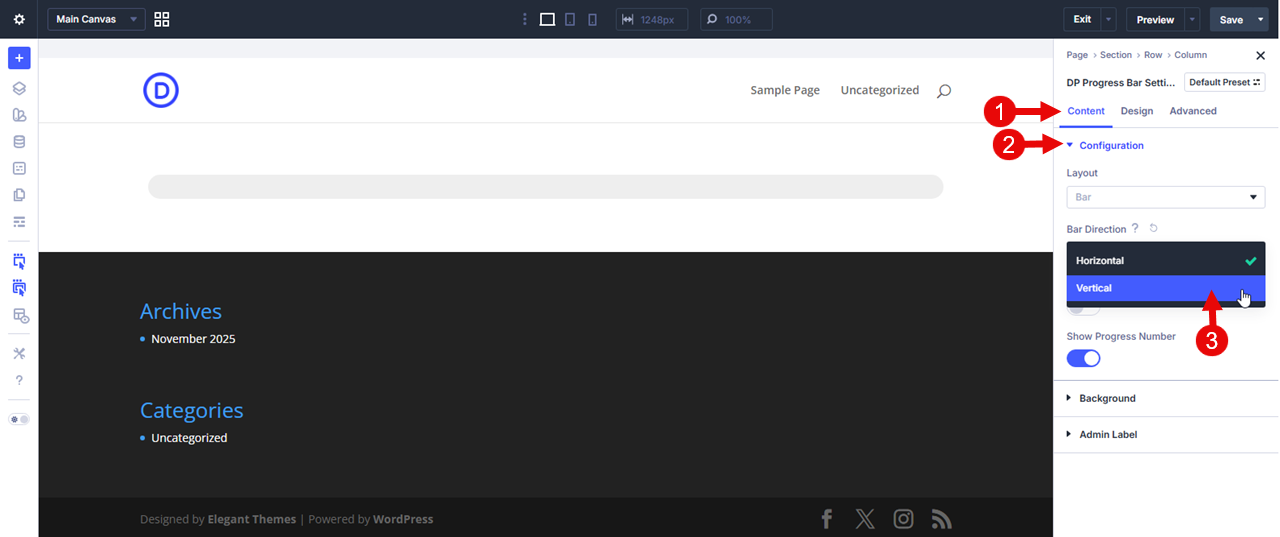
After adding the Divi Plus Progress Bar module on the page, the default layout is in the horizontal orientation. To change it to a vertical one, you need to open the Configuration settings in the content tab → go to Bar Direction → select Vertical.
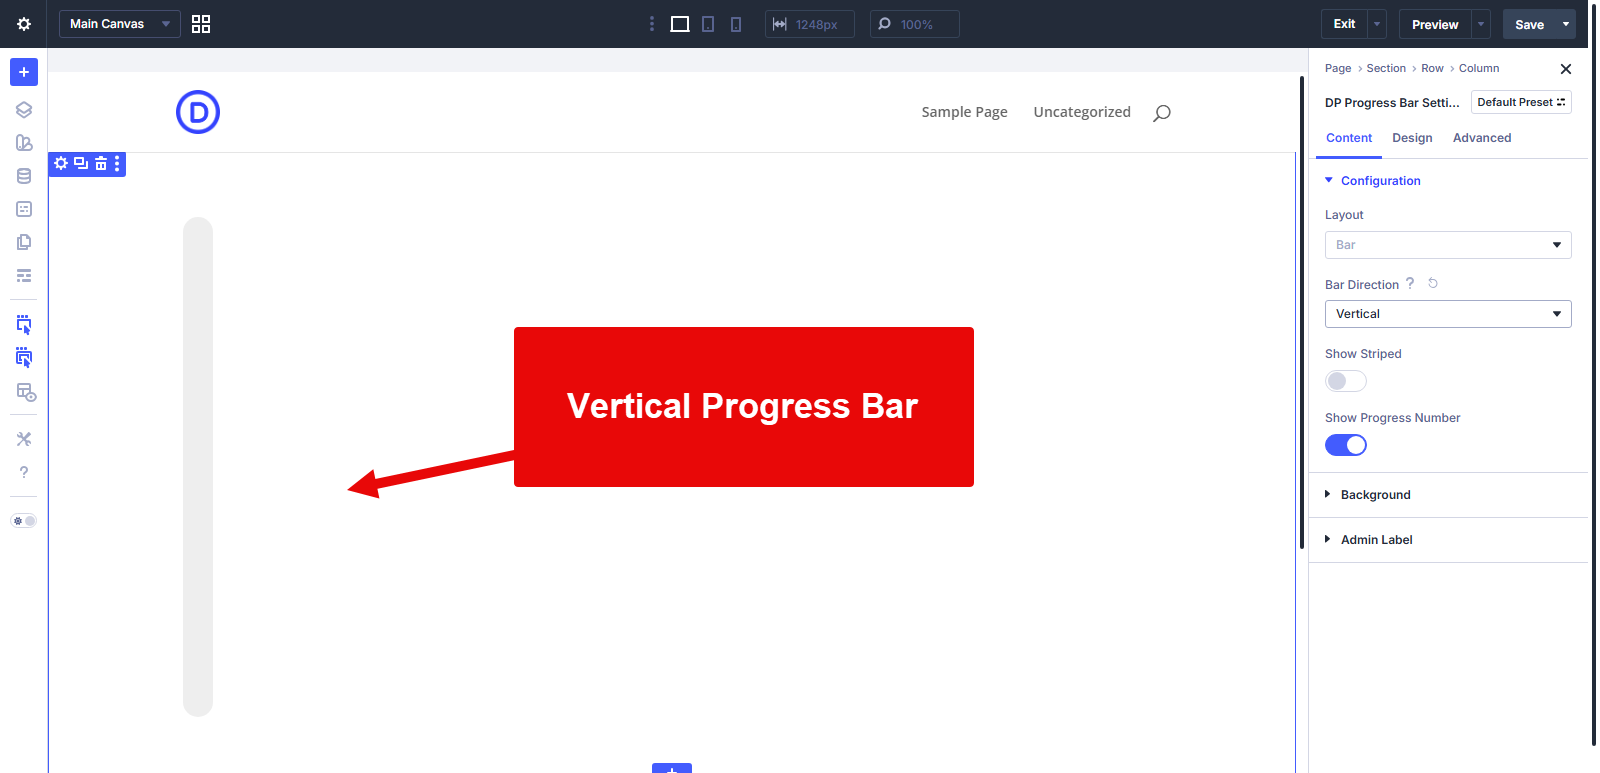
This will display your linear progress bar in a vertical direction, just as the following one:
How to Add a Circular Progress Bar in Divi
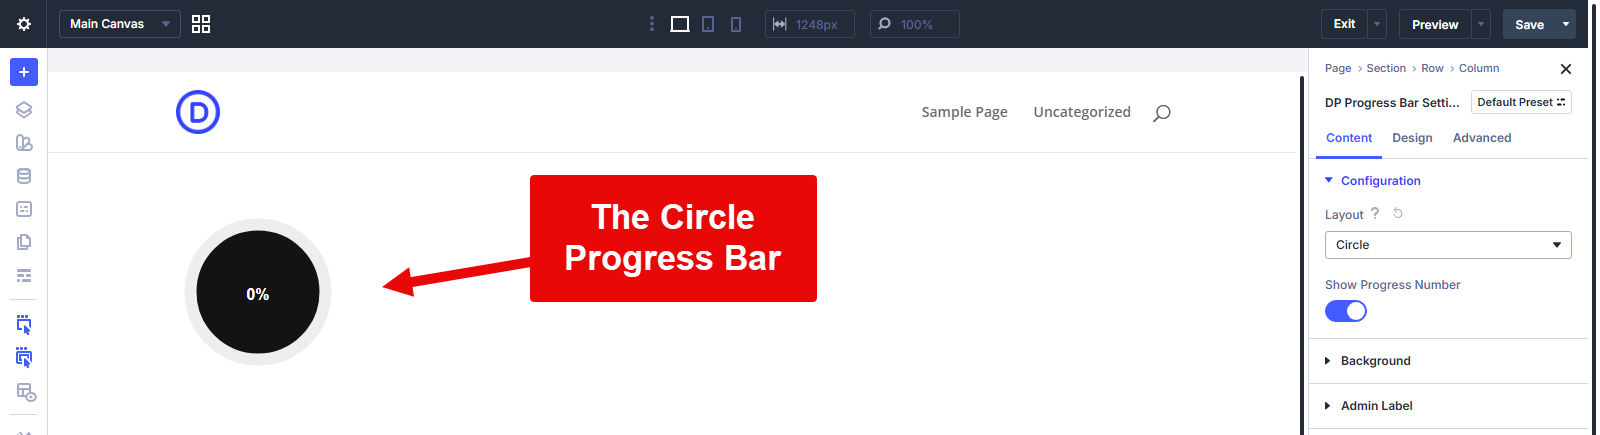
To add a circular progress bar in Divi, you need to change the layout of the Divi Plus Progress Bar module. Once it is added to the page, open the Content → Configuration → go to Layout → select Circle
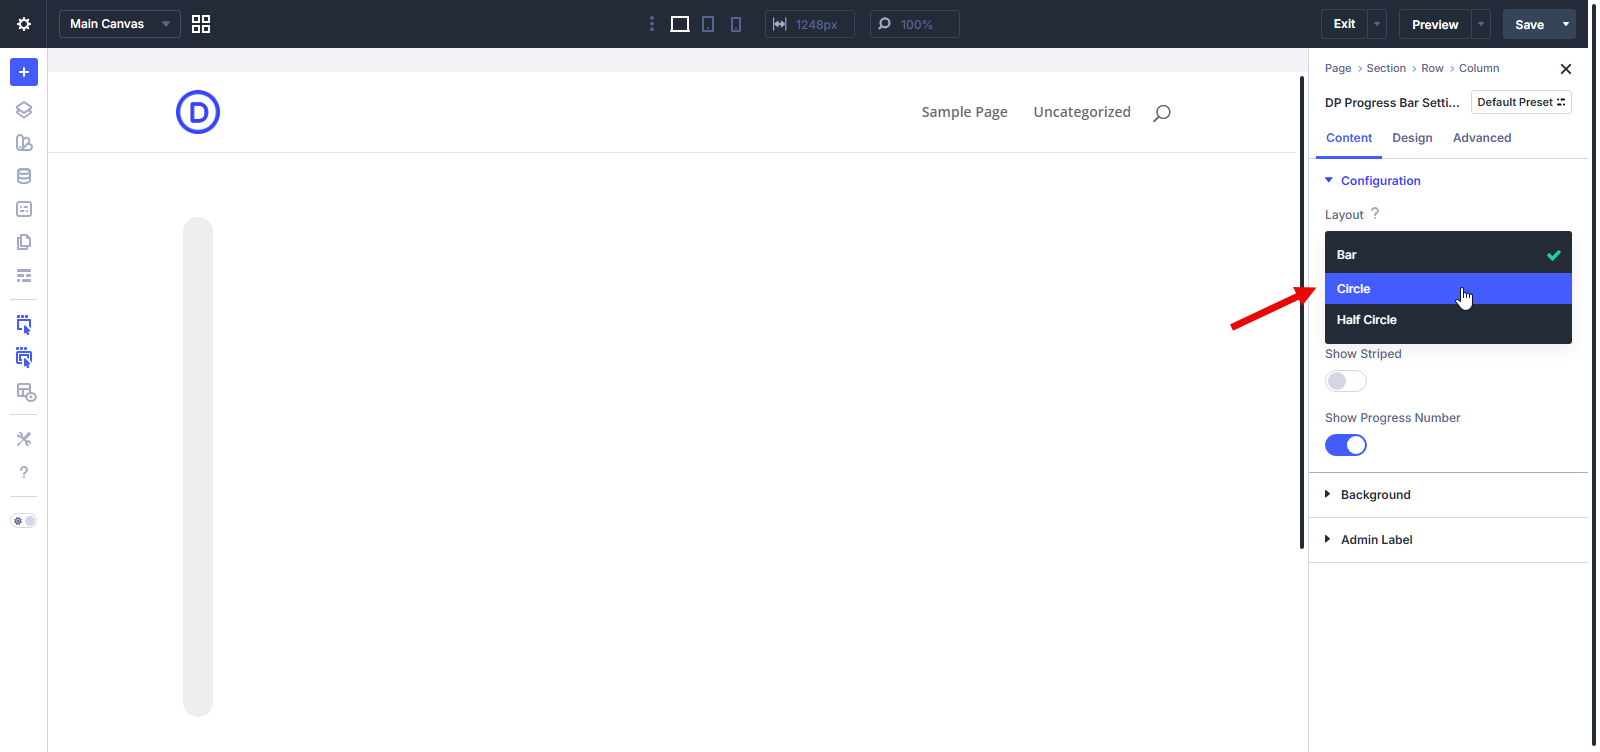
This will transform the linear progress bar into a circular one, like the following:
How to Add a Half Circle Progress Bar in Divi
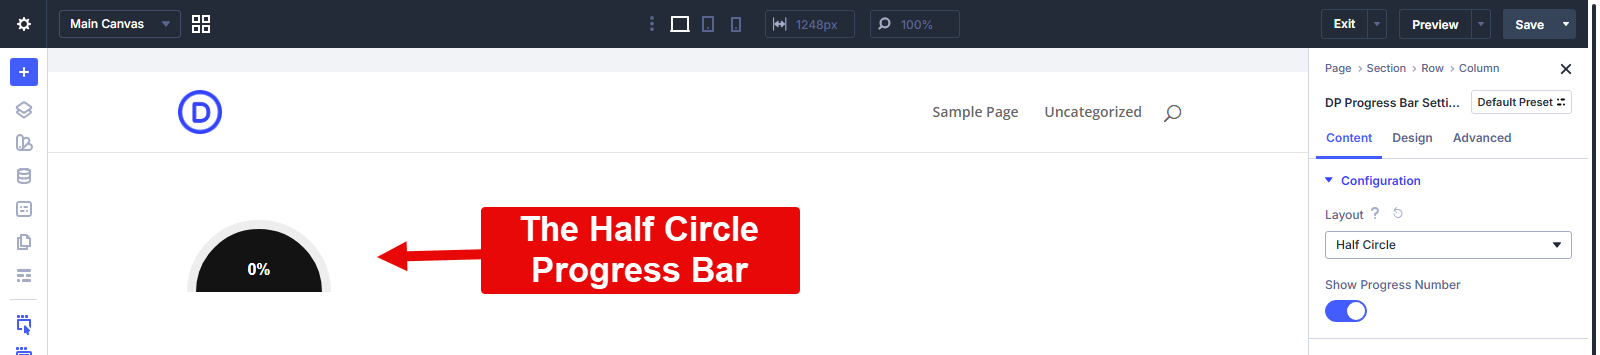
After inserting the DP Progress Bar module on the page, go to the Content tab, open Configuration → Layout → select Half Circle.

And the progress bar in the Half Circle layout will look like the following:
How to Show Animated Stripes in a Progress Bar
The animated stripes inside a progress bar created using the Divi Plus module can only be displayed in a Linear progress bar. And to do that, you need to access the Configuration options.
So, for that, open the Content tab → go to Configurations → look for Show Striped → turn the toggle to enable it.
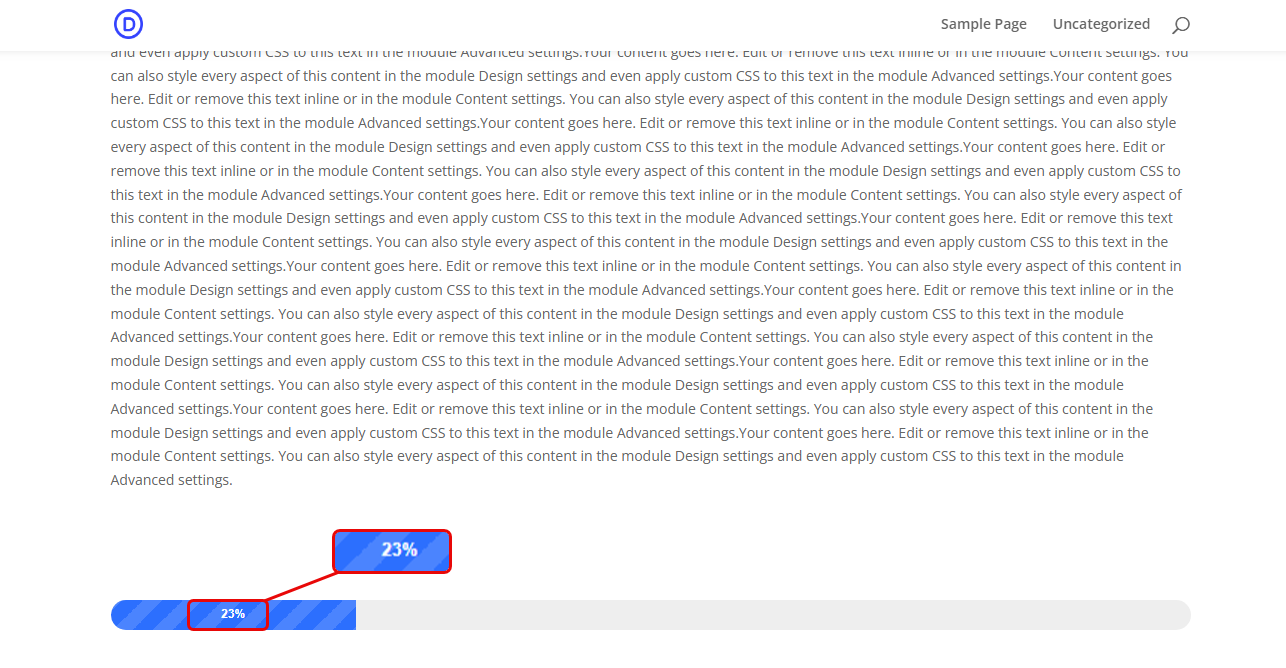
Once you do that, the progress bar will start to display animated stripes, just like the following progress bar.
It is a good feature that makes the progress bar more alive on the page and captures visitors’ attention with elegance. You can say it makes the progress bar more dynamic compared to a static one.
Disable or Enable Progress Bar Numbers
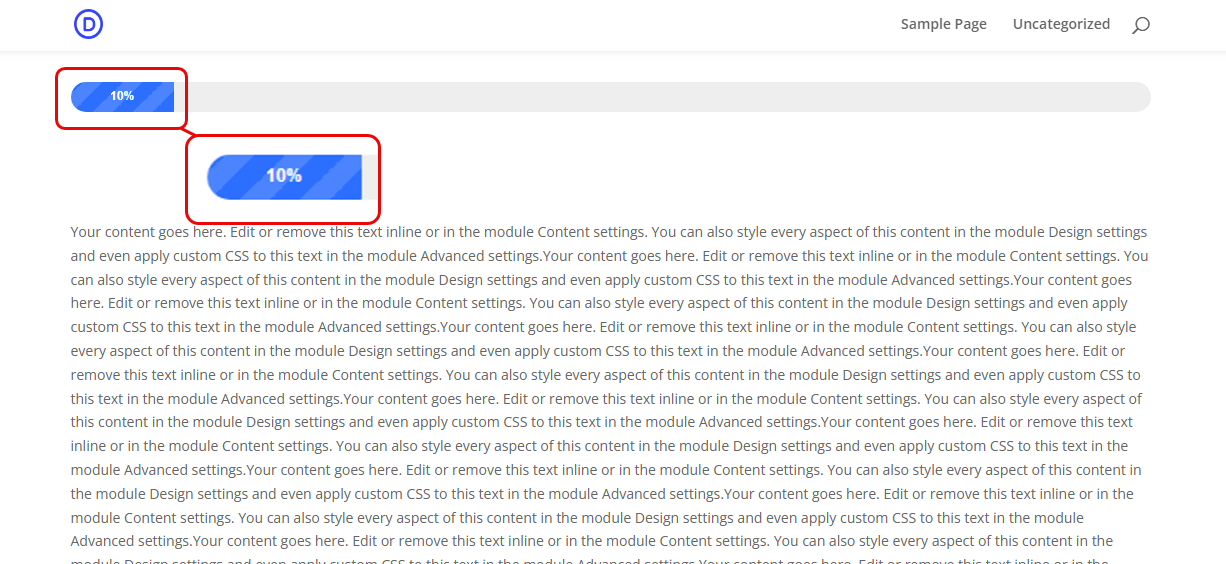
By default, the Divi Plus progress bar showcases progress numbers in percentage, as you can see in the following examples:
If you need to hide it or only want to display the progress bar, then you can do it very easily.
Just open the Configuration settings → go to Show Progress Number and turn the toggle to disable it.
As you do that, the progress bar will no longer show the progress number.

Likewise, if you need to showcase the progress number again, simply turn the Show Progress Number toggle on, and the progress bar will start to show the progress.
Step 4: Make the Progress Bar Sticky
The progress bar will work based on the user’s activity and how much they have scrolled the page. So, when you add it at the bottom or top of the website, it showcases the progress according to that.
However, there’s no sense in adding a progress bar at the bottom because users will only be able to view it once they reach the end.
Thus, not a good approach.
Most likely, you’ll add it at the start of the page or in the header. If you add it in the header, then there’s nothing more needed to do. However, if you choose to add it at the start of the page in the first section of the website. Or, you place it in the middle of the content; then, in that case, you need to make it sticky.
So, once the user passes its location, it gets stuck on the page header, bottom area, or wherever necessary.
Therefore, once you have added your Divi Plus Progress bar module, go to Advanced options → scroll to the Scroll Effects → Sticky Position → and choose available options.
- Stick to Top
- Stick to Bottom
- Stick Top and Bottom
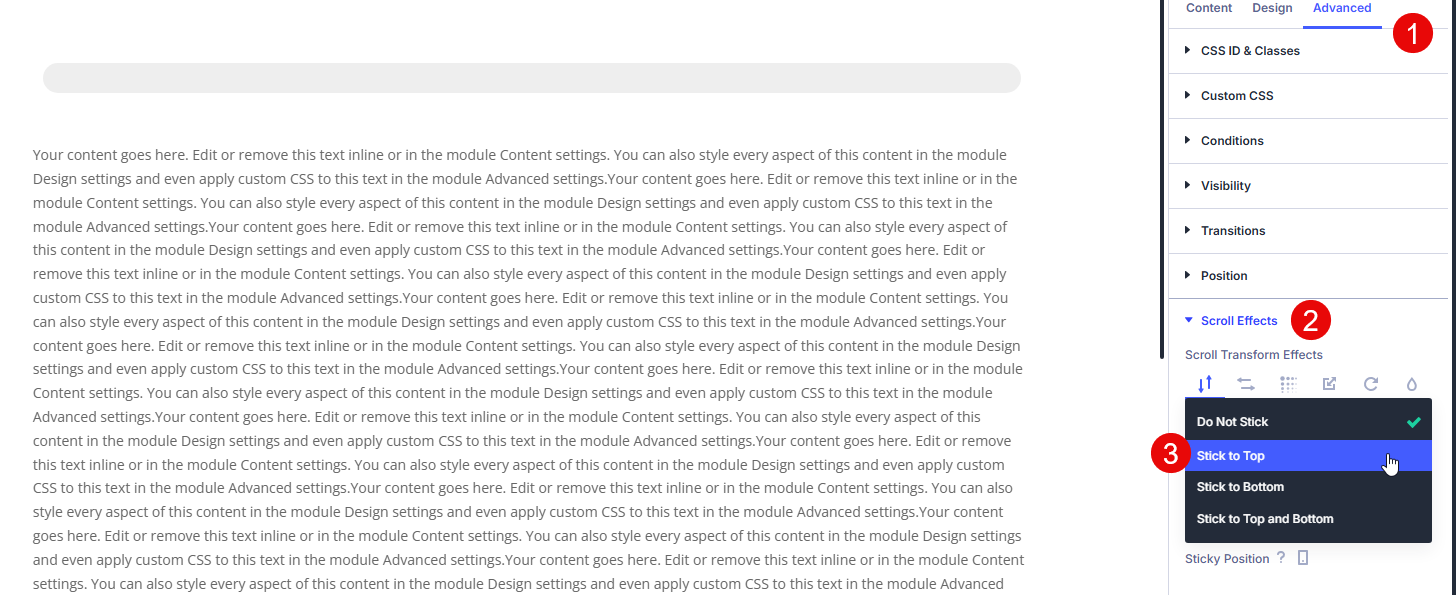
For this tutorial, I have selected Stick to Top, and this is how the progress bar behaves once I scroll past it.
As you can see, the progress bar was on the page, and once I scrolled past, it stuck to the top area and showcased the progress as I scrolled. If you are using it in the header, there’s no need to make it sticky.
The following section will help you add it to a header:
How to Add a Progress Bar to a Page Header in Divi
So, in order to make the progress bar take place in your header, not the content, you need to access the Header template. Go to Divi → Theme Builder → Add Custom Header.
Then select to Build Custom Header. This will open the Divi Visual Builder.
Here, you need to simply insert the DP Progress Bar module under the menu options you have. Then, follow the next steps to customize your Divi Progress Bar and publish it.
Step 5: Customize, Preview, and Publish Divi Progress Bars
The Design tab of the Divi Plus Progress Bar module provides you with the following options:
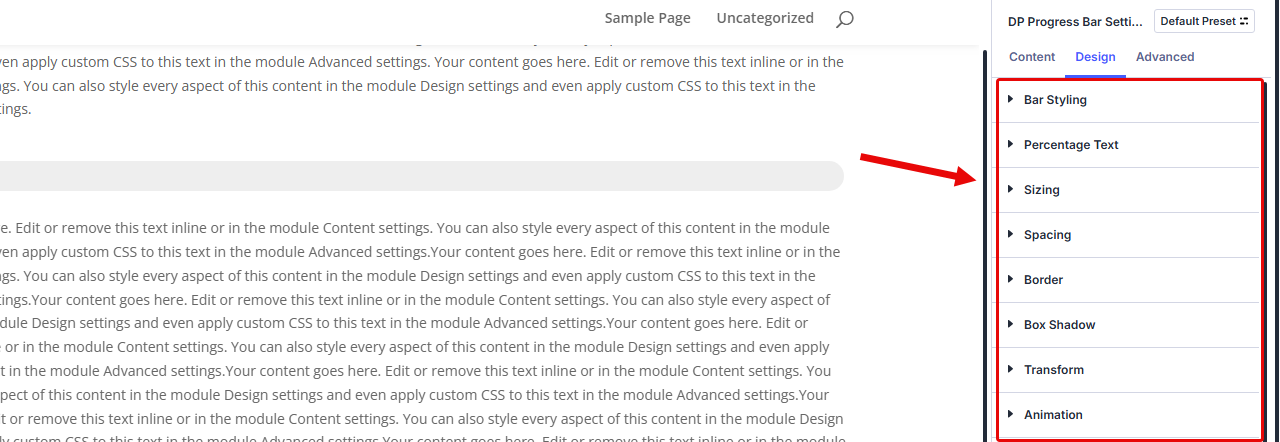
Let’s explore them one by one:
Bar Styling
In this particular setting, you can customize how the progress should look.
You can change its size, color for empty and filled bar, define its rounded corners, border width, style, and color.
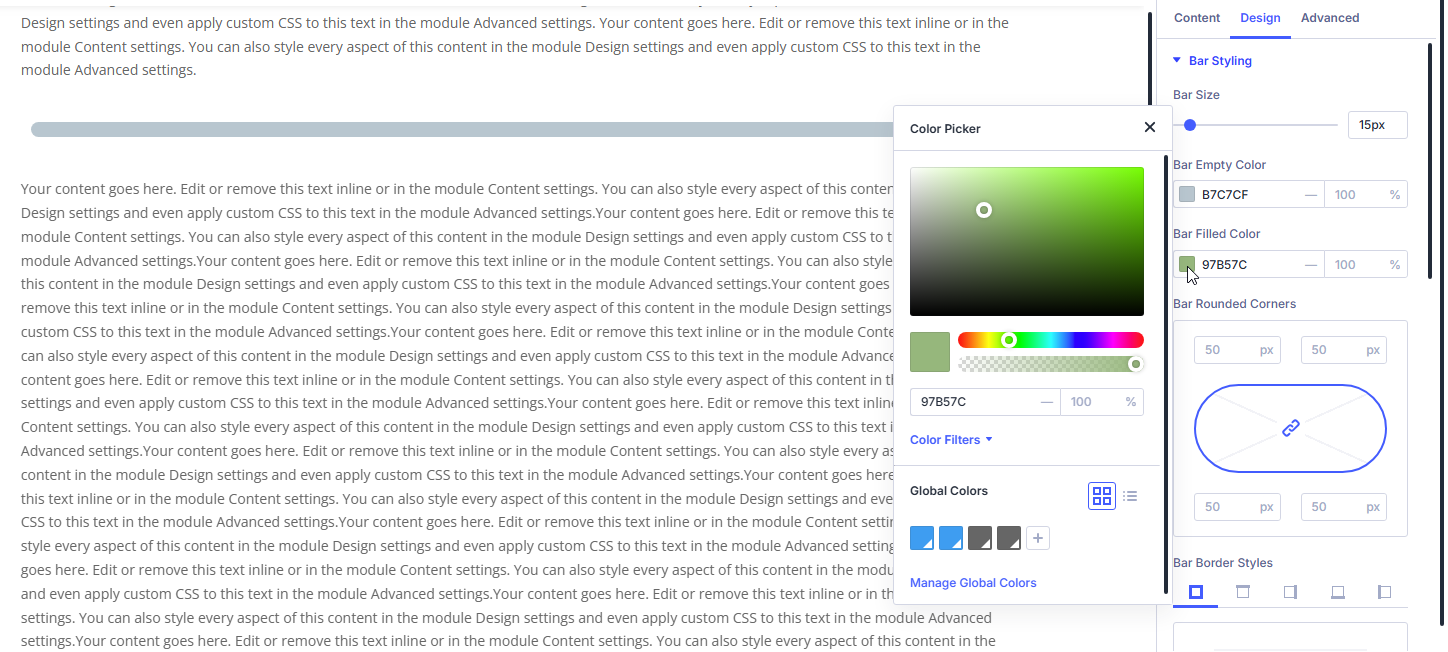
Pick any color you need to, use any border styles you have to, and make the progress bar as much in sync with your platform’s design scheme.
Percentage Text
This area of the Design tab of Divi Plus Progress Bar lets you customize the Progress Number area. You can choose the text alignment, font family, font weight, and other text customizations.
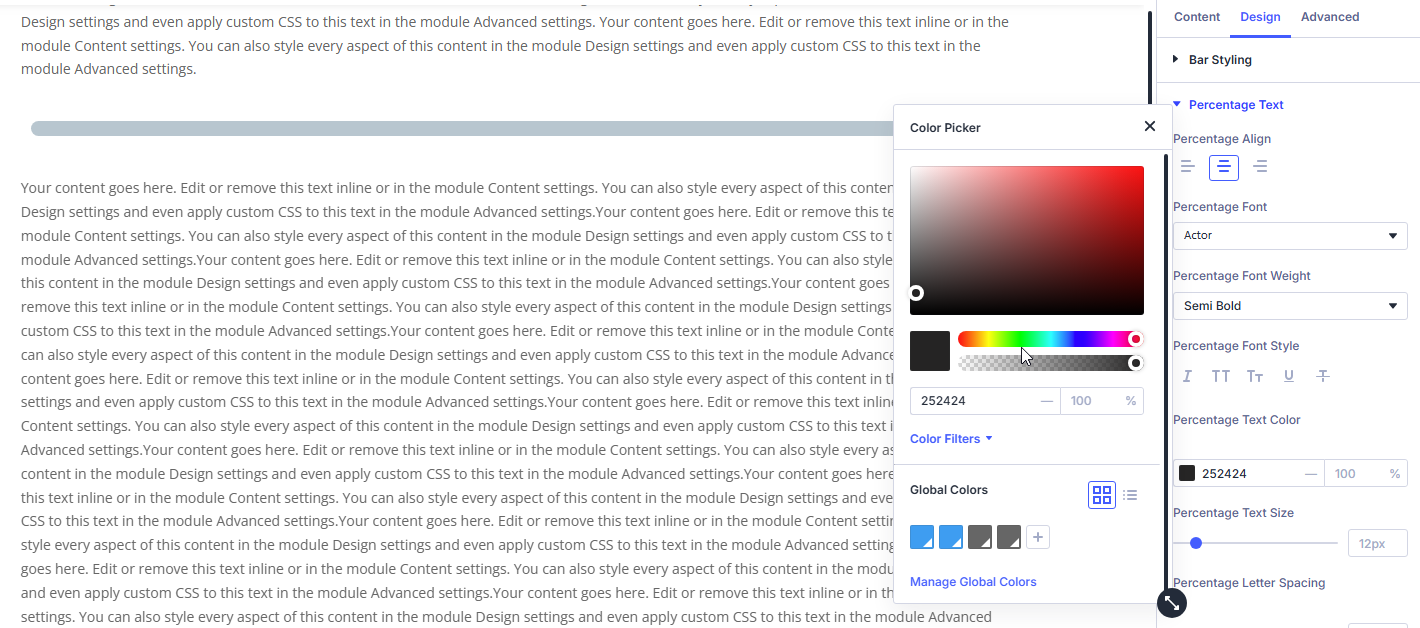
If you need to apply a different color or text shadow, you can do that as well. Apart from these options, you can utilize the default options of Divi to optimize the look of your progress bars, and once you are done, you can have engaging progress bars that make it easy to determine the length of a page your customers, visitors, or users are on.
After making final changes and being sure of the layout options, simply click the Save button.
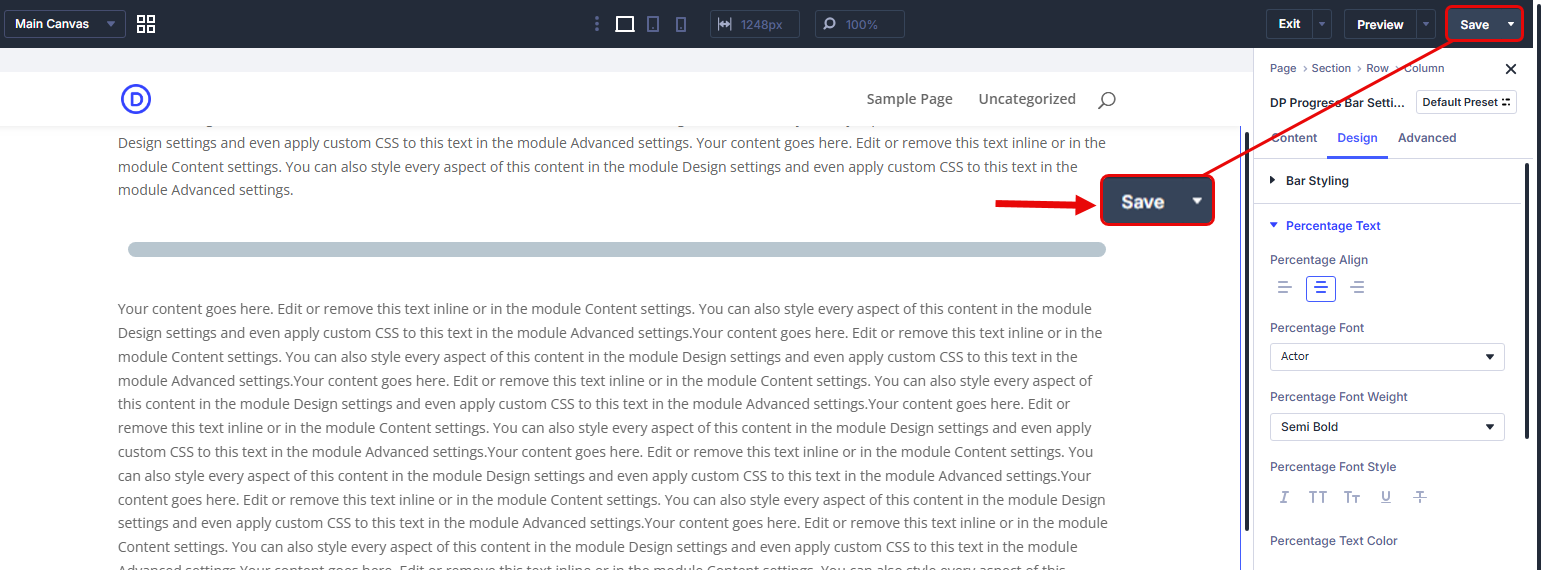
Then, exit the visual builder and click again on the Save Changes button to finalize everything.
That’s it, we have successfully built our progress bar in Divi.
Final Thoughts
The above steps help you easily add a progress bar to your Divi website. Whether you are using Divi 4 or Divi 5, the Divi Plus Progress Bar module is fully compatible with both. Based on the requirements of the project, you can change the layout and apply other styles to your progress bar.
The module is highly intuitive; you don’t have to have any technical knowledge to use it.
However, one thing you should keep in mind is that it doesn’t interfere with the user’s view. Yes, it does improve the exploration, but you should keep minimalism in mind.
If you can do that, you’ll win your visitor’s heart in just a few seconds.


0 Comments