Search Divi Events Extended Documentation
Search for answers or browse our knowledge base.
Event Submission Form module
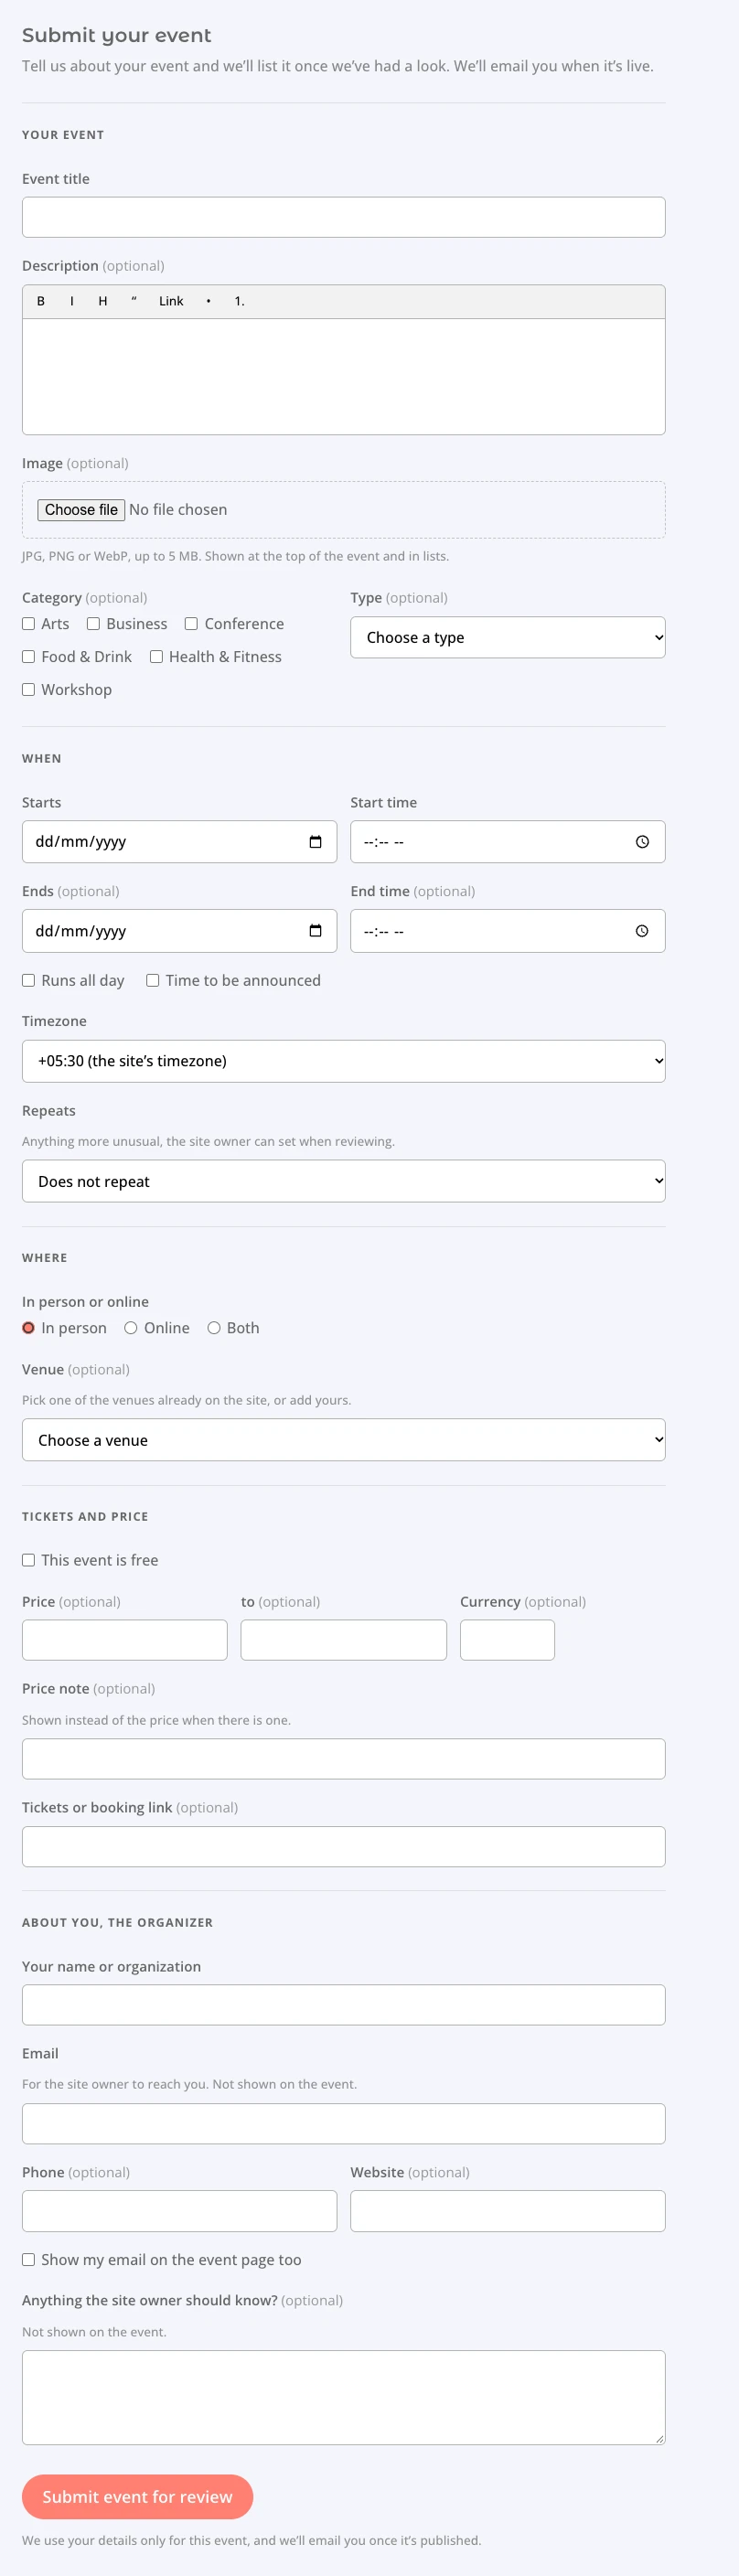
This page shows you how to add the Event Submission Form module to your page and explains every setting. This module lets visitors send you their own events from the frontend. Each submitted event is saved as Pending and waits for your review, so nothing goes live until you publish it.
Note: The form shows nothing until you choose who can submit events in Divi Extended > Divi Events Extended > Submissions. See Event submissions to turn it on and review submitted events.
How to add the Event Submission Form module
- Open your page in the Divi Visual Builder.
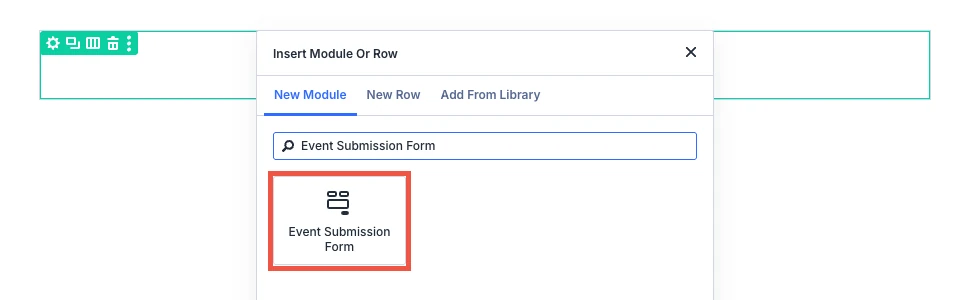
- Click the (+) icon inside a row to add a new module.
- Search for Event Submission Form in the module search box.
- Click the module to insert it. Its settings open on the right.
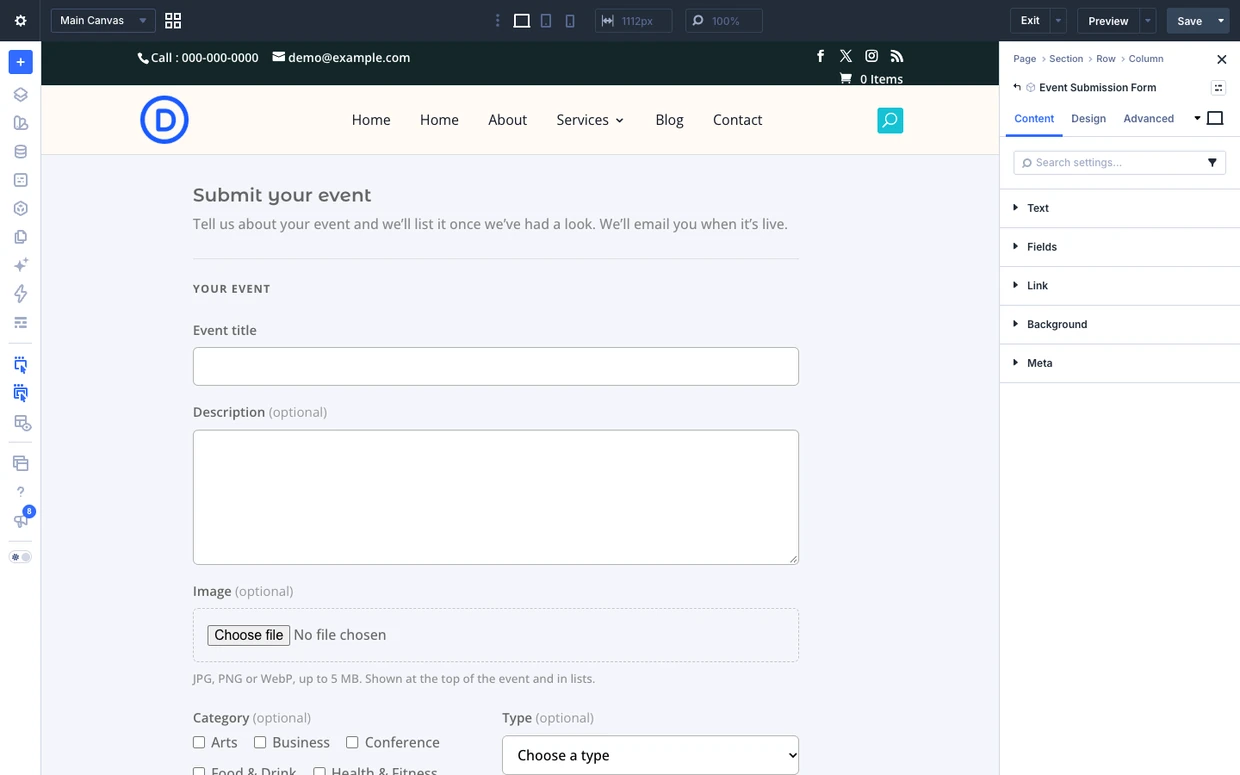
Content tab
The Content tab sets the wording at the top and bottom of the form and which optional parts of the form are shown.
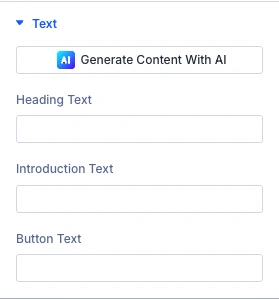
Content tab: Text
- Heading text: Your own wording for the heading. Left empty it reads “Submit your event”.
- Introduction text: The sentence under the heading. Left empty it reads “Tell us about your event and we’ll list it once we’ve had a look. We’ll email you when it’s live.”
- Button text: Your own wording for the button. Left empty it reads “Submit event for review”.
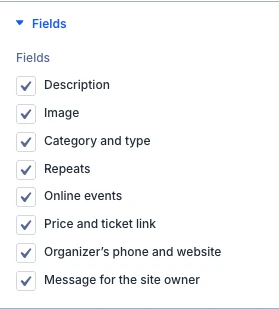
Content tab: Fields
The event title, the date and time, the place and the organizer’s name and email are always part of the form. Tick the optional parts you want to add.
- Fields: Which optional parts of the form to show. The title, when, where and the organizer’s name and email are always there, so no form can send an event nobody could publish. Anything unticked here is left off this form only. Options: Description, Image, Category and type, Repeats, Online events, Price and ticket link, Organizer’s phone and website and Message for the site owner.
The Link, Background and Meta groups are the standard Divi options.
Design tab
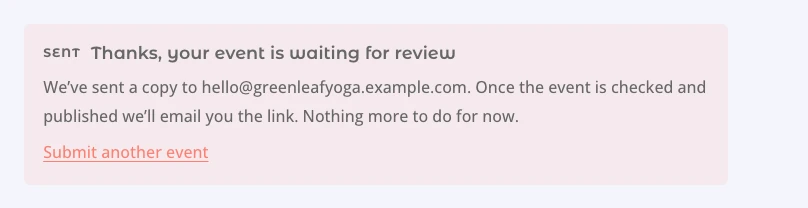
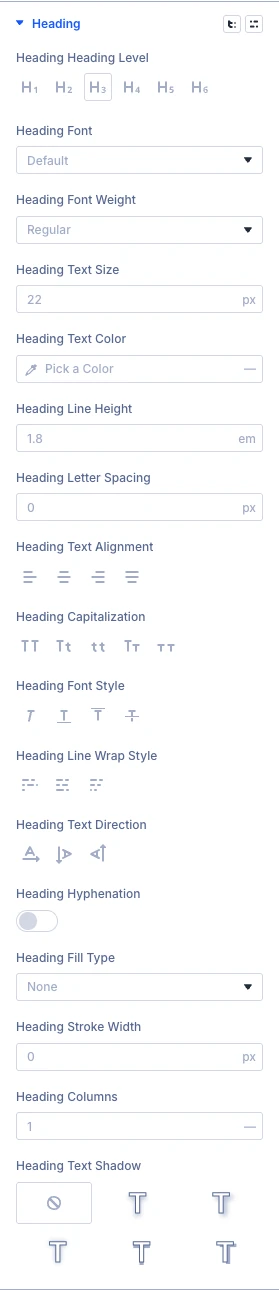
The Design tab styles each part of the form: the heading, introduction, section headings, labels, fields, button, the error and notice messages, and the message shown after sending. The other groups (text, sizing, spacing, border, box shadow, filters, transform, animation) are the standard Divi design options.
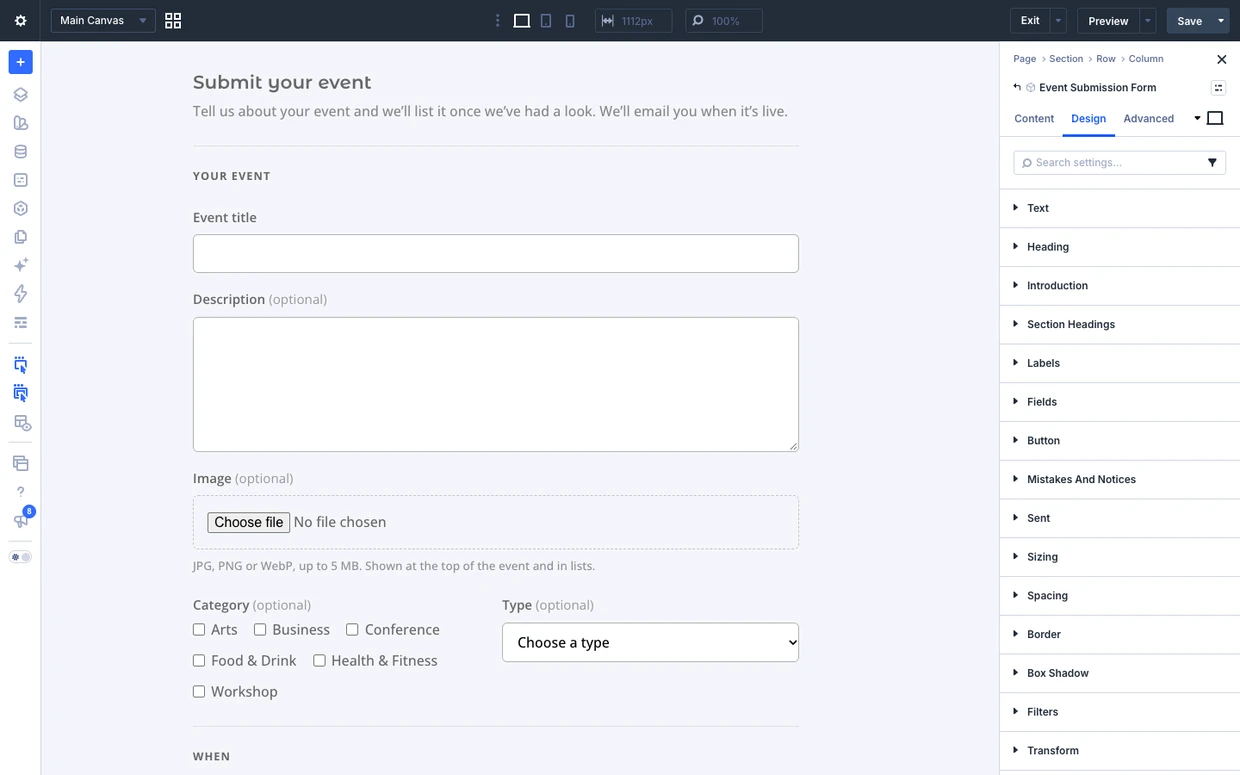
Design tab: Heading
Use the standard Divi font settings to style the form heading.
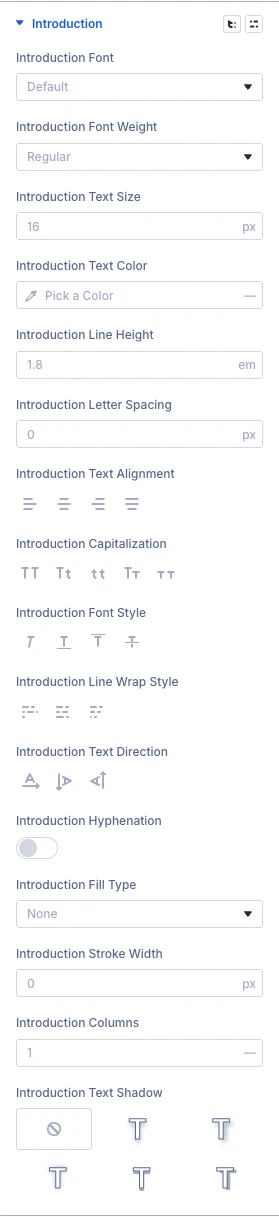
Design tab: Introduction
Use the standard Divi font settings to style the introduction text.
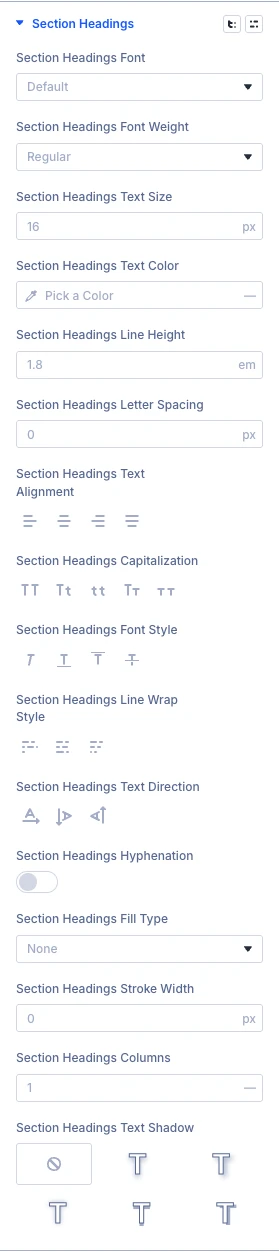
Design tab: Section headings
Use the standard Divi font settings to style the section headings (Your event, When, Where).
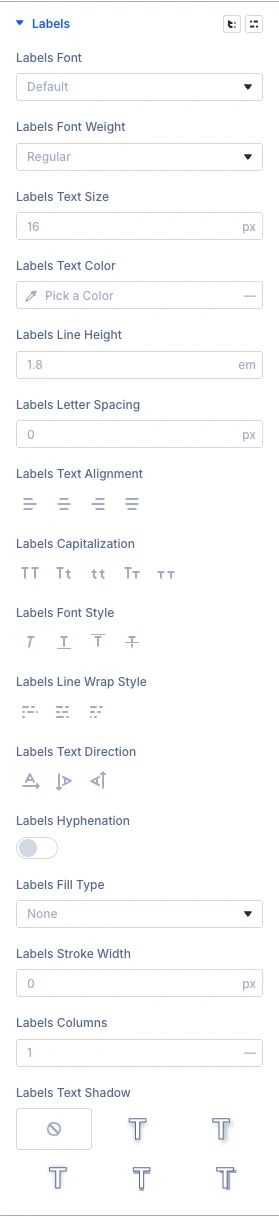
Design tab: Labels
Use the standard Divi font settings to style the field labels.
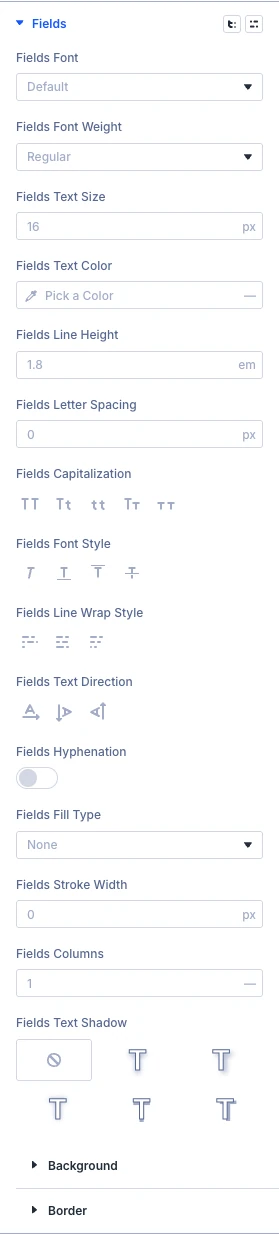
Design tab: Fields
The event title, the date and time, the place and the organizer’s name and email are always part of the form. Tick the optional parts you want to add.
Use the standard Divi font, background and border settings to style the form fields.
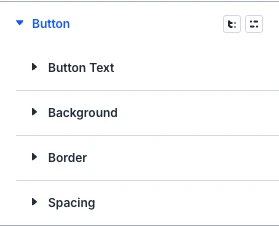
Design tab: Button
Use the standard Divi font, background, border and spacing settings to style the button.
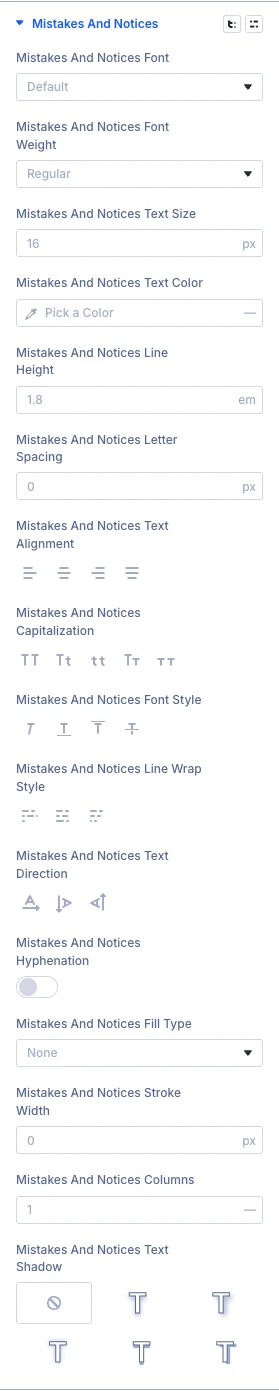
Design tab: Mistakes and notices
Use the standard Divi font settings to style the error and notice messages.
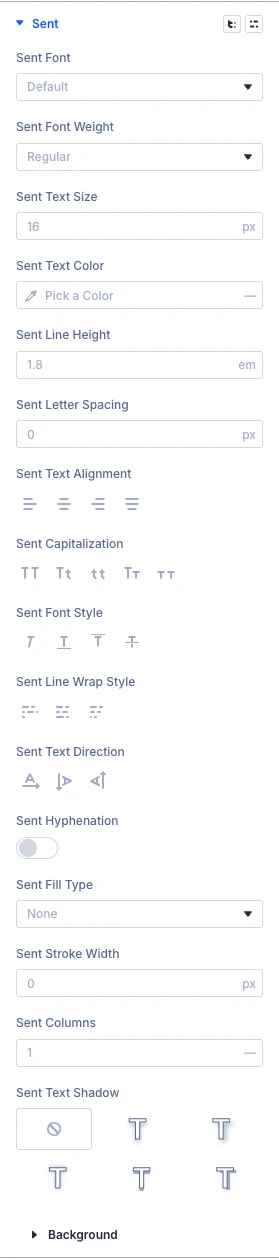
Design tab: Sent
Use the standard Divi font and background settings to style the message shown after sending.
Advanced tab
The Advanced tab has the standard Divi options: CSS ID and classes, custom CSS, attributes, conditions, visibility, transitions, position and scroll effects.