Search Divi Events Extended Documentation
Search for answers or browse our knowledge base.
Event RSVP Form module
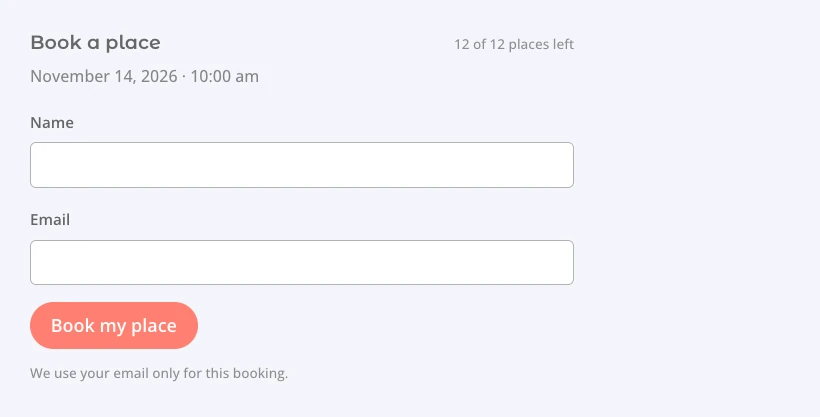
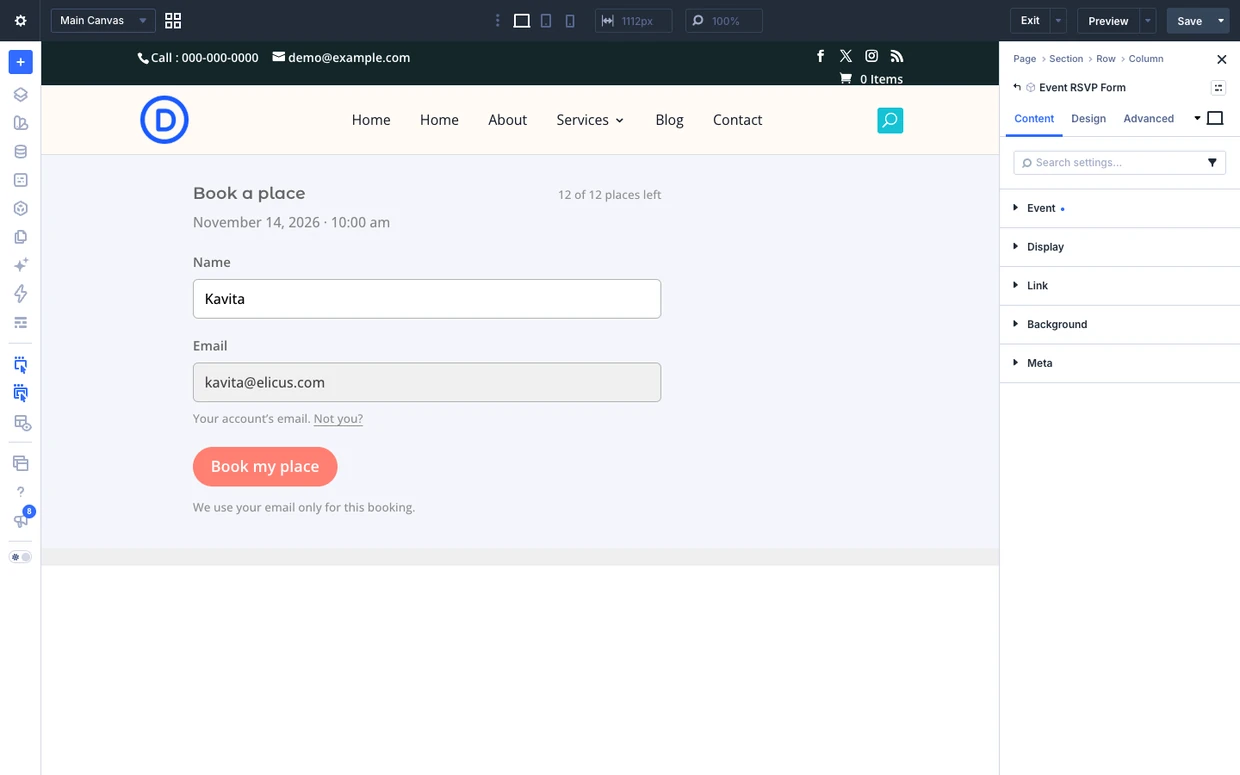
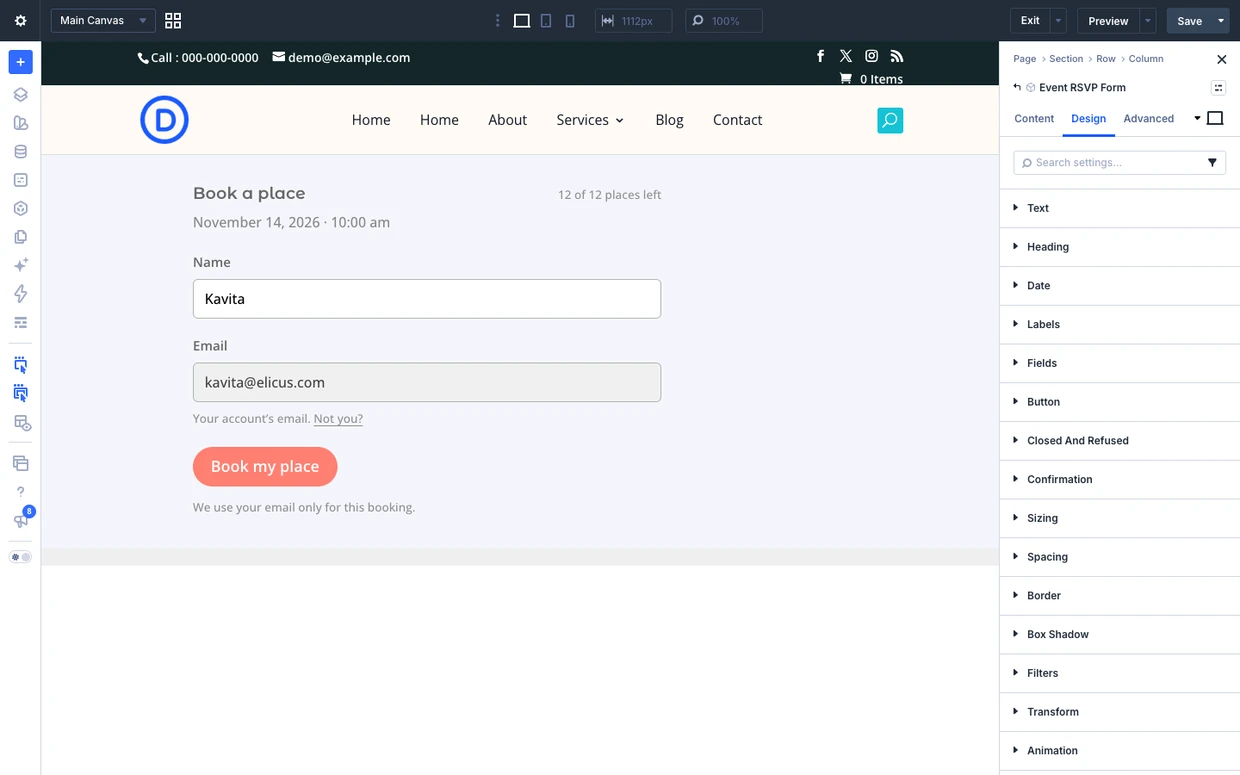
This page shows you how to add the Event RSVP Form module to your page and explains every setting. This module shows a booking form for a free event, so visitors can book a place with their name and email. It shows the places left, switches to a waitlist when the event is full, and confirms the booking right in the form.
Note: The form only shows for an event that takes bookings: a free DE Events event with Take bookings for this event turned on. See Bookings for free events to set this up.
How to add the module
- Open your page in the Divi Visual Builder.
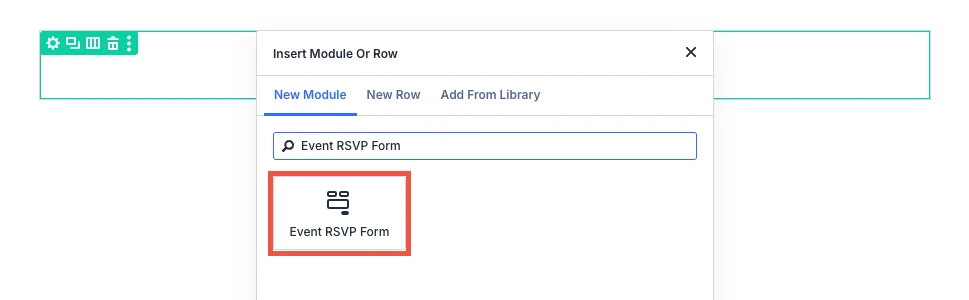
- Click the (+) icon inside a row to add a new module.
- Search for Event RSVP Form in the module search box.
- Click the module to insert it. Its settings open on the right.
Content tab
The Content tab sets which event the form books and what the form shows.
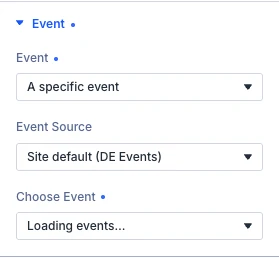
Content tab: Event
Choose the event the form takes bookings for. Use This event in a Divi Theme Builder template for single events, so one layout works for every event.
- Event: Which event this takes bookings for. “This event” follows the event the page is about, so one layout serves every event. Options: This event, Next upcoming event and A specific event.
- Event source: Which event source this module reads from. Only a source that takes bookings shows the form; with any other the module renders nothing.
- Choose event: The event this shows. If it is later deleted or unpublished the module renders nothing rather than switching to another event.
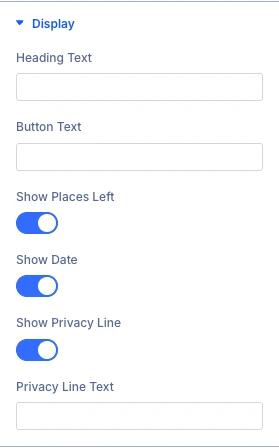
Content tab: Display
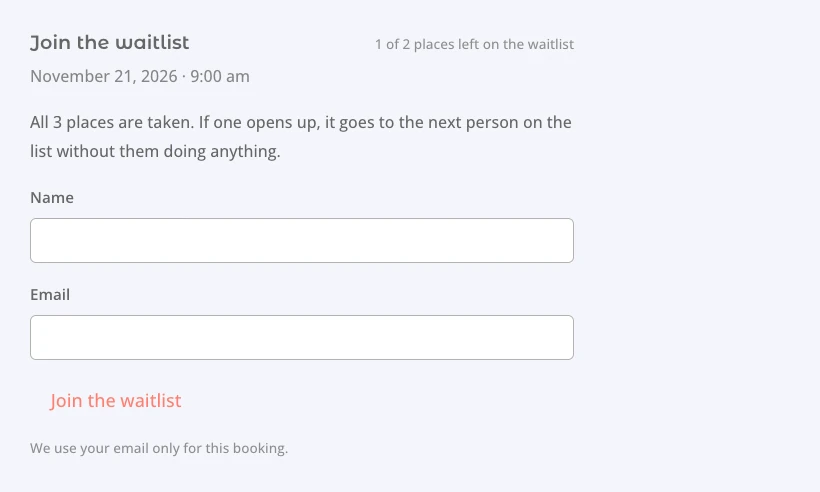
- Heading text: Your own wording for the heading. Left empty it reads “Book a place”. When the event is full and people join a waitlist instead, it reads “Join the waitlist” whatever is typed here, so nobody joins a queue believing they have a place.
- Button text: Your own wording for the button. Left empty it reads “Book my place”. A waitlist keeps “Join the waitlist” either way, for the same reason as the heading.
- Show places left: Say how many places are left — “12 of 20 places left”. Absent where the event sets no capacity.
- Show date: Say which date the booking is for. On a repeating event the form books the date the page is about and no other, and this line is how a reader knows which one that is.
- Show privacy line: A line under the button saying what the email address is used for, linking the site’s privacy policy when one is set under Settings → Privacy.
- Privacy line text: Your own wording for the privacy line. Left empty it reads “We use your email only for this booking.”
The Link, Background and Meta groups are the standard Divi options.
Design tab
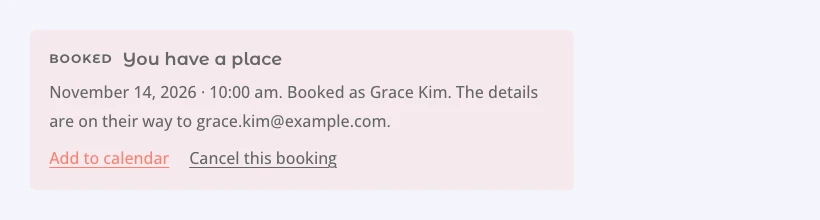
The Design tab styles each part of the form: the heading, date line, labels, fields, button, the messages when bookings are closed or refused, and the confirmation. The other groups (text, sizing, spacing, border, box shadow, filters, transform, animation) are the standard Divi design options.
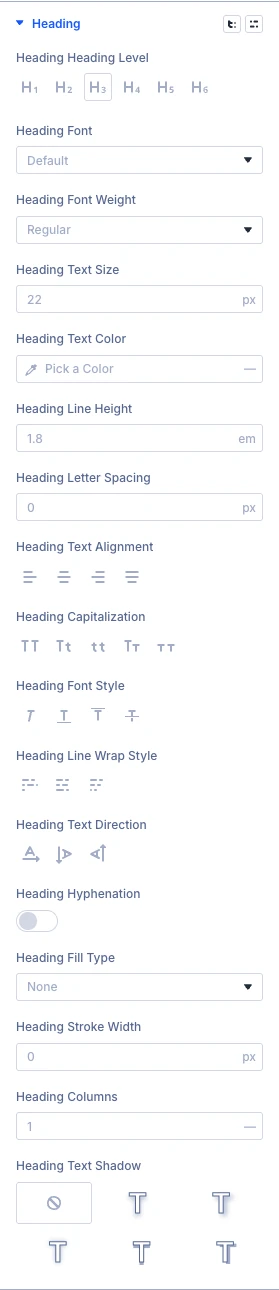
Design tab: Heading
Use the standard Divi font settings to style the form heading.
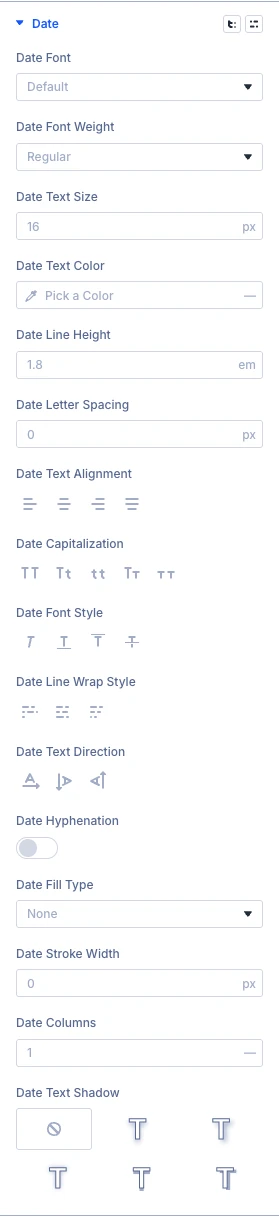
Design tab: Date
Use the standard Divi font settings to style the date line.
Design tab: Labels
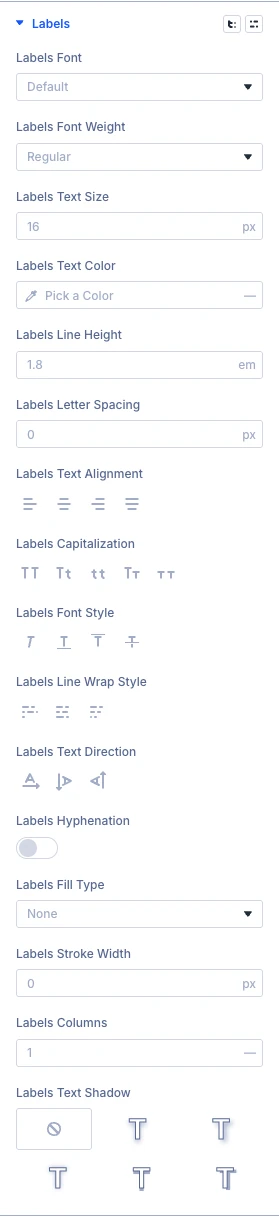
Use the standard Divi font settings to style the field labels.
Design tab: Fields
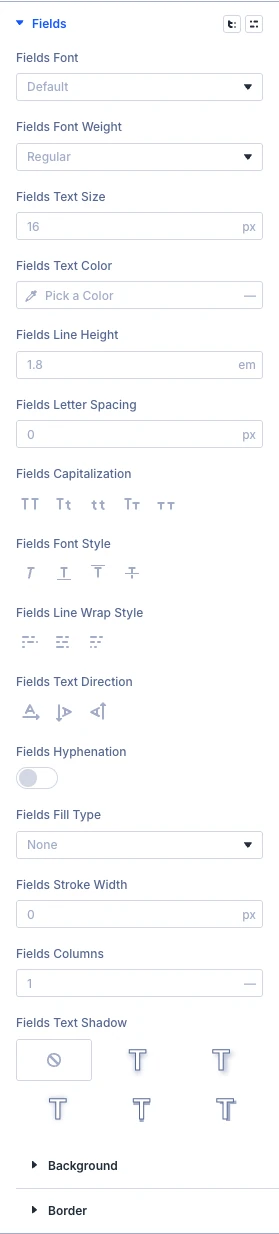
Use the standard Divi font, background and border settings to style the name and email fields.
Design tab: Button
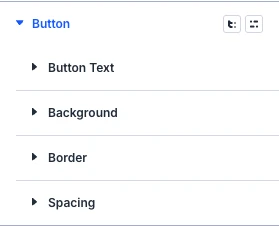
Use the standard Divi font, background, border and spacing settings to style the button.
Design tab: Closed and refused
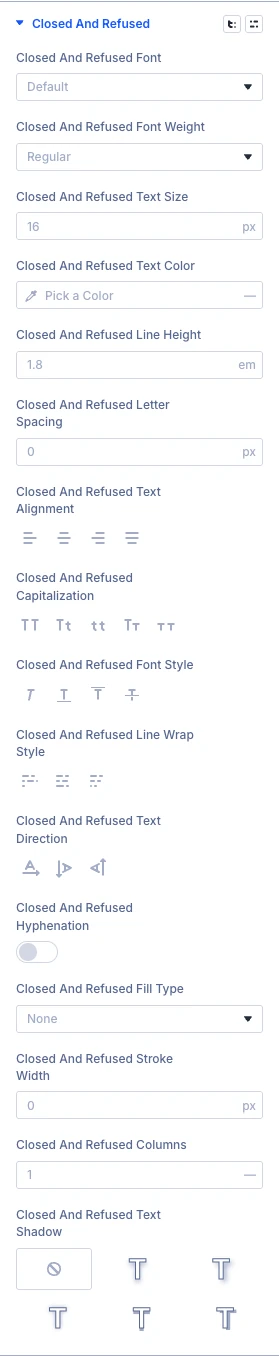
Use the standard Divi font settings to style the message shown when bookings are closed or refused.
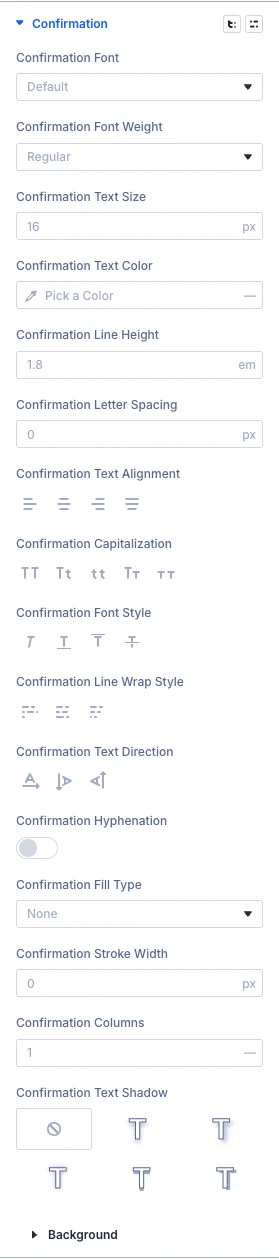
Design tab: Confirmation
Use the standard Divi font and background settings to style the confirmation box.
Advanced tab
The Advanced tab has the standard Divi options: CSS ID and classes, custom CSS, attributes, conditions, visibility, transitions, position and scroll effects.