Search Divi WooCommerce Extended Documentation
Search for answers or browse our knowledge base.
Installation
Recommended Requirements
- Divi Builder
- WooCommerce
You can install the Divi WooCommerce Extended plugin using 2 methods.
From the WordPress Dashboard
- First, go to the WordPress Dashboard >> Plugins >> and click Add New.
- Then Upload Plugin >> Choose File and browse the product zip file.
- Once located the file, select it and then click Install Now.
- Once the plugin is installed, on the next window click Activate Plugin.

Manually uploading via FTP
To install the Divi WooCommerce plugin on your website using the FTP client method,
- Extract the product zip file.
- And then connect to your server using an FTP application.
- Now, navigate to the wp-content/plugins/ directory and upload the divi-woocommerce-extended folder you extracted earlier.
- After the upload, go to the WordPress Dashboard >> Plugins >> Installed Plugins
- Then scroll to find the Divi WooCommerce Extended and click Activate to enable it.
💡Once the Divi WooCommerce Extended Plugin activated it adds 8 modules to the Divi Builder.
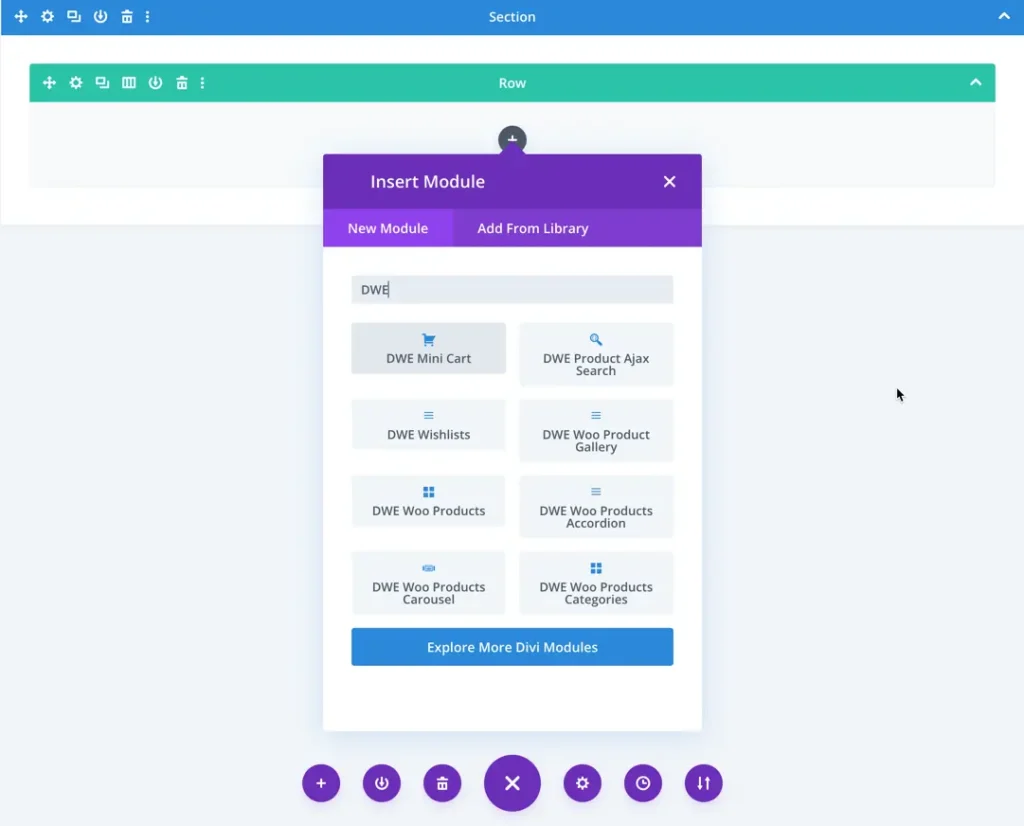
- Mini Cart Module
- Woo Products
- Woo Products Carousel
- Woo Products Categories
- Ajax Search
- Wishlists
- Woo Product Gallery
- Woo Products Accordion
💡As soon you enable the Divi WooCommerce Extended plugin a new menu is added in Settings on your Dashboard named “Divi WooCommerce Extended”.

Here you have the following options:
Divi Library Shortcodes
Mini Cart
Tab Manager
Checkout Manager
Wishlist Manager
Layouts
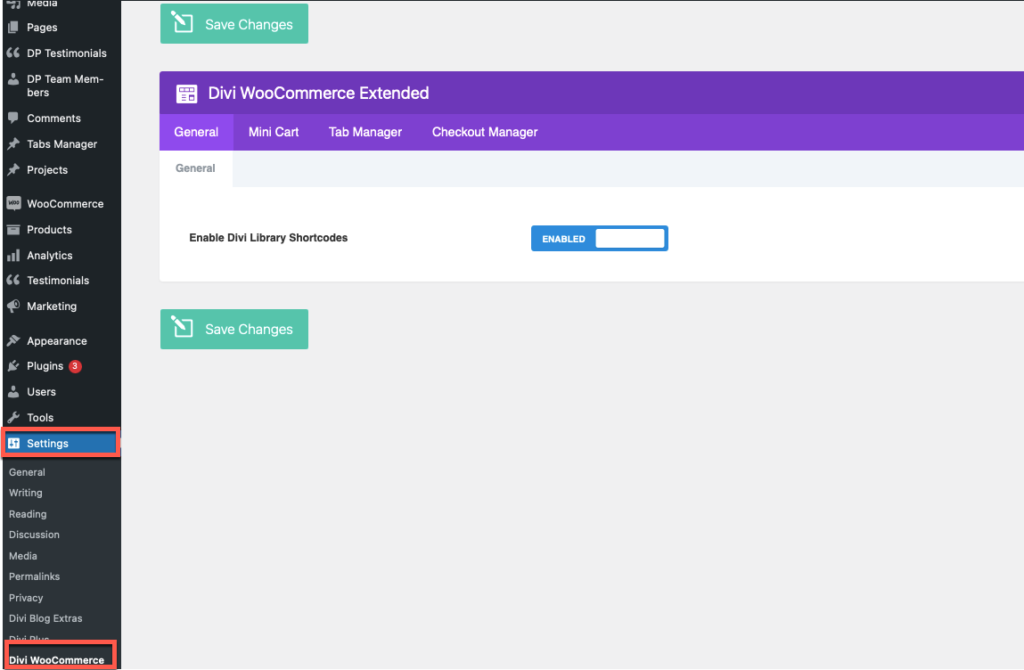
Enable Divi Library Shortcodes
Dashboard >> Settings >> DWE >> General
Here you can enable this toggle to use Divi Library layout using Shortcodes.
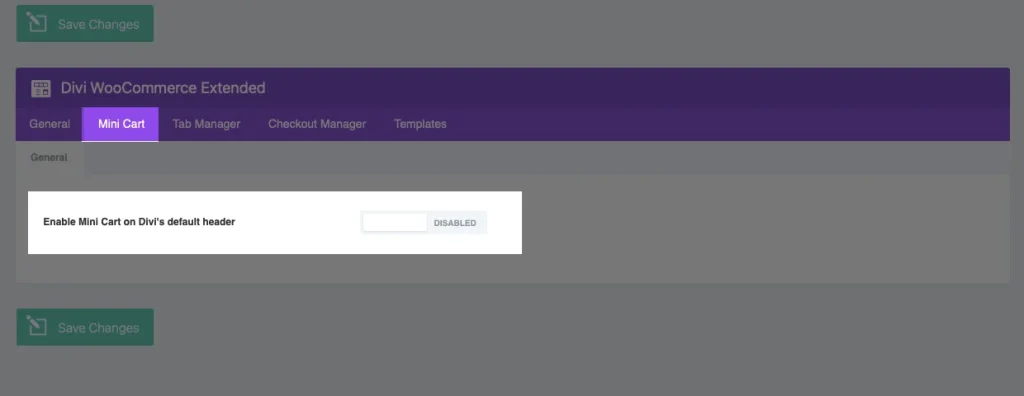
Enable Mini Cart on Divi’s default header
Dashboard >> Settings >> DWE >> Mini Cart
This will enable the mini cart on Divi’s default header cart icon.
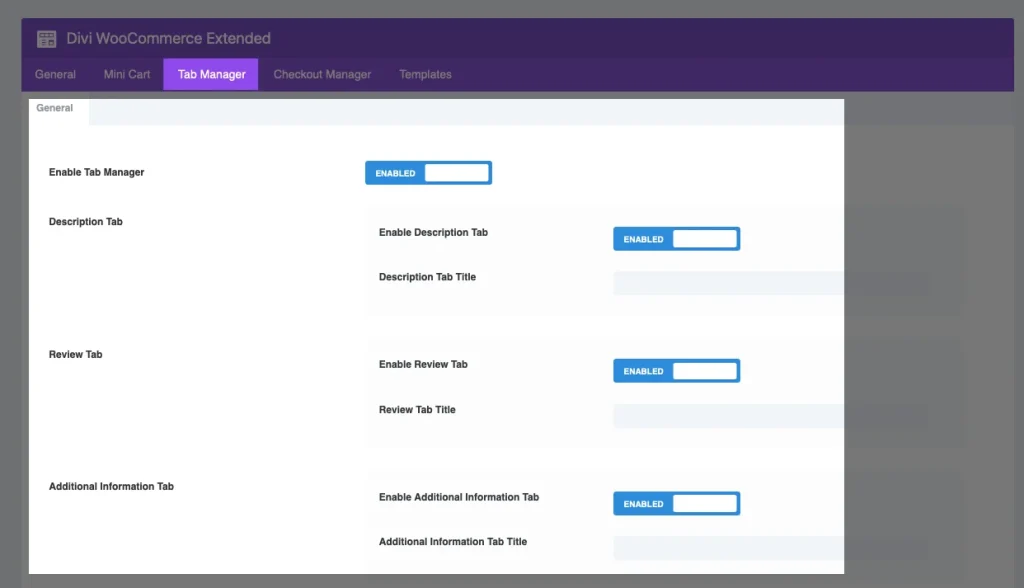
Tab Manager
Dashboard >> Settings >> DWE >> Tab Manager
Here you can enable or disable the Tab Manger and also you can add the additional information tabs here.
Checkout Manager
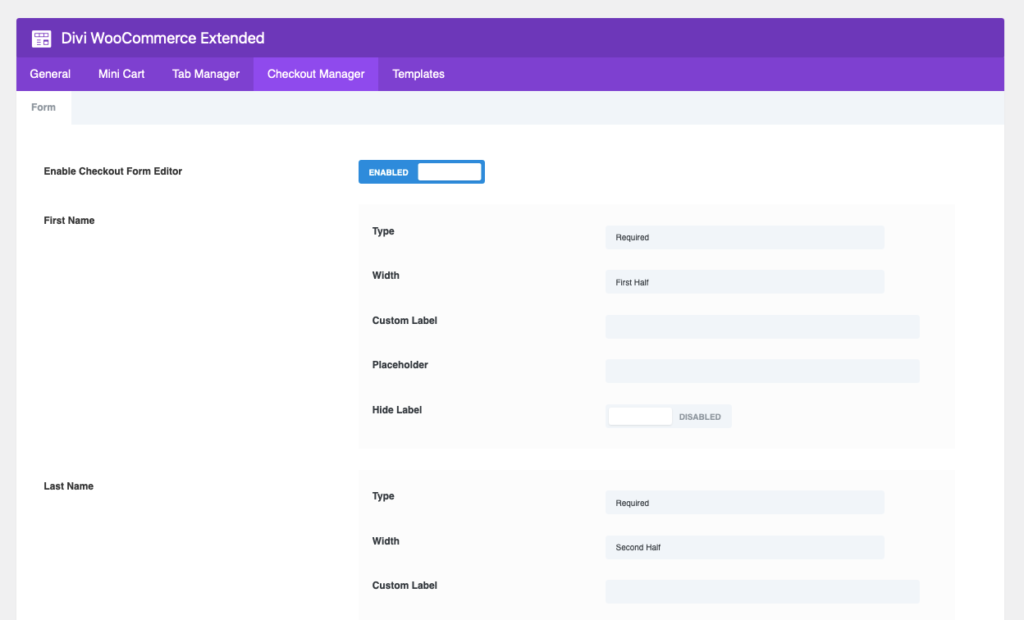
Dashboard >> Settings >> DWE >> Checkout Manager
Here you can enable the checkout form and customize it as per your need as well.
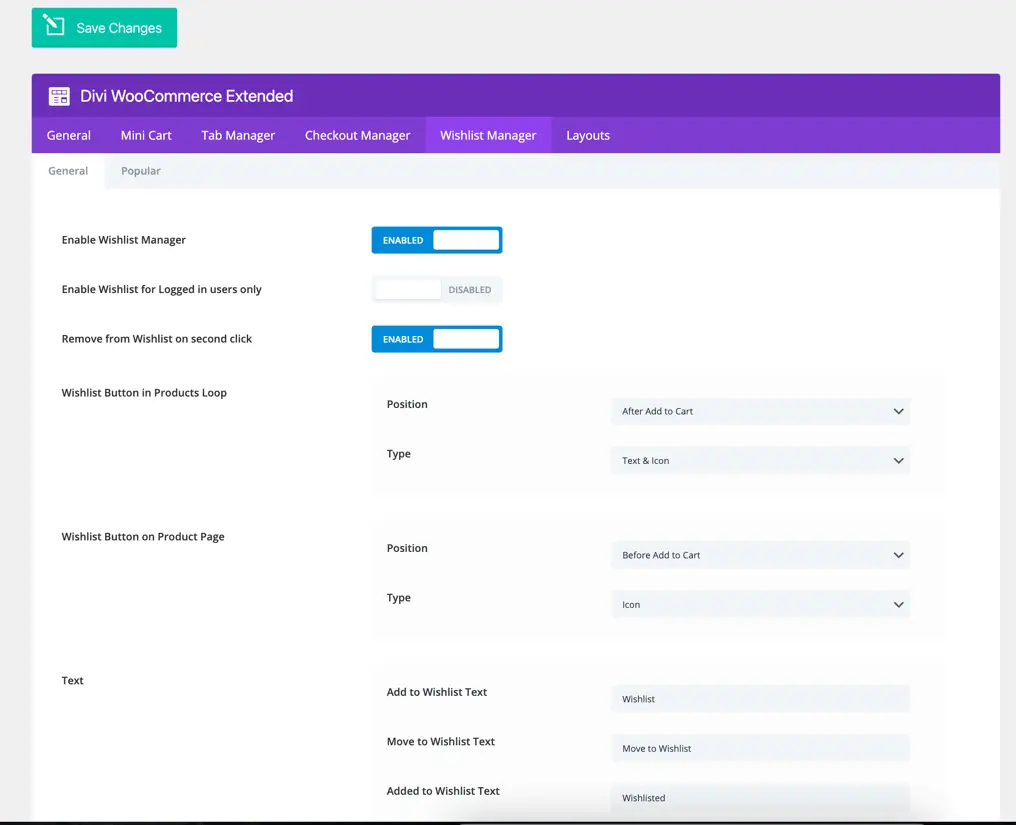
Wishlist Manager
Dashboard >> Settings >> DWE >> Wishlist Manager
Layouts
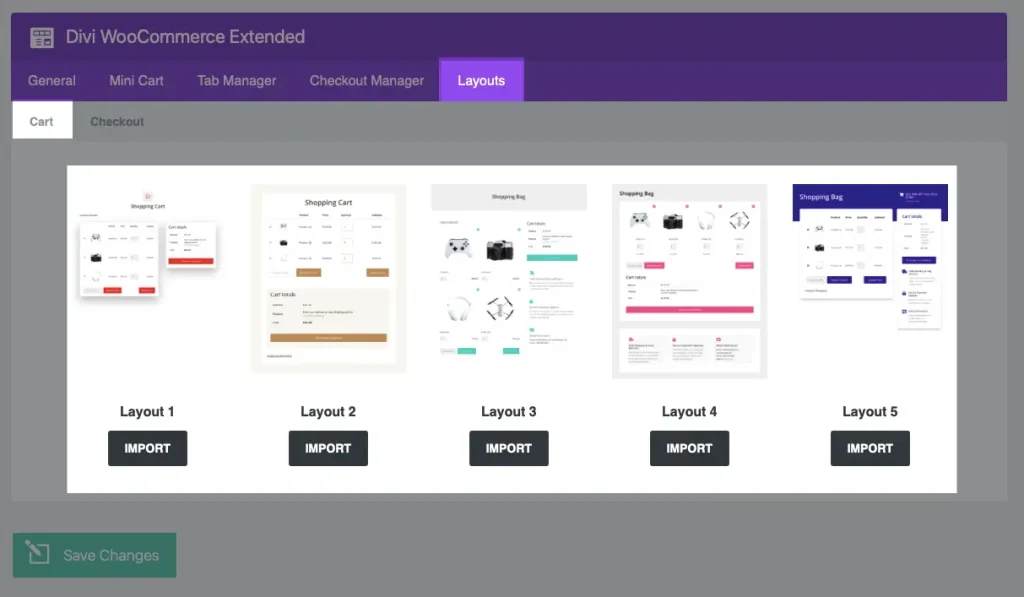
Dashboard >> Settings >> DWE >> Layouts
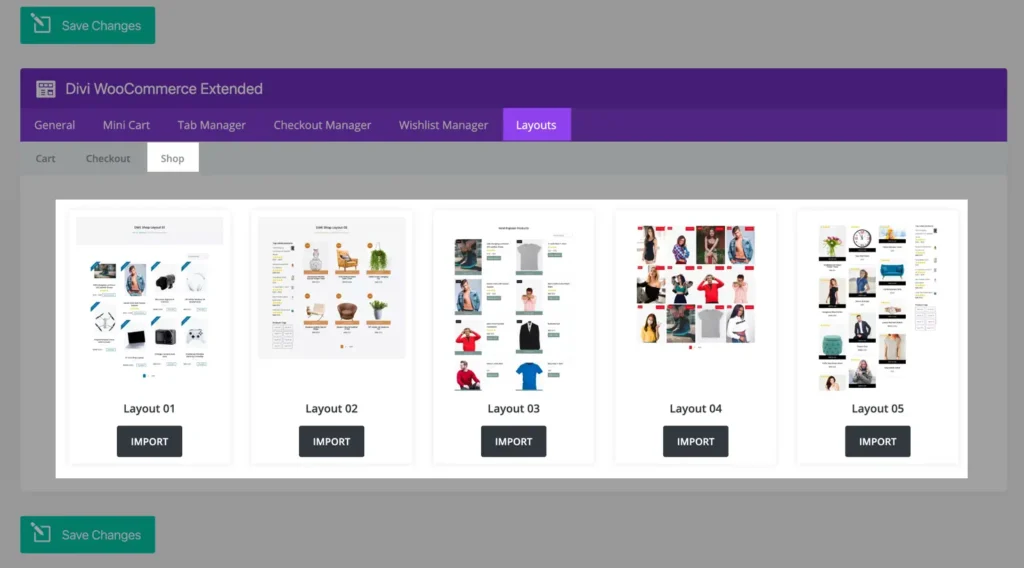
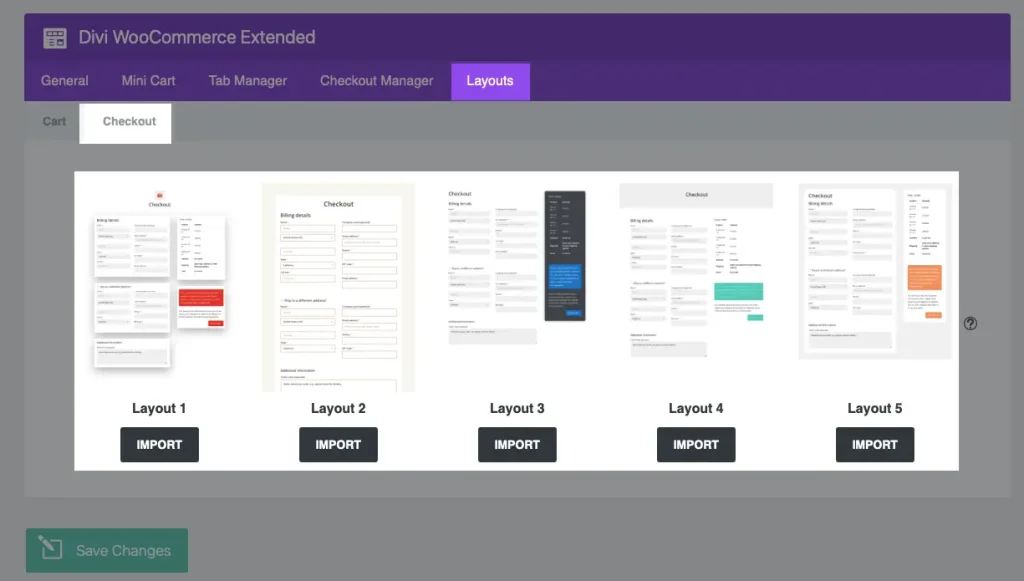
Here you have 5 premade layouts each for cart, checkout and shop.
Cart Layouts
Checkout Layouts
Shop Layouts
