
Search Divi Testimonial Extended Documentation
Search for answers or browse our knowledge base.
Testimonial form
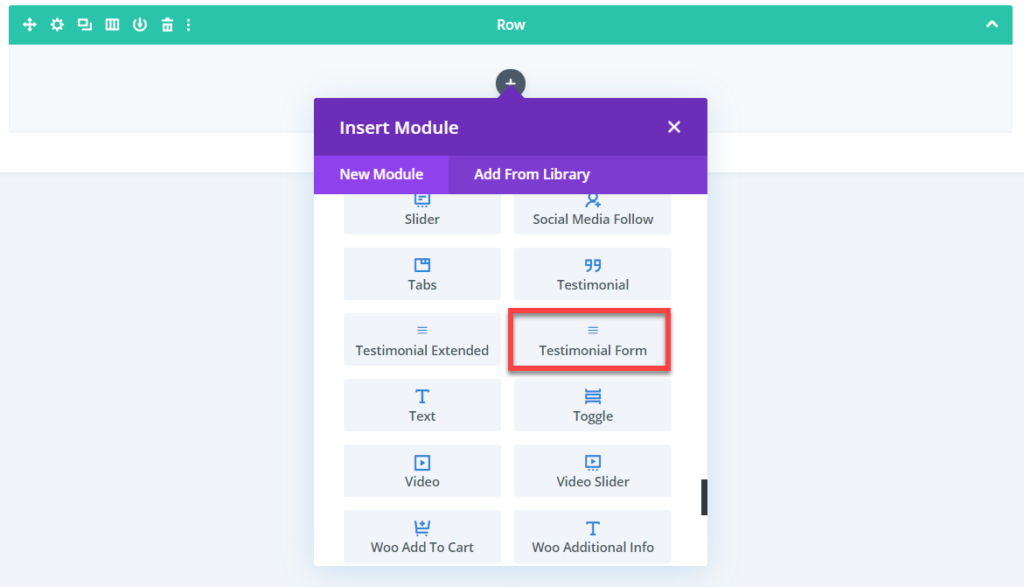
Since version 2.1.0 of Divi Testimonial Extended, there is a new module added to Divi builder. The module is named “Testimonial Form” and can be used to create a form to let users submit testimonials from the front-end.
Here are the steps on how to add the front-end testimonial submission form using Divi Testimonial Extended.
- Add the “Testimonial Form” module to a page.
- Save it if you want to include only the mandatory fields which include name, email, and content of the testimonial.
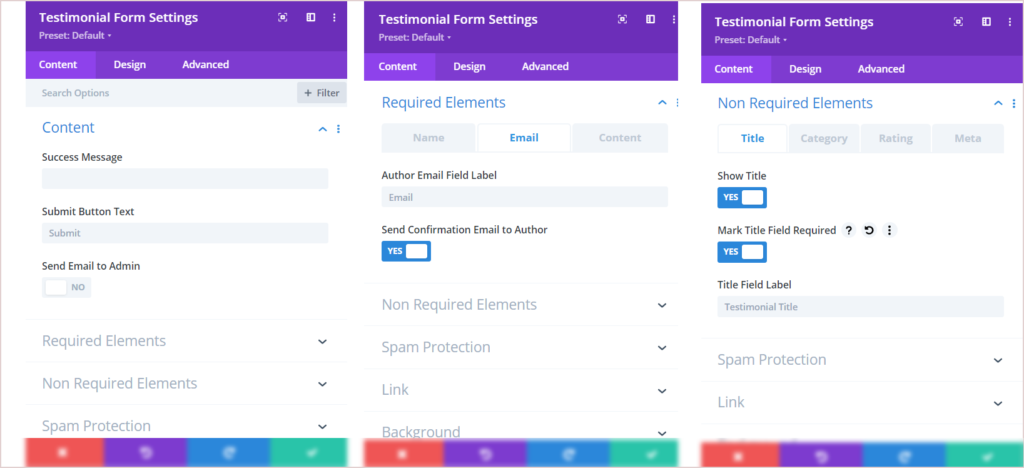
- In order to select more fields and specify the label for them along with making them mandatory/non-mandatory, go to the “Required Fields” and “Non-Required Fields”.
- Enter a custom success message from the content tab.
There are mandatory fields and can’t be removed: Name, Email, and Content.
These are optional available fields: Title, Company, Company URL, Designation, Category, Rating (1-5)
How to change the label of the testimonial forms fields?
Each form field has the option to change the default label for name, email address, etc. This could be useful if users want to specify their own labels for the input fields. Navigate to respective fields available under the Content tab of the “Testimonial Form” module.
Form fields are grouped into “Required Fields” and “Non-Required Fields” and are available on the Content Tab of the “Testimonial Form” module. Navigate to the fields and enter your custom label.
How to enable the feature to notify the testimonial’s author once he submits the testimonial?
There is option available under the Content >> Required Elements >> Email. Enable it so that testimonials authors get an email once they submit a testimonial.
How to enable Captcha?
Captcha can be enabled from the Content Tab >> Spam Protection >> Use Basic Captcha.
How to approve submitted testimonials?
Once a testimonial is submitted, it goes to Draft. In order to make it live, the site admin must approve it (publish) from the Dashboard.