
Search Divi Testimonial Extended Documentation
Search for answers or browse our knowledge base.
Installation
Recommended Requirements
- Divi Builder
Divi Testimonial Extended can be installed in 2 ways.
- From WordPress Dashboard
- Go to WordPress Dashboard >> Plugins >> Add New >> Upload Plugin >> Choose File >> divi-testimonial-extended.zip and click Install Now >> Activate Plugin.
- Manually uploading via FTP
- Extract divi-testimonial-extended.zip .
- Connect to your server using FTP application.
- Navigate to wp-content/plugins/ directory and upload the extracted divi-testimonial-extended directory to it.
- Upload the divi-blog-extras directory in the plugins directory of your server.
- Go to WordPress Dashboard >> All Plugins > >Activate to get started with the plugin.
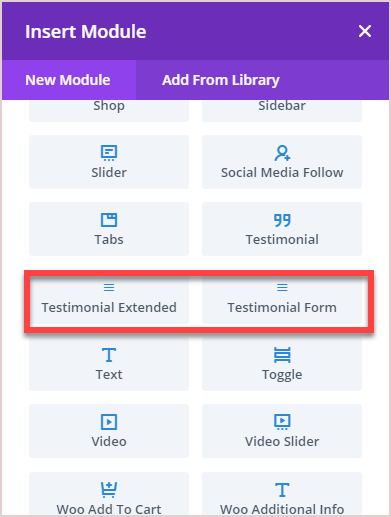
Once you activated the plugin there are two modules added to your divi builder Testimonial Extended and Testimonial Form.
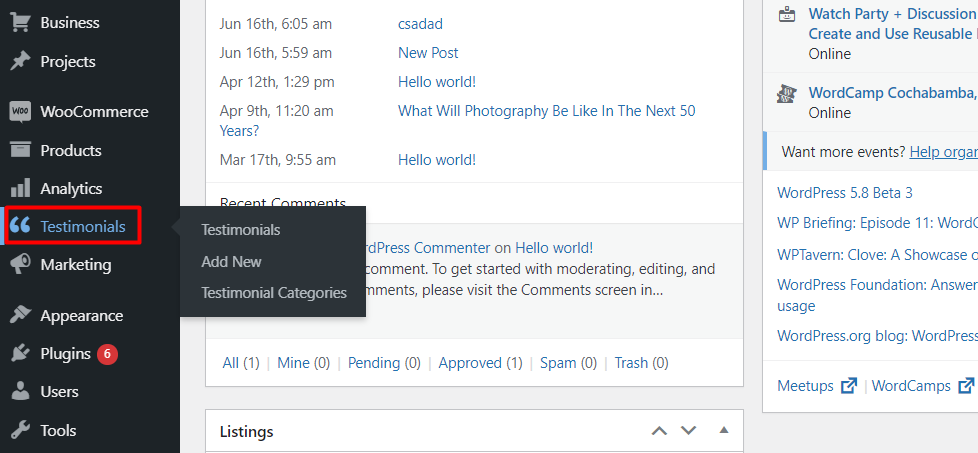
Also, it creates a custom post type with the name Testimonials which can be seen on the WordPress Dashboard after activating the plugin.
It has the following 3 options:
- Testimonials – It shows all the testimonials available on the website. By default, there will be none.
- Add New – It open WordPress editor for creating a testimonial from the back-end.
- Categories – Use categories and assign testimonials to them if you want to categorize your testimonials. The plugin also works if no category is created or selected. The front end module will show all testimonials in this case. If you do not need categories for your testimonials, you can skip creating a category and skip to adding testimonials.
Here’s the blog post that covers the setup process of the Divi Testimonial Extended plugin.