Search Divi Testimonial Extended Documentation
Search for answers or browse our knowledge base.
Display testimonials
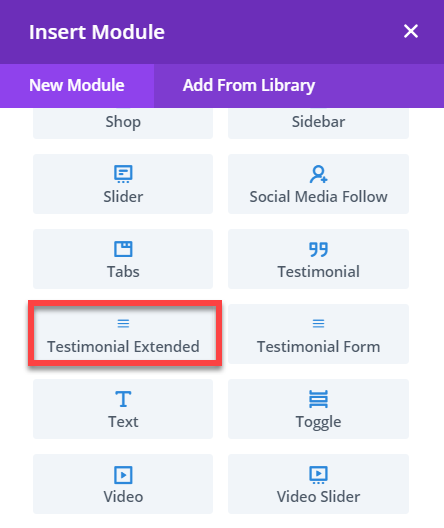
To display testimonials on the page, we add the Testimonial Extended module to the page. Follow the steps below to add the module to the page
- Create or edit a page that uses the Divi Builder.
- Create or edit a row.
- Create or edit a column.
- Go to the module options.
- Search for the module Testimonial Extended.
Content Options
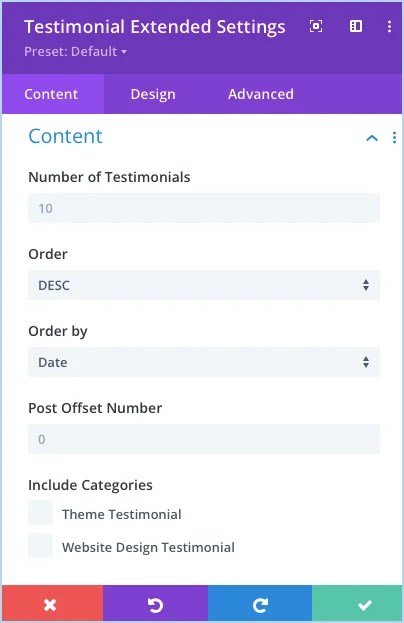
Once the module is added to the page, a module settings box will appear.
Content
- Number of Testimonials: Here you can specify the number of testimonials to display.
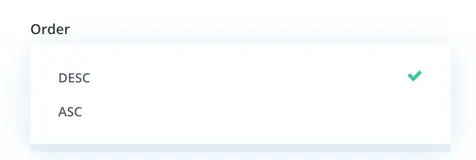
- Order: You can choose the sorting order here.
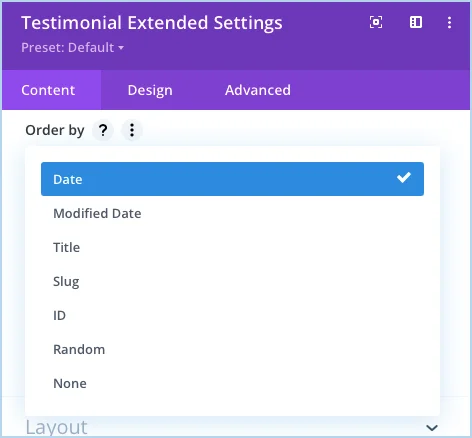
- Order by: Here you can choose the order from given 7 options for displaying the testimonial.
- Post Offset Number: Enter the number of testimonials you would like to skip.
- Include Categories: Select categories here, if no category is selected, testimonials from all the categories will be displayed.
- Exclude Testimonials IDs: To exclude specific testimonials from the loop, you can add their IDs separated by commas in this field.
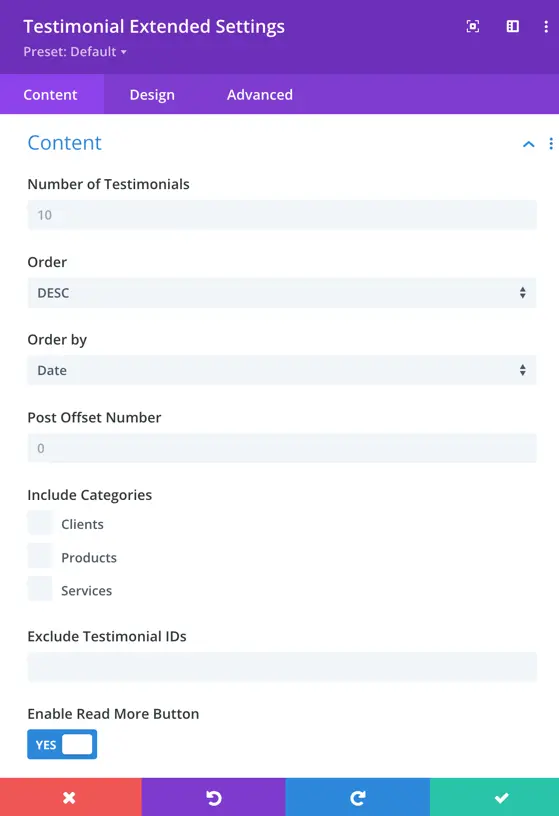
- Enable Read More Button: Set to Yes to enable the “Read More” button.
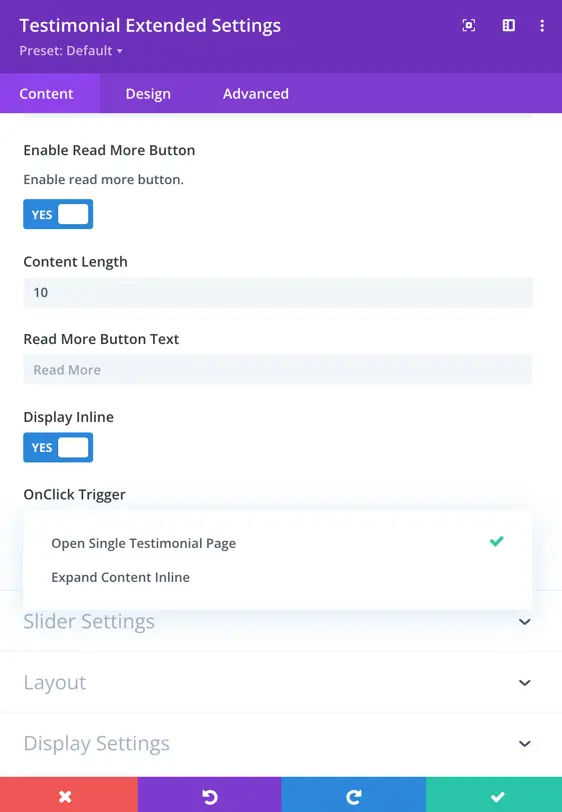
- Content Length: Set to 0 to display the full content or enter a value to limit the testimonial text.
- Read More Button Text: Enter custom text for the “Read More” button.
- Display Inline: Enable this option to display the “Read More” button inline with the text.
- Onclick Trigger: Choose how the button functions:
Slider Settings
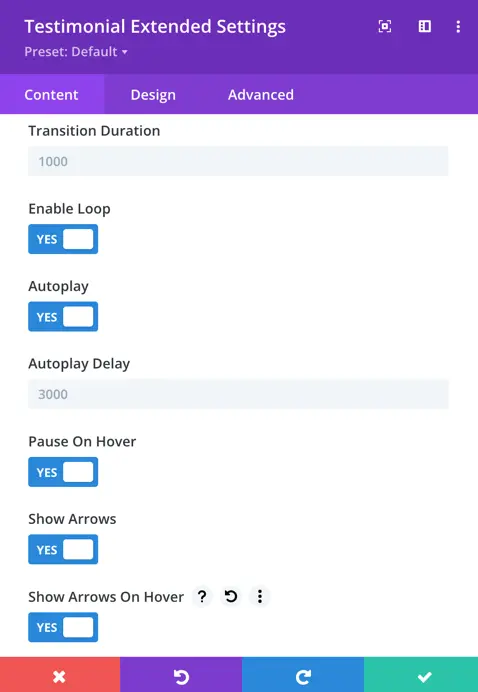
- Enable Slider: Set as yes to display testimonials in slider form.
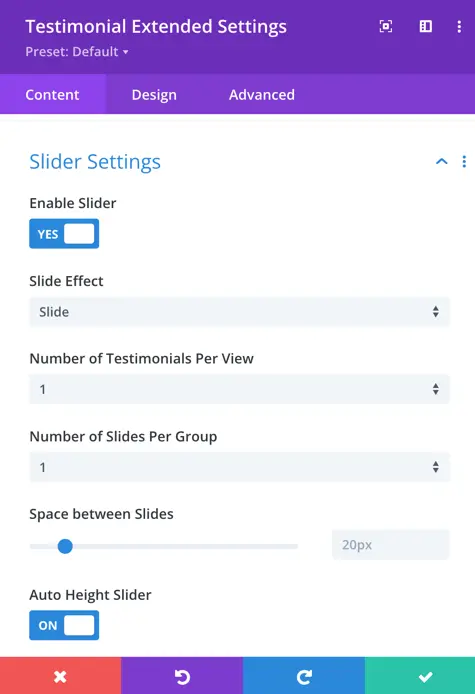
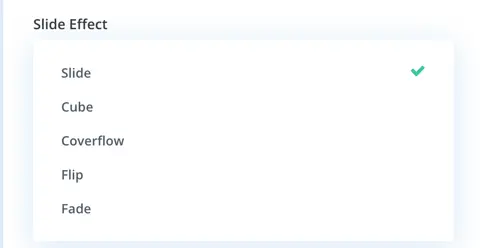
- Slide Effect: Choose the slider effect from four available options: Slide, Cube, Coverflow, Fade, and Flip.
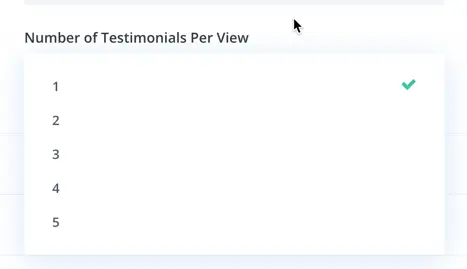
- Number of Testimonials Per View: Here you can choose the number of testimonials to display per slide.
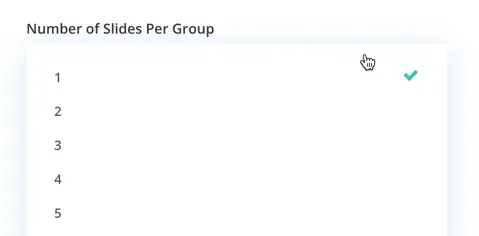
- Number of Slides per Group
- Space Between Sliders: Control the spacing between each of your testimonial slides. Default value is 20px.
- Auto Height Slider: Ensure your testimonial slides adjust dynamically to their content for a seamless display experience.
- Transition Duration: Set how long it takes for your testimonial slides to transition between each other. Default value is 1000ms.
- Enable Loop: Allow your testimonials to loop continuously for consistent visibility.
- Autoplay: Automatically scroll through your testimonials for effortless engagement.
- Autoplay Delay: Determine the time interval between each automatic slide change. Default value is 3000ms.
- Pause on Hover: Enable pausing of the slideshow when users hover over it, providing them with control.
- Show Arrows: Offer navigation arrows for users to manually move through your testimonials.
- Show Arrows on Hover: Display navigation arrows only when users interact with the slideshow, maintaining a clean design.
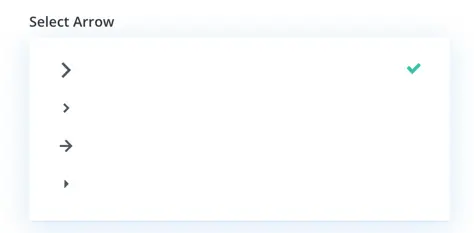
- Select Arrow: Choose from a variety of arrow styles to suit your website’s aesthetic.
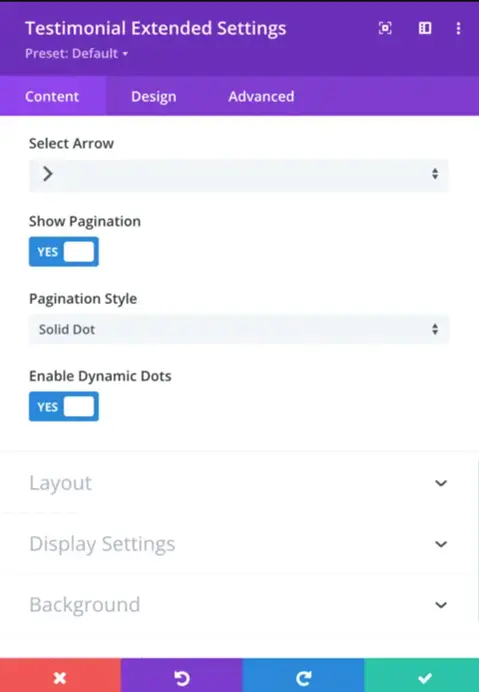
- Show Pagination: Include pagination dots for easy navigation through your testimonials.
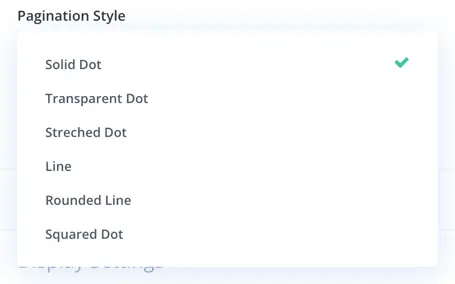
- Pagination Style: Customize the appearance of your pagination dots to match your branding.
- Enable Dynamic Dots: Ensure that pagination dots dynamically reflect the current slide, enhancing user experience.
Layout
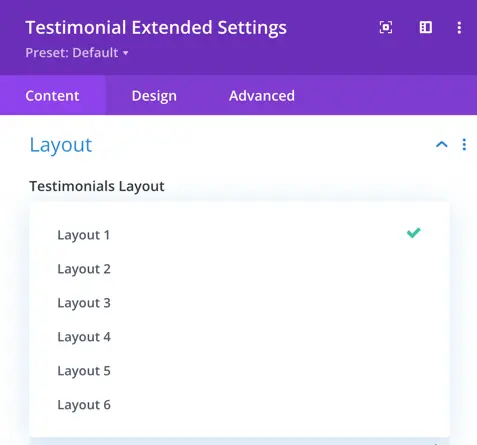
- Testimonials Layout: Here you can select from 6 layout options for the testimonials.
Display Setting
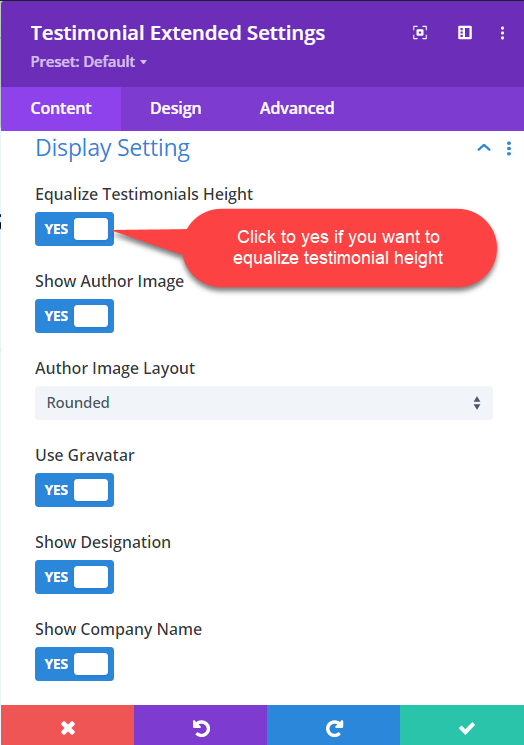
- Equalize Testimonials Height: Check this to yes to equalize testimonial height.
- Show Author Image : Here you can control whether or not the author image will be display.
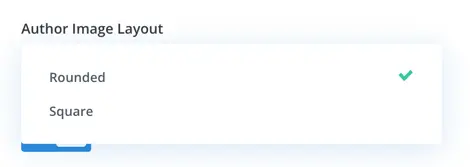
- Author Image Layout: Here you can select the author image layout this can be rounded or square.
- Use Gravatar: This toggle option enables or disables the use of Gravatar images for user avatars. When enabled, user avatars will be fetched from Gravatar based on the email associated with the user’s account.
- Show Designation: This toggle option controls whether the user’s designation or title is displayed alongside their testimonial. When enabled, the designation provided by the user will be shown.
- Show Company Name: This toggle option determines whether the user’s company name is displayed alongside their testimonial. When enabled, the company name provided by the user will be shown.
Design Options
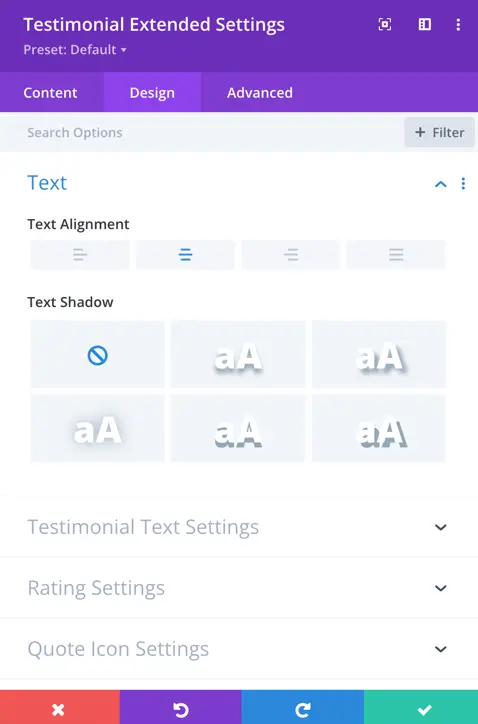
- Text Alignment and Shadow: This setting allows you to adjust the alignment of text. You can choose from options such as left align, center align, right align, or justify align to ensure your text appears exactly as desired. Additionally, you have the option to add a text shadow effect to enhance the visibility of your text.
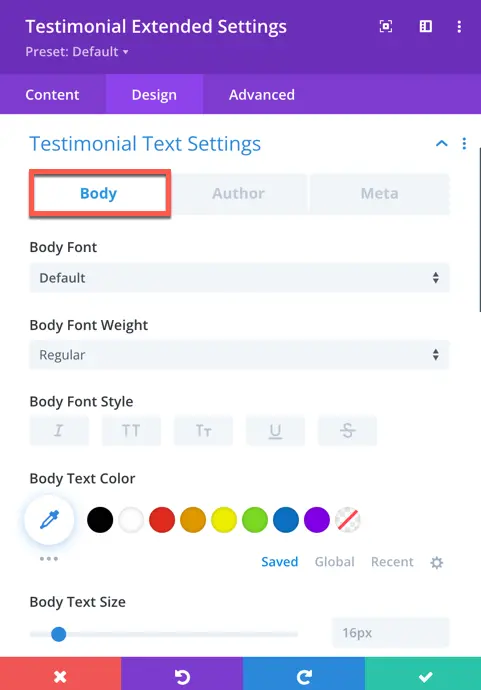
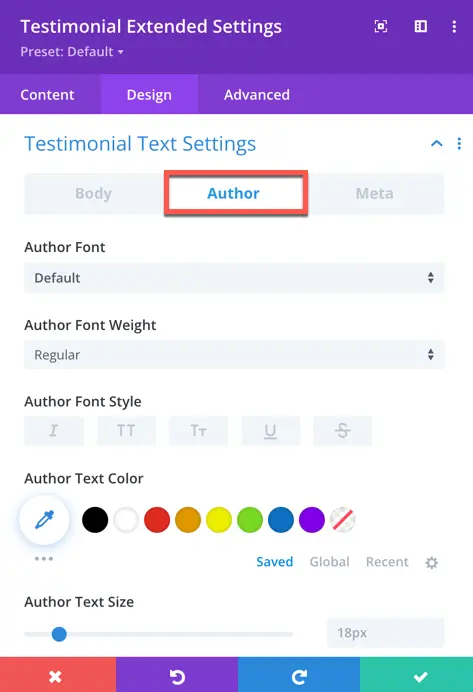
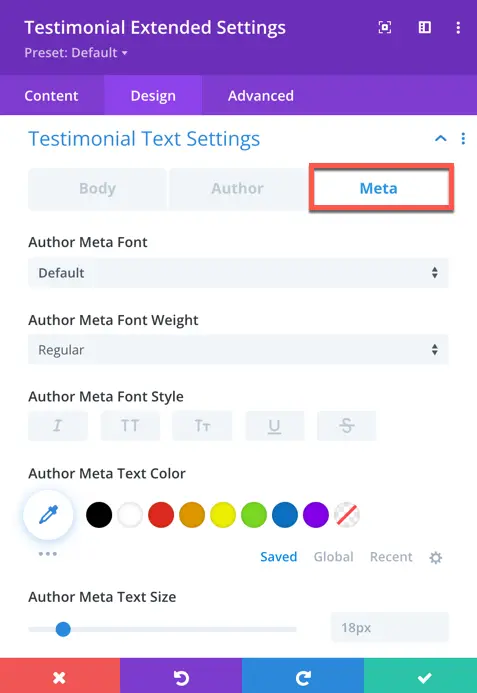
- Testimonial Text Settings: Here you can adjust text customization such as font, font weight, style, color, and size for Body, Author and Meta text of testimonials.
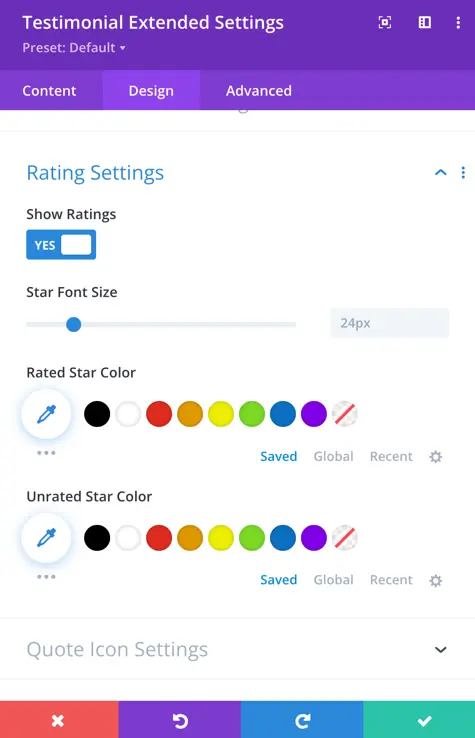
- Rating Settings: Check as Yes to display show rating and after enabling this option you get the star rating customization option such as font size, rated star color, and unrated star color.
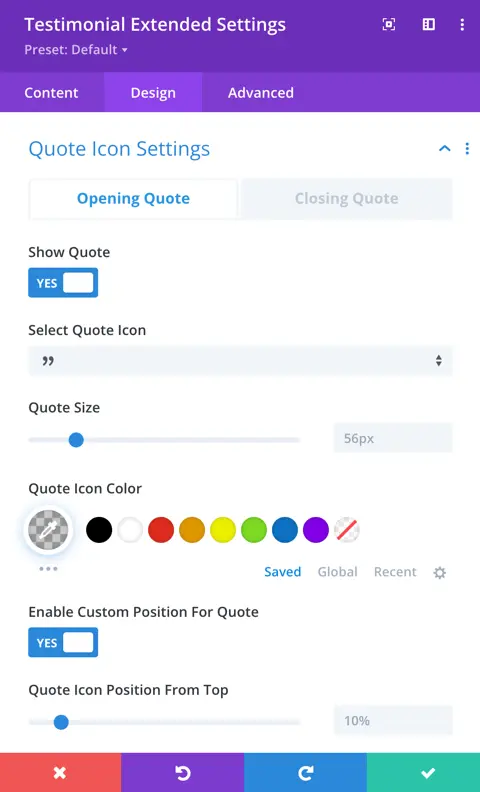
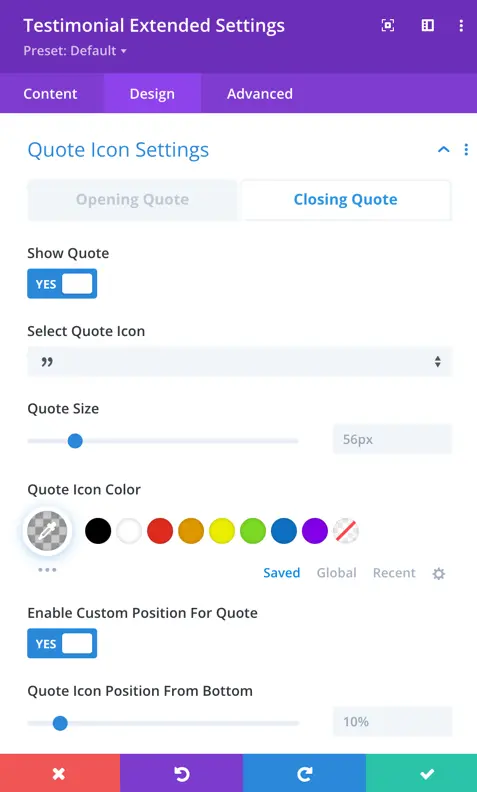
- Qutoe Icon Settings: In this setting, you have the options to display opening and closing quotes. Once you enable the option to display the quote, further settings become available. These include selecting the quote icon, adjusting the quote size, specifying the icon color, enabling custom positioning for the quote, setting the quote icon’s position from the top, and setting the position for the closing quote from the bottom.
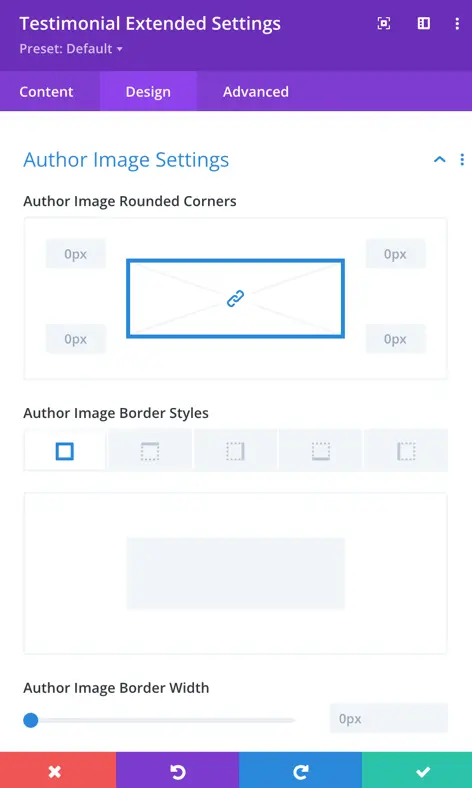
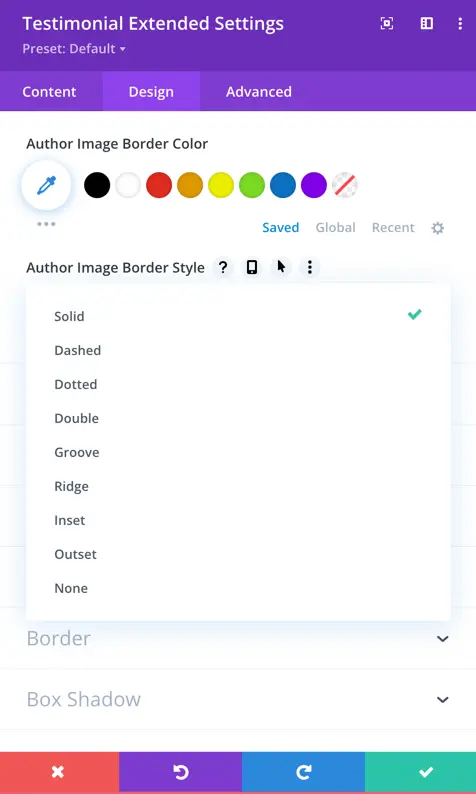
Author Image Setting: In this setting, you can customize various aspects of the author image. You have the option to set the corners of the image, choose from different border styles, specify the border width, select the border color, and define the border style to achieve the desired appearance for the author image.
- Single Testimonial Settings: In this setting, you can customize the appearance of a single testimonial. You have the option to select either a color or an image as the top background. If you choose the color option, further customization options for color will be available. If you select an image, you can choose the desired image.
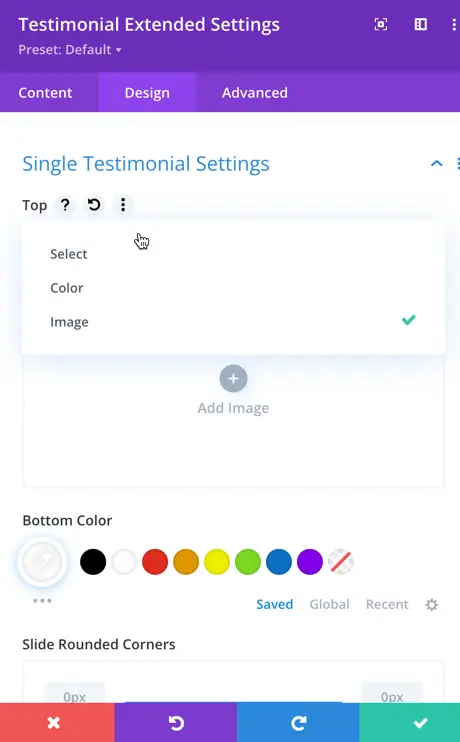
- Additionally, you can style the testimonial slide with options such as background color, padding, rounded corners, border styles, border width, and border style to achieve the desired visual effect.
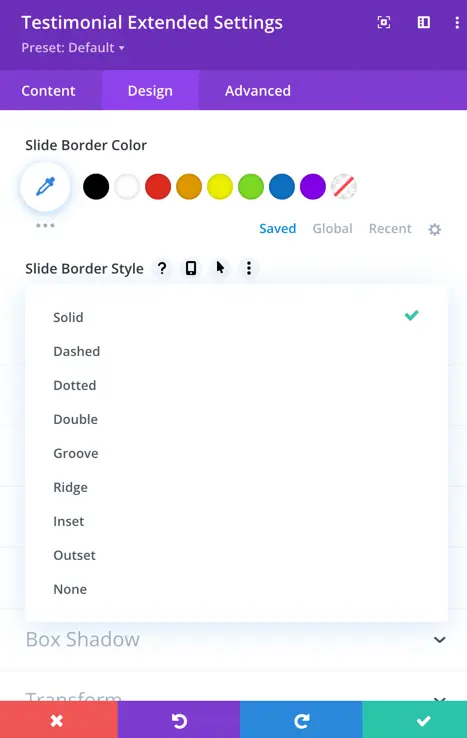
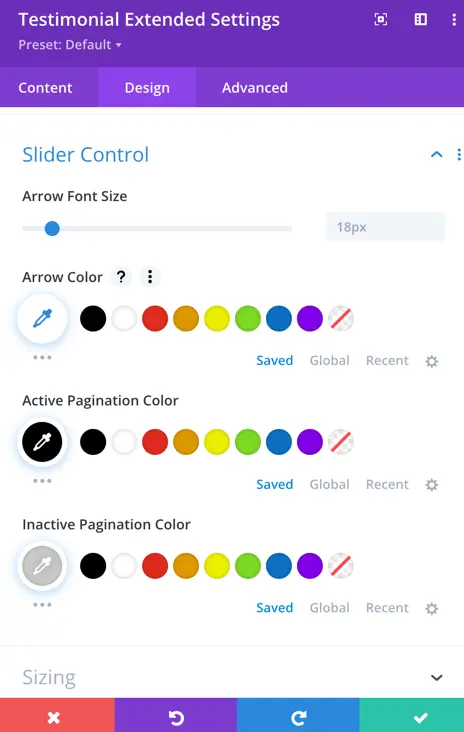
- Slider Control: In this setting, you can configure various aspects of the slider controls. You have the option to adjust the arrow font size and color. Additionally, you can specify the color for active and inactive pagination elements.
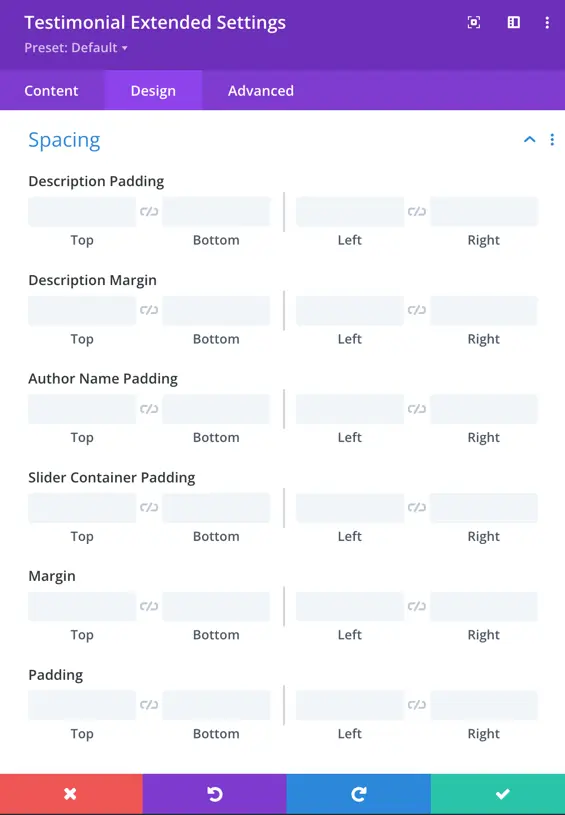
- Spacing Settings: You can adjust the spacing for different elements using padding and margin options:
- Description Padding: Set top, bottom, left, and right padding for the testimonial description.
- Description Margin: Adjust the margin around the description.
- Author Name Padding: Define padding for the author’s name.
- Slider Container Padding: Set padding for the entire testimonial slider container.
- Margin: Adjust the outer spacing for the slider container.
- Padding: Fine-tune the inner spacing within the slider container.
