
Search Flexile Child Theme Documentation
Search for answers or browse our knowledge base.
One-click demo import
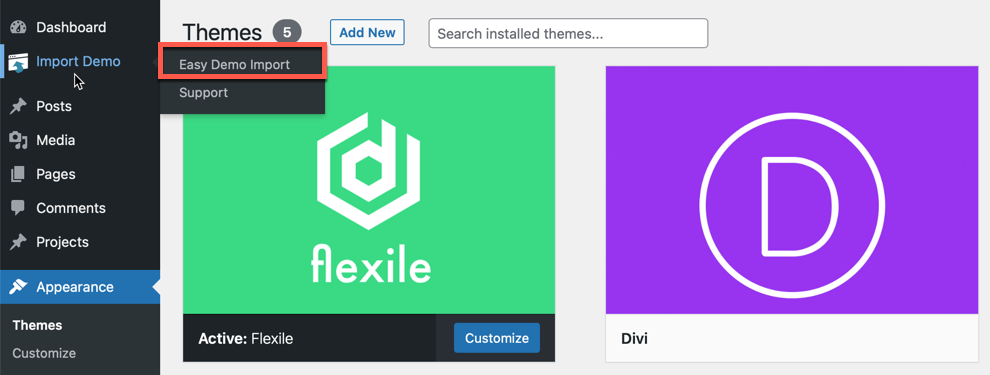
Once you have activated the child theme, you will see the Import Demo link on the WordPress Dashboard. Click on the Easy Demo Import link under it.
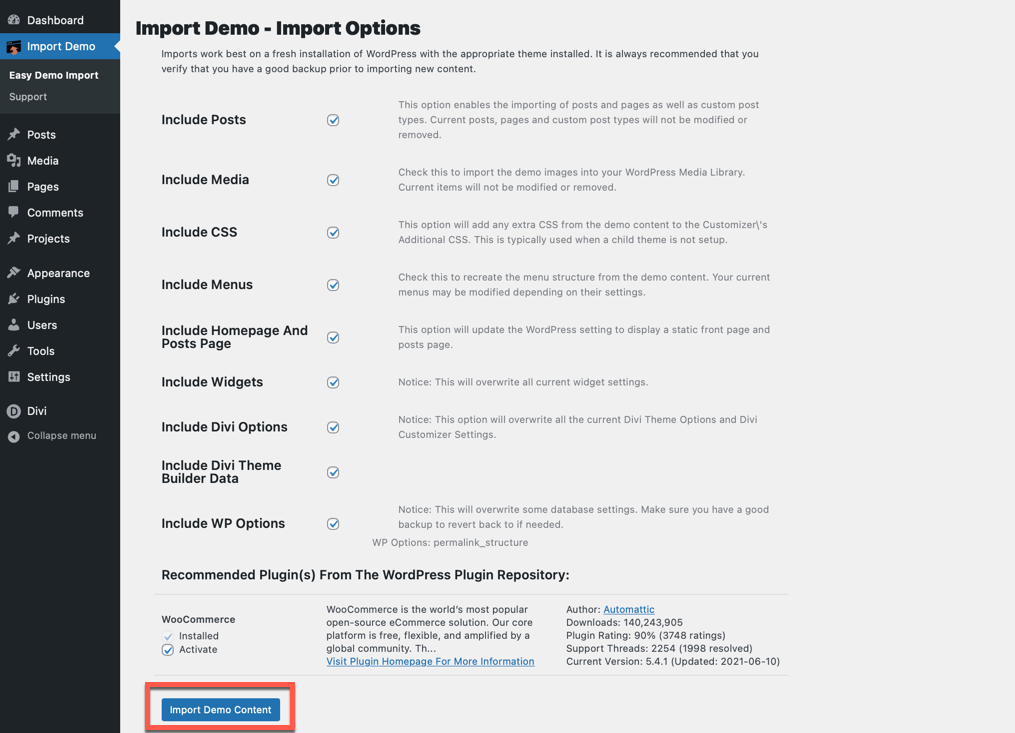
On the next screen, you will be given options to choose what to import. Adjust the settings and click on Import Demo Content. If you don’t want to use WooCommerce, you can uncheck it from the Recommended Plugins(s) section.
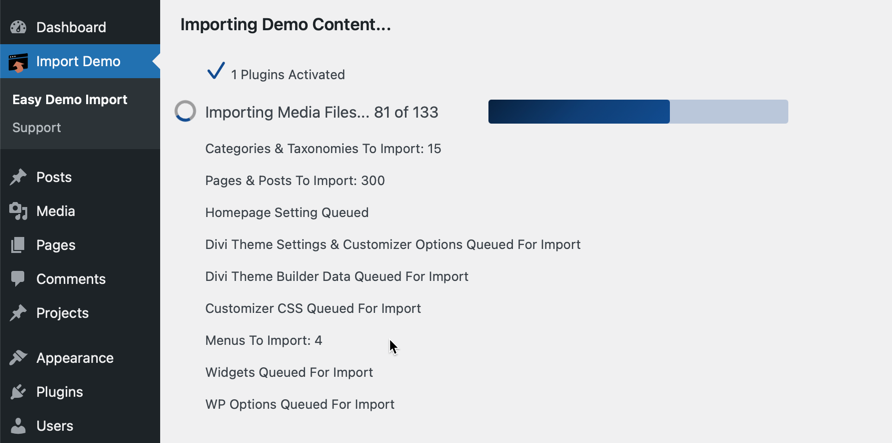
This will start the import process. It may take a few seconds to minutes depending upon your server configuration and resources.
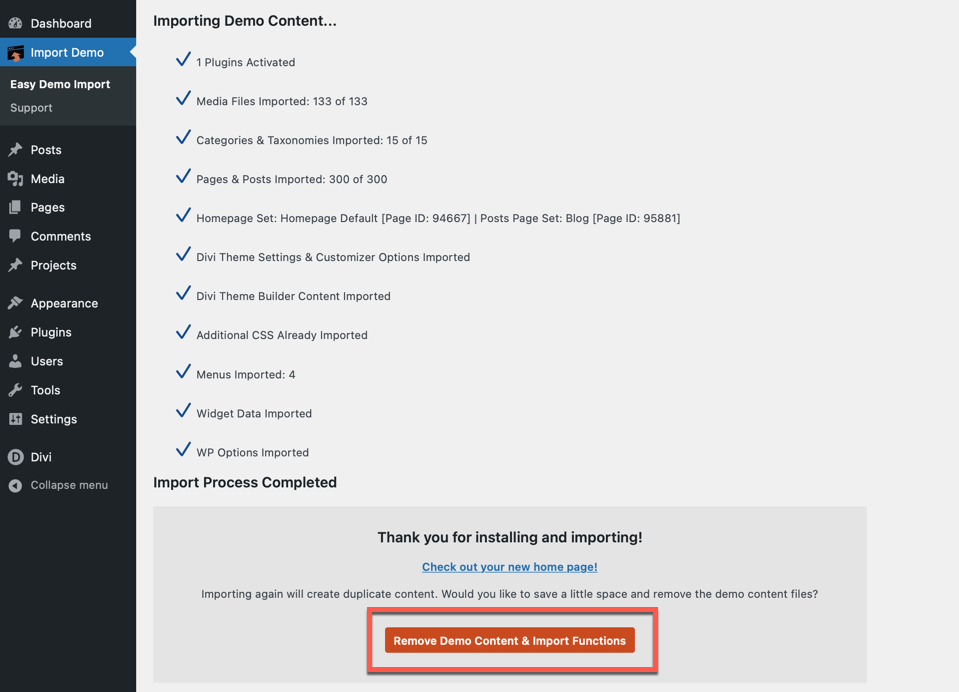
After successfully importing the demo, you will encounter a screen featuring a button labeled “Remove Demo Content and Import Functions.” Clicking this button will exclusively remove the demo import functions file. It does not delete the demo content that you’ve previously imported onto your website. This action is particularly useful if you wish to avoid unintentional re-importing of the demo content in the future.
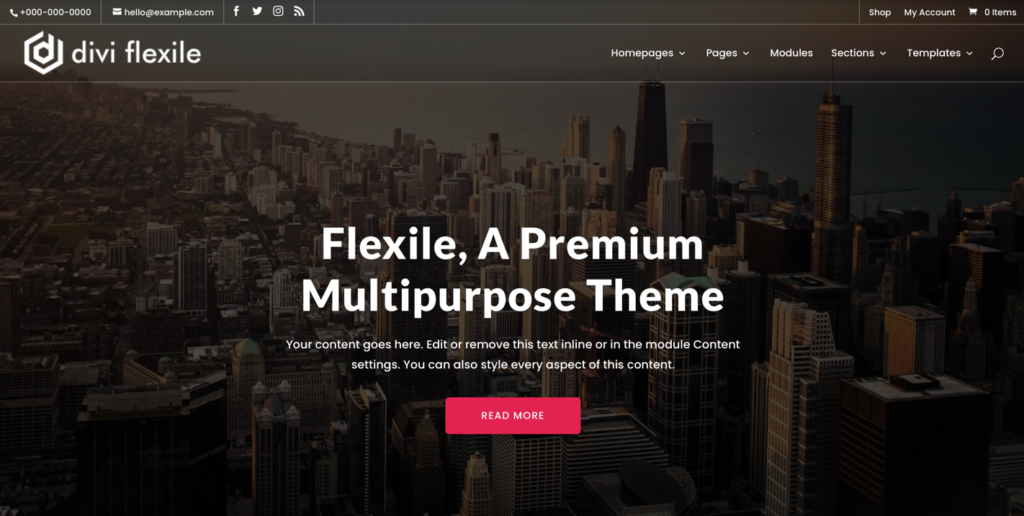
This is your homepage appearance when you look at the website homepage after import.
If you are having any issues in the importing process, please Contact Us we will try our best.
Once the demo is imported, you could use the available Flexile elements and layouts. Check this to know how to add the Flexile elements from Divi Library to your page.
There are a few elements in Flexile that are not imported with demo content. These elements are shipped in the supplementary product files and are imported manually to reduce the import size.
Here are the elements which are not imported using one-click demo import. You can import these elements individually on any website that uses Divi theme. Click on each of these for their respective documentation.