Search for Divi WooCommerce Layouts Documentation
Search for answers or browse our knowledge base.
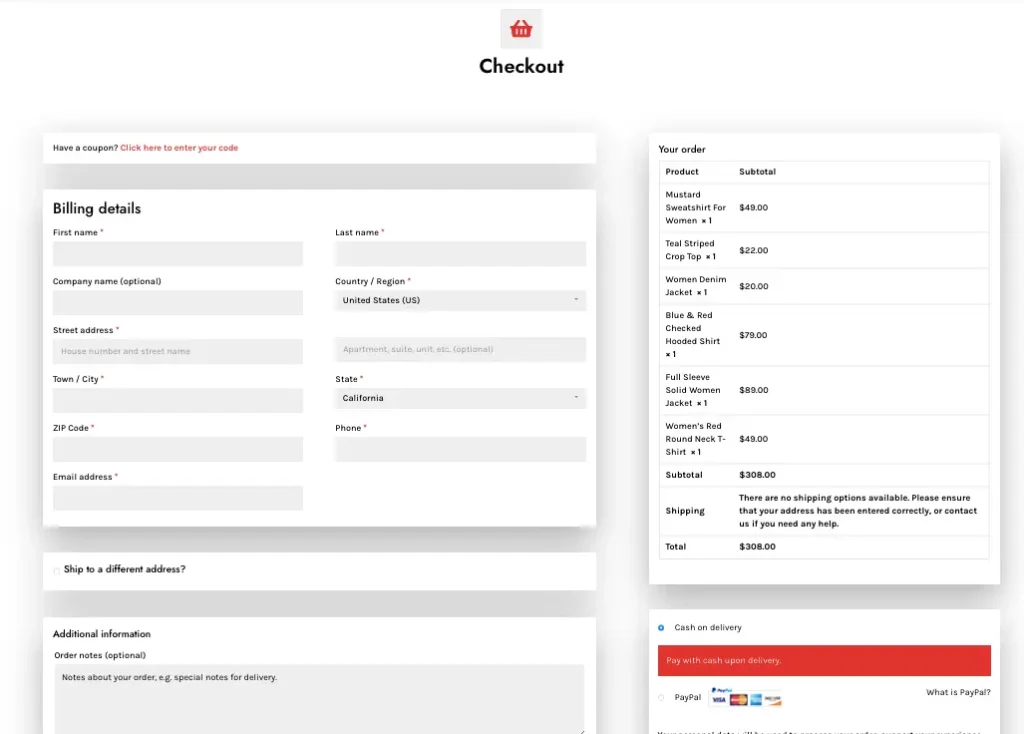
Checkout
Steps to Import the Checkout Layout
To import all the shop layouts at once
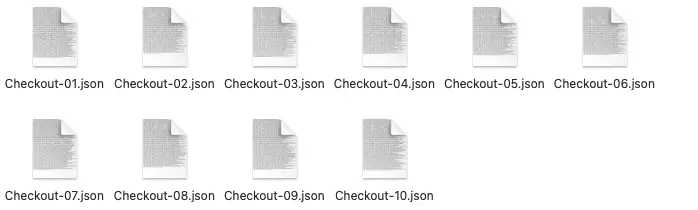
- Extract the main product file divi-layouts-for-woocommerce.zip to get the Checkout.json file.
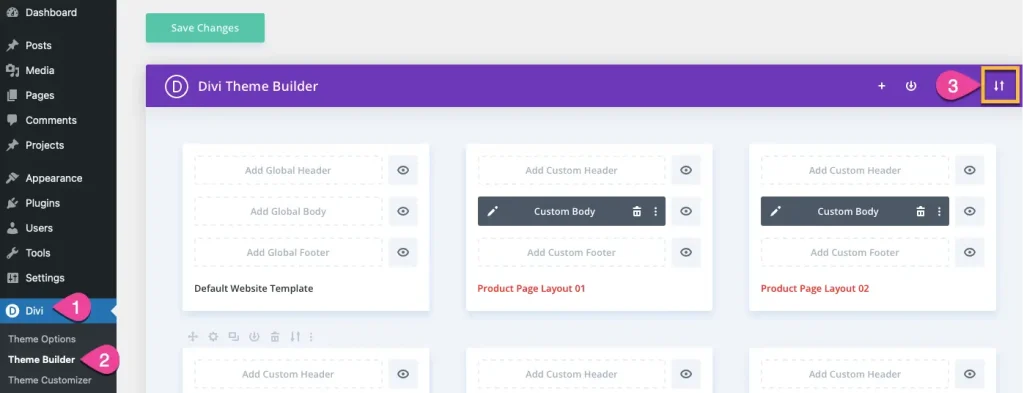
- Import the file into the Divi Theme Builder.
- To do this move to your site Dashboard >> Divi >> Theme Builder.
- Click on the Portability Icon, placed on the top right side of the window.
6. Go to Import tab >> Choose File and browse for the CHECKOUT.JSON
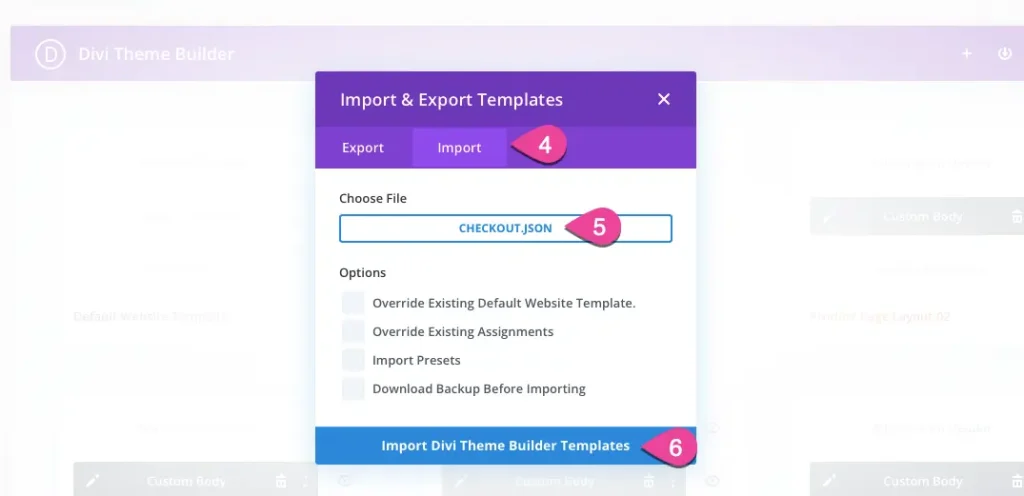
7. Click on Import Divi Theme Builder Templates.
Now you have all the checkout layouts in your Divi Theme Builder.
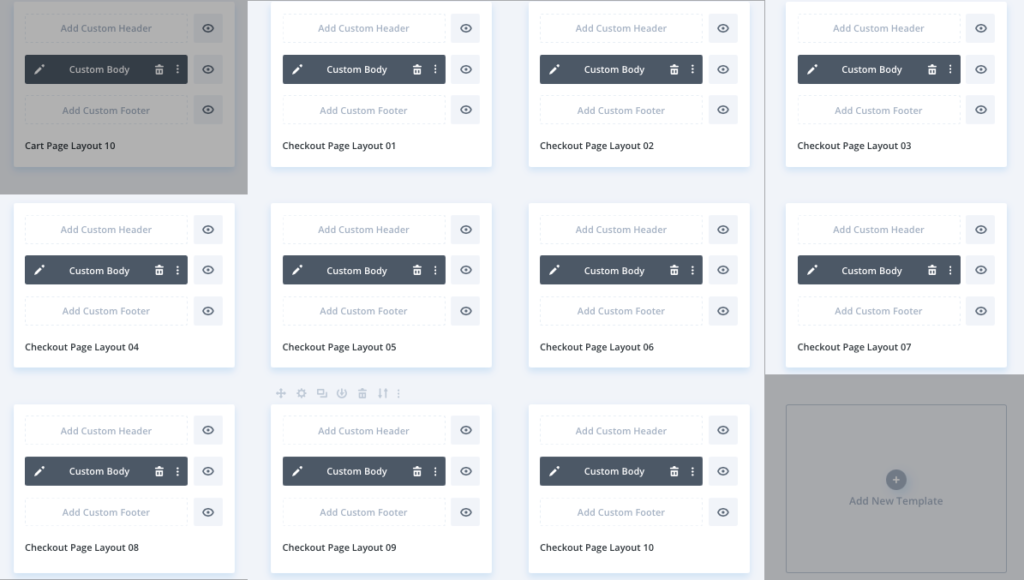
To import the specific checkout layout
If you want to import a specific checkout layout then move to the checkout file that you have in supplementary-files.zip and choose the specific checkout layout’s JSON file to import in the Divi Theme Builder and follow the same process as above.
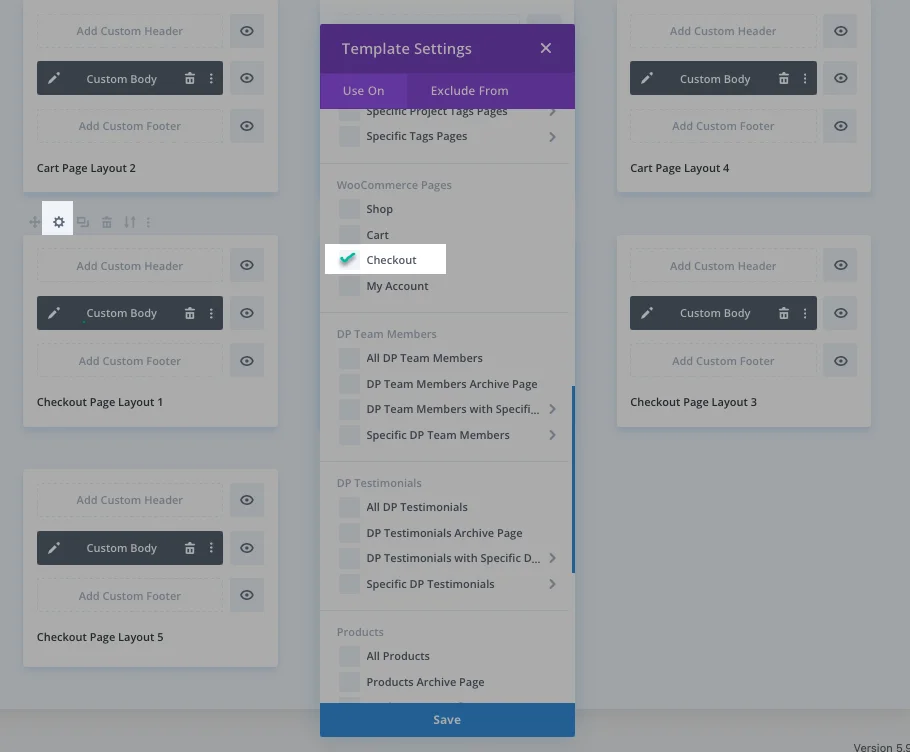
Layout Assignment
To assign a checkout layout, choose any checkout layout, click on the Settings icon of the template, assign that to the checkout page and save changes.