Search Divi Cart Pro Documentation
Search for answers or browse our knowledge base.
One-click demo import
- Navigate to Install Demo located at the top of the left sidebar of your Dashboard.
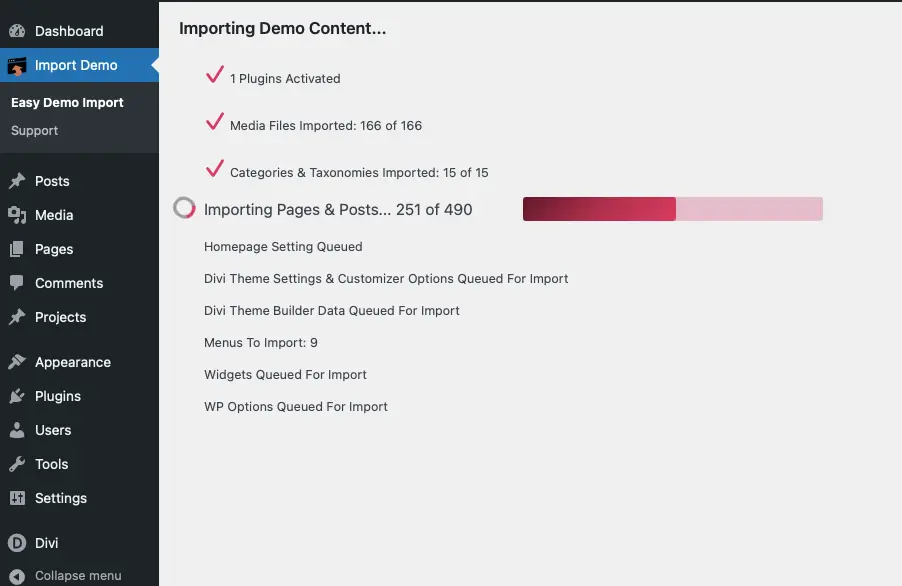
- The new page will load that will show what will be imported. Check all options and click on the Import Demo Content button.

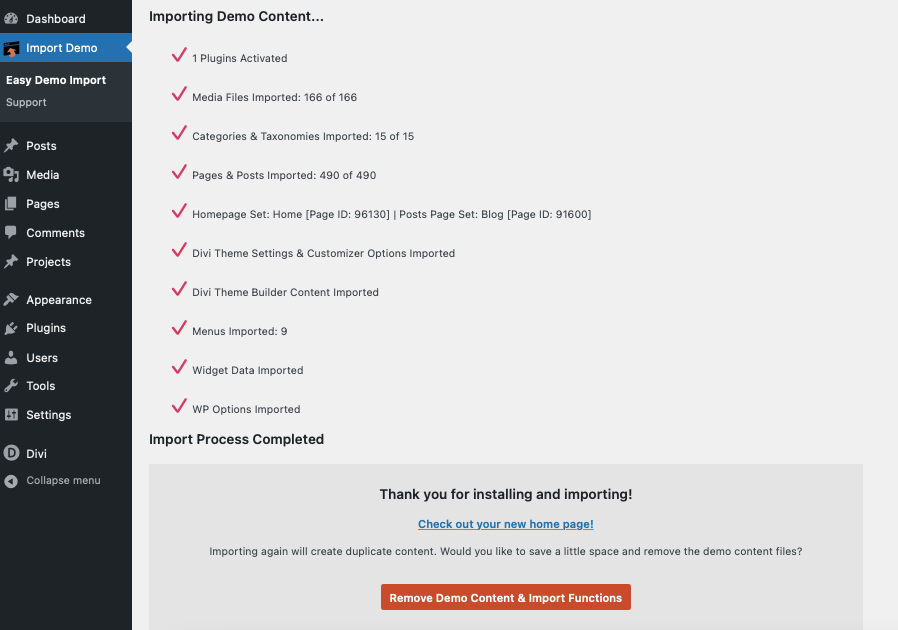
- This will start the demo import process and create all the pages, posts, menus, media, etc.

- Click on Remove Demo Content & Import Functions (the red button) if you want to remove demo content and import functions.

- This will complete the import of the Divi cart pro Child Theme and you can modify the content from this point.
Important Note:
When importing the demo content, please note that the import process installs the complete demo content, which may overwrite or conflict with any existing data on your site.
To avoid potential issues or data loss, we strongly recommend performing the demo import on a fresh WordPress installation with the Divi parent theme already installed.
If your site already contains content, consider using a staging environment for the import. After importing, you can export the necessary layouts or configurations and implement them on your main site.
In the next step, we define your WooCommerce pages for Shop, Cart, Checkout, and Accounts. Please click here to move to the next step and configure the WooCommerce pages.
