Search Divi Ajax Search Documentation
Search for answers or browse our knowledge base.
How to use
Follow the below instructions to use the Ajax Search module effectively.
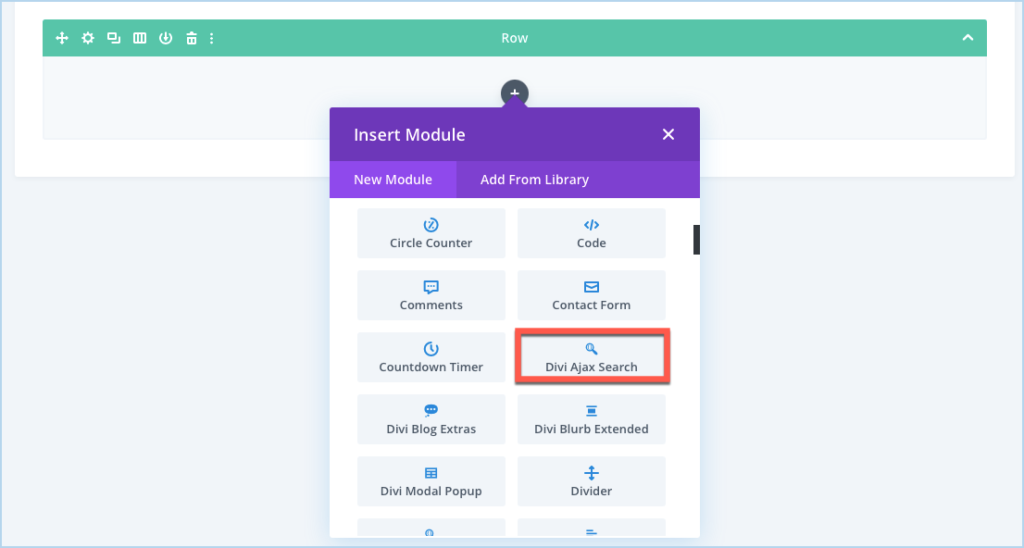
Insert Module on Page
Content Options
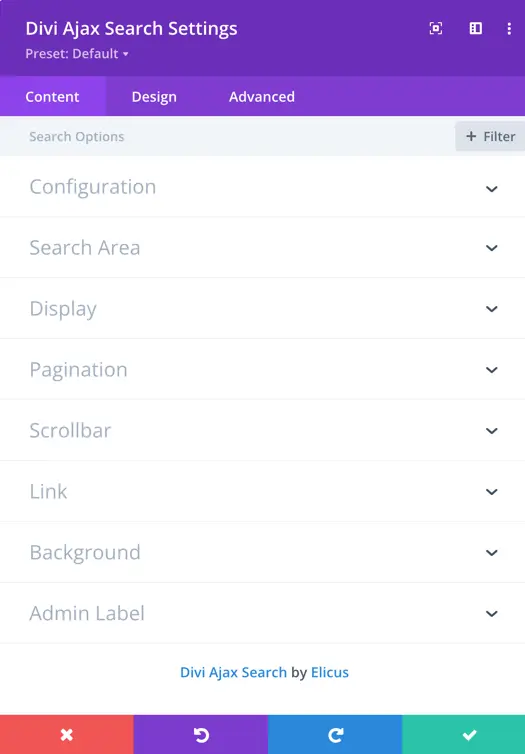
Configuration
- Search Field Placeholder: Here you can input the placeholder for the search field.
- Search Result Number: Here you can define how many number of search result should be displayed in search result. If you want to display all input the value -1.
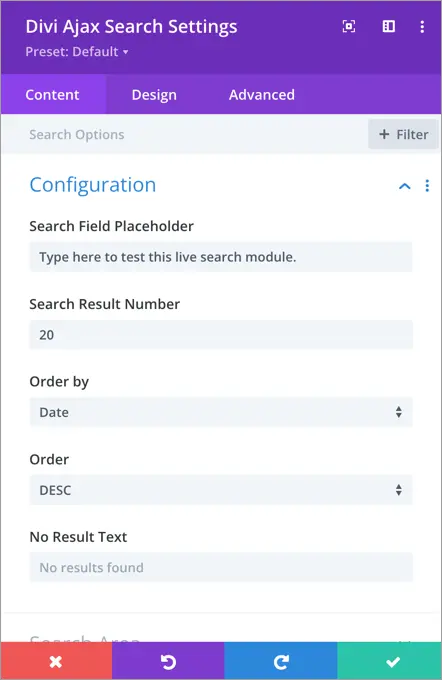
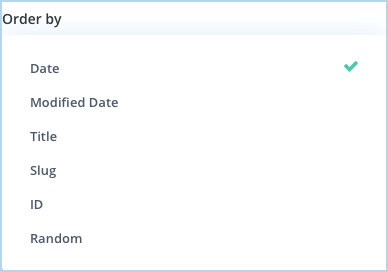
3. Order by: Here we can set the order type of search results.
- Order: This setting allows you to specify the order in which the results are displayed. You can choose between ascending or descending order based on your preference.
- No Result Text: With this setting, you have the option to enter a custom text that will be displayed when no search results are found for a particular query. This allows you to provide a tailored message or suggestion to the users in such situations.
Search Area
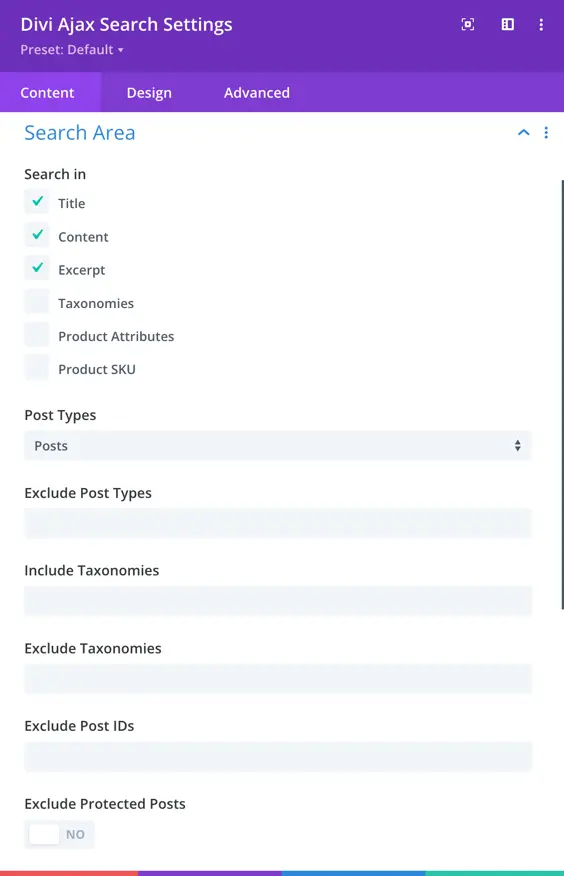
- Search In: allows you to specify the areas within the post where the search query will be performed. There are six options available:
- Title: If you select this option, the search query will be matched against the titles of the posts. Only posts with matching titles will be returned in the search results.
- Content: By choosing this option, the search query will be matched against the content of the posts.
- Excerpt: This option enables the search query to be matched against the excerpts of the posts.
- Taxonomies: This option allows you to include taxonomies in the search. Taxonomies are ways to classify and organize content, such as categories or tags. By selecting this option, the search query will be matched against the taxonomies associated with the posts.
- Product Attributes: If you’re dealing with an e-commerce or product-based website, this option allows you to search within the product attributes.
- Product SKU: SKU stands for Stock Keeping Unit and refers to a unique identifier assigned to a product. If you select this option, the search query will be matched against the SKUs of the products, and the relevant products will be included in the search results.
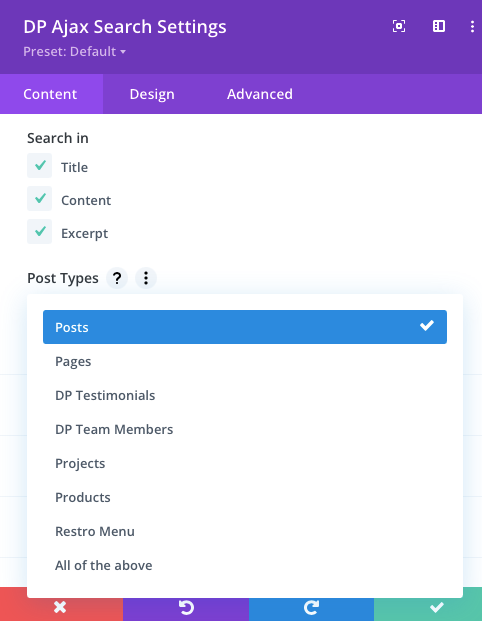
2. Post Types: This allows you to decide where to perform the search query user inputs. Options for where to perform a search are Posts, Pages, Projects, and Custom Post Types.
3. Exclude Post Types:
- In this field, you can enter the slugs of post types that you want to exclude from the search functionality. These slugs should be separated by commas. By excluding certain post types, you can tailor the search results to fit the specific content you want to include or exclude.
4. Include Taxonomies
Including a taxonomy means you are telling the search function to consider everything under this taxonomy. In WordPress, standard taxonomies are Categories and Tags. If you include the Category taxonomy, the search will consider all categories on your site (like Fashion, Technology, Health, etc.).
You cannot select specific categories (like only “Fashion”). It includes every category in your posts.
And for include taxonomies you need to write taxonomy slug like for tag it is post_tag.

5. Exclude Taxonomies
Excluding a taxonomy means you want to remove certain taxonomies from being included in the search results. This helps you narrow down the search results to focus on specific content.
If you exclude the Tag(post_tag) taxonomy, the search will ignore any tags attached to your posts (like “New”, “Sale”, etc.). The results will be based on other included taxonomies like categories.
The reference article defines taxonomies and terms in WordPress
https://wordpress.org/documentation/article/taxonomies/
6. Exclude Post IDs:
- Enter the post IDs that you want to exclude from the search results. This can be useful when you have specific posts that you don’t want to appear in the search output.
7. Exclude Protected Posts:
- Enable to exclude password protected posts.
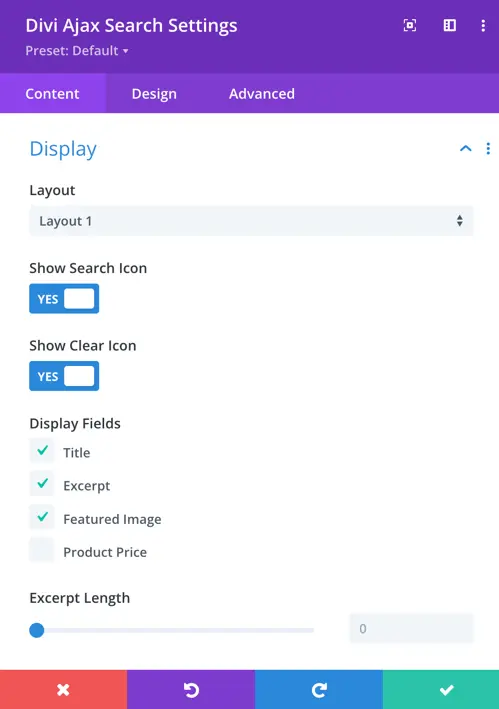
Display
1. Layout
- There are three layout options available. Users can choose from these layouts to determine how the search results are visually presented on the page.
2. Show Search Icon:
- When enabled, this option displays an icon next to the search box, providing a visual representation of the search action.
3. Show Clear Icon:
- Enabling this option adds an icon to clear the search input, allowing users to easily remove the entered search query.
4. Display Fields:
- Users can select which fields should be displayed in the search results. Options include Title, Excerpt, Featured Image,Product Price, Product Qty Field, and Add to Cart Button.

5. Excerpt Length:
- This setting allows users to control the length of the excerpt (a brief summary) displayed in the search results.
6. Show Post Type Label:
- This setting allows you to control whether the post type label (such as “Post,” “Page,”, “Products”, “Projects” or custom post types) is displayed in the search results list.
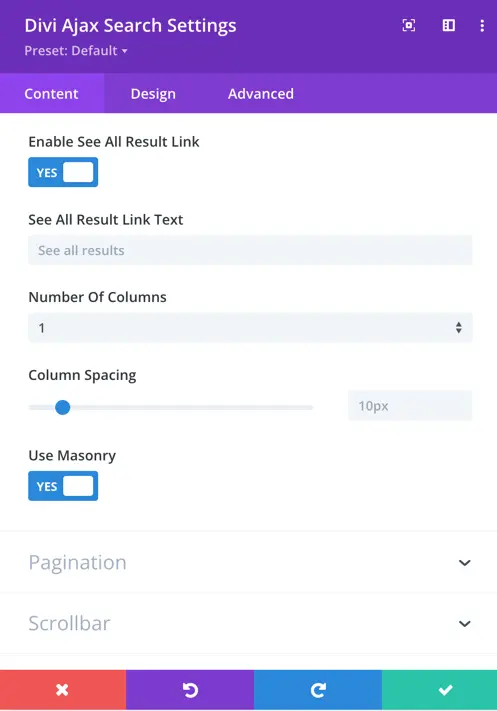
7. Enable “See All Results” Link:
- When enabled, this option adds a link to view all search results. Clicking on this link will lead users to a dedicated page displaying comprehensive search results.
8. See All Results Link Text:
- Users can customize the text that appears for the “See All Results” link.
9. Number of Columns:
- Users can define the number of columns for the search results.
10. Column Spacing:
- This setting allows users to control the spacing between columns.
11. Use Masonry:
- Enabling the Masonry toggle utilizes a masonry layout for the search results.
Pagination
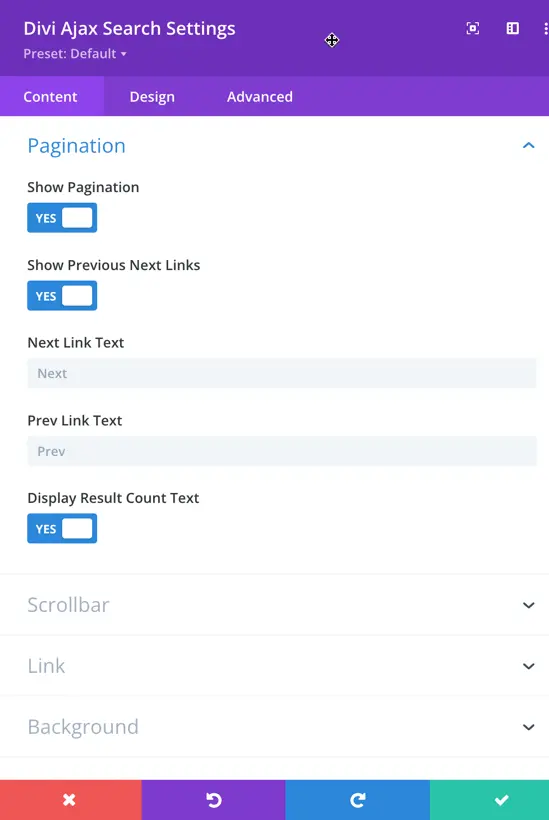
- Show Pagination:
- This option determines whether pagination controls are displayed. Pagination allows users to navigate through multiple pages of search results.
- Show Previous/Next Links:
- Enabling this option displays “Previous” and “Next” links as part of the pagination controls. Users can use these links to move between different pages of search results.
- Next Link Text:
- Users can customize the text that appears for the “Next” link in the pagination.
- Previous Link Text:
- Similar to the “Next” link, users can customize the text that appears for the “Previous” link in the pagination.
- Display Result Count Text:
- Toggle option to show result count text.
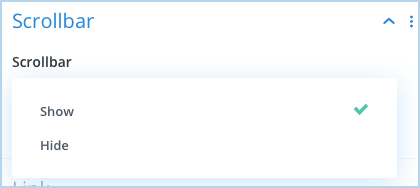
Scrollbar
This setting option gives you control to display or hide the scroll bar in search results.
Link
Here, you can choose whether to open displayed results in the same tab or a new one.
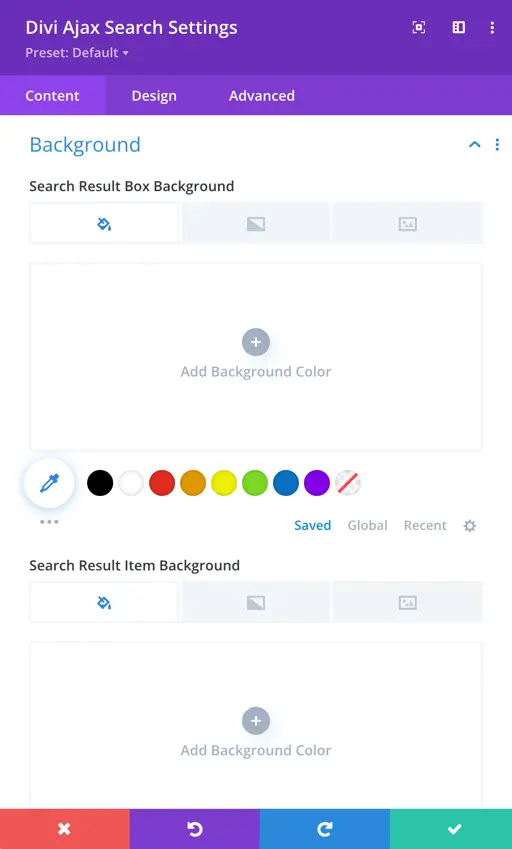
Background
- Search Result Box Background: This setting allows you to define the background color or image for the search result box. You can choose a solid color or upload a custom image to create the desired visual appearance for the search result box.
- Search Result Item Background: With this setting, you can specify the background color or image for search result items. This enables you to customize the look and feel of the search results, providing a unique and visually appealing design.
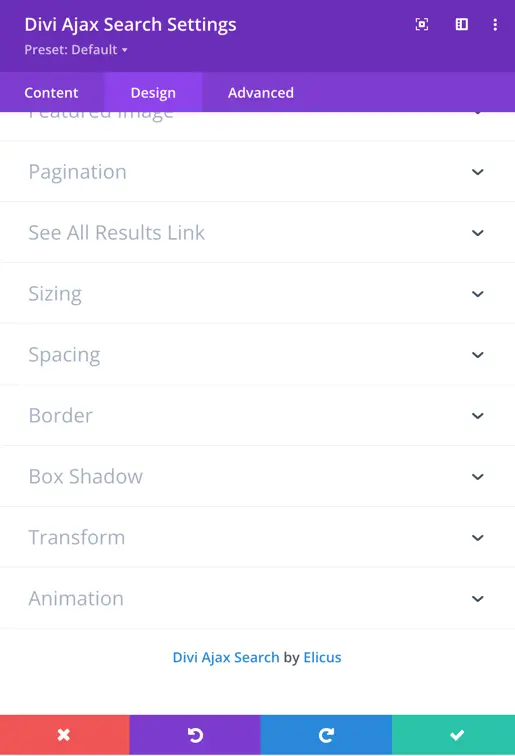
Design Options
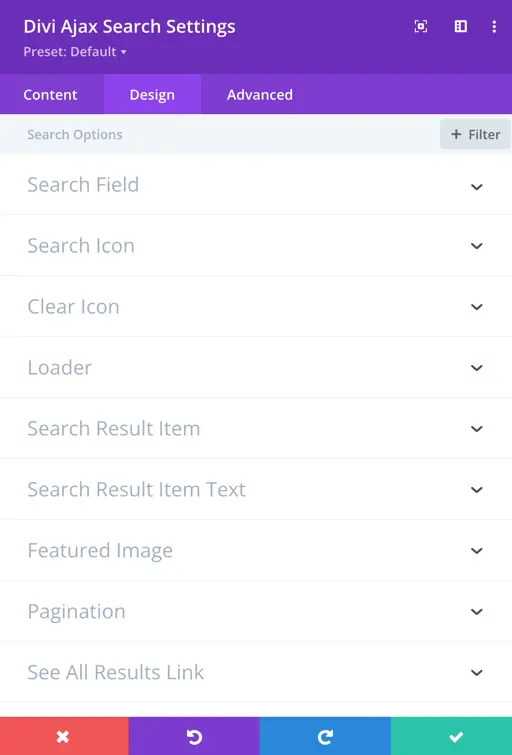
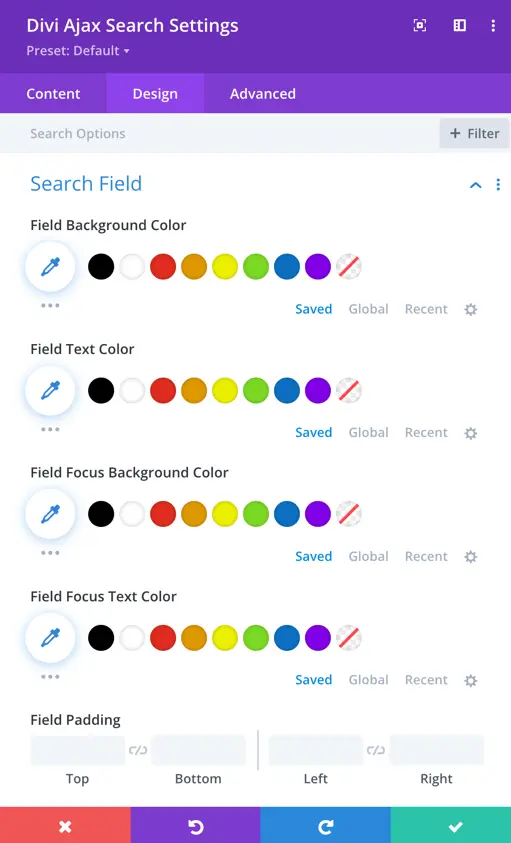
- Search Field:
- This section includes options to style the appearance of the search field itself. Users can customize the background color, text color, border color, and more.
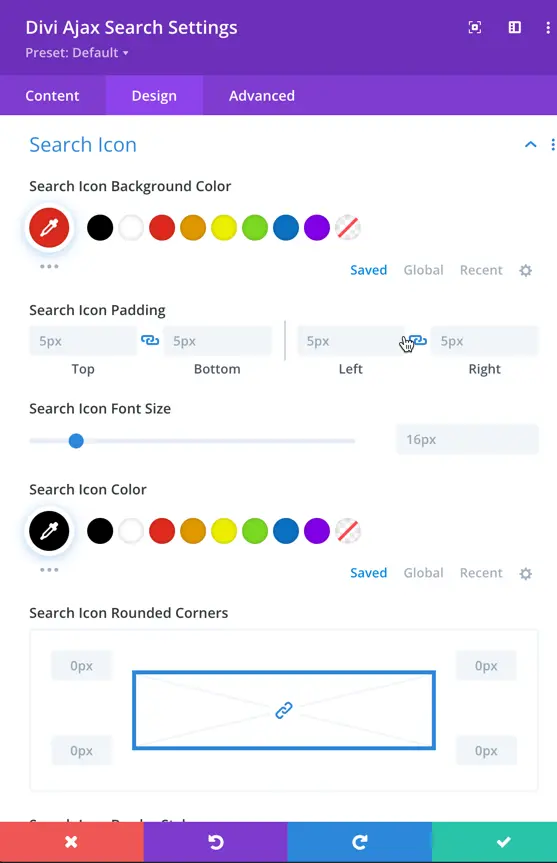
- Search Icon:
- Users can style the search icon, including its background color, padding, font size, color, and border style.
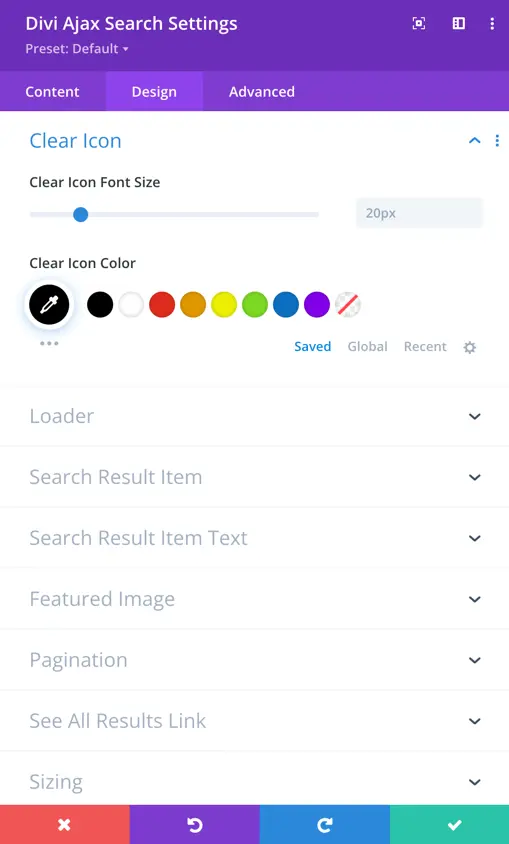
- Clear Icon:
- Similar to the search icon, this section allows customization of the clear (close) icon that appears within the search field after a user has entered text.
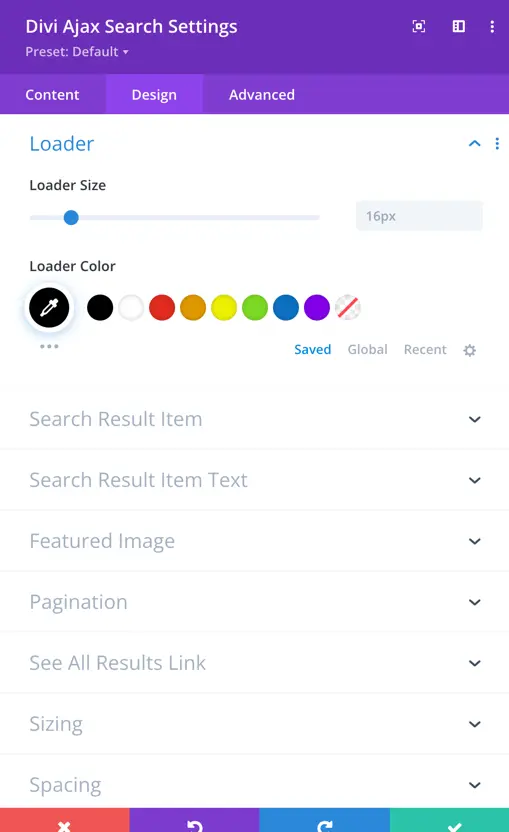
- Loader:
- The loader refers to the animated icon or indicator that appears while search results are being fetched. Users can customize its color and size.
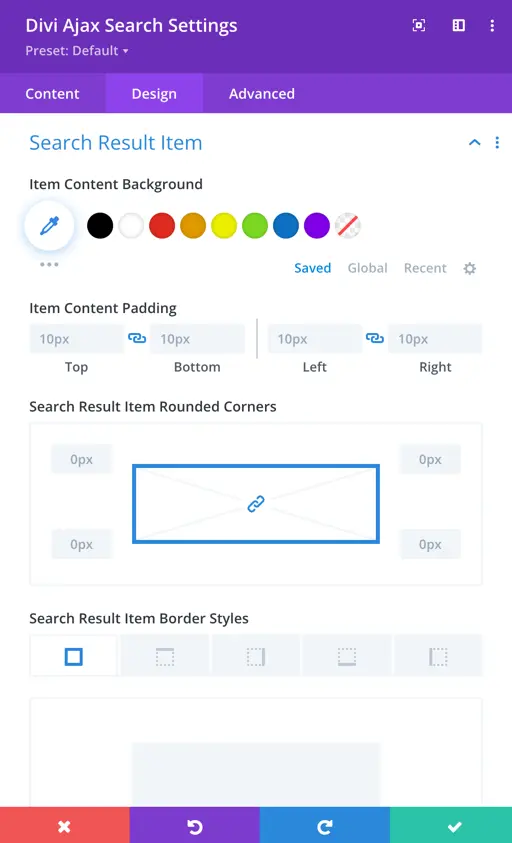
- Search Result Item:
- This option allows users to style the search item background, content padding, border style, and color.
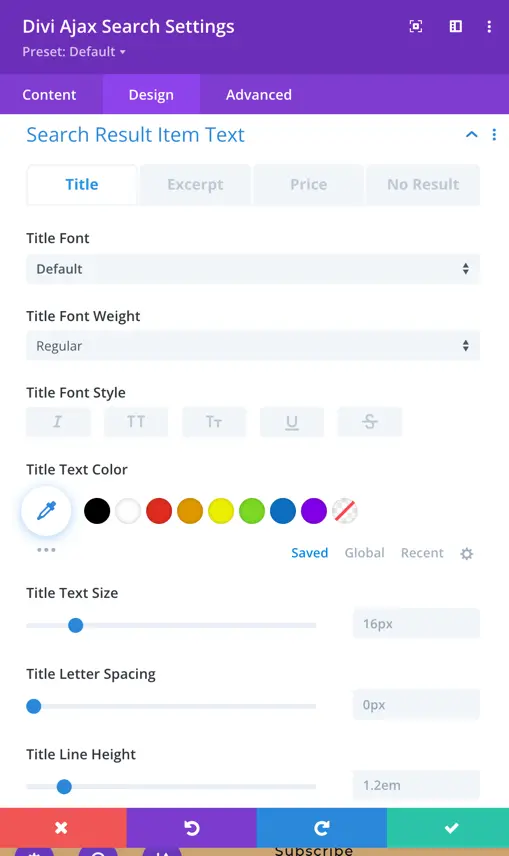
- Search Result Item Text:
- Customize the text style for each item in the search results, including the title, excerpt, price and no result text.
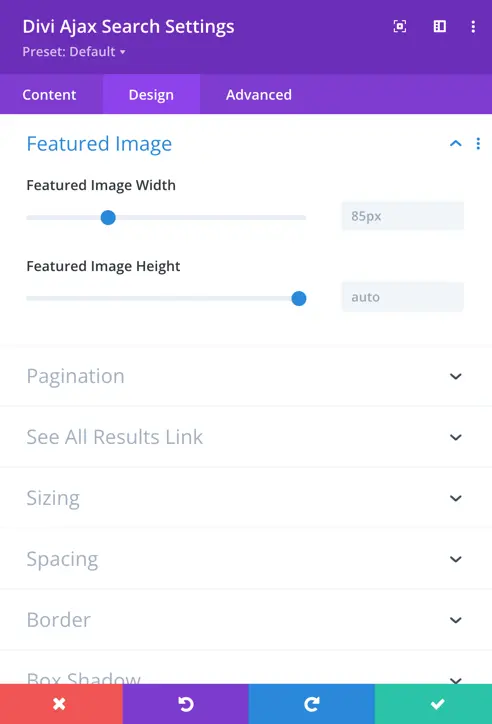
- Featured Image:
- Style the appearance of the featured images, if applicable, within the search results. This includes settings for image size.
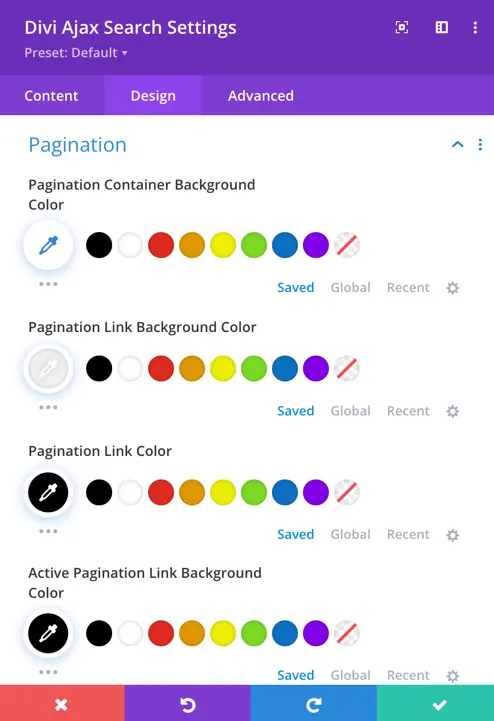
- Pagination:
- Style the pagination controls, including the appearance of the pagination container background color, previous/next links, and their respective colors.
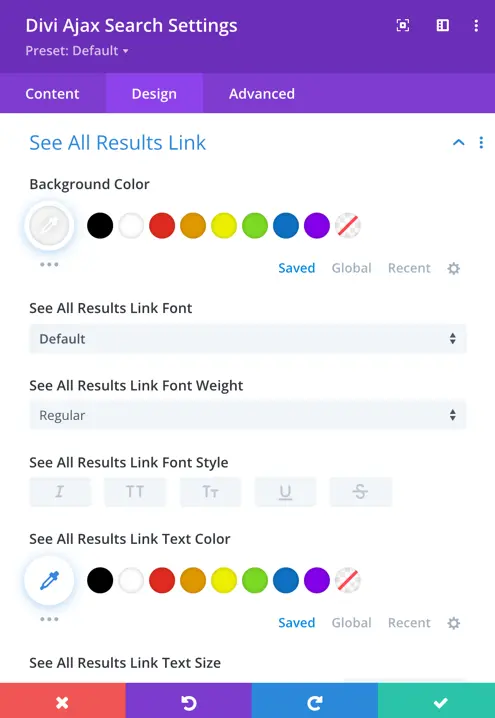
- See All Results Link:
- Customize the styling of the “See All Results” link, if enabled. This link typically allows users to navigate to a dedicated search results page.
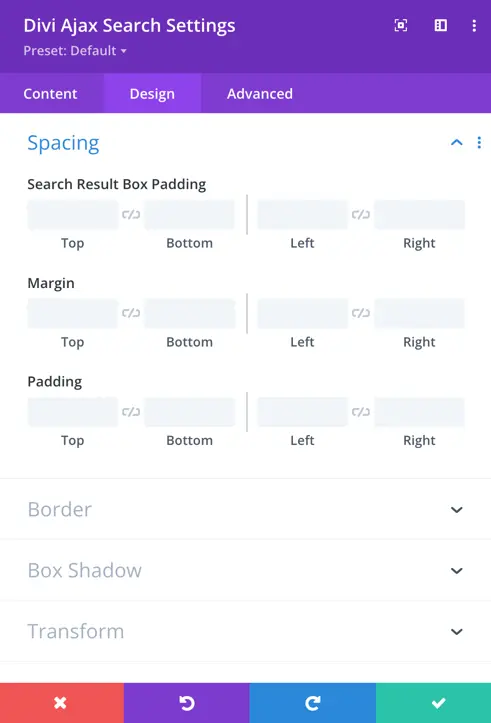
- Spacing:
- Customize the search result box padding.
