
How Can We Help?
Search for answers or browse our knowledge base.
Installation
Recommended Requirements
- Divi Theme
- Fresh WordPress installation.
Server Recommended Requirements
- upload_max_filesize (512M or more)
- max_input_time (300 or more)
- memory_limit (512M or more)
- max_execution_time (1000 or more)
- post_max_size (512M)
Installation
- On your WordPress Dashboard, navigate to Appearance >> Themes >> Add New. Then, select ‘Upload Theme,’ and proceed to choose the main product zip file, as explained in the earlier section of the file structure.
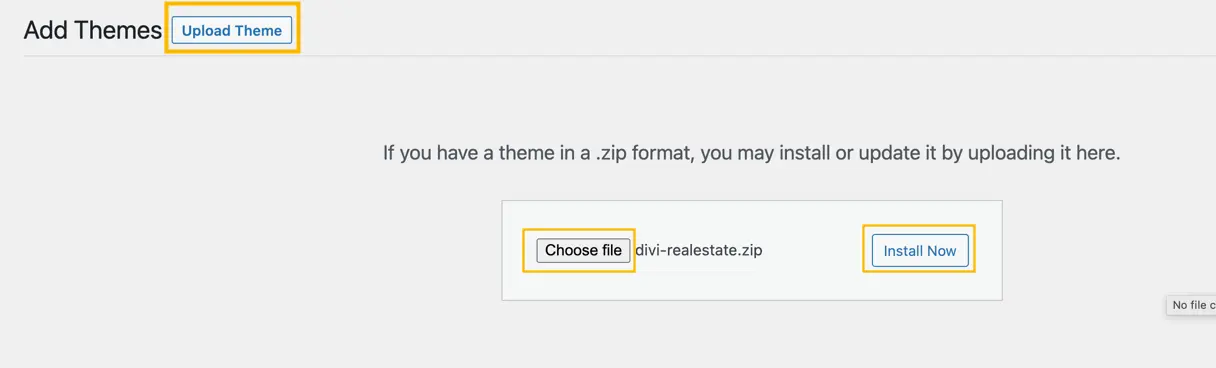
- Browse the theme file divi-realestate.zip on your computer and click Install Now.
- Click Activate.
- If you do not want to use the property listing feature or want to configure the “Easy Property Listings” plugin on your own, jump to the “One Click Demo Import” section.
- If you want to use the property listing feature, click on the “Begin Installing Plugin”.
- Click Install next to Easy Property Listing, once installed, activate the plugin by going to the Plugins page.
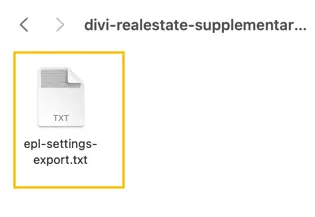
- To activate the settings according to the demo site, click ‘Choose File,’ browse for the ‘epl-settings-export.txt‘ file within the supplementary product zip file, and select ‘Import.’ This action will activate the property post types as showcased in the demo. Essentially, this file automates the process of enabling all property types, which can also be done manually through the EPL settings if preferred.
- In order to use Google Maps, you need to obtain an API key from Google and enter it on Easy Property Listings >> Settings >> Advanced Settings >> Google Map API Key input box.
Note: For this child theme we recommend min 512M upload_max_file size.