Search Divi Blurb Extended Documentation
Search for answers or browse our knowledge base.
Module 1: Divi Blurb Extended
Creating Blurbs Using Divi Blurb Extended Module
Common steps to follow for each layout available with the Divi Blurb Extended Module.
- Create a new page/edit an existing page where you want to add or display blurbs created using Divi Blurb Extended Module.
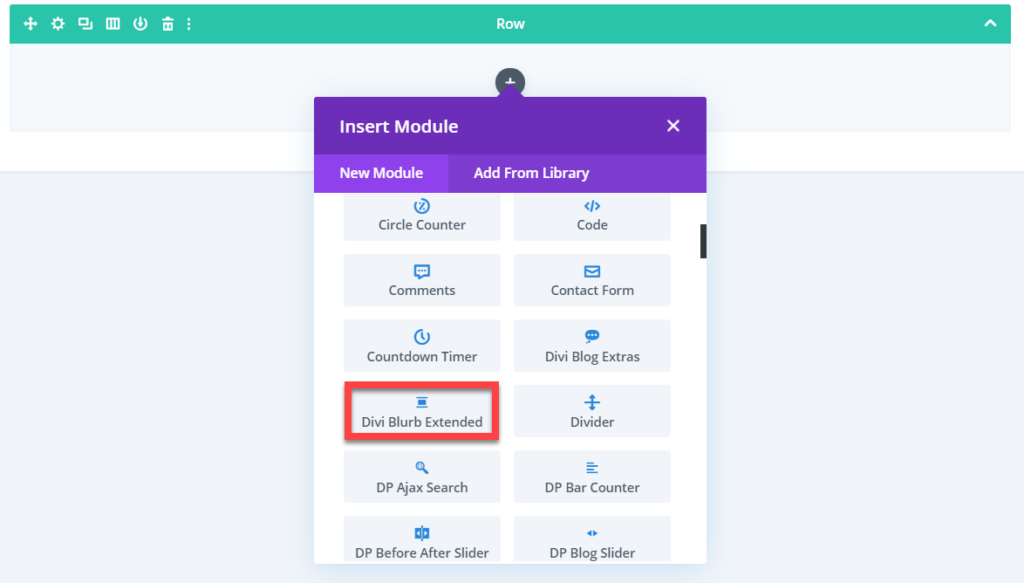
- Insert Row >> Scroll Divi module library >> Insert Divi Blurb Extended module.
- Go to Blurb Content Settings >> Set Blurb Title >> Set Blurb Content
- Go to Blurb Link settings >> to input Blurb Link if you want to open a blurb related page >> check “Url Opens in s New Window” as “Yes” if you want to open a blurb related page in a new window.
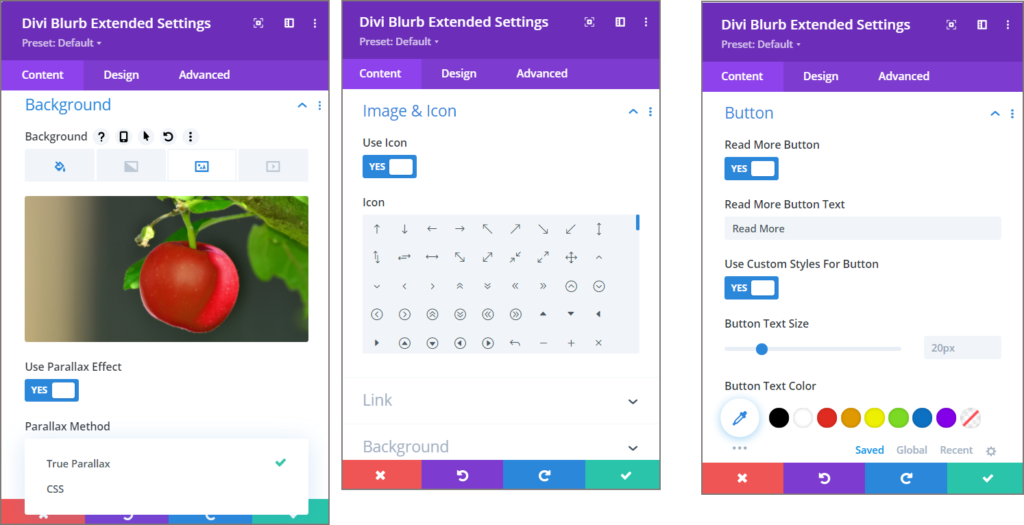
- For Read More Button on blurbs go to Button settings >> check “Read More Button” as “Yes.”
- Input text in the Read More Button Text Field to be used as custom text for the Read More Button.
- If you want to customize the Read More Button, then check “Use Custom Styles For Button” as “Yes.”
- Go to Image & Icon settings to add an Image or Icon on the Blurb >> simply upload your image.
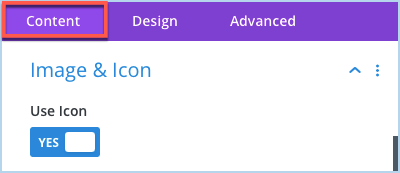
- If you want to use an Icon rather an Image, then check “Use Icon” as “Yes.”
- To show the background image with parallax effect Go to Background Setting >> Use Parallax Effect >> Set as Yes >> Parallax Method >> Choose any from True Parallax and CSS.
Layout Selection
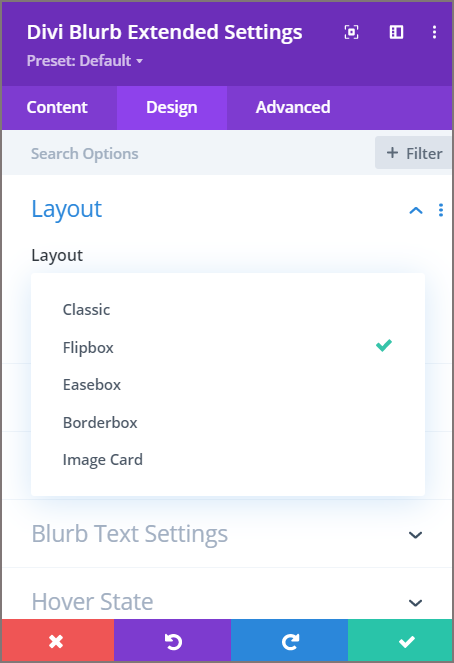
- After providing blurb content in the content settings
- Go to Design Tab >> Layout setting >> Choose any of the available layouts.
Content Background settings for Classic, Easebox, Borderbox, and Image Card layout
- To change the background color of the blurb content.
- Go to the Design tab >> Content Background settings >> pick a color to be used for content background.
Flipbox layout settings
- Select blurb layout: Flipbox
- To customize the frontside content background >> Go to the Design tab >> Flipbox Settings >> Front >> choose color/image >> pick a color/upload an image.
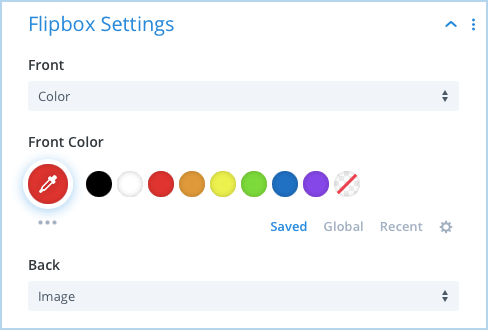
- To customize the backside content background >> Go to the Design tab >> Flipbox Settings >> Back >> choose color/image >> pick a color/upload an image.
- To adjust height of the Flipbox >> Go to the Design tab >> Flipbox Settings >> Flipbox Height
- Move the slider or input the value to increase/decrease Flipbox height.
Borderbox layout settings
- Select blurb layout: Borderbox
- To change Border Color of the Borderbox layout
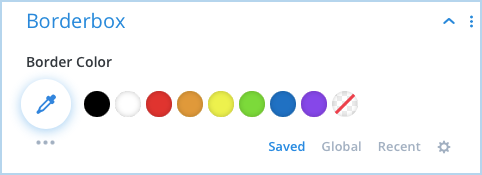
- Go to the Design tab >> Borderbox settings >> Border Color >> Pick a color to be used for the border.
Image Card layout settings
- Select blurb layout: Image Card
- To insert Top image in the Image Card layout
- Go to the Design tab >> Image Card settings >> Top Image >> Select/Upload an image.
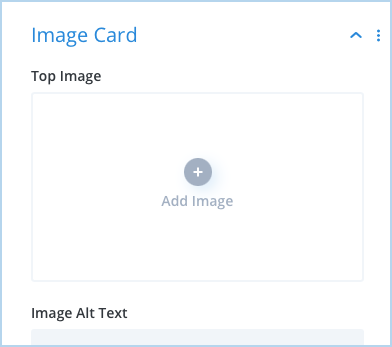
- If you want to set alternative text for the image
- Then go to the Design tab >> Image Card settings >> Image Alt Text field >> and input your desired text to be used as Image Alt Text.
Image & Icon placement for any layout
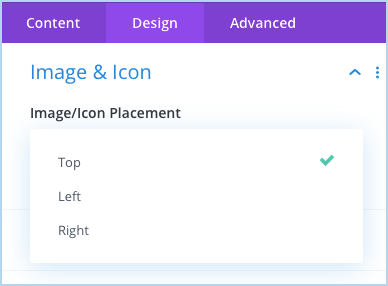
- To change placement of the image/icon of the blurbs
- Go to Design tab >> Image & Icon settings >> Image/Icon Placement >> choose Top/ Left/ Right.
- If you have chosen Use Icon as Yes setting available under the Content tab and want to change Icon Color, then go to Design tab >> Image & Icon settings >> Icon Color >> and pick a color to be used for the Icon.
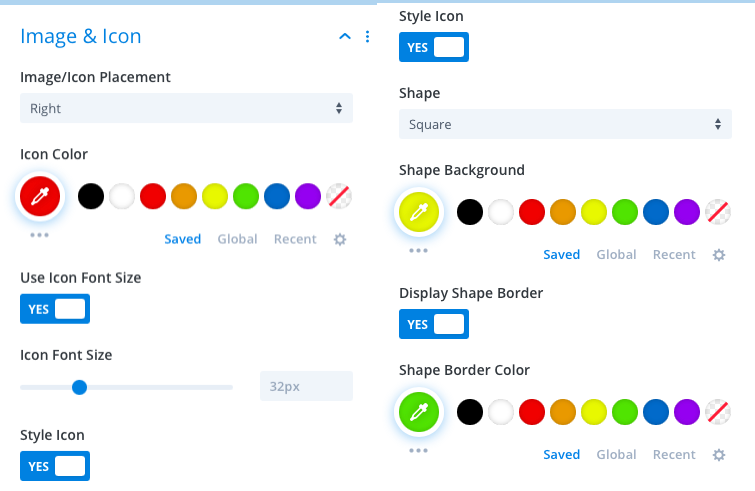
- Check “Use Icon Font Size” as “Yes” if you want to change the size of the icon then move the slider or input the value to increase/decrease icon size.
Blurb Title & Content Text settings
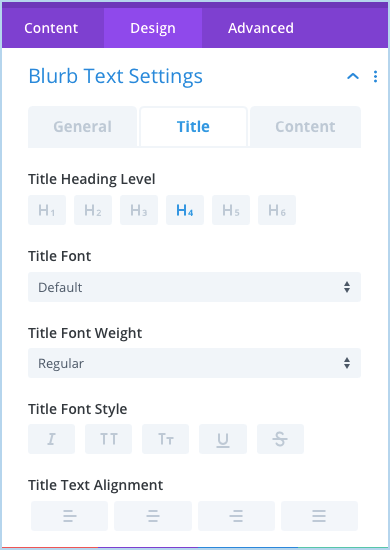
- To customize blurb Title and Content text go to the Design tab >> Blurb Text Settings >> and customize Title & Content text according to your needs.
Blurb Hover effects settings
- To apply hover effects on blurb Text, Button and Elements Go to the Design tab >> Hover State >> choose Text/Button/Elements and apply customization according to your requirements.
