
Search Blogy - Divi Blog Layout Pack Documentation
Search for answers or browse our knowledge base.
How to use blog layouts
Assigning a layout to your blog page
Once you have installed the layouts they’ll show up in Divi Theme Builder.

To assign a layout to your blog page follow the below steps:
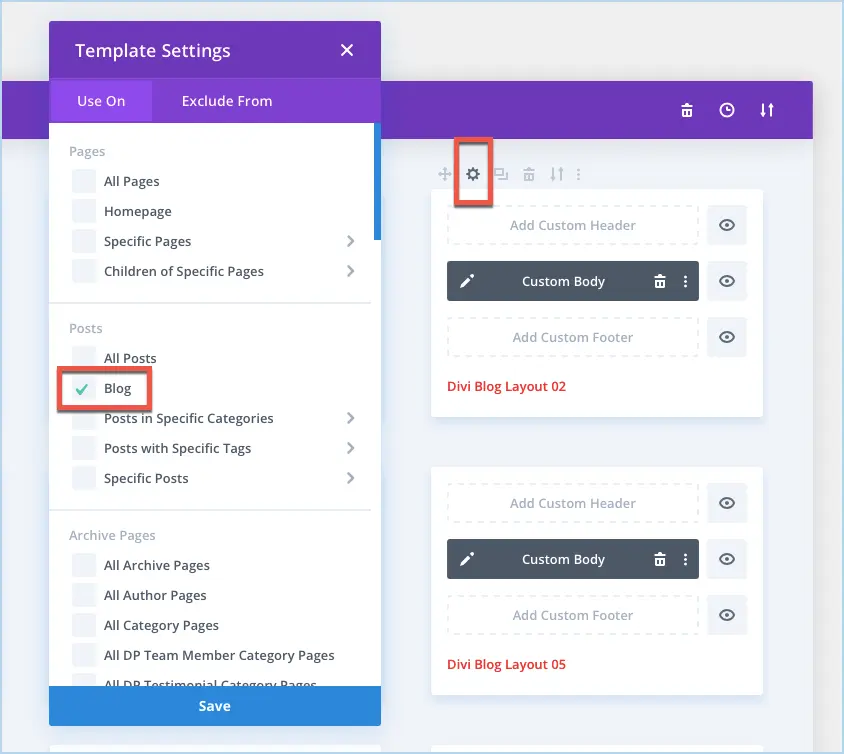
- Click on the setting icon corresponding to each layout and then on “Manage Template Assignment”.
- Under the Posts section, check Blog and save.
- This will render the layout on your ‘Posts page’ specified from the Reading Settings.
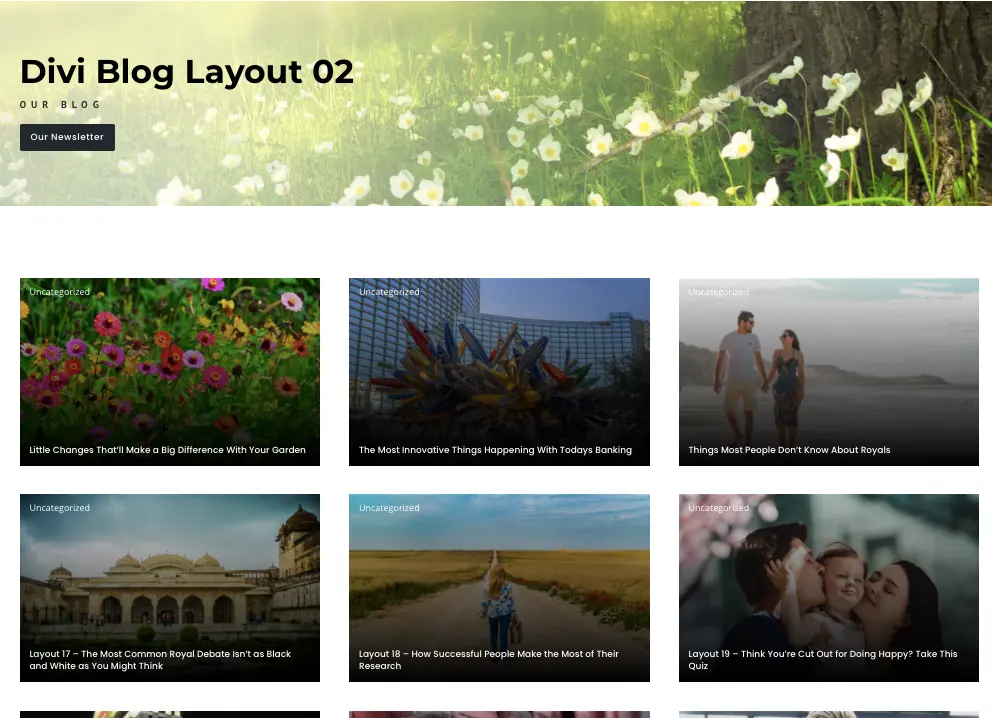
Output:
Use Blog layouts as Archive template by adding Dynamic Title
You could also use the layouts as your archive pages. In order to do that follow the below steps:
- Assign the template to the archive you want.
- Edit the template body.
- Edit the module that displays the Blog title and click on the Dynamic Content icon as highlighted in the below screenshot
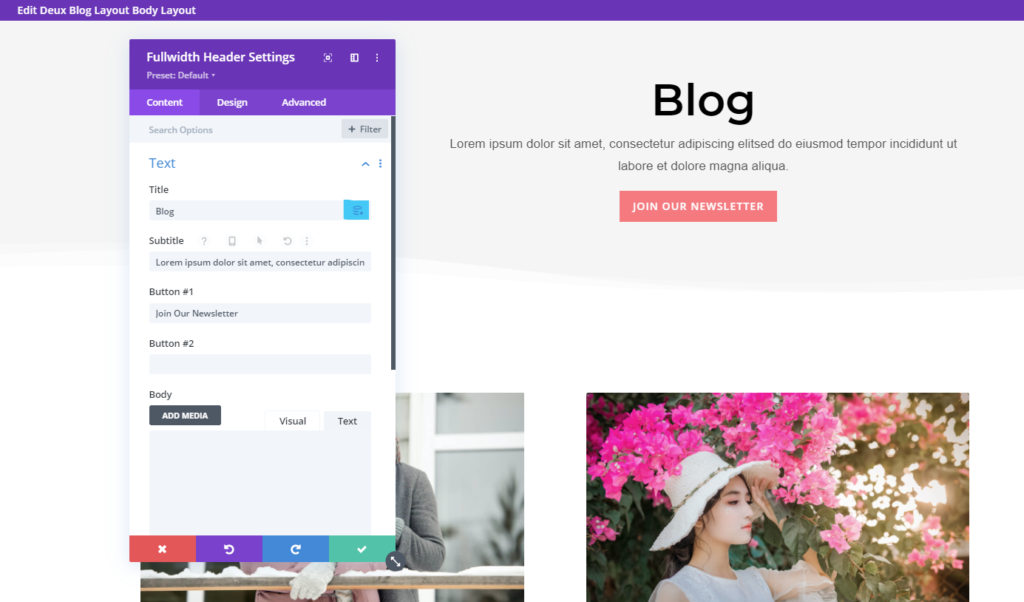
- On the next screen, select the “Post Archive Title” and save the template.
- Now you will see the template in action on your selected archive(s).
- You could also update the demo content used for subtitle and button links as per your preference.