Search Divi Plus Documentation
Search for answers or browse our knowledge base.
Testimonial Grid
Step: 1 Create new testimonials
The Divi Plus plugin after installation creates a DP Testimonials menu in the WordPress Dashboard with the following options,
- All Testimonials
- Add New
- DP Testimonial Categories

To add a testimonial grid on a webpage, you have to create testimonials first. The following steps can help you create one,
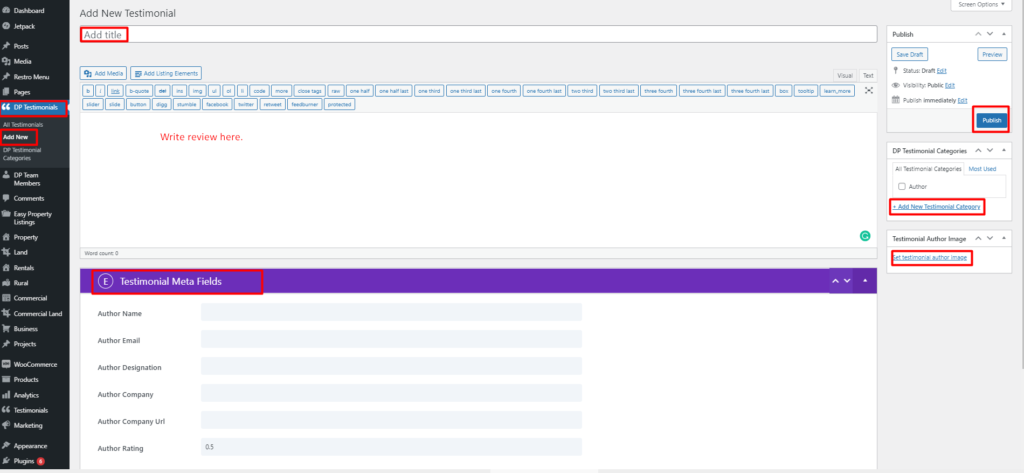
- Go to the DP Testimonials >> Add New.
- On the next window, It will open up a text editor similar to the post and page. Here, in the Add Title field input your testimonial title.
- After this, input your review in the content field area.
- Then, create a new category by tapping the Add New Testimonial Category below the Publish block.
- After this, go to the Testimonial Meta Fields under the content area. And input the details in all the fields as required.
- For the author’s image, you can set it manually in the Testimonial Author Image block under the DP Testimonial Categories by clicking the Set Testimonial Author Image. Or you can enter the Gravatar Account email. The testimonial module will fetch the author’s image from there.
- After completing all the fields, Publish your testimonial.
- Likewise, you can easily create multiple testimonials in no time.
Step: 2 Create testimonial categories
To display testimonials, it’s not necessary that you create categories. However, it would help you manage your testimonials on a webpage preferentially. You can create testimonial categories when creating a testimonial, as mentioned above in step 4. Alternatively, you can create & manage the testimonial categories as follows,
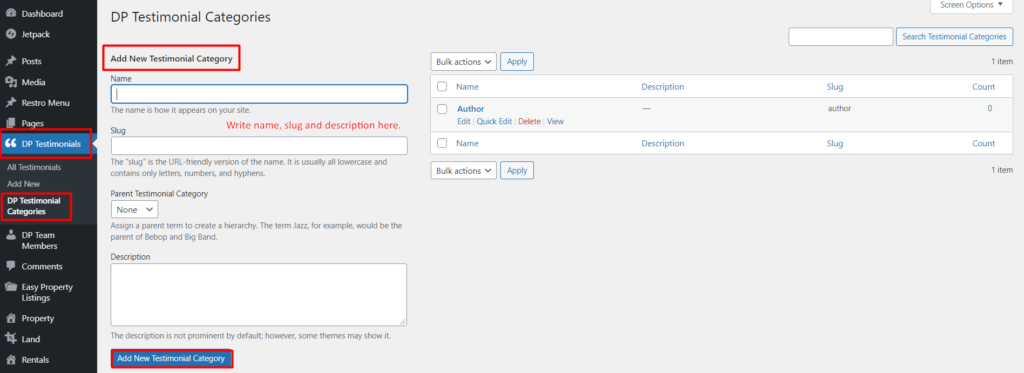
- Go to the DP Testimonials >> DP Testimonial Categories.
- Here, you can create a new category by entering the required details under the Add New Testimonial Category labels like Name, Slug, Parent Testimonial Category, and Description.
- Once done with all the details, click Add New Testimonial Category.
If you want to edit a previously created category,
- Simply click the Edit link under the category name.
- And make changes according to your needs.
- Update.
Display testimonials using Testimonial Grid module
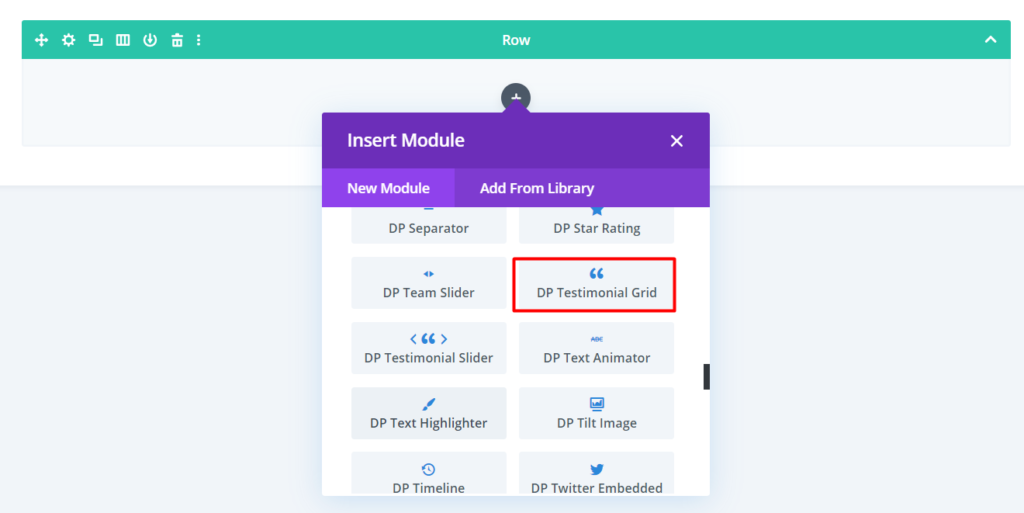
- Insert DP Testimonial Grid
- How to select Testimonial Grid Layout: Inside the Content tab go to the Content settings >> Testimonial Layout >> select either Layout 1 / Layout 2.
- Select Number of Testimonials to display: Go to the same Content settings >> Number of Testimonials >> input your desired number.
- How to define Testimonial Order: Go to the Content settings >> Order >> select either DESC or ASC.
- Select Order Type: Go to the Content settings >> Order by >> select any from the available options that are Date, Modified Date, Title, Slug, ID, Random, and None.
- How to Exclude or Include Testimonials of Specific Category: Go to the Content settings >> Include Categories >> Tick the checkboxes next to the categories you want to include. (If you leave all categories unchecked, it will display testimonials from all the categories.)
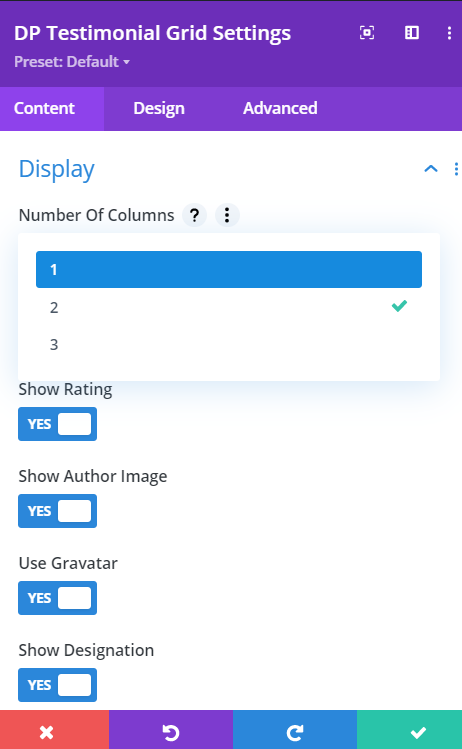
- Select Number of Columns for Testimonial Grid: Go to the Display settings >> Number Of Columns >> select your preferred number of columns up to 3.
- How to display Testimonials in Masonry Format: Go to the Display settings >> Enable Masonry >> check as YES.
- Hide Rating: Go to the Display settings >> Show Rating >> check as NO.
- Hide Author Image: Go to the Display settings >> Show Author Image >> check as NO.
- How to display Gravatar Image on Testimonial Grid: Go to the Display settings >> Use Gravatar >> check as YES. (Make sure you’ve used the author email associated with the Gravatar Account.)
- Hide Designation: Go to the Display settings >> Show Designation >> check as NO.
- Hide Company Name: Go to the Display settings >> Show Company Name >> check as NO.
- How to style single testimonial background: Inside the Content tab >> Background >> Single Testimonial Background >> apply customizations as required.
Design options
- How to change Text alignment: Go to the Design tab >> Text >> Alignment >> select any available alignment options.
- How to apply Text Shadow: Inside the Design tab >> go to the Text settings >> Text Shadow >> apply any one from the available options.
- Customize Body Text of the testimonial: Go to the Design >> Body >> apply changes as required.
- How to style Author’s Name: Go to the Design tab >> Author >> Name >> apply text customization as required.
- Style Author’s Designation: Go to the Design tab >> Author >> Designation >> apply text customization as required.
- Style Author’s Company Name: Go to the Design tab >> Author >> Company >> apply text customization as required.
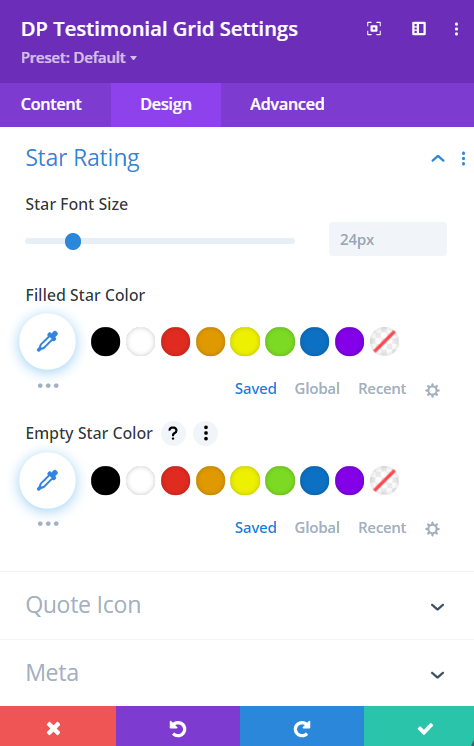
- How to change Star Rating size: Go to the Design tab >> Star Rating >> Star Font Size >> move the slider or input the value.
- How to change colors for the rated and non-rated stars: Go to the Star Rating >> Filled Star Color / Empty Star Color >> choose any required color.
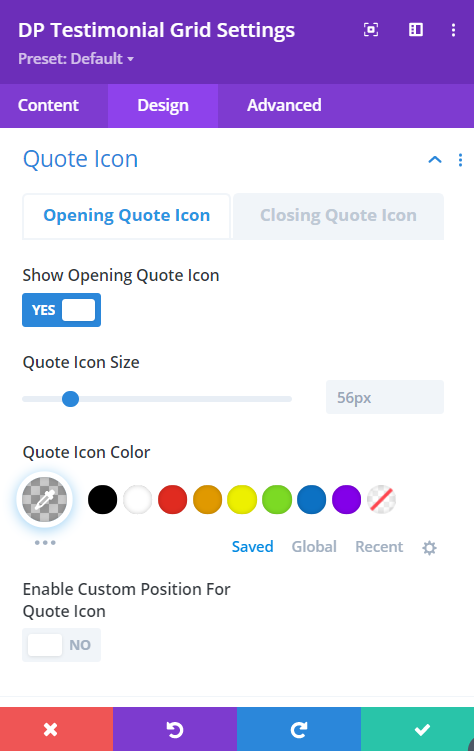
- How to display Opening Quote Icon: Go to the Design tab >> Quote Icon >> Opening Quote Icon >> Show Opening Quote Icon >> check as YES.
- Change Opening Quote Icon Size: Go to the Quote Icon >> Opening Quote Icon >> Quote Icon Size >> Move the slider or input the value.
- Change Opening Quote Icon Color: Go to the Quote Icon >> Opening Quote Icon >> Quote Icon Color >> Choose any color as required.
- How to apply custom positioning for Opening Quote Icon: Go to the Quote Icon >> Opening Quote Icon >> Enable Custom Position For Quote Icon >> check as YES >> any apply customization as required.
- How to display Closing Quote Icon: Go to the Design tab >> Quote Icon >> Closing Quote Icon >> Show Closing Quote Icon >> check as YES.
- Change Closing Quote Icon Size: Go to the Quote Icon >> Closing Quote Icon >> Quote Icon Size >> Move the slider or input the value.
- Change Closing Quote Icon Color: Go to the Quote Icon >> Closing Quote Icon >> Quote Icon Color >> Choose any color as required.
- How to apply custom positioning for Closing Quote Icon: Go to the Quote Icon >> Closing Quote Icon >> Enable Custom Position For Quote Icon >> check as YES >> any apply customization as required.
- How to change Meta Separator Color: Go to the Design tab >> Meta >> apply color as required.
- Testimonial Padding: Go to the Design tab >> Spacing >> Testimonial Padding >> apply padding as required.
- Add Rounded Corners to Single Testimonial: Go to the Border settings >> Single Testimonial Rounded Corners >> Make changes as required.
- Add Borders to Single Testimonial: Go to the Border settings >> Single Testimonial Border Styles >> Make changes as required.
- Add Rounded Corners to Author Image: Go to the Border settings >> Author Image Rounded Corners >> Make change as required.
- Add Borders to Author Image: Go to the Border settings >> Author Image Border Styles >> Make change as required.
- Add Box Shadow to Single Testimonial: Go to the Box Shadow settings >> Single Testimonial Box Shadow >> select any box shadow from available options.